The Basics Beyond Cloth Diapers

So you’ve ordered your cloth diapers. Now what? After choosing what type of cloth diapers you want to use there are a few items that you might find come in handy while cloth diapering. I’ve listed a few below. if you have any to add please feel free to comment below or email me at simmworksfamily (at) gmail.com and I’ll gladly add to the list!

Diaper/Butt Creams
You can’t just use any diaper cream on your child’s tush if you cloth diaper. Most creams can actually ruin your cloth diapers. And no amount of stripping will get your diapers back to their original absorbency. So read labels and choose a cream that will work with your cloth diaper, not against. And if in doubt, use a liner to protect your diaper.

A few commercially available diaper creams may be used with cloth diapers. Always avoid diaper creams with cod liver oil or any other fish oils. Recently many cloth diaper manufacturer’s have developed diaper rash creams that are considered safe for cloth diapers. In many cases, diaper rash creams specifically developed for use with cloth diapers is preferred. I used this list from Pinstripes and Polkadots to choose the cream I currently use and love (CA Baby). The tube lasts a long time and the smell is so relaxing and calming. Plus the product works perfectly for my kids. They also have a wonderful Diaper Area Wash that we’ve had great success with.

If a diaper rash does not go away please consult your physician. It may be a fungal infection that requires a fungicide or other type of medication.

Diaper Liners
As I mentioned above, diaper liners are a great way to protect your diaper from any creams or ointments you may use on your child. They can also help you out by making poop removal easier if you’re using the disposable kind. Some choose not to invest in these but others swear by them.

Here’s some information from Pinstripes and Polkadots about liners:
Liners are used to between the baby treated with a rash cream and the diaper in an effort to protect the diaper from the negative water repelling properties of the diaper rash ointment or cream. People use flushable liners, fleece liners, cloth wipes, and even cut up old t-shirts. If you plan to re-use your liners you will want to wash them thoroughly and separate from your diapers. Likewise, you will also want to wash any wipes used to clean off the ointment or cream with your liners: separate from your diapers. Realize that some flushable liners may not protect a diaper well enough from certain creams.

Laundry Detergent

Just like creams, some detergents are just too harsh on cloth diapers. Not to mention on our clothes as well. And the fragrances and added ingredients can irritate your child’s diaper area. Switching to a cloth diaper friendly detergent for all of your clothes may reduce the chance of a rash or other irritation forming.

In order to choose the perfect detergent you should think about a few things. The most important determinant in the detergent you use is if you have a HE washer or not. The amount of detergent you use as well as the type of detergent can depend on this. To find out more about different detergents and what will work best for you check out The Diaper Jungle. Another great source is Pinstripes and Polkadots (I love this site!) and their HE selection can be found here.
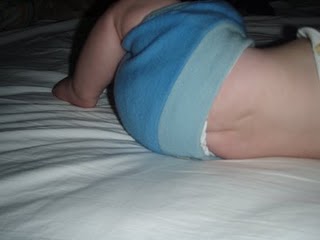
Pins & Snappis
If you are considering using prefolds then you should grab a few sets of pins or some snappis. These great products will give you a tighter fit and can help create a great barrier to keep the poo where it belongs… in the diaper. To tell you the truth, pins kinda scared me. So when I heard about snappis I knew I was going to go this route. But I’ve heard from a few sources that pins can get a tighter fit. This may help when you’re on the verge of going up a diaper size. Your smaller prefolds can be used longer with pins.

Wetbags/Diaper Pail Liners
There are a few size options when it comes to wetbags. And I have a few of each. Some are more for convenience and others are a necessity. I was able to get away with not using a pail liner for quite some time by substituting a large pillow case. But then I found two used liners for sale for $5 each and couldn’t pass them up.

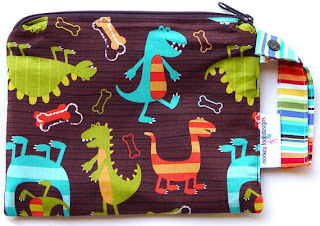
I suggest having at least two wet bags for diaper bag rotation and two diaper pail liners (again, for rotation if one is in the wash). I currently have four wetbags: a small, two medium and one large. I feel that this is the perfect amount for our family. Here’s what I use each for:

  • Small (1-2 diapers) – for quick errands out and about
  • Medium (3-5 diapers) – for day trips 
  • Large (8-10 diapers) – for weekend trips (our go-to for Disneyland overnight visits)

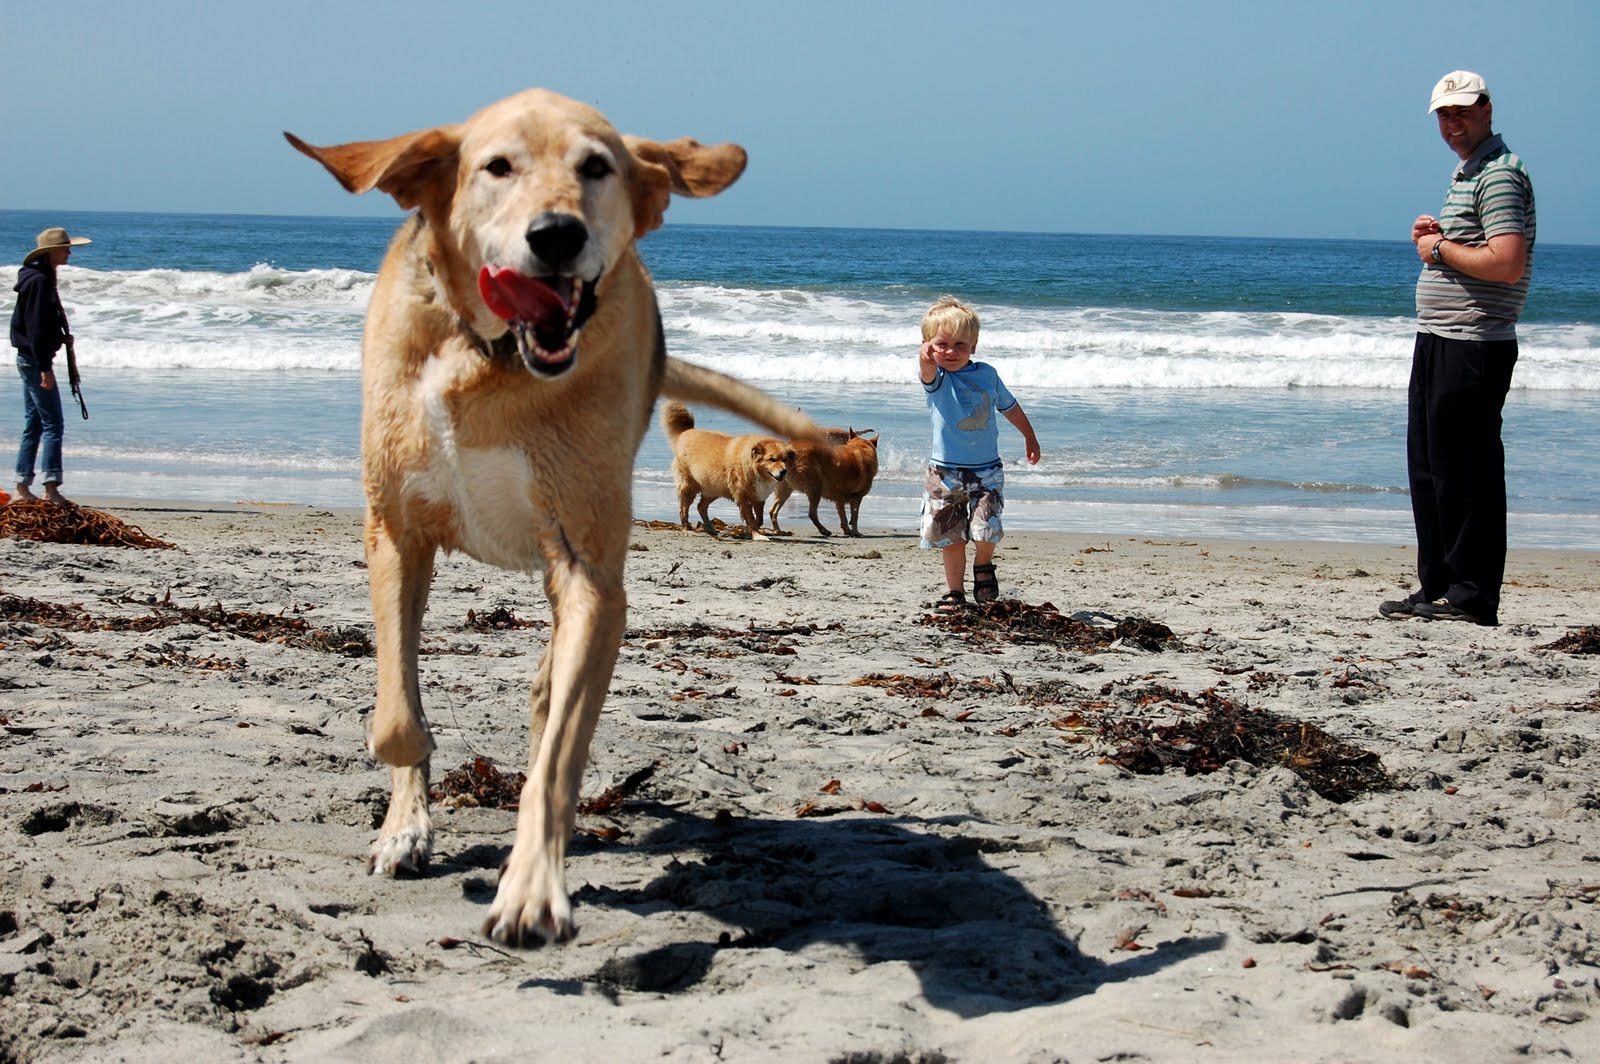
I also use our wet bags for other things. I keep an extra one in the diaper bag if we’re going to the beach or pool so I can throw wet and sandy suits and clothes in one and not have to worry about getting everything else wet and sandy (although the kids do a good job of spreading the sand anyway…). They’re also great to store extra diapers in the car. I keep an “emergency kit” in the car with a change of clothes for each kids and 1-2 extra diapers. I keep it all in a wet bag so they stay fresh and clean.

San Diego Pet Supply {Store Review}

After adopting our pup, Scout, we started researching dog foods, dog friendly places and much more. On our quest to find the perfect treats, supplies and food for Scout we stumbled upon a pet supply store that was very close to home. Like up the street and around the corner from us. So we stopped by. And what we were greeted with kept us coming back for close to 6 years now.

San Diego Pet Supply carries everything from dog food to animal carriers to vaccinations. I’ve never had a problem finding what I need for my pets there. And they keep my kids entertained too. There’s always birds, reptiles or other small animals to keep them occupied while one of kind employees picks up a large bag of Canadae for me from their shelves. I used to grab the bag myself but as soon as they saw me they’d rush over and grab the bag for me. So I let them grab it now.

Most of the time all I have to do is come to the counter, ask for what I need and they grab it and load it in the car automatically. And with my hands full with children their customer service makes my life a heck of a lot earlier! I’ve never had that type of treatment at a big box pet supply retailer.

And the last time I visited took the cake! I was in desperate need of food (only one scoop left) and was coming home from a playdate. By the time I got to San Diego Pet Supply both kids were asleep in the back of the car. I couldn’t imagine leaving them in the car alone while I ran in even though the storefront faces the car and the roll up door would leave a great view of them. So I did the only thing I could think of. I called and explained the situation and asked if they could help.

They were more than willing to take care of me! As soon as I hung up the phone I could see a cart being wheeled out the door with the dog food ready to go. I handed over my card, loaded the food in the trunk and then returned to sign my credit card slip. I didn’t have to leave my car or my kids and I had the dog food I needed! Now that is excellent customer service. And not only did they help me out, they let me know that they do free delivery for purchases over $40 within a 10 mile radius. And our house is within that radius! Now there’s no way I can forget the food… it’s delivered right to my door automaticall!

So if you live in San Diego and are looking for an amazing pet supply store you have to check out San Diego Pet Supply! And for 5% off your next purchase check out their coupon.  

A little information from their website:
San Diego Pet Supply is 6,900 square feet packed with anything and everything a pet will possibly need, and all that your special friend could want. Operating as a supplier of feed and scratch since the 1875, they still offer a huge assortment of bulk and packaged foods.

From common brands to all natural and whole foods blends, they are the source for satisfying your animals’ endless appetites. In addition to carrying everything relating to pets, they specialize in stocking hard to find items, such as shampoos you would normally only be able to purchase through a veterinary prescription.

Washing Wool {Cloth Diapering Tips and Tricks}

Wool covers can be a bit intimidating at first. But once you start using them I’m sure you will start to love this amazing fabric. Not only is it absorbent, it’s breathable as well. I love using wool covers at night to reduce the chance of any irritation or redness on my children’s legs due to PUL covers. I do have to admit that I was quite scared to wash them when I received my first wool soaker in the mail. I was scared that I’d somehow ruin it and I would have spent a lot of money on nothing. But I followed the directions I was given very carefully and have never looked back!

So once you add a piece of wool (or two or five) to your collection, the first thing you’ll need to do is learn how to properly clean it. The best part about cleaning wool is that, at most, you’ll only have to wash it once a week. I actually go every 2-3 weeks with my wool since I switch two covers every other night. But you can definitely tell when it’s time for a washing.

You’ll need a few basic supplies for washing your wool diaper covers:

Sink, pot or bucket: We like to use a large pot for one item, but for more wool items you’ll need to use the sink (or a large 5 gallon bucket).
Water: You will need warmish, but not hot water to clean your wool without shrinking or felting.
Wool soap: Liquid or solid, you choose! We have both liquid wool wash and a wool wash bar.
Towel: We use a bath sized towel. Choose an older one in case any color bleeds out of the wool.

Here’s how to get started:

  • Rinse your wool covers in cool water and gently squeeze out excess water. This will remove any urine salts in the wool that will dry the fibers and retain odor.
  • Fill your sink, pot or bucket with tepid (not hot or boiling) water.

Now for the soapy part

      • If using liquid wool soap, add about a teaspoon to about 1 quart of water. Use approximately 1 tsp and 1 qt of water for each item when washing multilple items together.
      • If using a bar wool soap, lightly lather the bar under the water as you fill the basin.
      • Gently move the water in and around the wool in the sink for 1-2 minutes.
      • Soak your wool diaper cover for 10-15 minutes, without any further agitation. The wool wash will work on its own without your help.
      • Watch your wool in case of bleeding color. If your wool diaper cover is bleeding color you may want to shorten the soaking time.

      And the drying part

      • Drain the water from the sink and gently squeeze some of the water from your wool diaper cover. Be sure to handle it carefully, supporting all of its weight. Don’t let any parts dangle.
      • Refill the sink with cool water and place the wool diaper cover into the clean water to rinse. This will remove soap residue and any grime that didn’t go down the drain.
      • Drain the water again and let the diaper cover drain in the sink after the water is all out, or move the diaper cover to a colander.
      • Gently squeeze the diaper cover to remove additional excess water.
      • Carefully place your wool diaper cover on the towel, roll it up into the towel and press to remove excess water.
      • Lay the wool diaper cover out flat on a screen or another towel, shaping it gently back to its original shape and let it air dry.

          Once your cover is completely dry you can start to use it again. It’s as simple as that! And some say that they’ve had success using their washing machine to wash their wool (not the crochet or knitted stuff!) however I haven’t been brave enough to try yet. Now start shopping… if you’ve already begun cloth diapering then I’m sure you are already addicted to purchasing the diapers. Just wait till you see what wool options are out there! Dangerous. But only for your bank account.

          Source: Zany Zebra Designs, Pinstripes and Polkadots

          Early Stages of Speech Development: Pointing and Gestures

          No, we didn’t get another dog. My daughter has started pointing! And I am loving it. When my son started pointing I didn’t realize it was such a big deal until one of my friends (who happens to be a speech language pathologist) commented about it and let me know that it was a good sign that he was developing right on track.

          I actually noticed it when I was playing Angry Birds on my smartphone and she kept reaching over from her seat on the couch to try and touch the screen with her little pointer finger. She saw me pointing at the screen (launching the birds) and wanted to do the same! Then on our most recent trip to Disneyland this past week she started pointing at things around her. So we took advantage of her interest and started telling her about everything she pointed at. She might have been overwhelmed just a bit…

          It’s important for kids under 12 months of age to be watched for signs that they’re using their “voices” to relate to their environment. A few things to look for in your infant to make sure that they are on track are listed below. Knowing what’s “normal” and what’s not in speech and language development can help you figure out if you should be concerned or if your child is right on schedule. 

          Early Stages of Speech Development
          Birth to 3 Months

          • Respond to speech by looking at the speaker
          • Respond differently to the voice of a parent than to other voices
          • React to changes in a speaker’s tone, pitch, volume, and intonation
          • Respond differently to their home language and another language
          • Communicate with bodily movements, by crying, babbling, and laughing
          • Attempt to imitate sounds

          3 Months to 6 Months

          • Exchange sounds, facial expressions, or gestures with a parent or caregiver
          • Listen to conversations
          • Repeat some vowel and consonant sounds

          6 Months to 9 Months

          • Begin repetitive babbling (deaf children also start to babble with their hands)
          • Associate gestures with simple words and two-word phrases, like “hi” and “bye-bye”
          • Use vocal and non-vocal communication to express interest and influence others 
          • Saying words like “mama” and “dada” (without really understanding what those words mean)

          9 Months to 12 Months

          • Understand the names of familiar people and objects (for example bottle, binky, etc.)
          • Show their understanding with responsive body language and facial expressions
          • Say a few words
          • Respond to a firm “no” by stopping what they are doing

          There are certain milestones that children are evaluated for at their well-baby visits. For the 12 month visit, pointing, gesturing and waving good-bye along with a few spoken words are great signs that a baby is on track developmentally. Being able to communicate for an infant can be difficult at times because of the lack of a vocabulary. But if you watch your infant closely you can see that they’re constantly communicating with you in their own special way. And don’t worry if your child hasn’t met some or all of the developmental guides listed above. If you have any concerns about your child’s development please speak with your pediatrician.

          Sources: PBS, Kids Health, ASHA

          Fun and Safety in the Sun

          Fun and Safety in the Sun

          Yes, I know a post like this at the end of summer seems ill timed. But is it? Once the end of summer comes most stop thinking about preventing sun damage for themselves and their children. But everyday protection from the suns harmful rays is very important to remember and continue daily. The American Academy of Dermatology recommends that, regardless of skin type, a broad-spectrum (protects against UVA and UVB rays), water-resistant sunscreen with a Sun Protection Factor (SPF) of at least 30 should be used year-round.

          My family just returned from a much needed vacation to Hawaii. While we were there we applied sunscreen to the children, and ourselves, daily. No matter if we were going to the pool, walking the beach or hitting up a craft fair. And I started to realize that we should be doing this every day, not just when we’re on vacation or during the summer, but at home as well.

          So I started to do a bit of research when we returned home and found that more than 3.5 million skin cancers are diagnosed in more than 2 million people annually. Many studies have found an association between sunburns and enhanced risk for melanoma, the deadliest form of skin cancer.

          Fun and Safety in the Sun outdoors

          Unprotected sun exposure is even more dangerous for kids with:

          • moles on their skin (or whose parents have a tendency to develop moles)
          • very fair skin and hair
          • a family history of skin cancer, including melanoma

          And seeing as though my husband just had a bit of skin cancer removed from his neck, and we are very fair skinned, my children need to be very cautious about their sun exposure. So we’ve come up with a plan with help from Kids Health. Here’s what we now do to insure proper protection from the sun’s harmful rays.

          Fun and Safety in the Sun at the Beach

          Avoid the Strongest Rays of the Day
          We stay indoors or in the shade between the hours of 10am and 2pm. If we need to be outdoors during this time we cover up, apply sunscreen and are conscious of the time we spend in the sun. Even if we are outdoors during this time on cloudy or cool days we still follow the same procedure. The “invisible sun” can be the most dangerous because we cannot feel it’s rays burning our skin. But later on a sunburn may appear if sunscreen was not applied or re-applied.

          Cover Up
          One of the best ways to protect your skin from UV rays is to cover up. Wear clothing that covers your skin. To make sure that the clothing you are wearing is, in fact, keeping the UV rays from hitting your skin simply place your hand inside the garment. If you can see your skin through the fabric then it is not protecting you from UV rays.

          Because infants have thinner skin and underdeveloped melanin, their skin burns more easily than that of older kids. But sunscreen should not be applied to babies under 6 months of age, so they absolutely must be kept out of the sun whenever possible. If your infant must be in the sun, dress him or her in clothing that covers the body, including hats with wide brims to shadow the face. Use an umbrella or blanket to create shade.

          Use Sunscreen Consistently
          Choose a sunscreen that states on the label that it protects against both UVA and UVB rays (referred to as “broad-spectrum” sunscreen). In general, sunscreens provide better protections against UVB rays than UVA rays, making signs of skin aging a risk even with consistent use of sunscreen. To avoid possible skin allergy, don’t use sunscreens with PABA; if your child has sensitive skin, look for a product with the active ingredient titanium dioxide (a chemical-free block). We prefer to use CA Baby No Fragrance SPF 30+ Sunscreen Lotion. It’s thick and coats the skin well so I know I’m getting every nook and cranny of skin. And for an easy, on-the-go solution we love the CA Baby No Fragrance SPF 30+ Sunblock Stick.

          Fun and Safety in the Sun with sunscreen

          Use Protective Eyewear for Kids
          The best way to protect a child’s eyes is to wear sunglasses. If your child will allow you to put sun glasses on them make sure you choose a pair that provide 100% UV protection. A great way to get your child interested in wearing sunglasses is to pick out the craziest, largest pair of sunglasses for yourself and wear them all the time. Then ask your child if they want a pair of cool glasses for themselves. More likely than not, they’ll want to be just like you!

          If not, invest in an awesome, wide brimmed hat that shades their eyes. Hats with straps work best for babies  who might pull sunglasses off in a split second. I’ve found that even sunglasses that wrap around a child’s head sometimes won’t last long on certain kids. But remember to try, try again. Kids might not like something at first but if you’re persistent you may break them down.

          Double-Check Medications
          Some medications increase the skin’s sensitivity to UV rays. As a result, even kids with skin that tends not to burn easily can develop a severe sunburn in just minutes when taking certain medications. Fair-skinned kids, of course, are even more vulnerable.

          Ask your doctor or pharmacist if any prescription (especially antibiotics and acne medications) and over-the-counter medications your child is taking can increase sun sensitivity. If so, always take extra sun precautions. The best protection is simply covering up or staying indoors; even sunscreen can’t always protect skin from sun sensitivity caused by medications.

          Fun and Safety in the Sun applying sunscreen

          Be Sun Safe Yourself
          Be a good role model by consistently wearing sunscreen with SPF 30 or greater, using sunglasses, and limiting your time in the sun. These preventive behaviors not only reduce your risk of sun damage, but teach your kids good sun sense.

          There are so many products out there now to help aid in sun protection. I currently use a daily moisturizer and daily lotion with SPF built right in from Eucerin that I love. I don’t want to smell like sunscreen so these alternatives are easy for me to use daily and my children know I’m protecting myself.

          And please, please make sure your kids don’t use tanning beds at any time, even to “prepare” for a trip to a warm climate. Both UVA and UVA/UVB tanning beds produce sunburn. And there is an increase in the risk of melanoma in people who have used tanning beds before the age of 35.

          How are you preparing for summer and extra sun exposure?

          Body Parts: Call It Like It Is

          Along with parenting comes a lot of choices. Choices on whether to cloth diaper or use disposables, to buy an organic crib mattress or a regular one, whether to try out breastfeeding or go with formula, whether to go for a pack-n-play or a bassinet (or both!). There are MANY choices a new parent has to make. Sometimes these choices are made for us, but others are all our own.

          Photo Source

          When it comes to body parts, it is the parent’s choice on what to call them. Because the parent (or caretaker) is the most involved in diaper changing and potty training, whatever the parent starts to call a baby or toddler’s body parts is most likely what the baby or toddler will start using themselves. So when I started thinking about what I wanted to call my son’s (and in turn my daughter’s) private parts I wanted to make sure I made the right decision. I don’t mind if they start to call their body parts by other names later on down the road as long as they know what they’re really called that’s all that matters.

          And while this may seem like no big deal to most, I’ve watched a lot of Oprah  and I know that if a child is having issues “down there” then the correct terminology will make it much easier to figure out what your child is talking about. I recently read that while 95 percent of three year old boys know the word penis, only 52% of girls the same age have been given a specific name for their own genitals. And now that I have one of each I am so happy that I decided early on to call my children’s body parts by their real name. I might not be saying the same thing when my 2.5 year old asks again (in a very loud voice while we’re in a public restroom) if I have a penis or vagina (because he forgets) but that’s a whole other post.

          Here are 3 great reasons why a child should know the correct terminology for their body parts: 

          1. Reduces Cases of Molestation
          Teaching children the proper names to body parts can greatly reduce cases of molestation. Often times predators use cutesy names to gain access to personal and private space, however children who have been taught to name their private parts are less likely to be led astray.

          2. Helps Locate a Problem /Hurt Body Part
          It also allows children to own their bodies because they can name when and where something hurts or has been hurt. This helps parents and doctors to locate exactly where their child might be hurting in order to come up with a treatment/solution. My son recently came to me complaining that his penis was hurting. Turns out he had a UTI. I’m so glad he came to me right away so we could get it treated ASAP.

          3. Teaches Confidence and Respect
          Teaching them the proper name also teaches them to not be ashamed so that they can be open with their parents about uncomfortable issues. Hopefully by starting young we can build up that comfort with our kids so that when they have questions later on they come to us first instead of their peers.

          Do you have more reasons to share? Or do you disagree with this post? I’d love to hear your feedback!

          How to choose the perfect carrier

          I’ve known that I wanted to wear my babies since before I had them. But I never realized that I’d wear them with so many different carriers. I have used each carrier for a different stage of infancy (and toddlerhood), some overlapping with others. And each one brings something different to the table. From the basic, one piece carriers to those with snaps and harnesses. And after babywearing two kids I now know what I love and think that I can help out other mamas (or daddies) who plan on wearing their little ones.

          Below are a few breakdowns of the different baby carriers I’ve used. I’ve highlighted what I love and what I don’t love about each. And I just realized that almost all of the pictures show below are of my kids in carriers at Disneyland. Guess we’re going to have to take the Kelty up there next time and update this picture!

          Hotsling
          Best for: 5-20 pounds, age 0-12 months
          The one carrier I was able to “get” and use right away, like as soon as I brought my little ones home from the hospital, was the Hotsling. It’s one piece of material that you fold in half on itself to create a pocket. It’s versatile, light and easy to use. Plus it can double as a blanket or changing mat if needed when out and about.

          I stopped using my Hotsling when my babies got a little too heavy and I needed a bit more shoulder and back support. I then started using it again with my son when he was about 11-12 months old and used it to hip carry. I would only use it for quick trips to the grocery store or mall when he didn’t want to sit in a shopping cart. It’s definitely the easiest carrier to learn how to use right away. No snaps, no wrapping, no pieces.

          Moby Wrap
          Best for: 5-15 pounds, age 0-6 months
          I purchased my first moby wrap when my son was 3 months old. I was new to babywearing and had only been using my fleece Hotsling and Snugli before that. I wasn’t quite sure what I was getting into but after researching how to wrap a moby as well as the different types of carries I became more and more comfortable with wearing him in it.

          I still enjoyed using my Hotsling but felt like I had more support overall with the moby wrap when we were out for longer than 30 minutes. The moby wrap also kept my son warm and cozy. The fact that there is so much fabric means you have a built in blanket to cover up hands and toes if needed. But that also means that in the summer months it can get very hot for both baby and mom.


          BABYBJÖRN or Snugli
          Best for: 11-17 pounds, age 2-6 months
          This type of baby carrier is the perfect next step after the Moby wrap, as it still provides that close comfort but also offers extra support for a growing baby. I felt comfortable wearing my son in this starting when he was around 12 pounds, but it began hurting my back when he got over about 15-17 pounds. The ERGOBaby and BABYBJÖRN/Snugli carriers are usually seen as competing products, with the BABYBJÖRN or Snugli being less expensive but not as long-lasting.

          I’d advise buying the BABYBJÖRN if you want to do casual carrying around the grocery store and park up to about 6 or 7 months and plan to stop carrying after that. If you’re looking for a more long-term solution, invest in the ERGOBaby and use an infant insert to make it work for your lighter baby when they outgrow the Moby wrap.

          ERGOBaby

          Best for: 15-35 pounds, age 6 months – toddler without insert
                        8-15 pounds, age 2 weeks – 3 months with insert
          I love the ERGOBaby because of its incredible ergonomics. I can wear my son or daughter for hours without any back or body pain, and it works on the front, back, or hip! I also love how easy it is to put on and adjust. I can put it on in less than a minute and feel like my children are secure and comfortable at all times.

          The one drawback to the ERGOBaby is that the baby can only face inward, so my kids occasionally get restless and struggle to look around and see what’s going on behind them. But when that happens I can just put them on my back and they can see over my shoulder. I keep this carrier in my car at all times and grab it for quick errands and long trips.

          Kelty
          Best for: 17-40 pounds, age 6 months – 4 years
          This is the carrier for people who are serious about carrying. We have the Kelty FC 3.0 Child Carrier and it is perfect for outdoor adventures and hikes. If you’re an active person and want to explore the outdoors with your children then this is the carrier for you.

          It comes with a sun hood, changing pad, toy loops, kickstand, storage pockets…all the bells and whistles you could possibly need. The best part about this carrier is that, like the ERGOBaby, I can also use it for both kids, switching them in and out as needed. And my husband will wear it. He doesn’t quite like the ERGOBaby but since this carrier is more like a backpack (heck… it has a backpack on it!) he feels more comfortable with it on.

          I don’t use this carrier for running errands or morning trips to the zoo, but this will always be my go-to solution for adventures and vacations to keep the kids and all their equipment all in one place. I cannot wait to try this carrier on our next trip to Mammoth Mountain.

          Kelty sent me their FC 3.0 child carrier to review. All others were independently purchased. All opinions are my own.

          Nighttime Cloth Diapering – What Works Best?

          Night time cloth diapering is a bit different than daytime diapering. One big similarity is that there are many options out there and a diapering combination might work well for one baby but might not work at all for the next. Below are a few things to consider when looking for a night time cloth diapering system.

          2.5 months old with a fluff butt

          Absorbency 
          A diaper that allows you to increase the amount of inserts or soakers is something you will want to consider. By being able to control the level of absorbency in your diaper you will have more success in staying dry through the night. Two different types of diapers that I know work well for this are fitteds and pocket diapers. The big difference between the two is that you will need a cover to go over your fitted diaper but won’t need one for the pocket.

          Fit 
          Some moms and dads choose not to cloth diaper at night because when they do find a good night time diaper it ends up being so bulky and large that no pajamas fit over their little one’s tush. More than likely they were using a pocket diaper. Being able to stuff a pocket diaper enough to cover your absorbency needs can lead to big fluff butt. But if you don’t mind a little more junk in the trunk that by all means try your favorite pocket with another insert or two. A fitted diaper may require a cover but it does leave a more trim tush even if you add in a few more soakers.

          To see my son in his nighttime diaper cuteness when he was an itty bitty check out this blog post.

          Inserts/Soakers/Doublers
          First let me start out by defining the three items I mentioned above. Then we’ll get to what material you can choose to use with each.

          Inserts
          Pocket Cloth Diaper Inserts are several layers of absorbent fabric sewn together in a long, trim shape that slip in between the outer waterproof layer & inner stay-dry layer of a pocket cloth diaper. Without the insert, a pocket cloth diaper is not absorbent at all.

          Soakers
          The term soaker is used for two different things. First, this word refers to the middle layer of the diaper. Often this layer is made of a different fabric than the rest of the diaper, one that is more absorbent. The term soaker is also use in reference to wool or polar fleece diaper covers. Unlike other diaper covers, wool and polar fleece are water resistant, rather than waterproof. They do allow some wetness to wick through from the diaper but still manage to keep babies’ clothes dry.

          Doublers
          This term is often used interchangeably with liners perhaps because they do overlap from time to time. Doublers are thick rectangular pads that can be inserted between your baby’s bottom and the diaper to provide extra absorbency. These are great for heavy wetters or for night-time use.

          Material
          The material that your  is made out of will have a lot to do with its absorbency and how many inserts you will actually need. The most common insert material used is microfiber. And while microfiber is very absorbent it can be a bit bulky. Below is a breakdown of the different options for your inserts.

          Microfiber
          A polyester blend fabric that can hold 3-4 times its own weight in liquid. Microfiber is also quick-absorbing & inexpensive, making it a great option for diaper inserts. One microfiber insert is usually enough for a young baby. Around age 6 months, you may find that your child requires 2 microfiber inserts.

          Hemp
          Another popular fabric used to make pocket diaper inserts. Hemp is even more absorbent than microfiber, and is even more trim. Hemp is also a natural fiber that resists mold & bacterial growth naturally. Hemp is a great diaper insert choice for a heavy wetting child.

          Microfiber & Hemp inserts can also be used simultaneously when extra absorbency is needed. Place the microfiber insert on top of the hemp insert and then put both inserts into the pocket diaper. Many parents find this to be the perfect solution for their children because they get the Benefit of quick-absorbing microfiber plus the super absorbency of hemp.

          Prefolds
          Both cotton & hemp prefolds can be used as inserts for pocket diapers as well. Cotton prefolds can usually provide enough absorbency for a regular to moderately heavy wetting child. Hemp prefolds are necessary for super heavy wetters and toddlers during long periods between changes such as nap time and over night.

          You know you have to go up a size when…

          Breathability
          The breathability of your night time cloth diaper has more to do with your diaper cover if you are using a fitted diaper. There are a few options for cloth diaper covers out there. And I’m familiar with two. Covers made out of PUL and wool covers. And the cover that breathes the best? Wool. Hands down. But some people prefer a PUL cover because if you have a nighttime pooper the PUL will keep it in and wool wont. Plus some people are a little intimidated by washing wool. You can’t just throw wool covers into a washing machine or dryer. I’ll be covering that in an upcoming post!

          My favorite nighttime diapering solution: 
          For my son – the heavy wetter
          A bububebe fitted diaper with all 3 soakers snapped in
          An Artsy Fartsy Foo Foo hemp insert
          A Sustainable Babyish wool soaker (or longies in the winter)

          For my daughter – not so heavy wetter
          A bububebe fitted diaper with 2 soakers snapped in
          A Sustainable Babyish wool soaker (or longies in the winter)

          Don’t have the money to invest in these items? Buy them used on a variety of forums including Spots Corner, Swap Spot and Diaper Swappers. And don’t forget your local Craigslist! You might find local cloth diaperers that might want to swap and trade with you.

          Do you have an awesome nighttime solution? What is your tried and true combination?

          Sources: The Diaper Pin, Cutie Tooties

          Food, Nutrition, and Health Tips for Kids

          Food Nutrition and Health Tips for Kids - great snack and meal ideas

          One of the biggest problems I have when it comes to my toddler and eating is that he doesn’t eat meals like I do. He would much rather snack all day then have large meals.

          So in order to get him to eat during the day I let him have small snacks every two to three hours versus a set breakfast, lunch and dinner. And because it’s so easy to grab a pre-packaged snack from the cupboard I needed to find some simple, quick, healthy snack ideas to keep him fueled throughout the day. [Read more…]

          Dog Beaches {San Diego Edition}

          San Diego is one of the best places to own a pooch. Not only are there a multitude of parks and play areas for dogs to go and socialize but there are also a lot of eateries you can take your dog to as well. There are even dog bakeries! San Diego dogs are some of the luckiest dogs in the US.

          We’re a family who loves the ocean and the beach. So when we adopted our coonhound, Scout, 7+ years ago we knew we had to scope out the dog-friendly beaches in San Diego right away. There were a few beach options we knew about right away but then as we started talking to fellow dog owners and we found that there were even more around to check out. I’ve even mentioned a few before. And now that Scout is without his buddy, Jetta, we have been taking advantage of having such wonderful beaches in our back yard.

          Below is a list of the dog beaches in San Diego. Do you have a favorite?

          Top Dog Beaches in San Diego

          1. Coronado Dog Beach
          Located in the picture perfect city of Coronado, the dog beach in Coronado is at the most northern end of the beach next to the Naval Air Station. Wide and sandy, with the Pacific surf and the Hotel del Coronado in the background, we’ve found Coronado’s dog beach to be the friendliest in town.

          located on Ocean Blvd. near Sunset Park.

          2. Fiesta Island – Mission Beach
          Most of this large sandy island in Mission Bay is designated leash-free for dogs. Lots of sandy dunes to romp in, and the calm bay waters lets the more adventurous dogs take a quick dip. There’s a semi-fenced off dog area as well to let the dogs romp safely without running into the one-way road. We’ve found Fiesta Island the best dog beach to exercise with our dogs at.

          (off-leash) – located in Mission Bay Park, dogs are allowed in all areas except for the Youth Campground and Least Tern nesting sites (seasonal). Daily 6:00 am – 10:00 pm.

          3. Dog Beach – Ocean Beach
          Located in northern Ocean Beach, Dog Beach is the original dog beach and one of the most popular places to take your dog. This beach area is located at the west end of the San Diego River Floodway, also known as the Ocean Beach Flood Control Channel.

          With a large amount of sand to run and frolic in, this is a large area for dogs to have fun at. This is also the best beach for your pooch to catch waves AND wade around in the calm(er) flood channel. And as always, beware of left-over accidents (most owners are conscientious about cleaning up after their dogs).

          (24 hr. off-leash) – located at the west end of Voltaire St.

          4. Del Mar Dog Beach
          A nice, low key spit of sand to let your dog roam in lovely Del Mar, but with limitations: the off-leash designated is seasonal only, so bring your dog without its leash only from September to June. Parking is also at a premium, and parking tickets flow freely in Del Mar (believe me… I’ve had personal experience with this).

          (October thru May off-leash) – located at Via de la Valle and Highway 101 at the rivermouth. Off-leash area is north of 29th St.

          5. North Beach Dog Beach – Oceanside
          While I’ve never been to this beach I’ve heard that it’s good for dogs who like strong surf. And it’s a great option for those a little farther north of the San Diego beaches.

          (24 hr. off-leash) – located on Ocean Blvd. near Sunset Park at the northern end of the beach next to the U.S. Naval Station entrance. Dogs must be leashed until you reach the beach. Foot shower and free dog litter bags at the entrance to the run.


          © A Crafty Spoonful - All Rights Reserved
          It is OK to use one of my photos provided a link back and/or proper credit is given. It is NOT ok to copy and paste a whole post including instructions. Please do not remove watermarks or alter images in any way. Please contact me with any questions at danielle@acraftyspoonful.com

          .