This easy tutorial on how to make a chocolate lava volcano cake will help you create the perfect dino-themed cake.
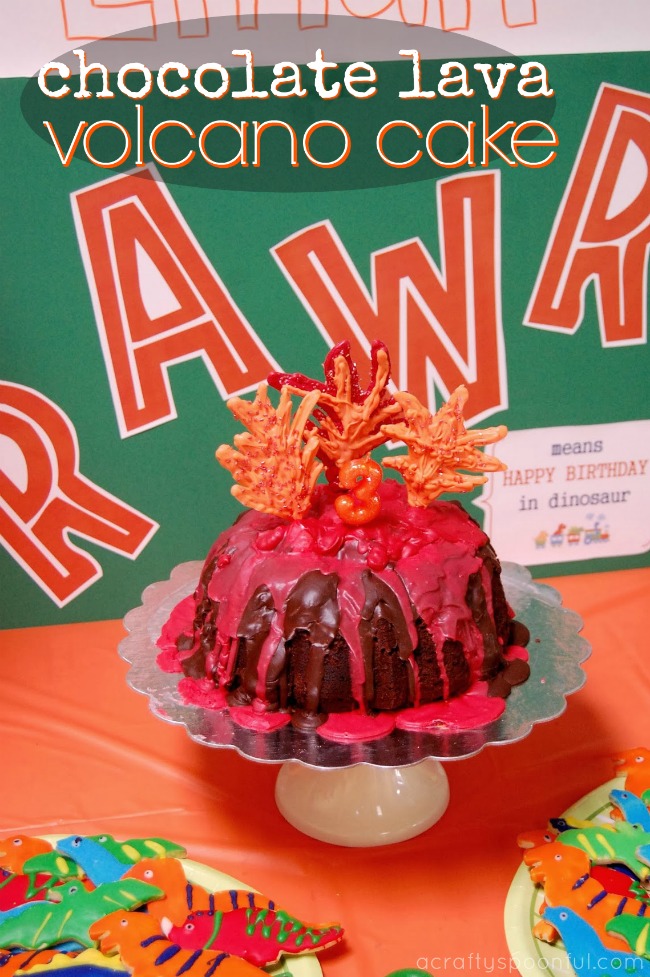
As you know, my son is OBSESSED with Dinosaur Train. It’s pretty much the best TV show ever according to him. So when we were planning his Dinosaur Train party, we knew we had to have a volcano cake.
Not only does this incorporate some of his favorite things (chocolate and volcanoes), it was the perfect centerpiece for our dessert table! Plus it was so easy to make. Just use our delicious devil’s food cake and bake up in a bundt pan then follow the instructions below.
You’re a few steps away from your own chocolate lava volcano cake!
Chocolate Lava Volcano Cake
Devil’s Food Cake
- 2 1/3 cups all-purpose flour
- 1 cup unsweetened cocoa powder, sifted
- 1 1/2 tsp. baking powder
- 1/2 tsp. baking soda
- 1/2 tsp. salt
- 12 tablespoons (1 1/2 sticks) unsalted butter, at room temperature
- 2 cups firmly packed light brown sugar
- 2 tsp. vanilla extract
- 4 eggs, at room temperature
- 1 1/2 cups buttermilk, at room temperature
Preheat an oven to 350°F. Butter and sprinkle the pan with cocoa powder (make sure you get every nook and cranny).
In a large bowl, sift together the flour, cocoa powder, baking powder, baking soda, and salt; set aside.
In another large bowl, using an electric mixer beat the butter on medium speed until smooth. Gradually add the brown sugar and continue beating until fluffy. Beat in the vanilla. Add the eggs one at a time, beating well after each addition.
Reduce the speed to low and add the flour mixture in three additions, alternating with the buttermilk and beginning and ending with the flour, beating after each addition.
Divide the batter between the prepared liners. Bake until a toothpick inserted into the center of a cake comes out clean, 55 to 60 minutes. Transfer the cake and let cool for 15 minutes. Turn the cake out onto a wire rack and let cool completely before frosting and decorating.
Chocolate Glaze
- 1/4 cup chocolate pieces, semisweet
- 1 tablespoon butter or margarine
- 1/2 cup powdered sugar
- 1 1/2 tablespoons milk
In a small saucepan, melt chocolate with butter. Remove from heat and beat in powdered sugar adding milk gradually until mixture is a pourable consistency. Immediately pour onto cake once it’s done.
To Assemble the Cake
- 1 cup large marshmallows
- 1 bag red chocolate candy melts
- 1 bag orange chocolate candy melts
- red and/or orange glitter sprinkles
- 3 round lollipop sticks
- piping bags or plastic bag
Move the bundt cake onto a cake plate and fill the center with marshmallows. Top the marshmallows with chocolate glaze and allow glaze to drizzle over the sides of the cake.
Melt 1/2 of the red chocolates and pour over the chocolate glaze to create the lava. Allow to drizzle over the sides of the cake and make sure to coat the middle where the marshmallows are. Let set.
While the chocolate is setting melt remaining red chocolates. Line your counter with wax paper and tape it down. Set the three lollipop sticks down spaced apart. These will be the flames of your cake. You can either free-hand the flames or print out a template and put the template under your wax paper.
When the chocolate is melted pour or scoop it into a piping bag and cut off the tip. Draw your flames around the lollipop sticks and make sure to coat the stick well. Leave about an inch at the end to stick into your cake. Top chocolate with some sprinkles to make them pop while the chocolate is still melted. Repeat with the orange candy melts until you get the desired look you want for your flames.
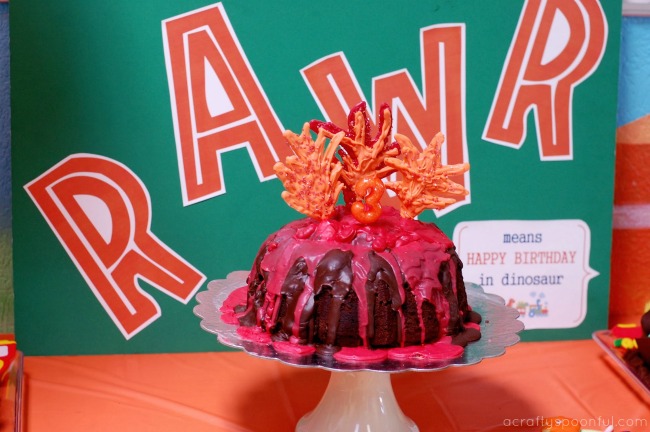
Once the chocolate has set (I waited about 1/2 an hour) you can stick the flames into the middle of your cake. Ta-Da! A chocolate lava volcano cake worthy of any prehistoric party.
Have you hosted a dino themed party? What was your favorite part?
Love what you read? Find more great dino-themed ideas below:
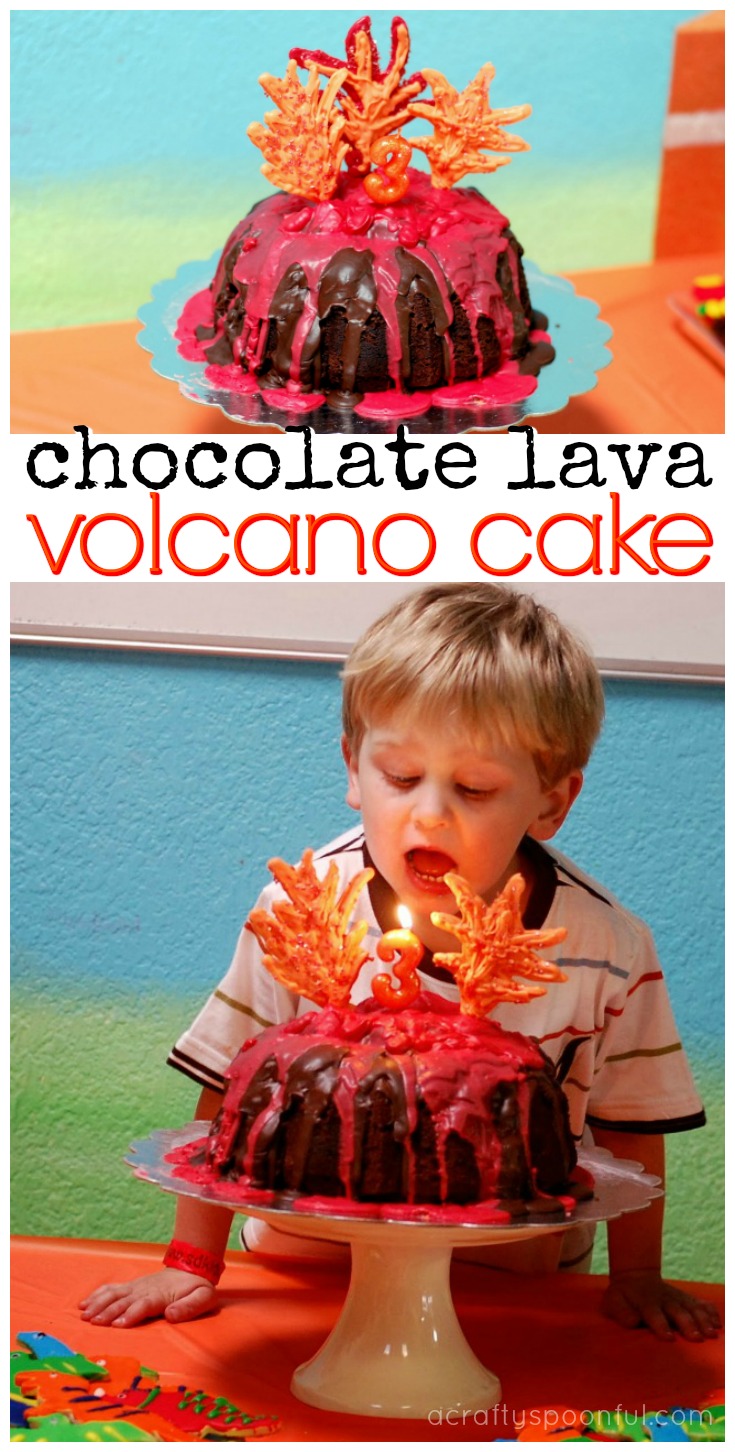
Pin this article for later!
Click the Pin button on the image below to save for later.


This sounds absolutely delicious. Pinned this recipe. Thanks for sharing.