
Sometimes having a nice, mess-free craft is fun. And a lot easier on mama! One of the best ways to keep painting mess free is to simply cover up the paint in plastic wrap and let the kids go at it. This no mess finger paint is simple, easy, and, best of all, FUN!
We love that this craft can be done indoors and outdoors so if the weather is bad we have an activity to do that won’t get too crazy. This can also be a great way to teach children about primary colors and what two colors mixed together will make.
DIY No Mess Finger Paint
What You’ll Need:
- construction or butcher paper
- fingerpaint
- plastic wrap
- tape

What you do:
1. Get your paints out and lay out a large piece of construction or butcher paper.

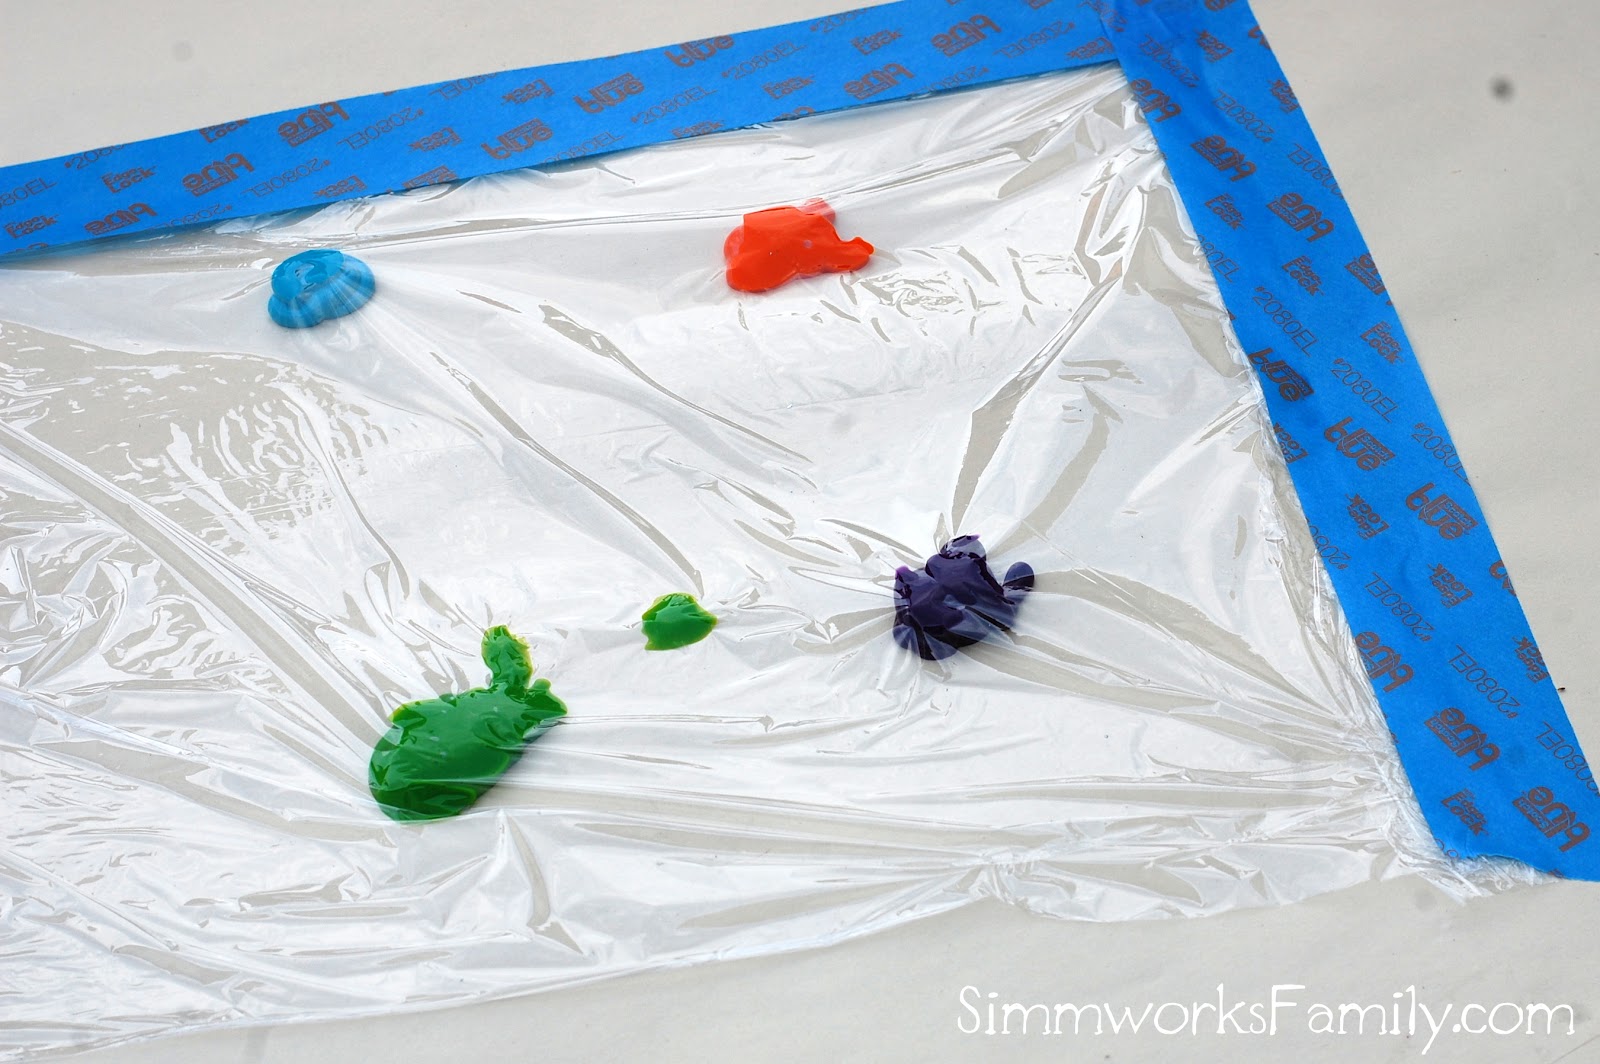
2. Add big globs of paint onto the paper.

3. Cover big globs of paint with plastic wrap and seal edges with tape. Make sure there are no gaps for the paint to sneak out of.
3a. Laugh as your children patiently wait for the non-messy craft
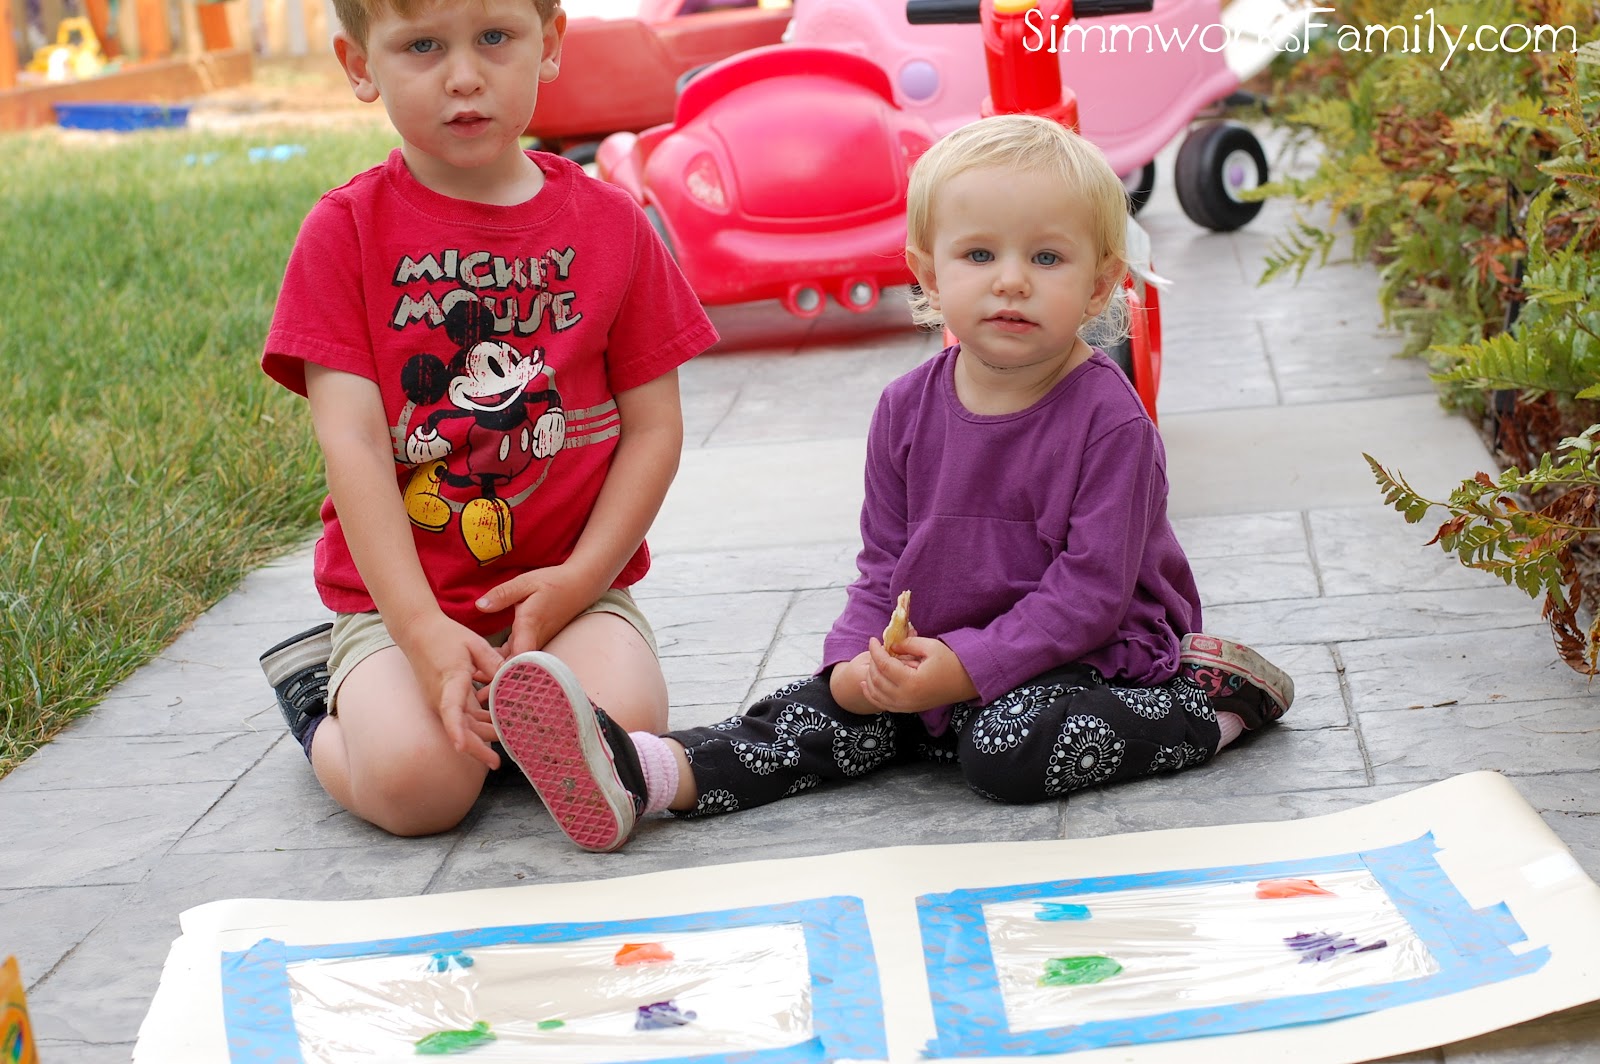
4. Start finger painting!

5. Encourage your children to spread the paint onto different areas and mix colors to see what two colors make!

6. If you’d like, peel off the tape and plastic wrap and throw it away. Then let the paint dry. Once it’s completely dry set it on display for all to see!

Need ideas on how to display your child’s artwork? Check out what I do with all of these crafts and let me know what you think!
How do you display your child’s masterpieces?


Speak Your Mind