
When we get ready for Halloween, decorations in our home are up there with Christmas. We decorate the whole house inside and out to celebrate for the whole month of October. Many of the decorations we use can be carried into November as well with a festive Fall theme but a few we make just for Halloween!
This Smarties Wreath is just that. The perfect celebration of Halloween and the excitement that each child feels as they go from door to door saying, “Trick or Treat!” This wreath is not only festive, it’s easy to make as well! You only need a few simple items to put it together and it takes less than 30 minutes to make!
As an added bonus, it only cost me $5 to make. The $1 Spot at Target has these foam wreaths and the Smarties candies are only $7.99 for a huge bag and I only needed 1/2 the bag to make the wreath. I had the ribbon on hand from the end of season sale last year. And the left over Smarties will be passed out to trick or treaters on Halloween!
Here’s how to make a Smarties Wreath
What you Need:
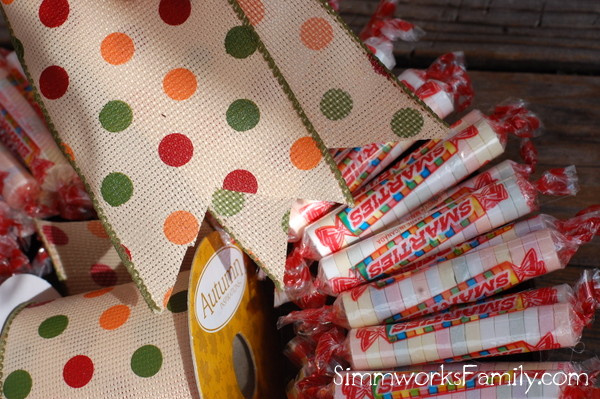
- 1 bag Smarties candies, in their wrapper
- 1 wreath (I found mine in the $1 Spot at Target)
- a glue gun with glue sticks
- wire ribbon

What you do:
1. Lay out your wreath and candies as your glue gun warms up (I recommend not having the younger kids help with this part of the craft due to the hot glue gun).

2. Start with a single row of Smarties first by making a line of hot glue on the wreath.
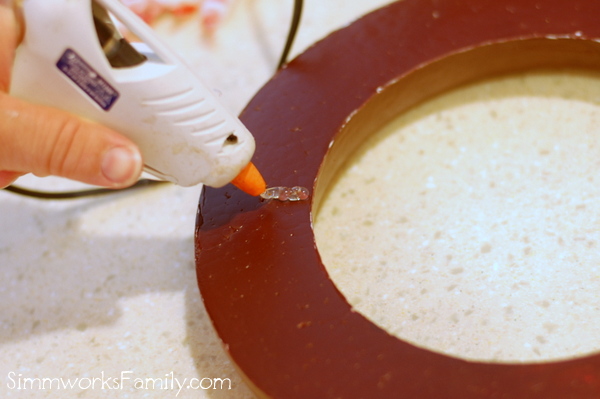
3. Stick the Smarties candy seam side down so that the candies are sealed shut.

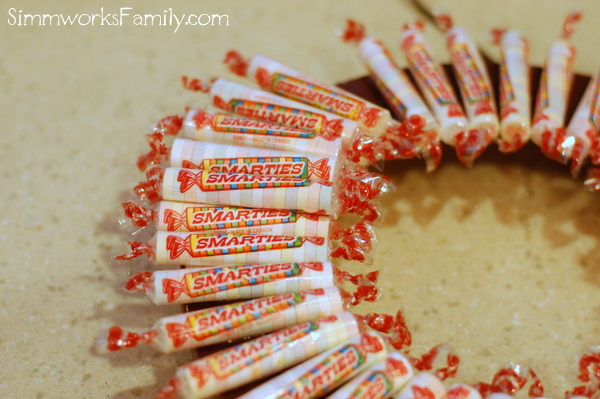
4. Continue to add Smarties candies all around the wreath. Make sure to leave room in between the candies on top so that the candies form a uniform circle around the wreath template. Make sure to leave a 1″ gap for the ribbon at the top of the wreath.
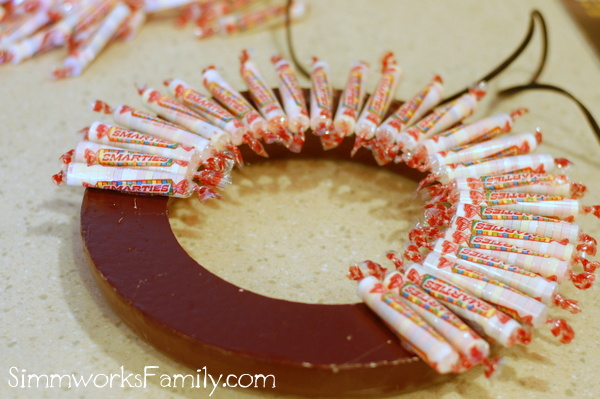
5. Once the first layer is done, it’s time to start the second layer to fill the gaps.
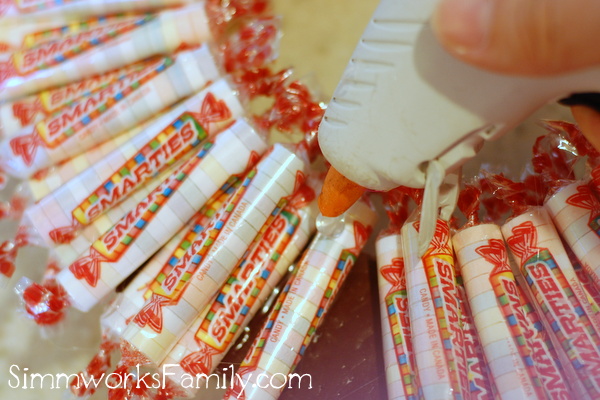
6. Add a dab of glue to the center of the gap. Then add a dab of glue to the other end of the Smarties candy on the seam side. Firmly press down so that the glue adheres to each side of the Smarties candies next to it.
7. Once the Smarties candies are adhered to the wreath, measure out some wire ribbon in a coordinating Fall color.

8. Cut the ribbon to length.

9. Take both ends of the ribbon together in your hand and fold in half lengthwise.

10. Using the scissors, cut the ribbon ends at an angle to create a v-cut.

11. Once the ends are cut it’s time to tie the ribbon onto the wreath!
12. Wrap one end of the ribbon around the gap at the top of the wreath once.

13. Making sure that the ends are even in length, tie a simple knot to secure the ribbon to the wreath.

14. Hang on your door and enjoy all season long!

And remember, Smarties isn’t just the perfect candy to make a cute wreath, they’re also the perfect candy to hand out this Halloween! They’re low fat and gluten free! Not to mention that kids love them.
Stay tuned for more Smarties fun soon!


Unbelievable! I love it – so creative!
What a wonderful idea. I never would of thought to make a wreath out of smarties.
I love this! I’ll have to try this with my son! 🙂
What a Cute Idea! I love it!
What a fun and cute idea! You are so creative Danielle – I want to have a craft night with you!
how adorable–great and easy craft idea!! love it==thanks for sharing 🙂
So cute!!! I never thought to use Smarties for a wreath, what a great idea! Did you have any issues with the ends untwisting?
Thanks for sharing!
Simply brilliant!! I want to make one now….problem is, I might end up with a smarties wrapper wreath instead! I can clearly picture my husband taking some of the candy to work…Hmm.
What a neat idea. I would be the one eating all the smarties off the wreath though and blaming it on the kids, lol. great job.
Love the idea! It is super cute and would be great for spring time also due to the colors!
This is super cute! I think I will have to make one!
@Jenny Fortner
Nope, the ends haven’t unraveled at all!
@BabyBumpBeyond
Great idea! I think this would be a great wreath for a classroom too.
Super cute! I saw this on pinterest and didn’t realize it was yours!
This would be uber cute for a school or classroom!
-Heather
That is so clever!
I can’t get over how damn crafty you are! 🙂 I actually have a bag of smarties left over from the “back to school fairy” but that’s about as far as I would get with this project.
So clever, Danielle! Great idea!