![]()

When I started to put the final touches on my home office and craft area I knew I wanted to add some personalization to the space to really make it mine. I scoured over Etsy and other designers to find the perfect wall art but nothing screamed me. So I decided to put my creative skills to the test.
What I came up with was how to make subway art on PicMonkey! Not only did I get to personalize the words to what I wanted my space to reflect, it cost me nothing. Well… besides the monthly fee I’m already paying for the premium services.
Below is a step-by-step tutorial on how to make subway art on PicMonkey so you can create your own artwork to hang up!
How to Make Subway Art on PicMonkey
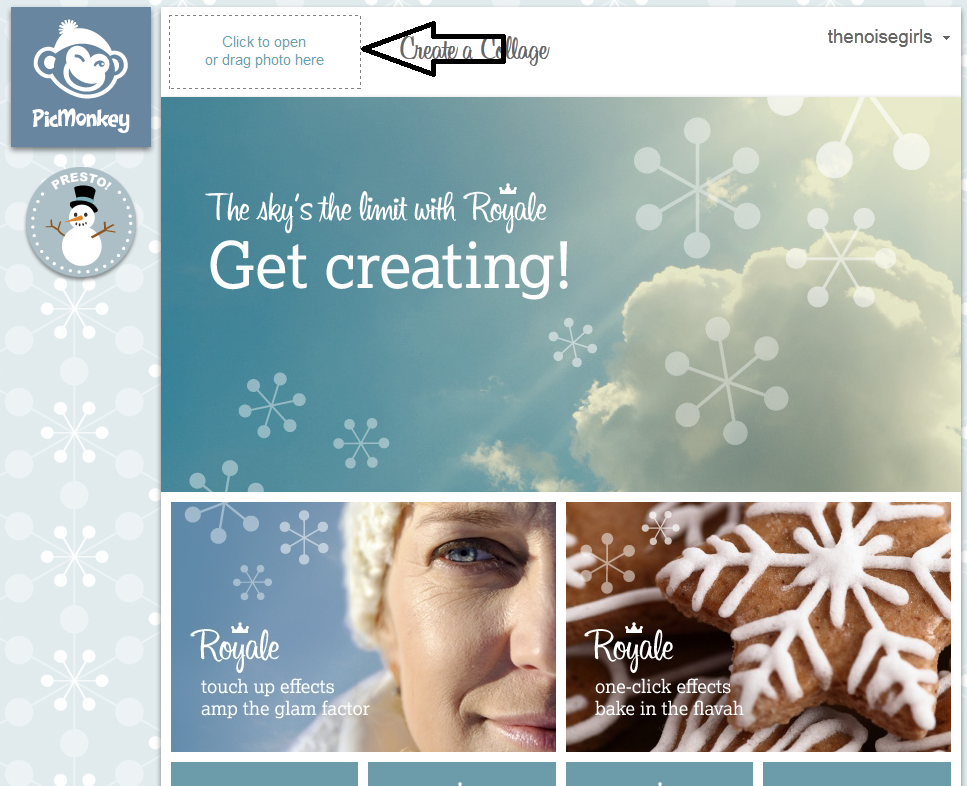
When you head over to PicMonkey click on Create a Collage. We’re going to create our template first before adding our words.
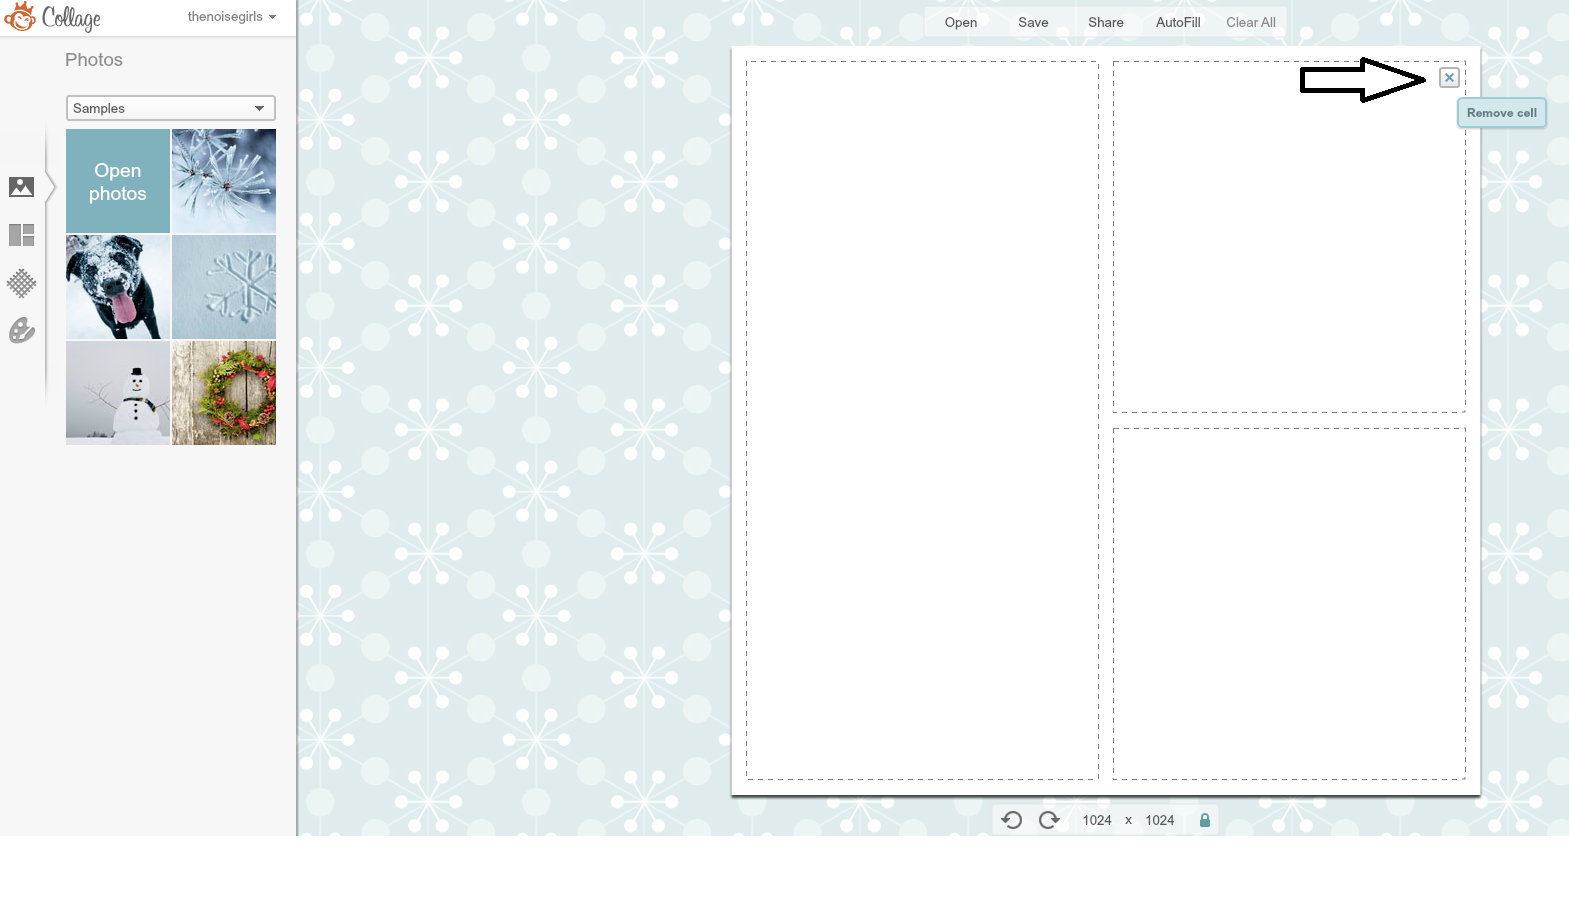
1. Delete all but one cell from your collage.
2. On the left hand side click on textures (diamond grid icon). Choose a texture.
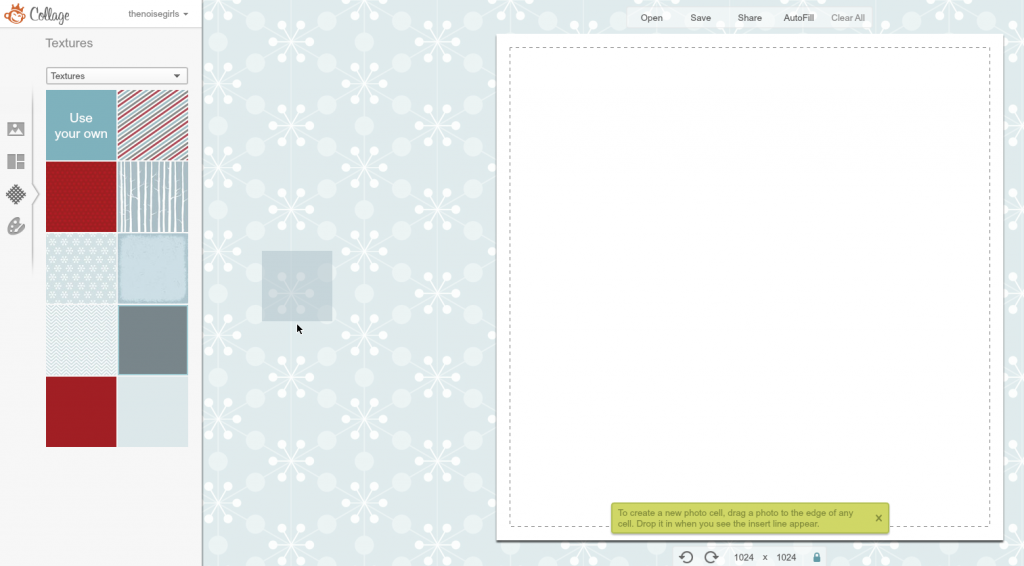
3. Drag the texture to the cell.
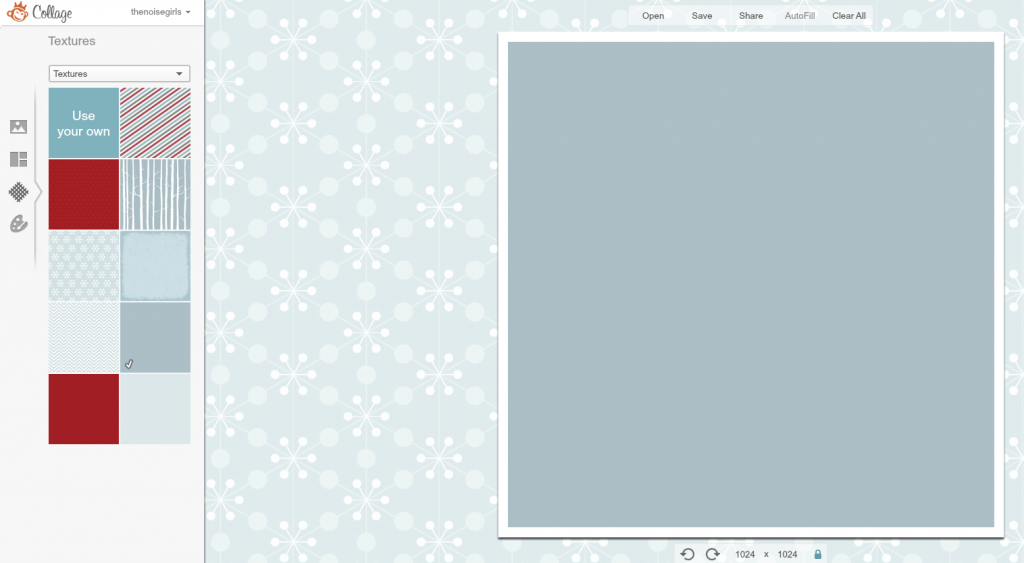
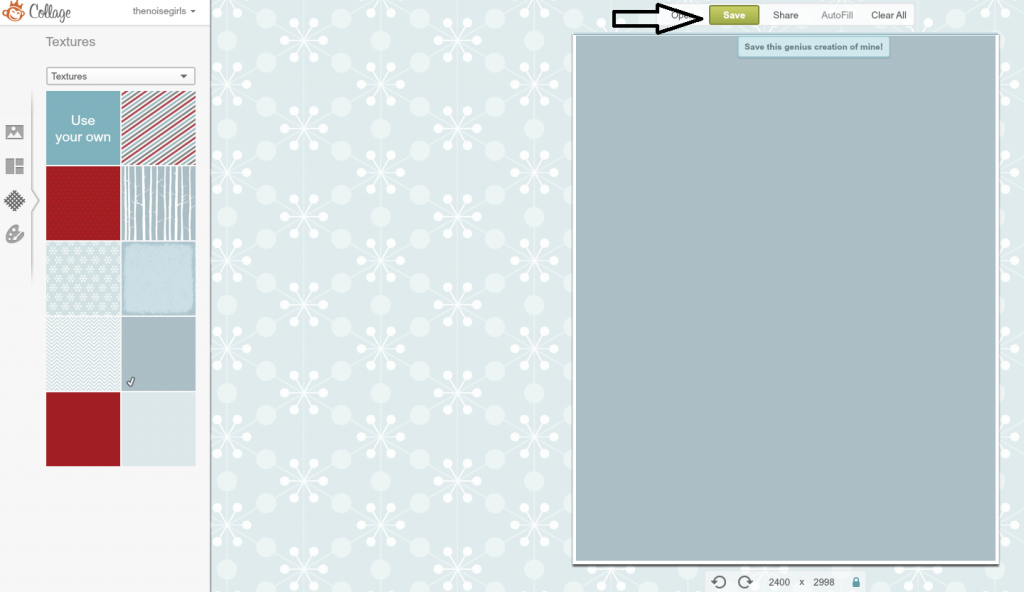
4. Resize the cell to match the resolution and size you want to print your photo. For an 8×10 photo it’s suggested to use a 2400×3000 pixel ratio.

5. Save your re-sized template. This will be the base of your subway art.

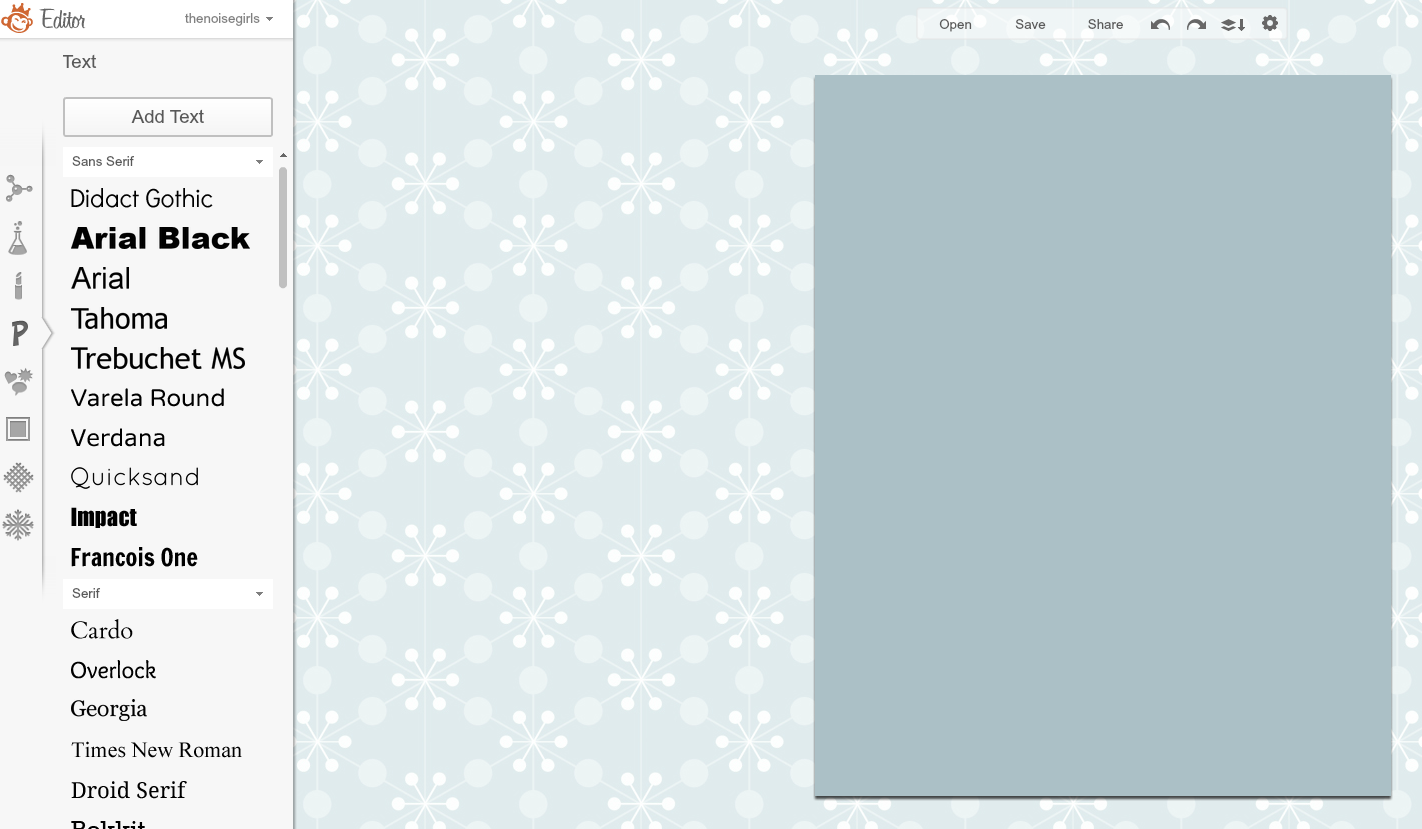
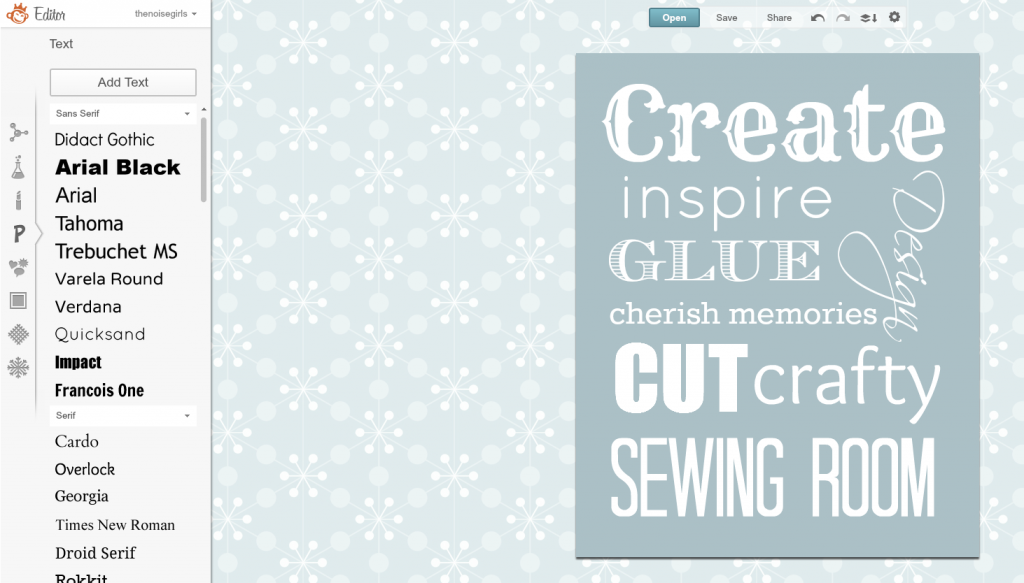
6. Now that your template is saved, go to Edit a Photo and open it up.
7. Using the words you want to display on your subway art, start adding different words and fonts to your page.
8. Play around with different sizes and colors to get the look and feel you’re going for. Remember that you can also turn words vertically if you prefer.
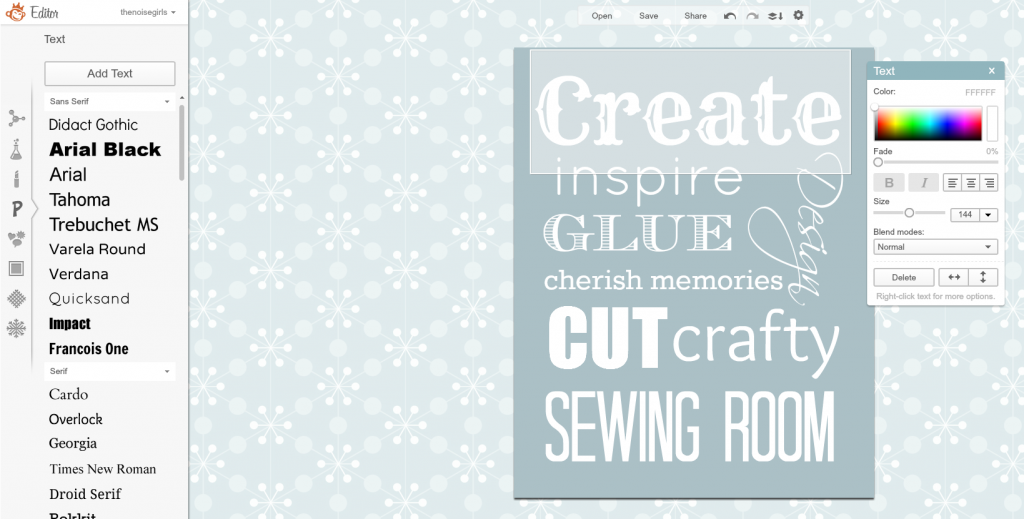
9. Once you’ve added all of the words and have them aligned the way you want, make sure there’s a nice 1/2 inch boarder around the wording to make room for framing.
10. Print out your subway art, frame it and enjoy!
Have you created subway art before? What was your focus or keywords?
Looking to play more with PicMonkey? Here are some fun projects to try out:
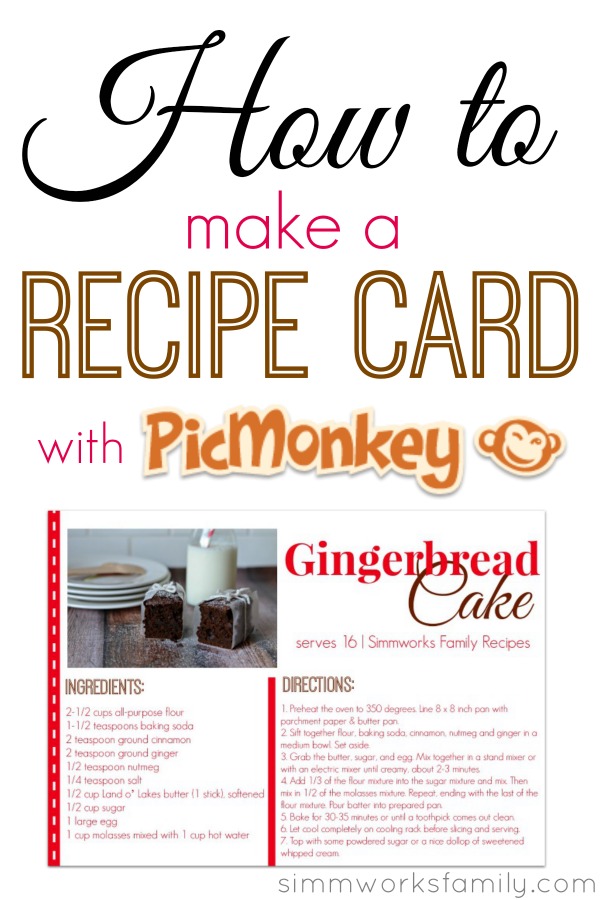
How To Make A Recipe Card With PicMonkey

How to Make Valentine’s with PicMonkey
Disclaimer: This post is contains affiliate links


This is SUCH a great idea! I can’t wait to try it! It would also be cute as a birth announcement or birthday card by adding the date the person was born and their name. So many ways to use it now that I see how easy it is!
Totally! I see many possibilities with this. Have you seen the dating anniversary, engagement date, and wedding anniversary ones? This would be great for those as well.
Love this, thank you! I love Picmonkey and love all the subway art I see so I am going to try this for sure! <3
I LOVE Subway Art! Thank you for the AWESOME tutorial!
Great tutorial! I’m certainly going to use this one a lot. Thanks for sharing.
Love the tutorial! Very helpful for adding a personal touch to Subway Art!
This is so inspirational, I would have never thought of doing this project on my own and you made it super-simple… thank you 🙂
I’ve seen so many great pins of Subway Art and so wished I could do this – I use Pic Monkey ALL THE TIME – EASY and PERFECT! I’m pinning this for sure!
What a cute way to do some fun art! I love using pic monkey!
It turned out lovely! I love Pic Monkey! Thank you!
I absolutely love Picmonkey, but would have never thought to do this. Thanks for the inspiration! I think I might make one that is inspirational for my desk.
What a cool idea! It’s a great way to incorporate inexpensive art into your home or office.
Great tutorial! Thanks!
Thank you so much for posting this!
I was worried at first, because you mention that you pay for the premium service, but I was able to create a subway art-inspired flyer using the free service.
Thanks again!
Thank you, thank you, thank you! I’ve always wanted to know how to make my own and now I can! I just made a special anniversary gift for my husband using this tutorial and totally love the result. Thank you so much for sharing!
Thank you for this tut! I just made some subway art for all my sisters bdays this year! (my goal is to stay on top of the game with birthdays this year!!)
Awesome! Great gift idea. I love how easy it is to make these and how versatile the site is as well.
Thanks Danielle for this super helpful tutorial. I love PicMonkey, this is such a great help.