
December is finally here and that means Christmas is literally weeks away. I love to decorate my home using my Cricut machine and being able to add such personality into my project is always a plus.
Today I’m sharing this DIY Cricut Christmas Leaf Wreath tutorial using a variety of Glittered Paper and Christmas Paper. Not only is it super easy to make, but it’s also one of the free designs that can be found in Cricut’s design space.
Hang it on a door, a wall or even the fridge and watch your guests stop and ask where it came from. This project was affordable and best of all so easy to make it’s even great to get the kids involved. Hope you really love this tutorial and will venture off to make your very own. It’s perfect for any place in the house!
DIY Cricut Christmas Leaf Wreath Tutorial
What you need:
- Cricut Cutting Machine
- Cricut Scoring Tool
- Citrus Leaf Wreath File
- Plain Cardstock
- Glittered Paper
- Christmas Patterned Pattern
- Tulle/Bow (Optional) for final embellishments
- Double Sided mounting tape
What you do:
1. Head over to the Cricut Design Space and grab the Citrus Wreath File for free. It can be found under free projects but I have provided a link to make it easier to find. Select Make it now to be redirected to the project screen. The thing I love about the Cricut is the project is already set to be cut. It’s formatted in the perfect size and gives you a preview of the final look of the project.
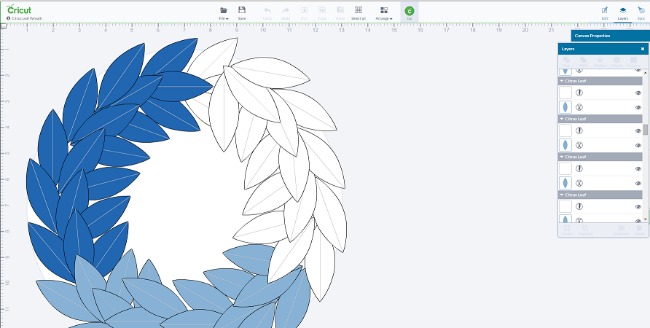
2. This project is going to cut out 54 individual leafs and add scoring lines so you can fold them down the center to give your wreath some dimension. You have the option of changing the canvas size but I kept mine on the standard 12” size for the perfect fall wreath.
Tip: The Cricut machine can only cut 12” wide so anything bigger than this will not be able to cut out.
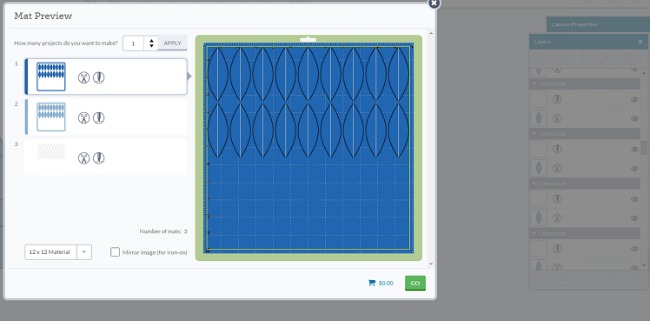
3. When you’re happy with the size of the project click the Green Cricut Button to head over to the cut settings. You will select Cardstock on your Cricut cutting machine by turning the dial. Apply your cardstock one piece at a time to the Cricut cutting mat and load into the machine.
Once loaded you will go through steps to ensure the correct material is selected and your material is loaded. Once everything is good to go you will select the Cricut button on your machine and let the cut begin. After each mat unload the cardstock from your machine and remove your pieces from the mat and repeat these steps for the remainder of the project. You will do a total of 3 cuts on 3 different cardstock papers to achieve your ombre Wreath effect.
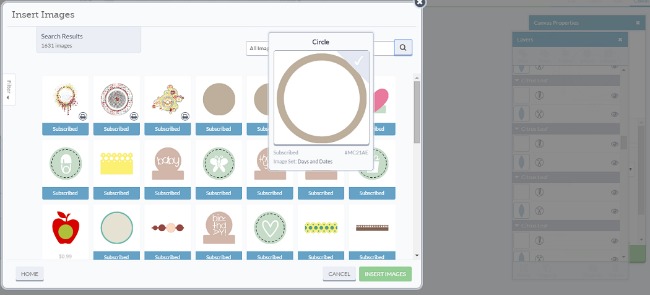
4. One thing this project is missing is the actual wreath backing to attach the leaves to. I selected new image and drew a circle that was 12” wide and sent to cut out. After I cut out the wreath formation I set the circle aside to save for another project another time. Once your cuts are made it’s time for the assembly.
5. To assemble my leaves to my wreath backing I added 3 double sided mounting squares 3 across and removed the sticker backing. Once the backing was removed I laid my leaves down 3 across and continued these steps until the entire wreath was done. I used a total of 50 leaves out of the 54.
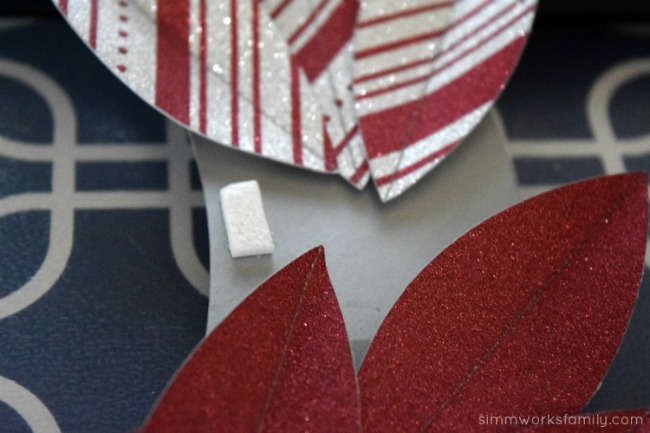
To achieve the “ombre” look you’ll want to gradually start your color sections one after another. This project was so easy to create and took a total of 20 minutes from start to finish. Aside from Christmas this would be perfect for all Holidays!


Speak Your Mind