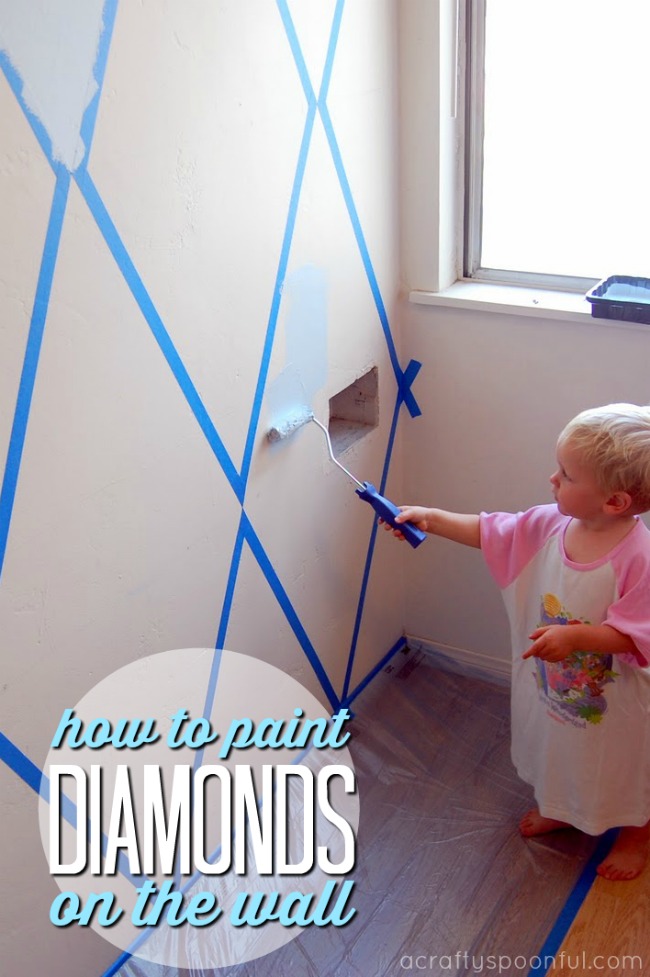
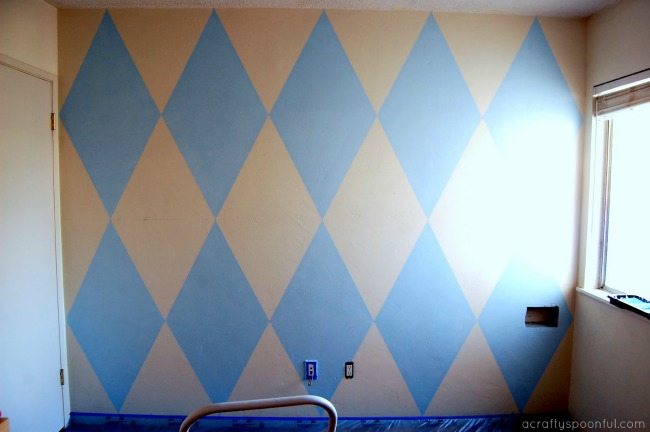
We’re sharing one of our nursery ideas with this tutorial on how to paint diamonds on a wall. It’s the perfect backdrop for our daughter’s crib and really completes the new nursery.
My husband asked me as we were moving out the large desk/bunk bed what I wanted to do with the wall in our future daughter’s nursery… how I wanted to paint it. I said I just wanted to paint it blue like I told him before.
He then asked if there was any certain design or style I wanted to do like in my son’s nursery (he has yellow and green stripes on one wall). Then he suggested diamonds.
He quickly realized how much work it would be to paint on diamonds and decided he was going to look for wallpaper instead. We really didn’t have time to special order anything so we took a trip to Lowes, Ikea & Home Depot to see if they had anything in stock.
Lowes had about 5-6 styles in stock but nothing that screamed our theme so we moved on to Home Depot. Home Depot carries no wallpaper whatsoever. I even called Ace Hardware and they don’t carry any either. But we did find a dresser at Ikea for the nursery so it wasn’t a complete failure of an outing.
So…
I told Joseph that I just wanted something done this weekend and I really, really, liked the diamond idea. So we bought some blue masking tape and were out of Home Depot. And I have to tell you… diamonds were definitely the best choice! I LOVE how the wall turned out. It’s the perfect backdrop for our daughter’s crib.
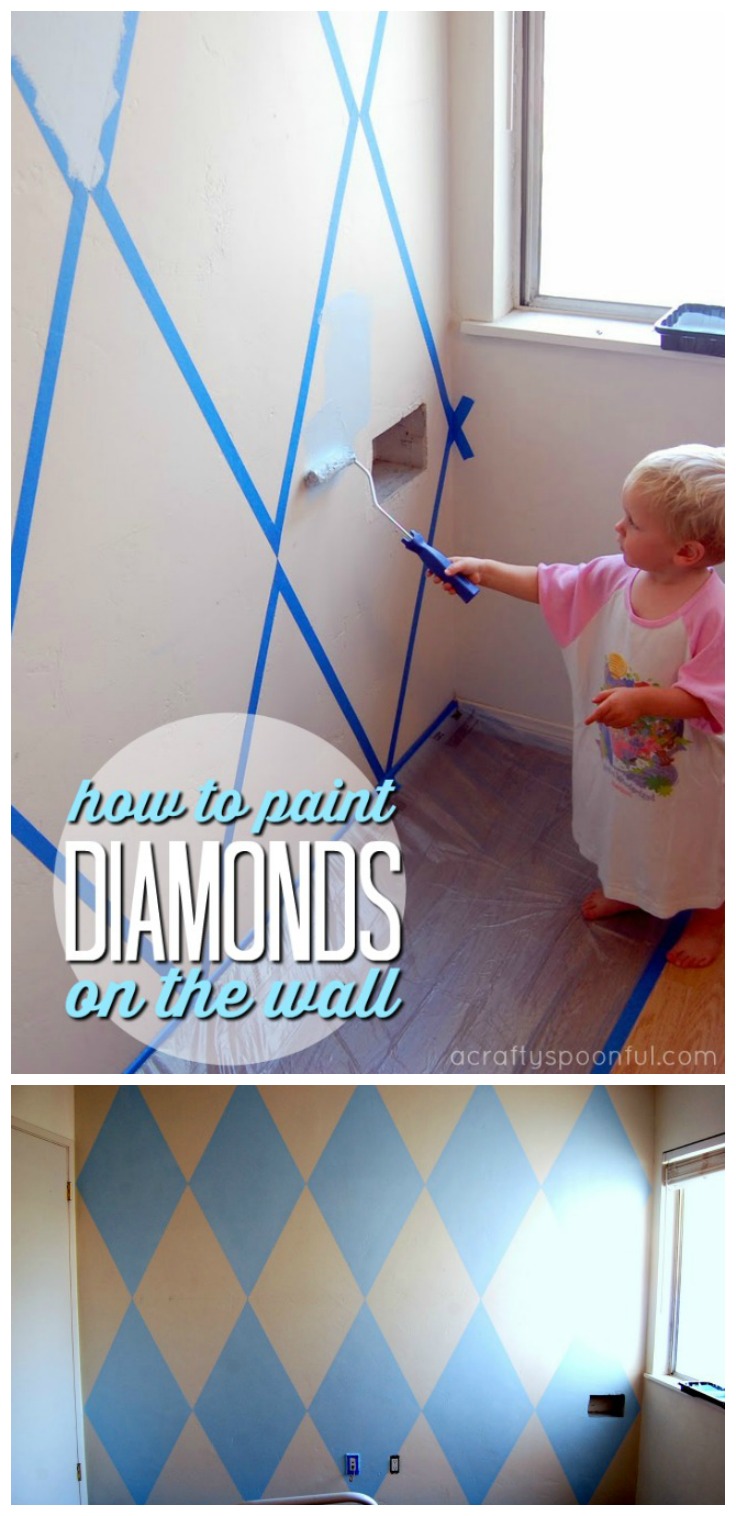
How to Paint Diamonds on a Wall
What you’ll need:
- painter’s tape
- box cutter or razor
- pencil
- drop cloth
- paint
- 12″ roller brush
- 6″ roller brush
- paint brush
- 2 paint colors – 1 neutral, 1 accent
What you do:
1. Prep your workspace by covering any furniture and wall fittings. Remove faceplates for outlet plugs and light switches and use tape to cover outlets and switches. Tape off the baseboard and put drop cloth down to protect the floor.
2. Using the 12″ roller brush, paint the wall with your base color. We used a neutral ecru shade. Let dry for 24 hours.
3. Measure the wall and find the very center. Mark with a pencil. Measure out the size of the wall from the middle point and find out how many diamonds will fit. This may take a little finagling but is important in making sure the diamonds all look uniform and fit nicely.
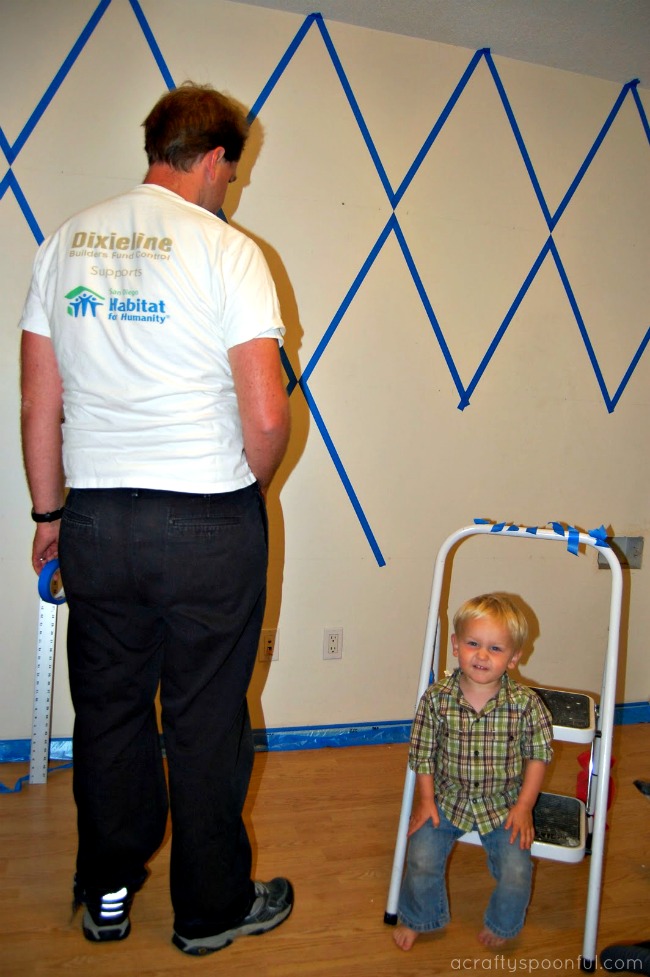
4. Once you’ve measured out the wall, use those measurements to start marking where the tips of each diamond will go. Then use the tape to connect the marks. Make sure that the wall is clean and first coat is completely dry before taping. Use a credit card to make sure there are no bubbles or gaps in the tape on the edges.
5. Using a pencil, mark where you should paint the accent color so there’s no confusion with what diamond needs to be painted and what stays the neutral color.
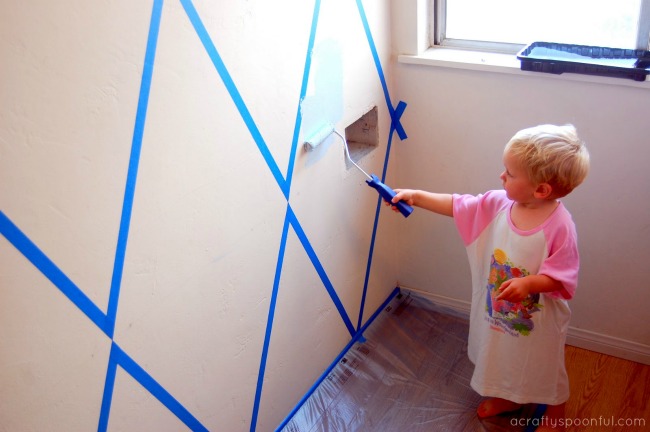
6. Using a 6″ roller brush, brush on the accent color on all of the marked diamonds. Let dry for 2-4 hours, until paint is dry to the touch, then remove tape from the walls.
7. Let dry completely before adding any artwork to the walls.
What is your nursery’s theme? Have you had to paint diamonds on a wall?
Like this post? Read more!
- Alice in Wonderland Nursery Ideas
- Jungle Themed Nursery Ideas
- Shared Bedroom Ideas for Brother and Sister
Pin this article for later!
Click the Pin button on the image below to save for later.


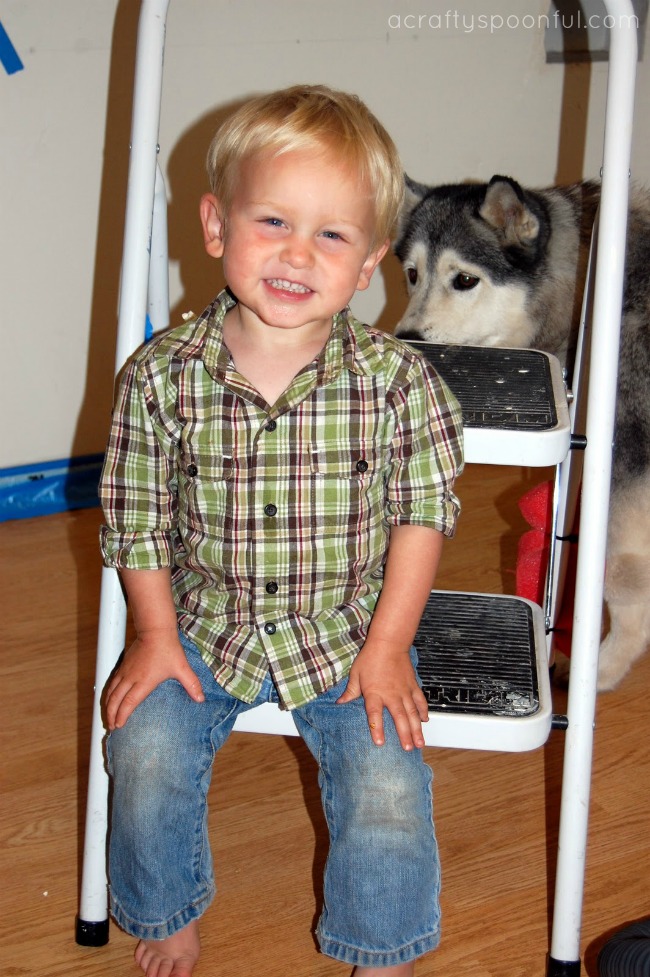
Looks fantastic! E will love the photos of him helping paint lil sis’s room. So cute!
Love it!
love it!!! also can’t get enough of E’s painting outfit / hahaha. miss you guys! xo