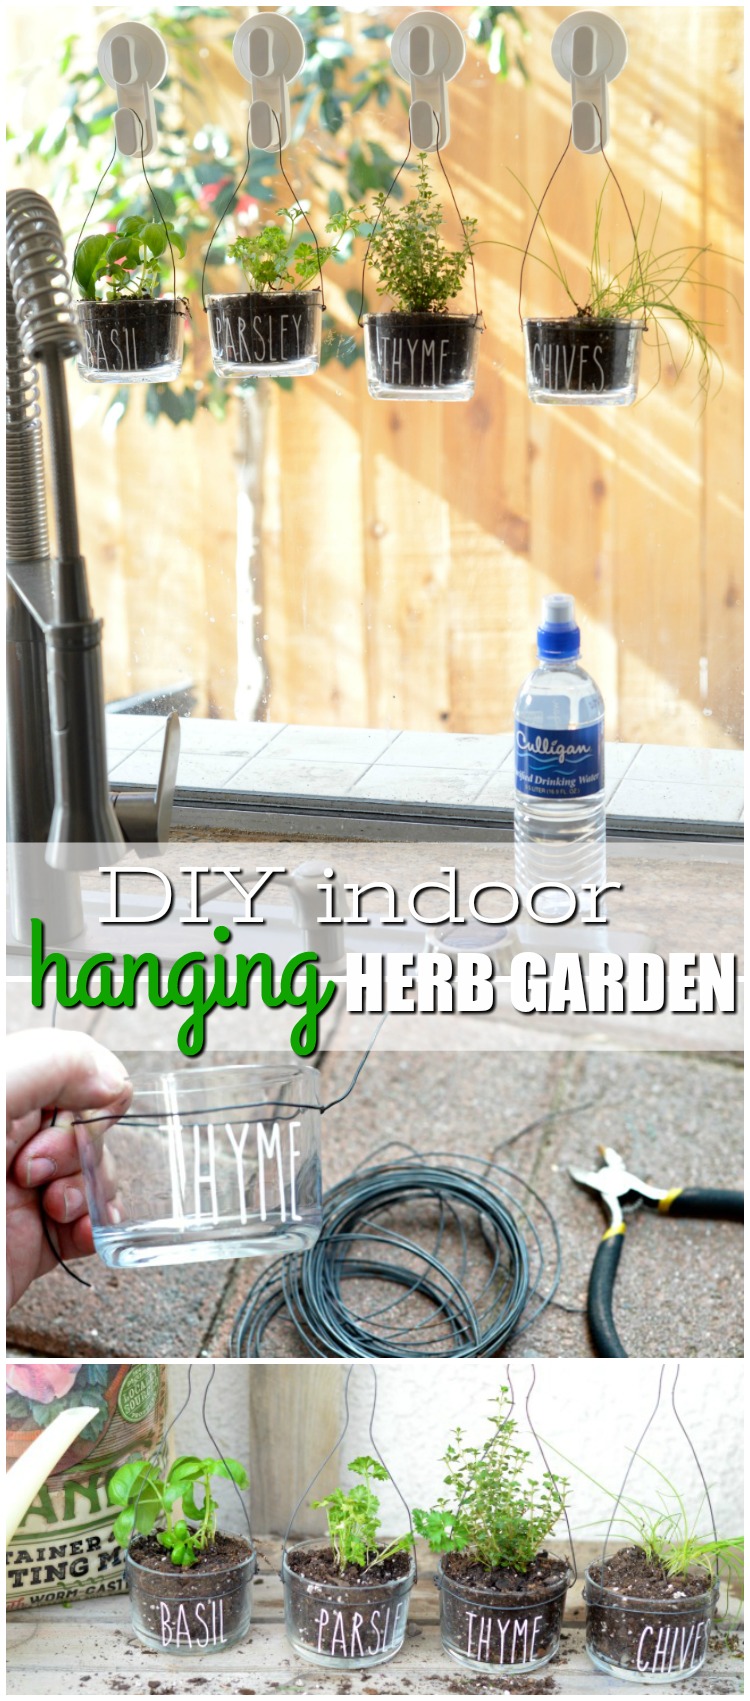
This DIY Indoor Hanging Herb Garden is the perfect way to bring the garden indoors! Plus you’ll have fresh herbs for whatever you’re whipping up for dinner. This post was sponsored by Culligan Water as part of an Integrated Program for Influence Central and all opinions expressed in my post are my own.
Water is the one thing that makes the world go round. And filtered water is something we can’t live without. As a busy mom of 3, I am constantly filling up water bottles at our fridge or turning on the tap to make dinner. And all of that water usage had me thinking… are we drinking the best water we could be drinking? The answer was no. And I’ll tell you why… while we had an under the sink water filter, it wasn’t pulling out everything it could be to ensure that our water was safe to drink.
We live in Southern California. We’re known for our droughts and lack of water. So any water we do have is usually brought in from another source. Our source? The Colorado River. Since our water comes from so far away, it has quite a journey to reach us. and that means there’s more chance of contaminants leaching into our water supply. Being able to ensure that we get those contaminants out of our drinking water was goal #1 for me. The second goal? How our water affected not only drinking but other water usages like showering, our garden, and our pets.
Luckily we were asked to check out Culligan’s Water Filtration System. We just had the ClearLink PRO installed in our home.
Stay tuned for a follow-up post sharing how Culligan has positively impacted our daily usage of water. As of now, while we’re still testing the system, we thought it’d be fun to share how we can bring the garden indoors and add a bit greener to the meals we’re making with the help of a DIY indoor hanging herb garden. Here’s how!
Changing How We See Water
We knew our home needed a few updates to our water filtration system. We previously used an under-the-sink filter for our tap water as well as another filter in our fridge for the water that came out of the fridge door. But one in-home consultation with a Culligan expert showed that even these filters we had in place weren’t taking out everything we wanted to keep out. With water playing such a crucial role in our daily life – being used in the food we make, the water we (and our pets) drink, and what we use to water our own edible garden – a few changes to our water filtration system was a must.
Culligan’s goal is to provide water that its customers can trust and offer the best possible customer service experience out there. With over 80 years of water quality and service industry experience, they strive to help individuals identify their water issues right in their home – whether that be hard water, water filtration or taste of their water. After our in-home consultation, our new Culligan Water Filtration System was installed. And with the push of a button right by our sink, fresh and filtered water comes right out of our faucet. The system is so easy to use that even the kids can get their own filtered water from the sink. We also had a filtered water line run to our fridge as well.
Now that our system is in place, we’ve been enjoying the perks of filtered water. We’ll be sharing our full journey from start to stop in our next post featuring Culligan so stay tuned. Now for our tutorial on this easy to make DIY Indoor Hanging Herb Garden!
Easy to Make Indoor Hanging Herb Garden
What you’ll need:
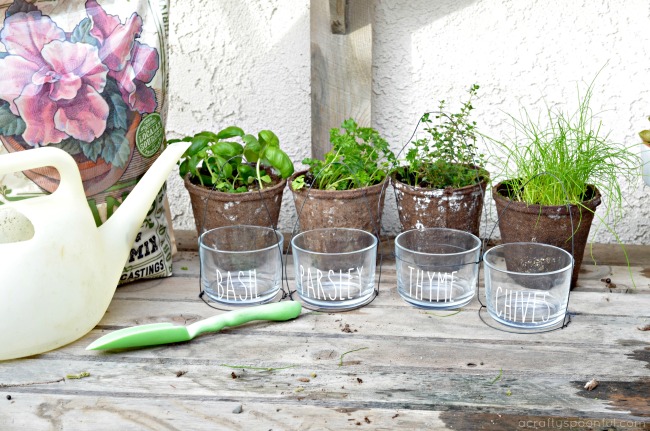
- Glass containers
- Wire
- Wire cutters
- Window hooks
- Labels
- Small rocks
- Soil
- 4″ herbs OR seeds
- Water
What you do:
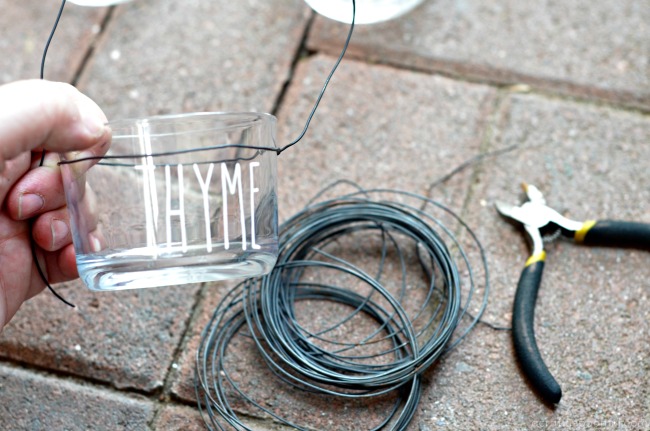
1. Wrap the wire around your container to form a circle. Connect the wire to itself tightly so that your container is secure in the wire. Don’t cut the wire just yet.
2. Make an arch with the wire over the glass container.
3. Once you have the arch length you want, cut the wire leaving about 1 inch to attach it to the other side.
4. Once you’ve secured the arch to the other side of the wire circle, make sure the wire is still securely around the glass container and can be lifted safely without the container falling out.
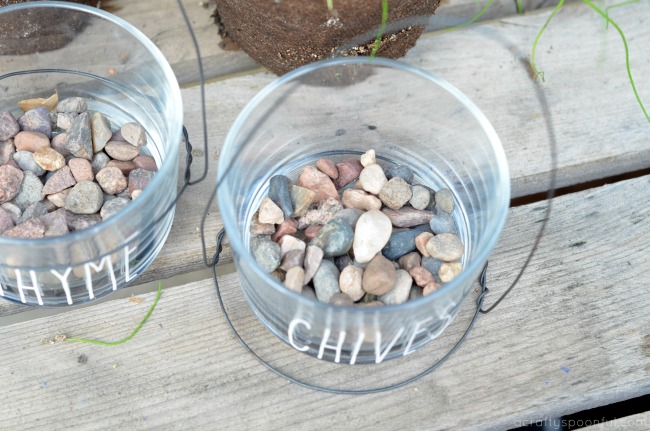
5. Fill the bottom of the containers with about 1/2 an inch of small rock to provide drainage.
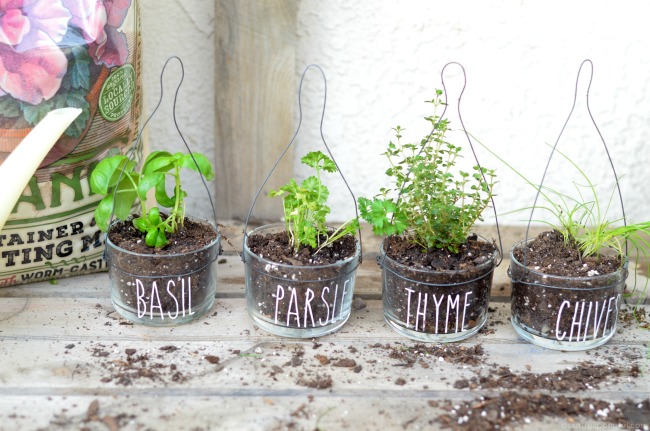
6. Top the rocks with soil up to about 1 inch from the top of the container and dig a well for the herbs. Add some filtered water to the bottom of the dirt well.
7. Add the herbs to the container on top of the water and make sure the roots are buried/covered.
8. Sprinkle a bit of vegetable food on the surface of the dirt by the herbs and then water again with filtered water.
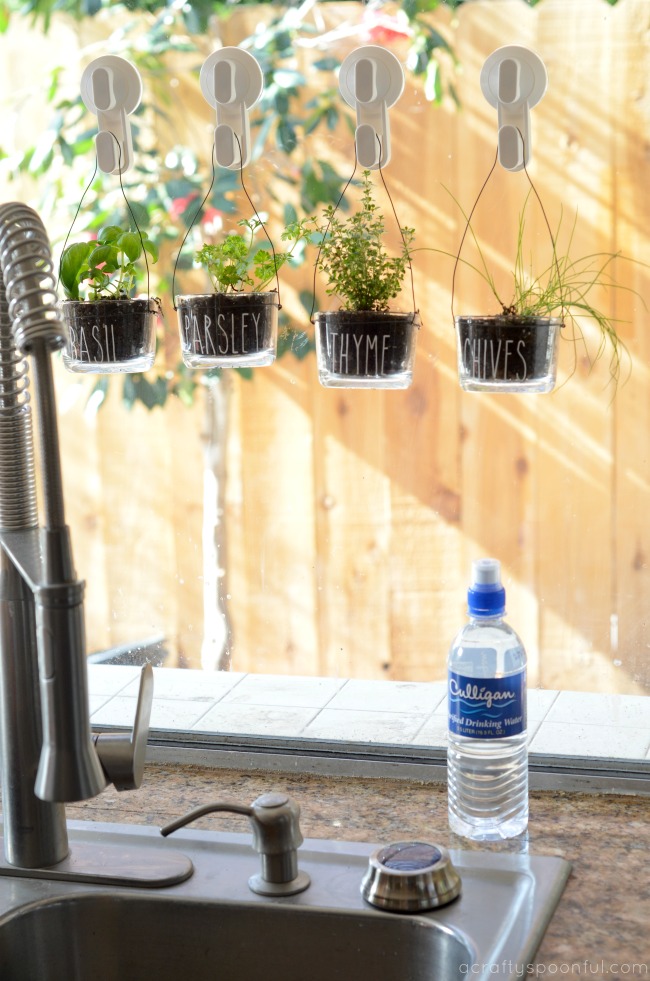
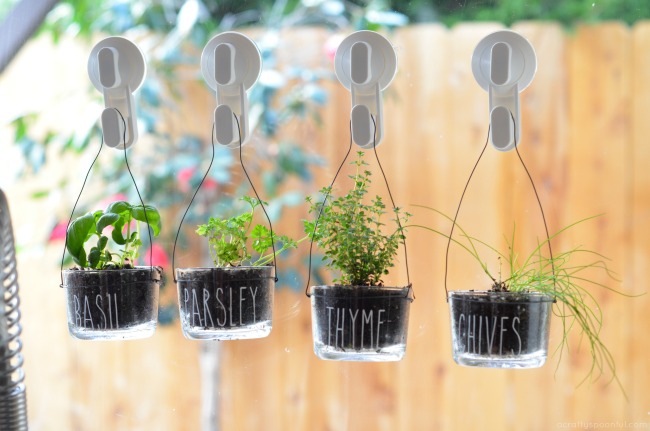
9. Place the window hooks in the window where you want the containers to hang. Find a place that will get sunlight during the day.
10. Hang the herbs up in the window and watch them grow! Snip off what you need for meals in the kitchen as you cook.
Water plays an important part in our everyday lives. Being able to have the kids go to the sink and fill up their water bottles, or fill up a watering can, and know that the water they’re drinking and using is water we can trust means a lot to our family. And now we can say that every day is a “Good Water Day” with Culligan! Stay tuned for our next post where we go in-depth into our experience with Culligan Water!
How are you making healthy touches in the kitchen?
Love this idea? Check out these other garden-related posts!
- Great Tips for Gardening with Kids
- Creating a Beautiful Butterfly Garden
- Succulent Fairy Garden Gift Idea
Pin this article for later!
Click the Pin button on the image below to save for later.