Yes, I know Halloween is right around the corner and I haven’t even finished my son’s Minecraft Spider costume, but my mind is skipping over to Thanksgiving already and I’m planning out our Thanksgiving meal. In addition to planning out the meal, I also want to include a few handmade crafts and decor ideas to the table and home to create a festive time for everyone! I’m already eyeing those rice krispy treat corns and our pinecone turkeys for the kiddy table dessert.
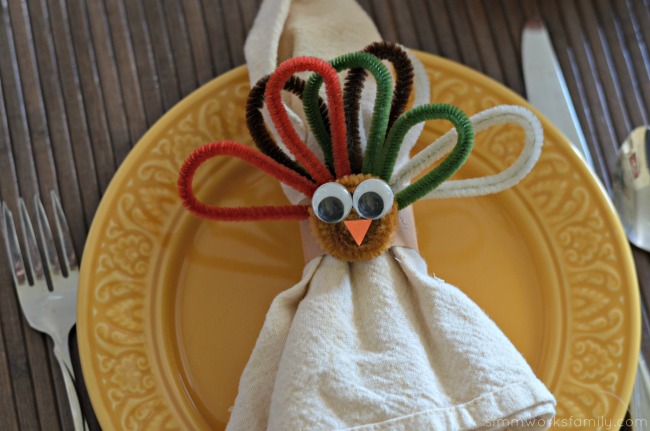
A few years ago we also had great response to our turkey napkin rings as well. They aren’t just for the kiddy table either! The adults enjoyed them as well.
We’re also going to help set up a fun Thanksgiving meal for my son’s school so we’ll be using a few of these crafts as things the kids can do after their party. Keeping things simple and creative will make them even more excited about what we have in store. Plus their parents will have a cute momento from that year’s holiday.
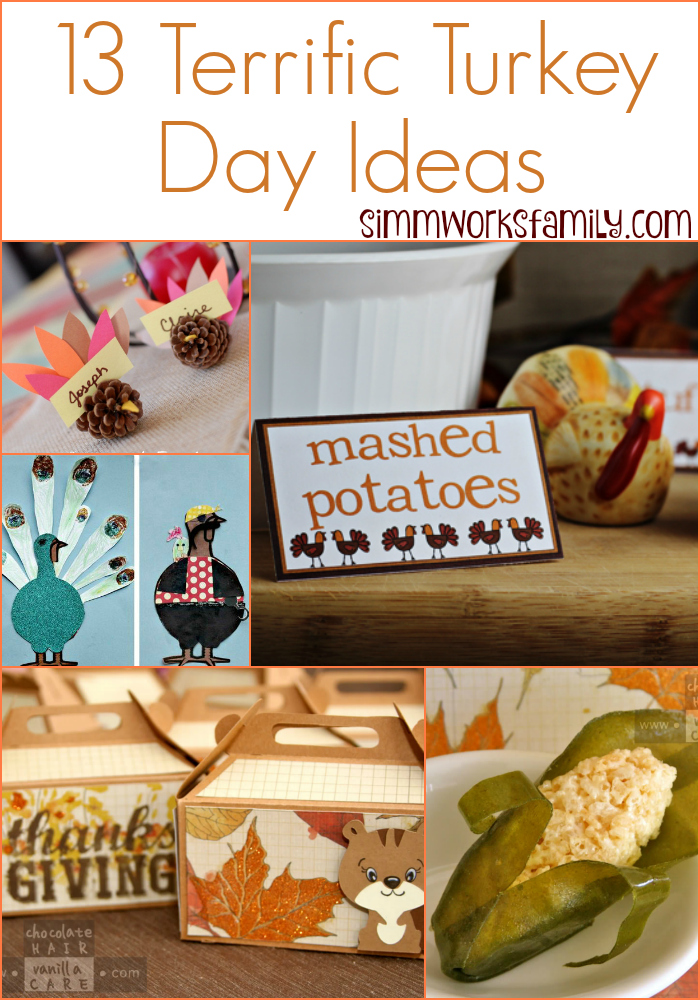
13 Thanksgiving Crafts and Decoration Ideas
Yellow Inspired Thanksgiving Table from Made with Happy
Disguise a Turkey from Create-Celebrate-Explore
Easy Thanksgiving-Themed Rice Krispies Treats from Chocolate Hair Vanilla Care
Thanksgiving Treat Boxes from Chocolate Hair Vanilla Care
Pine Cone Turkey Craft Place Cards from The Simple Parent
Grateful Turkey Box with Printable Note Cards from About A Mom
DIY Hanging Turkey Hands from JadeLouise Designs
Fun Ways to Eat Healthy For Kids During the Holidays from Simmworks Family
Turkey Craft for Little Kids from Family Food and Travel
Handprint Thankful Trees from Adventures in Wunderland
DIY Thanksgiving Hot Wheels from Desert Chica
Thanksgiving Place Cards – Free Printable from Home Cooking Memories
Thanksgiving Humor: Turkey as it was never meant to be from Still Blonde After All These Years