This shop featuring a tutorial on DIY Vertical Toy Storage has been compensated by Collective Bias, Inc. and its advertiser. All opinions are mine alone. #InspireBigDreams #DreamBigPrincess #CollectiveBias
My daughter. She is so strong. She’s always known what she wanted since she was a small child. I’m sure many of my family members remembered how she’d refuse a bottle because she knew she only wanted to nurse. She’d make my husband drive her all the way to my work to nurse her at lunch time. And then would wait until I got home to eat again. She still, to this day, knows exactly what she wants. And for the most part she knows how to get it.
From finishing fun projects she’s set out to start, to learning new things and going on fun exploratory journeys to do so. She is so brave. And so generous. And just the kindest girl I know. Sometimes I look at her and wonder how I got so lucky to have a daughter like her. She’s a lot like some of her favorite Disney Princesses. Inquisitive like Ariel, adventurous like Rapunzel, and smart like Tiana.
The other day she came to me asking if she could help kids who might not have as much as her. We had talked about how blessed we are as a family a few nights prior and how much we have after one of the kids had a meltdown after not getting a toy at a store. We went over how not everyone was blessed enough to have a huge birthday party every year, or is able to go to theme parks with their family, or even get new toys at Christmas and on birthdays. So my sweet girl asked how she could help make sure other kids got the gifts and toys they deserved. How could I not help her with this?

So we set out to make a list of all of the places we could ask for donations. We also thought about how we could also chip in a bit to purchase new toys. And we came up with a game plan. Any time we head over to Toys ‘R Us to window shop or pick out a gift, we’re going to grab one extra. Guess what Molly’s doing to help? She’s saving up her dollars to use on the extras we purchase. Yup! She thought of that all by herself too. That kid. She makes me proud.
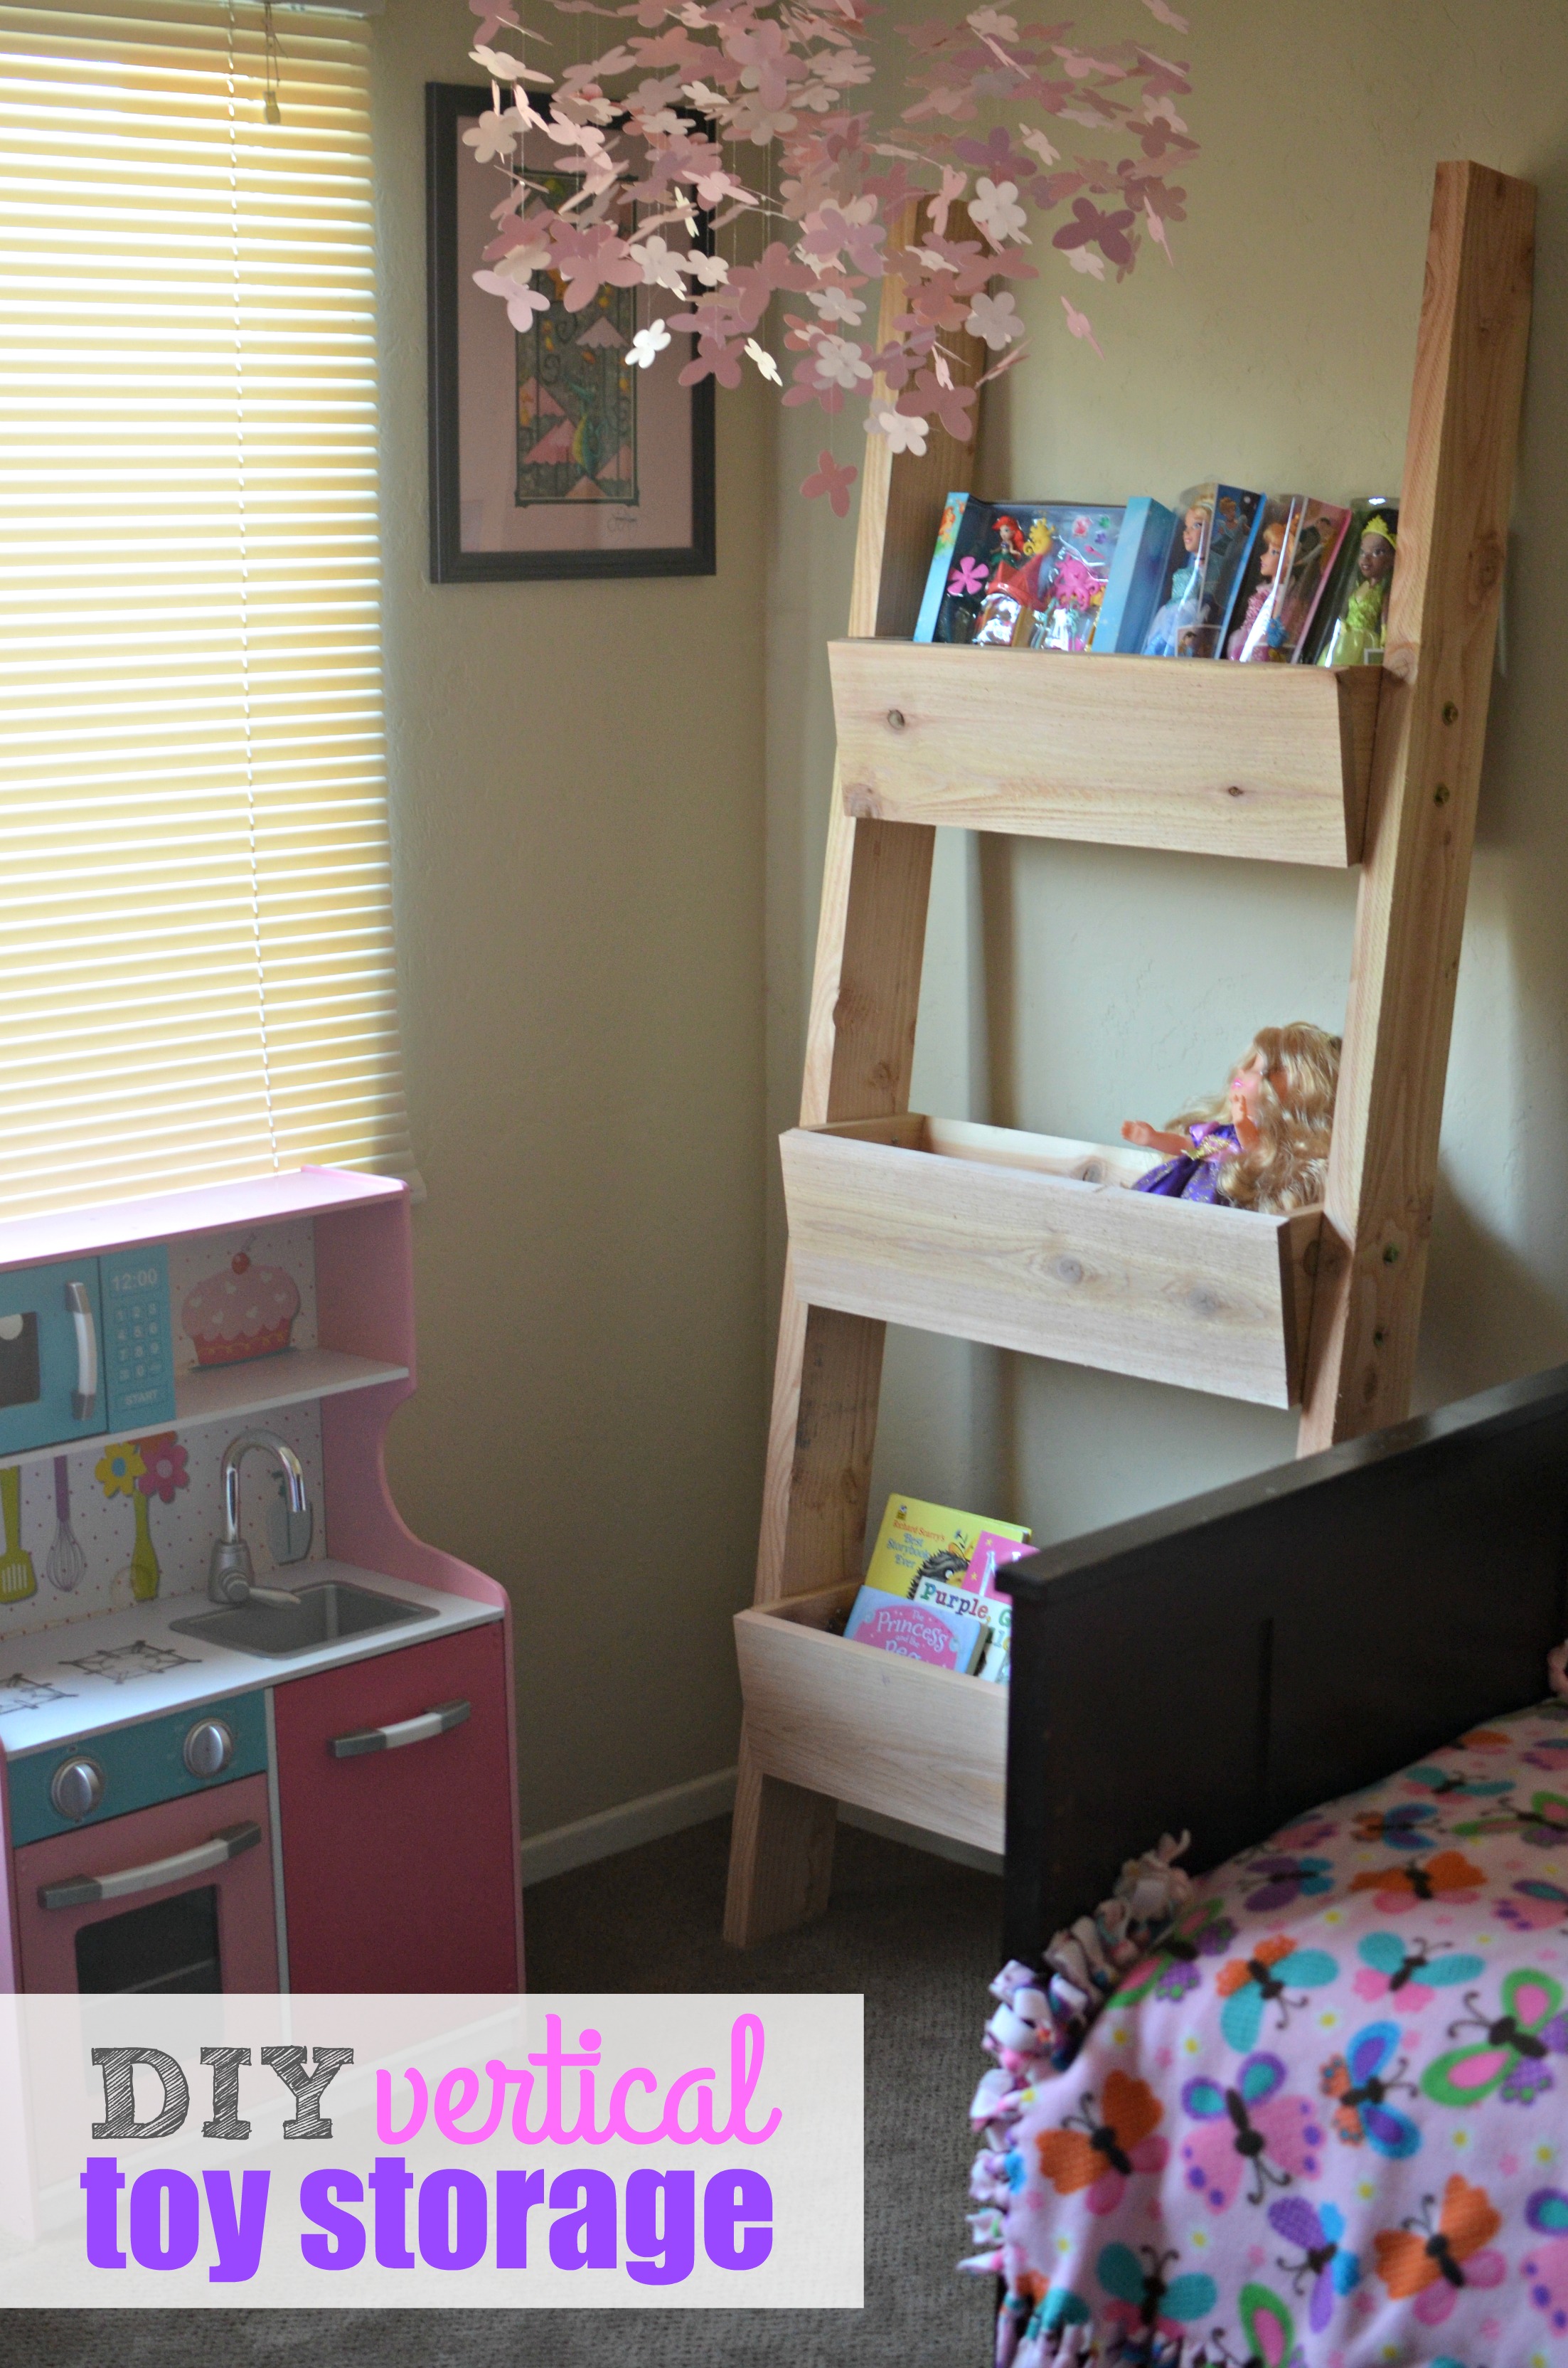
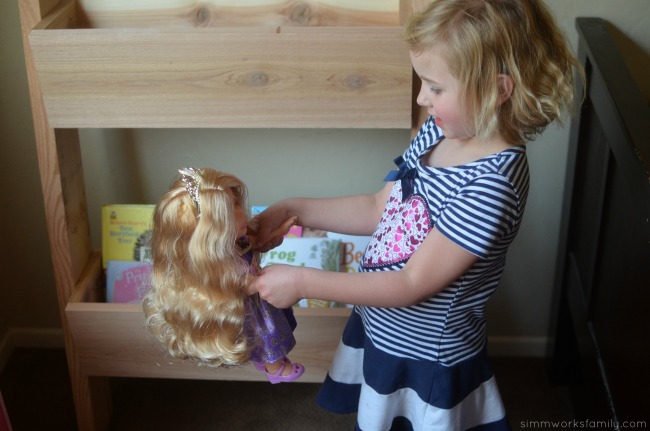
And then she asked if we could make a toy chest for her room so she could put all of the extra toys we collect somewhere as we collect them. Since I’m not one to squash her ideas and dreams, we set fourth to make a great DIY vertical toy storage with her help, of course. Why not build up her dreams literally and figuratively?
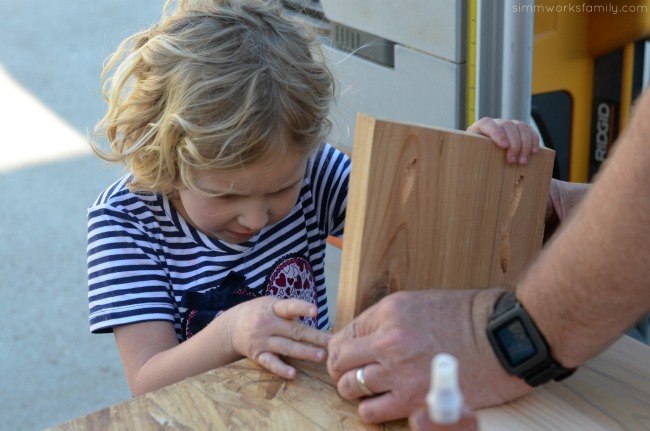
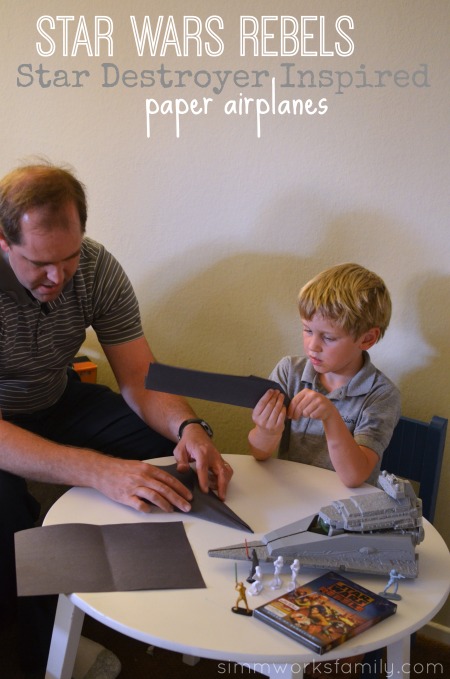
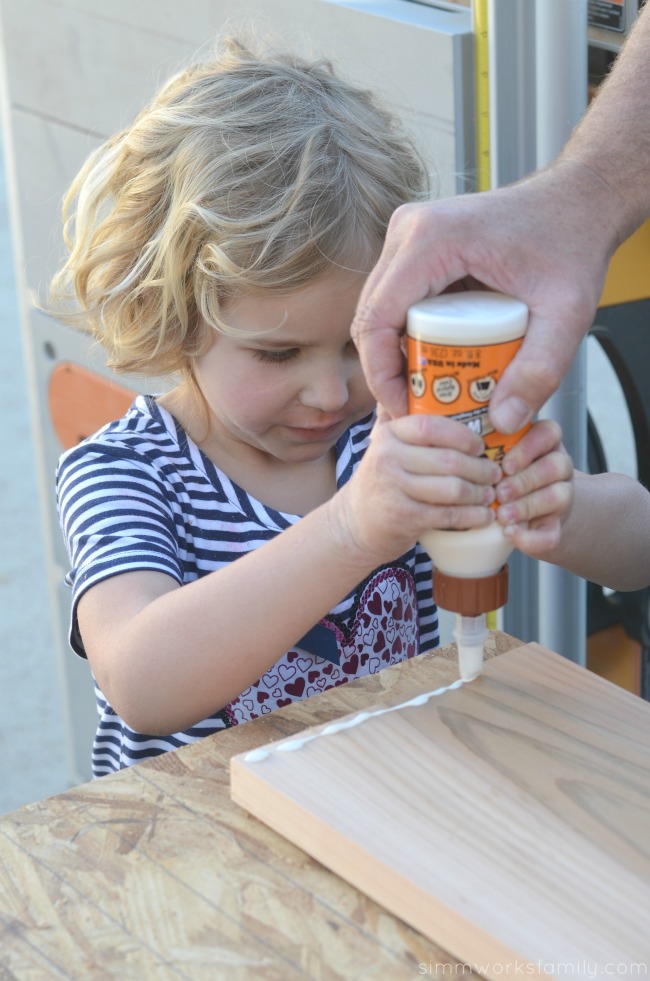
With the help of a few princesses, some tiny field mice, a dad’s guiding hand, and a mother’s encouragement our project came together quite nicely. I think it’s absolutely amazing that both of our older kids love helping my husband and me with our projects. Whether it’s sanding, glueing, hammering, and even using a drill, they’re up for the challenge. It doesn’t hurt to have a super handy husband who can make just about anything. So when I drew out my vision he was 100% on board with creating a plan.
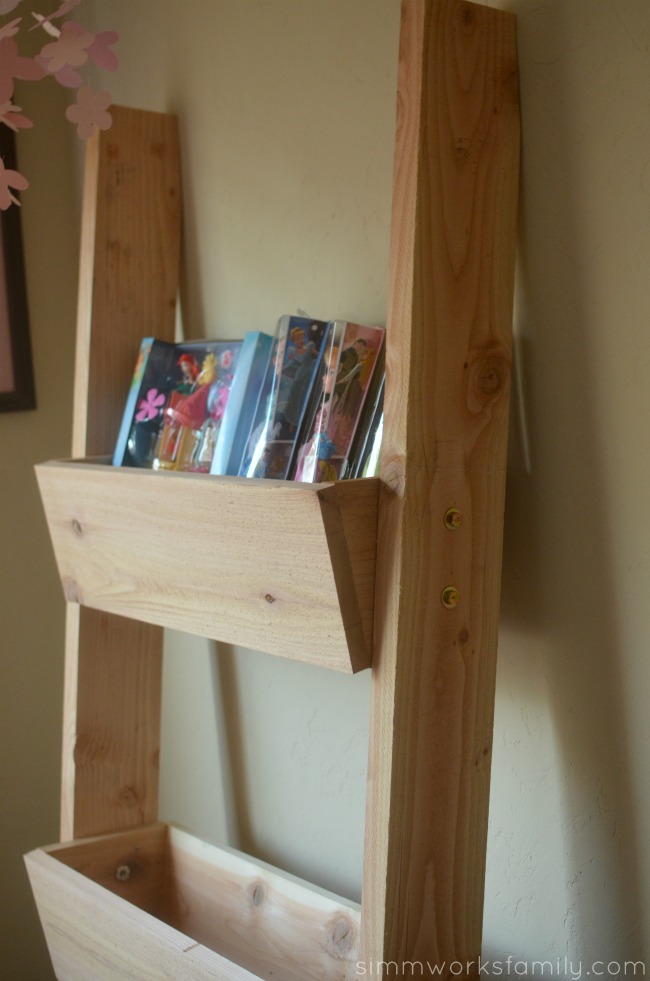
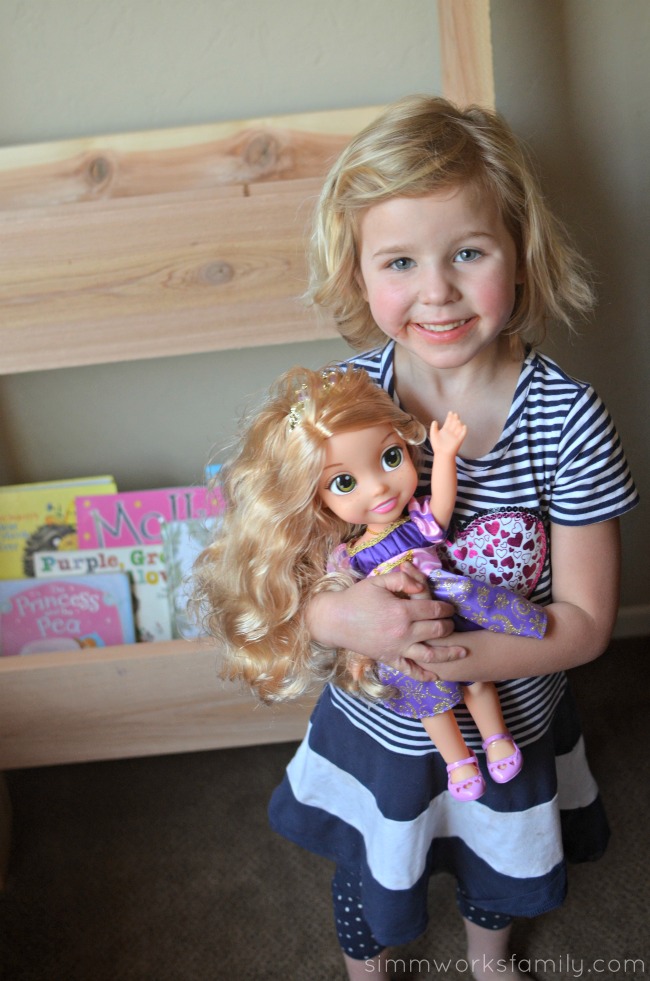
Now her new dolls have a home, and we have designated to top box for new toys we’ve collected to donate. At the end of every quarter we’ll collect up our toys and find a local charity in need to donate them to.
The best part about all of this? Now my youngest will have her own person to look up to and learn from. And I know her sister is going to teach her every thing she knows about following her dreams. Sure she’s only 1, but it’s never too early to encourage them to be strong and think for themselves even if it is a bit difficult at times. I’m up for the challenge!
DIY Vertical Toy Storage
What you need:
- 2 2’x6’x8′ doug fir boards
- 3 1’x8’x8′ western red cedar boards
- wood glue
- miter saw
- 3/8ths inch drill bit + drill
- pocket screw jig
- 12 1 1/2″ pocket screws
- 12 2 1/2″ 5/16ths bolts
- 12 5/16ths T nuts
- 12 5/16ths washers
What you do:
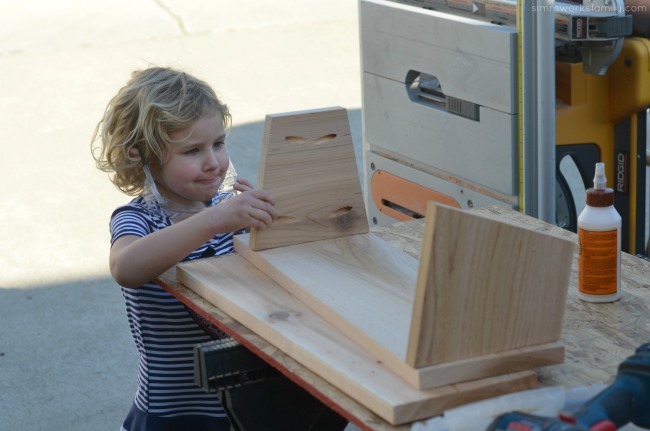
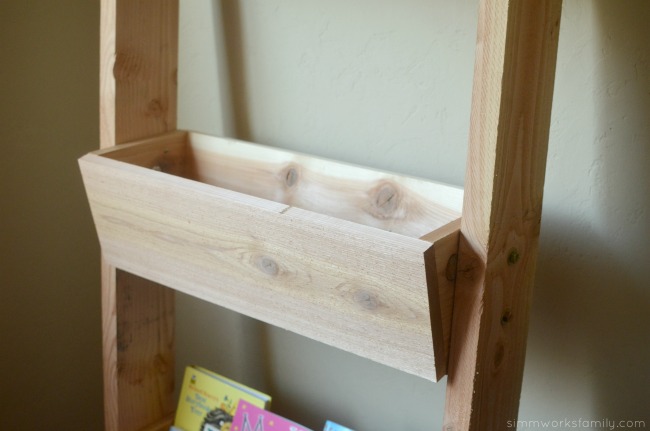
Build 3 Boxes
- For the first box, cut one 1 x 8 x 8′ board into the following:
– 2 – 24″ sections (front and back of boxes),
– 1 – 22 1/2″ section (bottom),
– 2 – 7 1/2″ section (sides) - Screw and glue the pieces together.
- Repeat again to make 3 boxes total
Build Side Box Supports
- Cut 2 x 6 x 8″ boards to 74″ long. These will become the side supports of your vertical storage.
- Lean one of the sides against a wall. Put a straight edge on ground against 2 x 6. Trace angle on 2×6. We used a 50 degree angle. Cut along line you have drawn. Transfer angle to other 2 X 6 and cut to match.
- Now put straight edge against wall and trace line on 2 X 6. Cut along line. Repeat for other 2 X 6. Both pieces should be identical.
Attach Boxes
- Lay one of the 2 x 6’s flat on the ground. Position one of the boxes in the lowest spot (bottom of box should be about 8-12 inches up from bottom of the board). Make sure to adjust box so that it’s level once it is resting on the wall. Next, lay out the second box. Finally position the third.
- When happy with the spacing, use screws to attach box to 2 x 6 side. Now put other 2 x 6 side flat on the ground. Flip partially assembled side to rest on 2 x 6. Attach with screws once lined up.
- Reinforce with bolts once unit is assembled with screws.


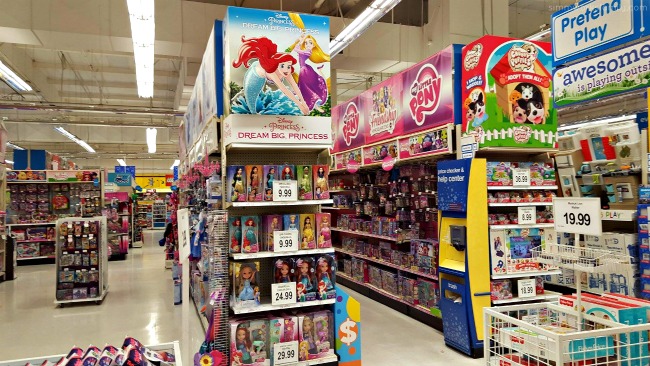
If your daughter is interested in following her dreams and ideas, check out this great video from Disney on how she can be a champion too. You can find the full line of Disney Princesses at Toys ‘R Us including my daughter’s favorite Disney Princess Royal Shimmer Dolls and Little Kingdom Ariel’s Sea Castle. They’re easy to find when you look for the dedicated Disney Princesses aisle in store.