Updating Our Home: How To Decide On Flooring

Today we’re sharing how we decided on the flooring for our home. With help from Mohawk Flooring, this sponsored post features tips on what to consider when making flooring decisions.

Updating Our Home How To Decide On Flooring

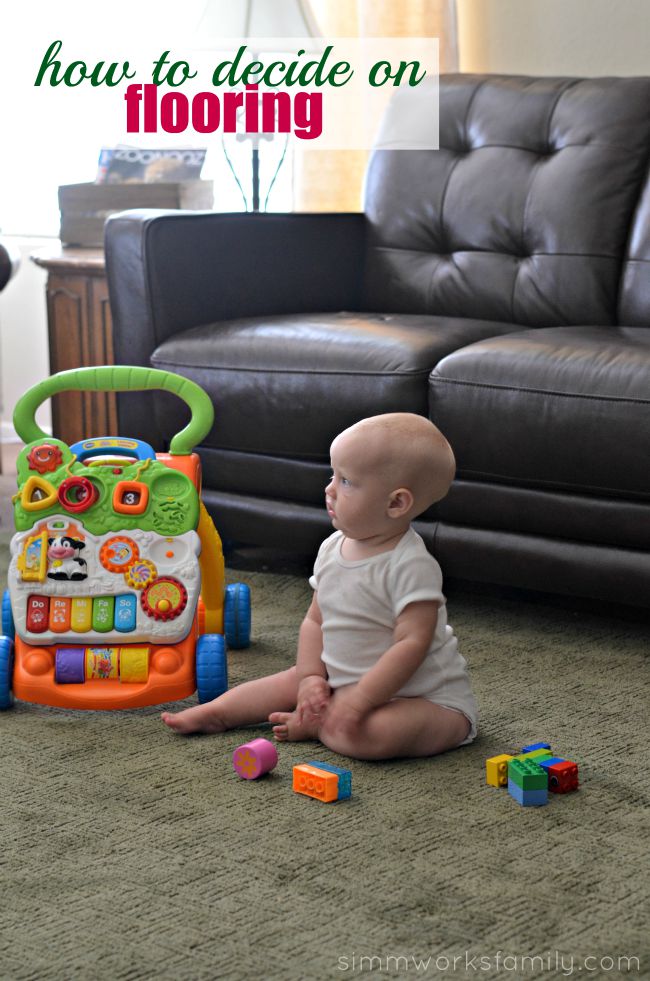
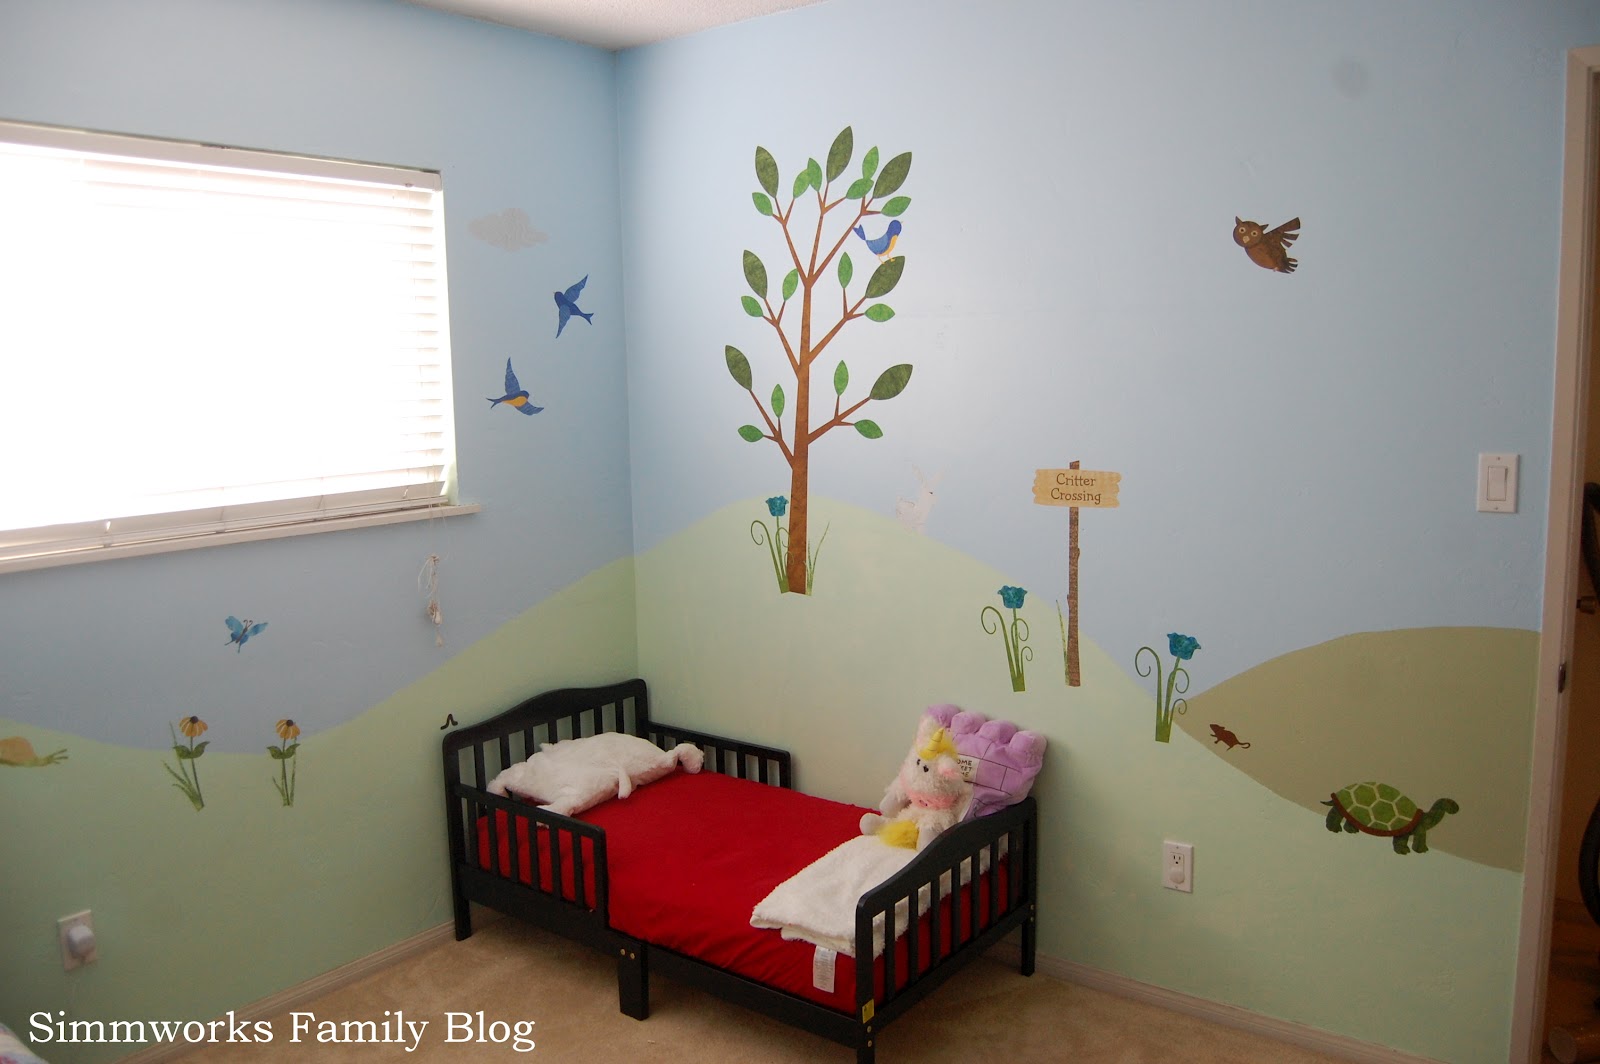
As the little miss gets closer and closer to crawling, one thing is on our minds: flooring. When we moved into our new home a year ago we knew we wanted to change things up and update the existing flooring but we wanted to wait a bit to get a feel for exactly what we wanted. Now that we’ve lived in the home for a while we know exactly what we want and are saving up to create the home of our dreams, flooring and all.

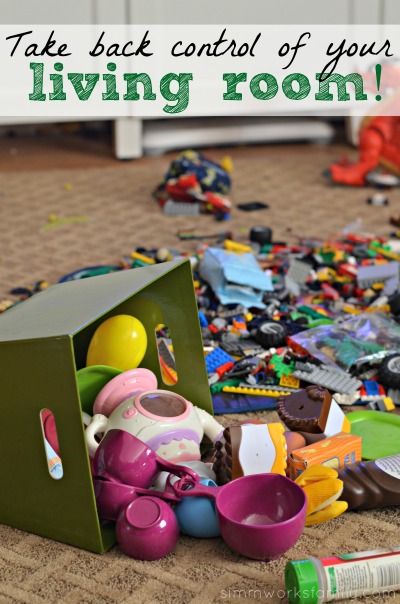
We’ve gone to check out flooring quite a few times and have finally decided on what we’ll be doing. Since we have to do this in stages, we’ll focus on the downstairs first.My big change will be to take out the carpet in the living and family rooms as well as the hallway to the bedrooms. Then I want to update the carpeting in the downstairs bedrooms, the stairs, and the upstairs rooms to SmartStrand Forever Clean carpet. After our experience with our SmartStrand bound carpets, we know that this product is perfect for our family. Luckily, Mohawk is having a sale!

Updating Our Home How To Decide On Flooring - consider pets and children

How To Decide On Flooring

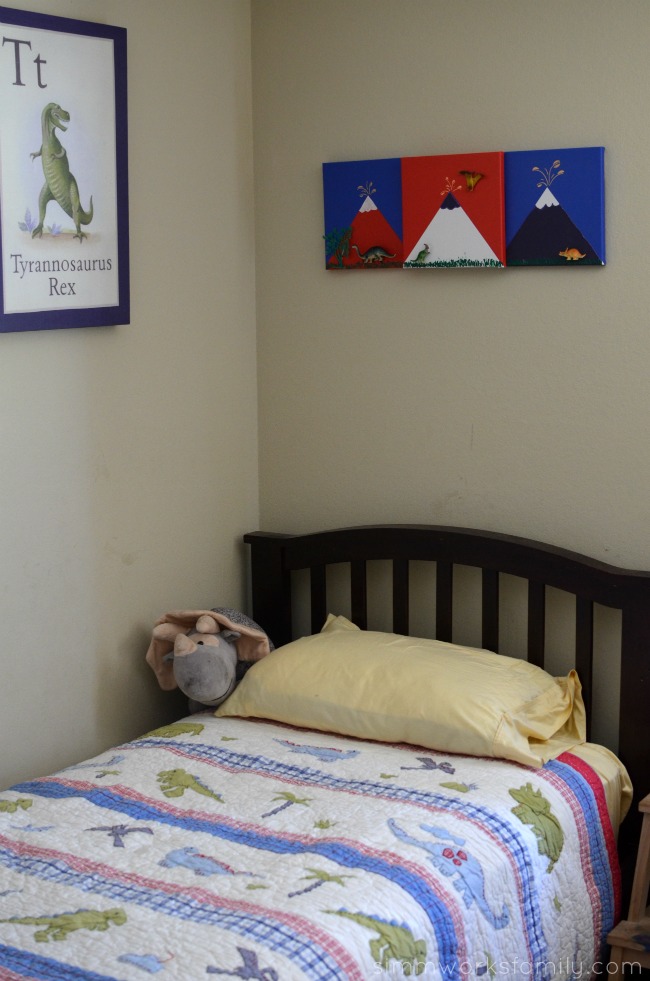
  1. What Room Are You Updating? – Consider the room the flooring will be in and what you’re using it for. Also consider who will be walking on it. Since we have a dog and small kids, that factors into our decision making. In high traffic areas like our hallways and living/family rooms, we need something that’s durable and easy to clean. In the bedrooms we prefer to have the soft, plush feel of carpet to step on when we wake up. 
  2. What Type Of Flooring Is Best? – Now that you’ve decided what type of flooring you want in your room (carpet, hardwood, etc) you can now narrow down what’s best for that room. Just like the factors you took into consideration when choosing what would go best in the room, you’ll also consider those same things when deciding the specific flooring you get. Also consider the warrenty on the flooring you choose as well as the expected life of the flooring so you know when you’ll need to replace it. 
  3. What Other Colors Are In The Room? – Once you have the type of flooring picked out, now it’s the fun part! Deciding on color/pattern. The biggest deciding factor for me with color is looking at the color palette of the room it’s going in and determining what color would look best. But don’t just go by a small sample square. Most flooring stores will have someone come out with a few large samples so you can see what the color will look like better than those small squares. 

Updating Our Home How To Decide On Flooring - consider colorscape of the room

You can follow Mohawk on Pinterest, Facebook, Twitter, Instagram and Google+ for more flooring inspiration.

Where will you install your new flooring if you win?

DIY 3-D Dinosaur Wall Art

This shop featuring a DIY 3-D Dinosaur Wall Art tutorial has been compensated by Collective Bias, Inc. and its advertiser. All opinions are mine alone. #ProjectAmazing #CollectiveBias

DIY 3-D Dinosaur Wall Art

A few weeks ago we were perusing IKEA in search of… honestly I completely forget what. But I’m sure it was something we needed. While we were there we also found a nice duvet, a rug for right by our sliding glass door, and a set of 3 geometric canvases that my son desperately wanted. Turns out the canvases were on clearance so all we had to do was figure out what we wanted to do with them.

My son didn’t want to paint over them. He loved the triangles and the colors. So we had to think of some way to incorporate the triangles into our idea. I went with him into his room and looked at what we already had going on. Some large canvas pieces from Pottery Barn Kids (clearance, of course) with a rocket on one and a t-rex on the other, his 1 year cake smash photo, and the cross stitch his great aunt made him with his birth date and stats on it.

Then I looked down and saw what he had on the floor. Dinos spread out everywhere…

DIY 3-D Dinosaur Wall Art - dinosaur toys

And the idea popped in my head! Those triangles were going to turn into volcanoes and a few extra dinos from the dinosaur box would add to the scenery. But how to attach everything together? Do I cut open the dinos? Use glue?

I really didn’t want to make a mess everywhere. Especially since the kids wanted to help out. So I kept it simple. I grabbed some Command™ picture hanging strips and Command™ Clear Hooks as well as some Scotch® Permanent Double Sided Tape to adhere the dinos onto the canvas.

The Command™ picture hanging strips would be the perfect way to layer the canvases on top of one another to create a 3-D effect. Plus, if we ever wanted to display the 3 canvases seperate, there’s no worry about ruining the canvas underneath.

Here’s how I did the rest:  

DIY 3-D Dinosaur Wall Art - supplies needed

DIY 3-D Dinosaur Wall Art

What you’ll need:

  • 3 square canvases with sawtooth mounting
  • a handful of small dinos and greenery
  • paint or paint markers
  • green puffy paint
  • Scotch® Permanent Double Sided Tape
  • Command™ picture hanging strips
  • Command™ saw tooth picture hangers

DIY 3-D Dinosaur Wall Art - painting canvasesDIY 3-D Dinosaur Wall Art - paint grass

What you do:

  1. On the canvas, paint out the scenery you want for your dinos. As I mentioned before, we turned our triangles into volcanoes by adding tops to each volcano and some lava spurting out with an orange paint pen. I outlined one of the triangles I painted in with puffy paint to make it stand out.
  2. Once the mountain scenery is dry, add grass by using the puffy paint. You could also use regular green paint to do this but since everything else is 3-D I think the puffy paint gives it a nice touch.
  3. After the grass is dry, figure out where you want to mount the dinos. Then add pieces of the Scotch® Permanent Double Sided Tape to each dino and mount onto the canvas. 
  4. Next up, grab 4 sets of Command™ picture hanging strips (8 strips total) and put each set together. You’ll hear them connect together with a satisfying click. Once each set has been clicked together, remove the backing on one side and add two to the left edge of one canvas (the one you want to be on the right hand side), and add the other two to the right edge of one of the other canvases (the one you wnt to be on the left side). 
  5. Now remove the backing from all 4 sets and set the third canvas on top of the other two overlapping the edges by the width of the Command™ picture hanging strips.
  6. Using the Command™ saw tooth picture hangers, mount the canvases to the wall where you’d like to hang them. 

Tada! Now you have fantastic 3-D Dinosaur Wall Art to display for all to see. 

DIY 3-D Dinosaur Wall Art - command stripsDIY 3-D Dinosaur Wall Art - add tapeDIY 3-D Dinosaur Wall Art - attach dinos to canvas

Command™ Brand provides damage-free hanging solutions for a wide variety of uses for your craft projects. Their products hold on strongly, remove cleanly. That way I don’t worry about damage to my walls, holes left in random places, or a mess left in it’s place. Find more inspiration for amazing summer project ideas here.

Now shoppers no longer have to search Walmart for these 3M products, as they are now available in the crafting aisle. Both Scotch® Brand and Command™ products are available in this aisle at Walmart. I found mine near the adhesives!

Command and Scotch products at Walmart

DIY 3-D Dinosaur Wall Art - simple and easy to make

Where do you find inspiration when crafting?

Take Back Control of Your Living Room

This is a sponsored post. I am a Kmart blogger, though all opinions are 100% my own.

Take back control of your living room

Does your living room always look like the playroom spit up all over it? Step on legos whenever you turn the corner? No? Just me?

Living in a “lived in” home was always something that just came naturally to me but lately I’ve wanted to pull things together and actually create a presentable space to entertain when friends come over. And? I kinda want a living room that looks like adults live here too.

Sure the couch is a great place for the laundry to go while it’s waiting to get folded (so is my bed) but I want to walk into the door without staring at it and watching it taunt me. [Read more…]

How To Make Subway Art on PicMonkey

affiliate link disclaimer

PickMonkeySubwayArt

When I started to put the final touches on my home office and craft area I knew I wanted to add some personalization to the space to really make it mine. I scoured over Etsy and other designers to find the perfect wall art but nothing screamed me. So I decided to put my creative skills to the test.

What I came up with was how to make subway art on PicMonkey! Not only did I get to personalize the words to what I wanted my space to reflect, it cost me nothing. Well… besides the monthly fee I’m already paying for the premium services.

Below is a step-by-step tutorial on how to make subway art on PicMonkey so you can create your own artwork to hang up!

How to Make Subway Art on PicMonkey

When you head over to PicMonkey click on Create a Collage. We’re going to create our template first before adding our words.

PicMonkeyClickOnCreateACollageCraftRoomSubwayArt

1. Delete all but one cell from your collage.

PicMonkeyClickOnRemoveCellCraftRoomSubwayArt

2. On the left hand side click on textures (diamond grid icon). Choose a texture.

PicMonkeyChooseATextureCraftRoomSubwayArt

3. Drag the texture to the cell.

PicMonkeyTextureCraftRoomSubwayArt

4. Resize the cell to match the resolution and size you want to print your photo. For an 8×10 photo it’s suggested to use a 2400×3000 pixel ratio.

PicMonkeyResizeTemplateCraftRoomSubwayArt

5. Save your re-sized template. This will be the base of your subway art.

PicMonkeySaveCraftRoomSubwayArt

PicMonkeySaveAsCraftRoomSubwayArt

6. Now that your template is saved, go to Edit a Photo and open it up.

PicMonkeyEditAPhotoCraftRoomSubwayArt

7. Using the words you want to display on your subway art, start adding different words and fonts to your page.

PicMonkeyOpenPictureCraftRoomSubwayArt

8. Play around with different sizes and colors to get the look and feel you’re going for. Remember that you can also turn words vertically if you prefer.

PicMonkeyEditingCraftRoomSubwayArt

9. Once you’ve added all of the words and have them aligned the way you want, make sure there’s a nice 1/2 inch boarder around the wording to make room for framing.

PicMonkeyCraftRoomSubwayArt

10. Print out your subway art, frame it and enjoy!

Have you created subway art before? What was your focus or keywords?

Looking to play more with PicMonkey? Here are some fun projects to try out:

How to Make a DIY First Day of School Sign Using PicMonkey #BackToSchool

DIY First Day Of School Sign

how to make a recipe card with picmonkey pinterest

How To Make A Recipe Card With PicMonkey

How to Make Valentines with PicMonkey

How to Make Valentine’s with PicMonkey

Disclaimer: This post is contains affiliate links

DIY Football Field Table Runner

DIY Football Table Runner

As I mentioned before, it’s football season! And that means one thing… my husband will not respond to a thing I say on Sundays unless we’re coming out of church or it’s during a commercial. So I do what I do best when I have no one to talk to… I craft! And this weekend I made this awesome football field table runner for our dining room table.

Not only is this a festive and fun piece for the house, it can also be brought to the game to spice up a boring folding table or a truck bed. Why not make tailgating fun with a little crafty decor, right?

This table runner is quick, easy, and the best part is there’s no sewing involved! So grab your glue, get some felt, and lets make a table runner! Then grab the scraps and make the football coasters to go along with it.

[Read more…]

How to Make Football Coasters

Football Coasters


Everyone in America knows that football season is upon us. Why not make watching the game a little more enjoyable with these fun DIY football coasters? With a little bit of felt, corkboard, and glue you can create these awesome coasters that are perfect for protecting your tables and properly holding your beer as you watch the game.

What’s even more awesome about these coasters is the fact that they take less than 10 minutes to make. No… seriously. All you do is cut, glue, and use!

We used these coasters for our tailgating party this weekend to go along with the football field table runner I made. Both paired perfectly together and made our game-time meal more enjoyable. These would also be perfect to pack up and take to the game for a proper tailgating party.

[Read more…]

5 Alternatives to Carving Pumpkins {Fun Kids Crafts}

Having small children can sometimes make pumpkin carving a bit difficult. So this year we went with something a little different and let the kids make a few varieties of pumpkins. Grab some glue, your potato head pieces, and even the paint and see what your kids do to create their Fall masterpieces!

If you’re in the same boat and are looking for great alternatives to carving pumpkins this year, here are our suggestions.  [Read more…]

Smarties Are The Perfect Halloween Sweet Treat

One of my favorite parts of my childhood Halloween experience was racing home from trick or treating to sort out all of the Halloween candy I received. I was obsessed with finding my favorites (Smarties were at the top of the list along with chocolate). And one of my favorite parts of Halloween now are the decorations we put up each year. I absolutely love how festive and creative we get each year.

My husband is quite the Halloween decor enthusiast. Each year he purchases foam pumpkins from the store and creates a new face. And in an effort to keep up with him, I try to get creative as well in the decor inside our home.

Smarties Halloween candies #IAmASmartie

Gluten-Free and Allergen Free

This year I headed to Target to pick up some decorating supplies and candy to pass out. Since there are so many allergies and special diets these days, we went simple. Smarties all around! And I planned on decorating with Smarties as well.

Smarties are not only gluten-free, but they also contain no peanuts and are fat free! They’re the worry-free, one-size-fits-all candy this holiday and are the perfect choice for passing out. I was able to pick up a large bag of Smarties and another bag of Smarties and Dum-Dums mixed together. My daugther was absolutely elated to put these bags into the cart to take home.

Fun for All Ages

I always make sure to pick up some goodies for smaller children who aren’t able to eat candy so I grabbed a pack of Play-Doh as well. Once I had everything I needed to pass out to the kids, I grabbed some decorations to make our home festive.

Since we also needed a bucket for my daughter (she was a bit too young last year for a bucket), we picked up a classic pumpkin bucket to match her brother’s. My son’s bucket is personalized so I grabbed some scrapbooking alphabet stickers to personalize hers as well. It makes a simple bucket their own and I love the ease of it.

You can check out the rest of my shopping experience in my Smarties Google+ Album.

Fun and Festive Wreath

In an effort to tie in the fun of one of my favorite candies with the decor in my home, I decided to turn a Target $1 Spot foam wreath into a festive piece for my front door. Along with the pumpkins and spider webs in our front yard, our trick-or-treaters would also see this gorgeous wreath and know exactly what they’d be getting in their buckets.

To create my wreath I simply glued Smarties in their wrappers onto the wreath. By gluing them seam side down, the wreath can stay in tact for many years. Because the Smarties left gaps as I glued the first layer I decided to add a second layer. And even though it added a bit of weight to the wreath I absolutely loved the look it gave to the finished piece. I simply tied dome wire ribbon to the top and hung it on my door.

To find out how to make this wreath step by step, check out my Smarties Wreath DIY Tutorial here.

Sweet Treats

After creating our wreath, we wanted to celebrate by using our Smarties in a different way.With our Parish Festival coming up we were already planning on making some delicious goodies to sell in the Bake Shop to raise money for the church. We made some delicious Smarties Sugar Cookies that were absolutely delicious.

Instead of using the Smarties whole in our cookies I decided to crush them into a flour and use them in a family sugar cookie recipe. not only did they give great flavor to the sugar cookies, they were the perfect treat for Halloweentime. We packaged them in with a few whole Smarties in with the package to share our Smarties love.

You can check out my Smarties Sugar Cookies recipe here

If you’re looking for a great treat to pass out to the goblins and ghouls who come to your door this Halloween, pick up a large bag of Smarties and you’ll be set! And if you want to get a bit creative… see what you can make with Smarties this Halloween.

Make sure to head over to visit Smarties on Facebook and follow Smarties on Twitter to indulge in their sweet goodness.

What would you do with Smarties candy?

Disclaimer: I am a member of the Collective Bias™ Social Fabric® Community. This shop has been compensated as part of a social shopper insights study for Collective Bias™ and Smarties. All opinions are my own. #CBias #SocialFabric

Displaying Your Child’s Artwork

Lets face it, our kids love to create. Crafts, art, glitter, paint. It’s all exciting when you’re small.

And sometimes those pieces of artwork, no matter how small, need a place in the home to be displayed. But because of how MUCH artwork can be created, taken home, and demanded to be up, we’ve come up with a few solutions for displaying artwork in a way that isn’t permanent.

So here are a few tips and tricks to displaying your child’s masterpiece.

Framed and Clipped

This is one of my favorite ways to display my kids stuff. All it takes is an empty frame, a butterfly clip and a nail or two. 

Simply hang the empty frame (garage sales are an excellent place to find these on the cheap), add the butterfly clip, and hang whatever artwork your child wants to display. You can easily swap out pictures as frequently as you’d like! And you can even personalize each frame by adding your child’s name inside (or outside) in vinyl letters to create their own space. 


Framed and Matted

We love to make crafts that are specifically for gift giving. One of the first craft projects my son and I made was this adorable footprint heart for Valentine’s Day. To make it extra special and display it in Daddy’s office we framed it in a matted frame to give it more depth. 

We also frame our children’s drawing as well on an “art wall” in our hallway. It helps to use simple frames that we can easily change out the pictures in. Each child gets to choose one piece of art to display all month. It can be a seasonal piece or something they’re proud of.


Framed and Pinned

This frame used to be a mirror. A mirror with a LARGE crack in it. We snagged it at our local furniture store for $7. Such a steal!

Simply put up a few letters to spell out ART and I have a customized large frame to thumb tack any artwork the kids might want to have showcased. Easy peasy!

And if you aren’t lucky enough to score such an awesome deal you can easily put up a large cork board and achieve the same effect.

How do you display your child’s artwork?


Create a Masterpiece in No Time with My Wonderful Walls {#NoiseGirls Review}

When I first started planning my kids bedroom I had no idea what I wanted to do. I knew we needed to repaint because the striped walls from my son’s nursery just had to go. I wanted something bright, cheery, and gender neutral so that both my daughter and son would get enjoyment out of it.


Even before I had my son I always wanted some sort of wall art or mural in my children’s rooms. I would go to home shows or design/decor events and would oohh and aahh at the gorgeous murals done in fabulously decorated bedrooms. But, of course, we could never afford the hefty price tag that came along with the interior designer that designed the room and the artist that painted the murals.


So we searched for a great alternative.

I first became inspired to use decals in my kids room after seeing some adorable decals at my son’s gymnastics class. Simple monkeys hanging in a tree and clouds around the room. But when I got a closer look at the decals they used I was not impressed. The decals were bumpy, you could see where they met with each other, and the colors were simple and boring.

So when I saw My Wonderful Walls on my friend Jessica’s blog I knew I had to check them out to see what they offered. And boy was I happy that I did! Their selection of wall stickers cover everything from under water adventures to life on the farm.

I quickly was able to settle on the cute and animated Forest Friends wall stickers for my kids room. It was the perfect blend and definitely gender neutral (although the description states boy).

Not only are My Wonderful Walls decals super easy to use, they’re so versatile!

We started by painting the whole room in a few fresh coats of paint. If not starting with freshly painted walls please make sure to clean the walls very well to remove any debris and dirt from the walls.

Then we got to designing!

The decals proved to be very easy to remove from the backing and even easier to apply to the walls. Once I tested them out by applying the sun and clouds to the sky I let my son and daughter get in on the action as well.

I was pleasantly surprised to find how easy it was for them to help!

And I didn’t have to worry about where they placed the decals or if the decals folded over on themselves because I could easily remedy these situations. The decals were so easy to remove and reposition as needed until we got the right placement and fit for the room’s layout.

Once we were done and had applied all of the decals to the walls we sat back and looked at what we had created. My daughter was very excited to now share a room with so many friendly animals and started to wave and greet each new animal who appeared with a very happy hello.

She continues to greet the animals each day in the same fashion. Always pointing out her favorites. She even will overhear her brother talking about randomly wanting to hold frogs (because of a commercial or ad he saw) and she quickly runs to her little pond and points to the frog leaping out of the water. See, Brother, you can hold a frog!

My son made a few suggestions and changes to move a few items around and I happily obliged. I mean it is, after all, his room. Once he was happy with the layout we took a few pictures.

To see all of the photos of our toddler bedroom makeover including before and after photos please check outour photo album on G+ here.  Or if you prefer Facebook, head on over to my Facebook album here.

My Wonderful Walls not only offers amazing wall decals, they also offer wall stencils, wall murals, and canvas art as well. There are so many themes and designs to choose from that I’m sure you will find the perfect one for your home!

We are already planning on purchasing a few daffodils and blue birds for the playroom when we redesign it to give a little life to the walls. The price is affordable, the quality is excellent, and the customer service is stellar. And when/if we ever decide to build onto our home and have separate rooms for our children we’ll be coming back again to let them choose the wall art they want from My Wonderful Walls.

 
Ready to pick out your set of My Wonderful Walls decals or stencils? 
Head on over to their website and use the code sw625 at check out for 20% off your order

But hurry! This offer expires on 7/18


If you are interested in keeping up with new and exciting information from My Wonderful Walls please feel free to join them on Facebook by liking their page. Or following them on twitter. I’m sure they’d love to hear from you!

Enter to Win a $100 Gift Card

My Wonderful Walls has been kind enough to offer one lucky winner a $100 Gift Card of their choice in the Noise Girls’ Around The House giveaway event in the Kids Package.

The giveaway event will be held from June 25th to July 16th and will include multiple packages valued at over $3,500! Make sure to head back and enter to WIN one of these amazing prize packages.

Disclaimer: I received a My Wonderful Walls decal set for review purposes only. Regardless, I only recommend products or services I use personally and believe will be good for my readers. 


© A Crafty Spoonful - All Rights Reserved
It is OK to use one of my photos provided a link back and/or proper credit is given. It is NOT ok to copy and paste a whole post including instructions. Please do not remove watermarks or alter images in any way. Please contact me with any questions at danielle@acraftyspoonful.com

.