![]()
If you’re like me, the holidays means full-fledged baking frienzy. Whether I’m making something for a party or gifting a platter of delicious cookies to a friend, I love to bake as much as possible and share delectable goodies with those closest to me.
Most of the time when I share an edible gift I’m usually asked for the recipe. So I decided this year I’d get ahead of myself and create recipe cards for the homemade gifts I make. And, of course, I’m using my favorite editing site to do it – PicMonkey!
By using their new Design feature I’ve figured out how to make a recipe card so that I can easily share the recipes I love. Want to know how? Read ahead!
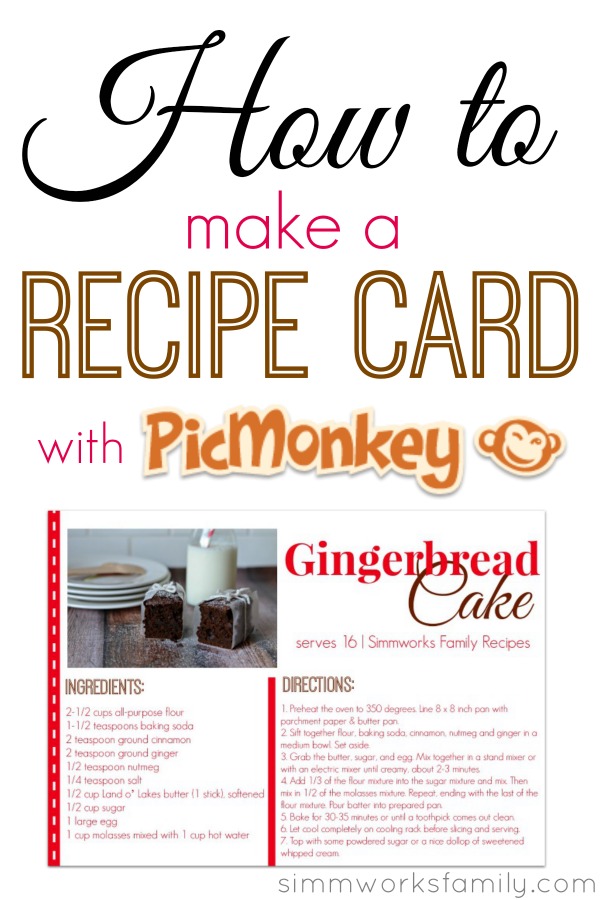
How to Make A Recipe Card Using PicMonkey
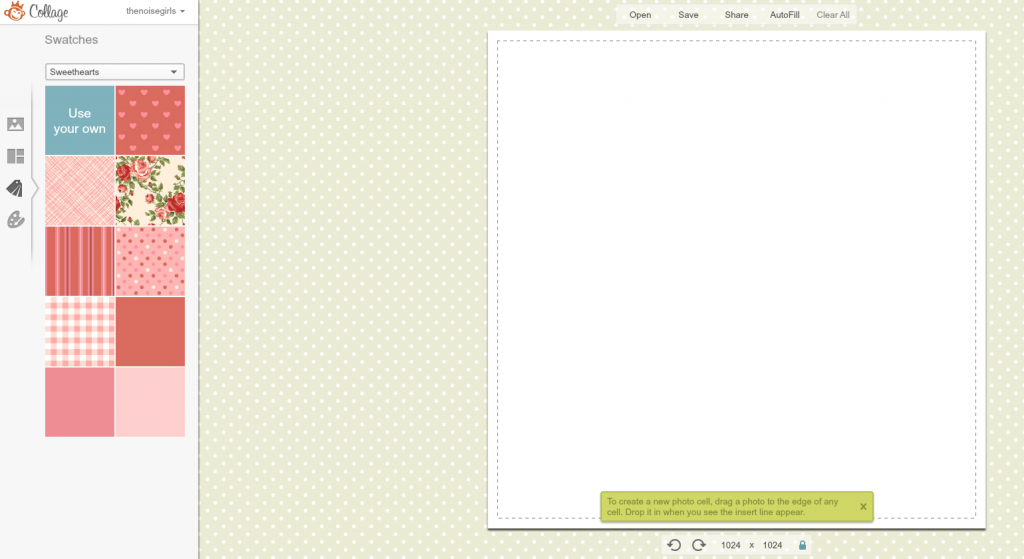
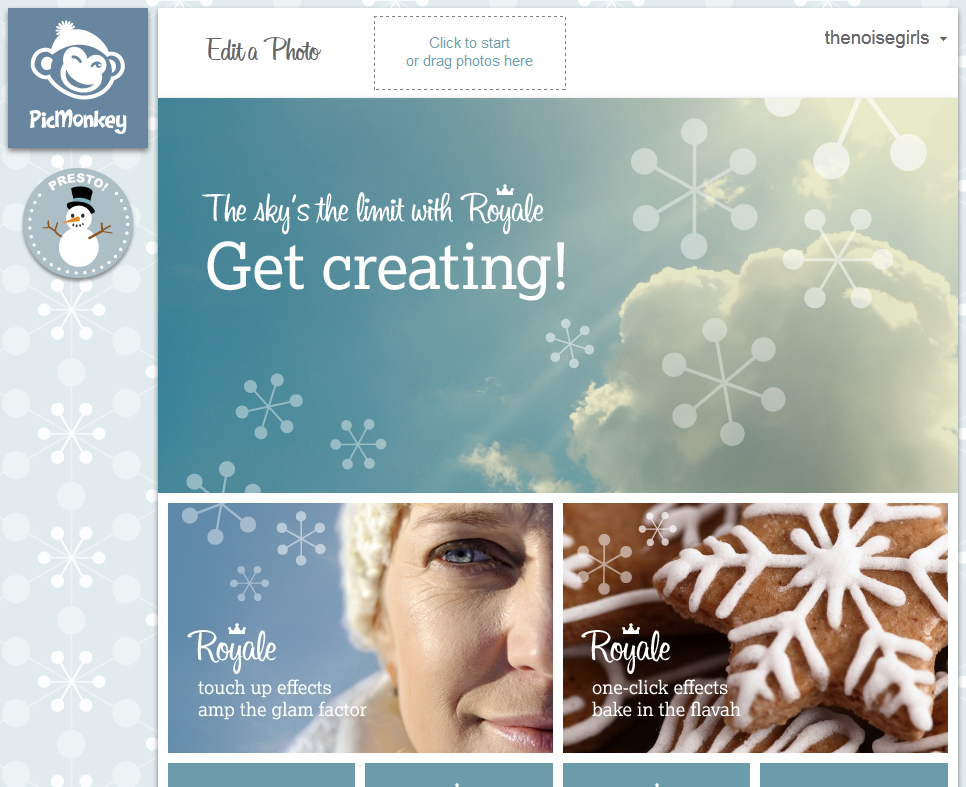
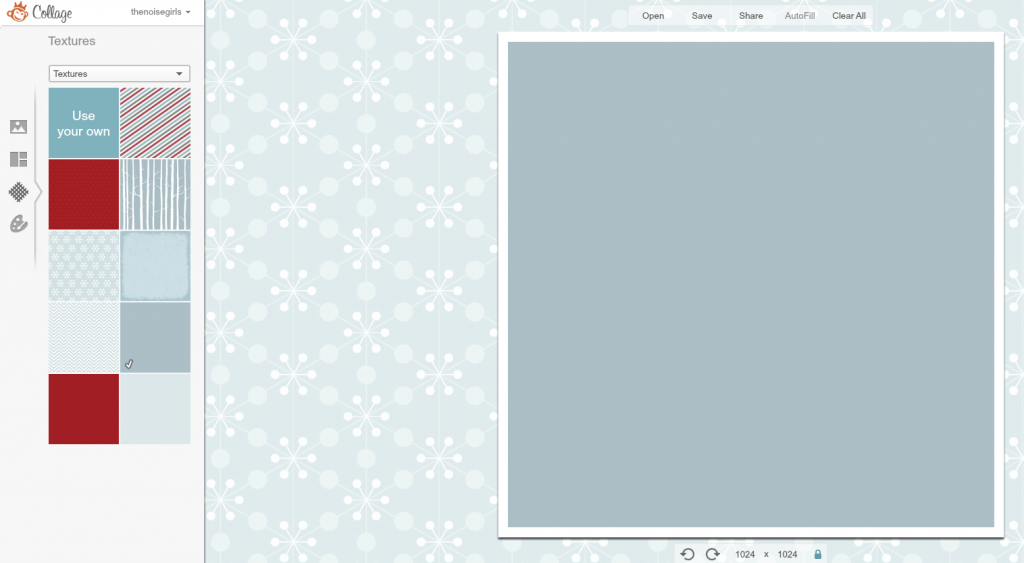
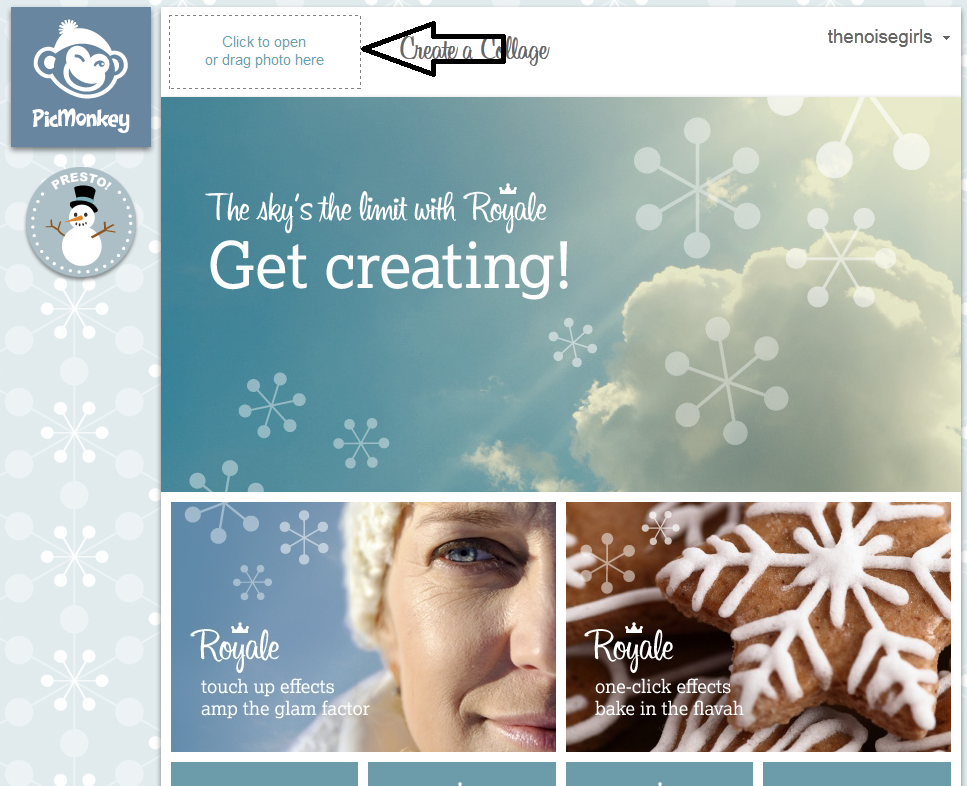
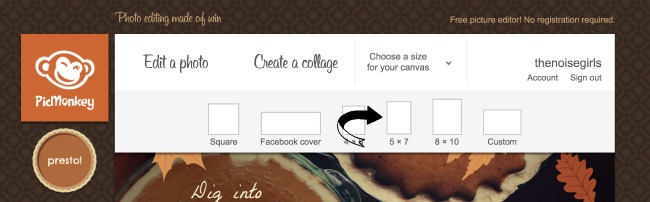
1. Head on over to PicMonkey and click on Design. 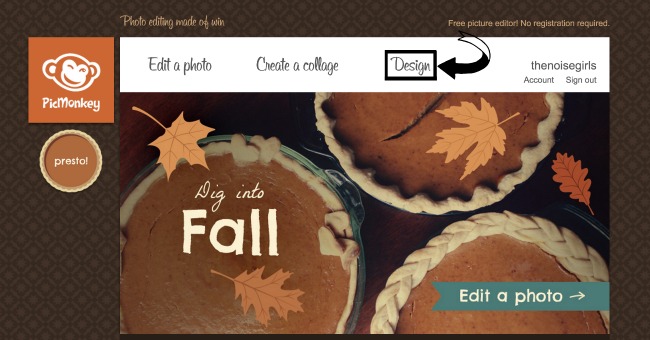 2. Now choose the size you want your recipe card to be. I chose a 5×7 layout (or 2100 x 1500 pixels)
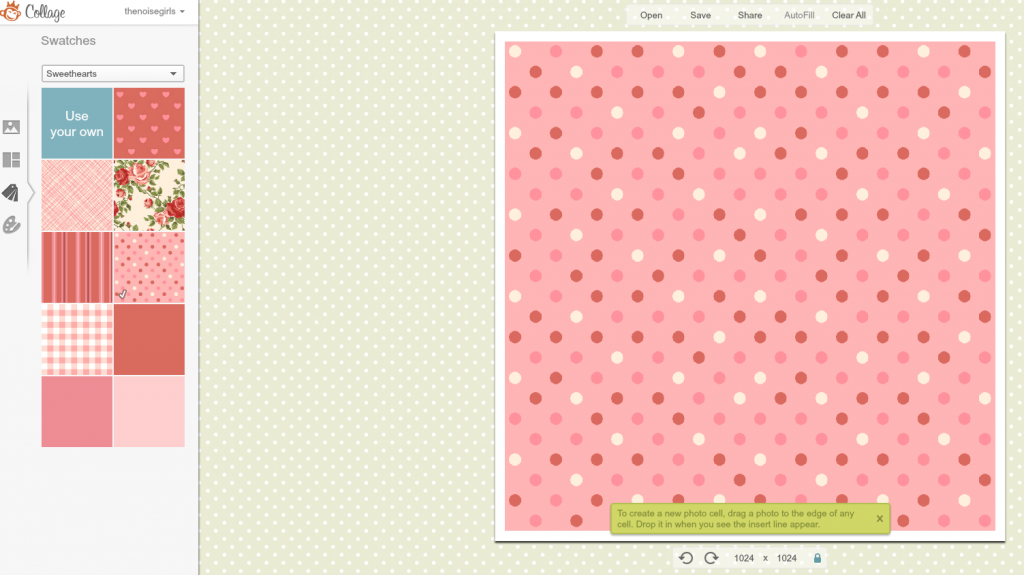
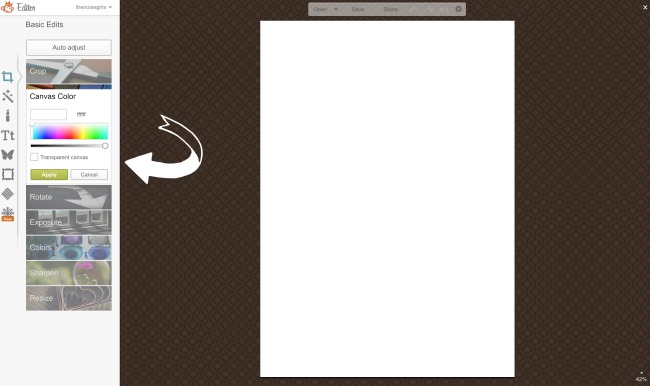
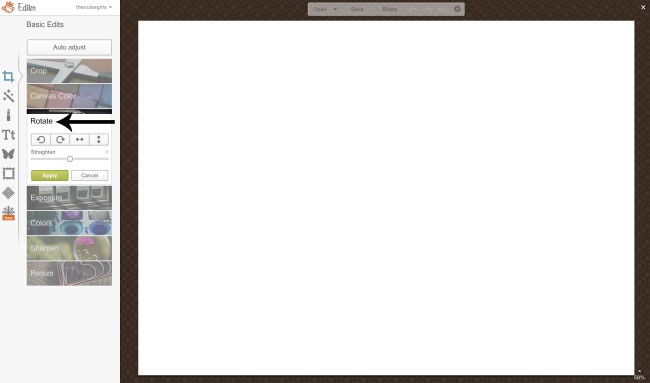
 3. By using the Canvas Color option under Basic Edits, choose the color you want your background to be.
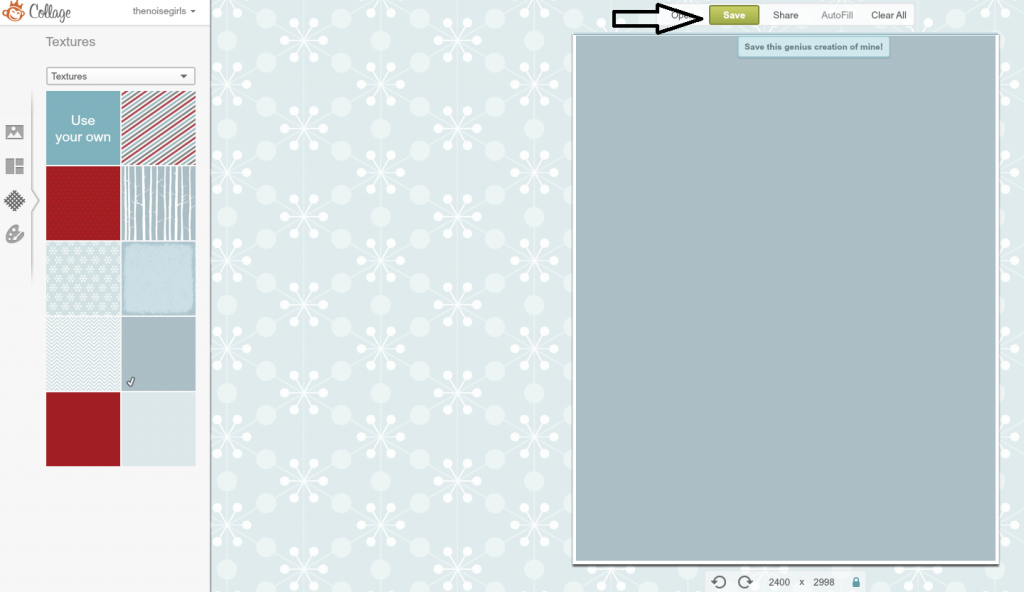
 4. If you want your recipe card to be Landscape, under Basic Edits click on Rotate and rotate your canvas.
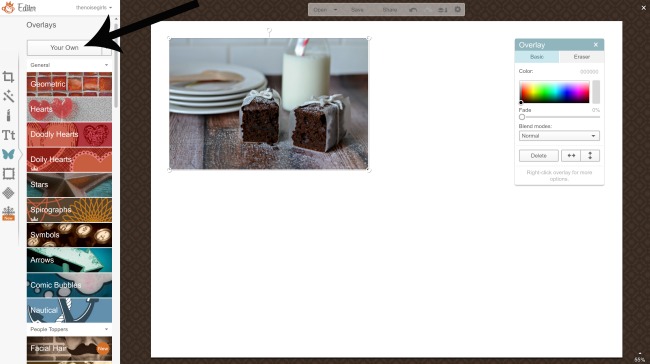
 5. Add your recipe photo (if you have one) by going to Overlays (butterfly icon) and clicking on Your Own. Then choose the photo you wish to choose on your computer or other image source. Position it to the location and size you want it to be on the card.
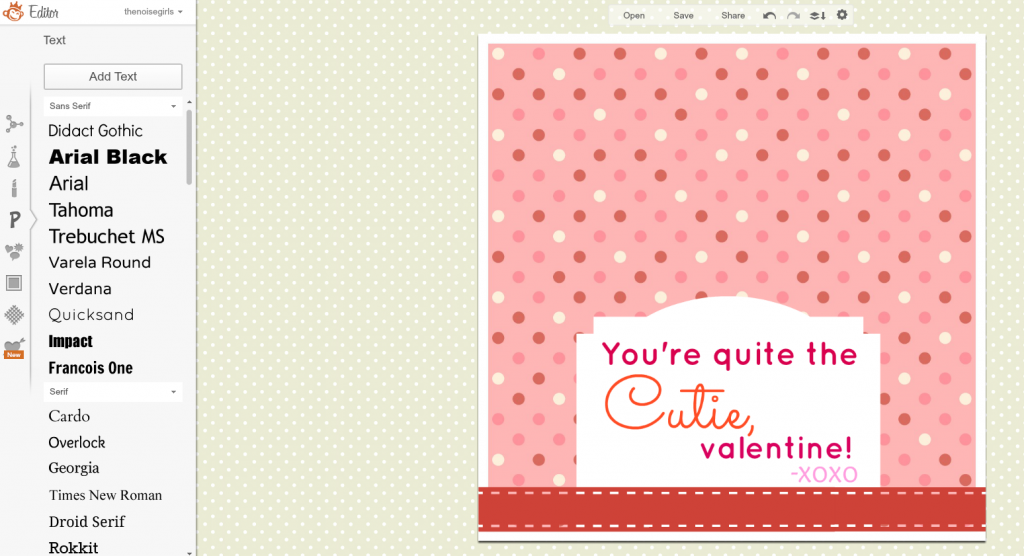
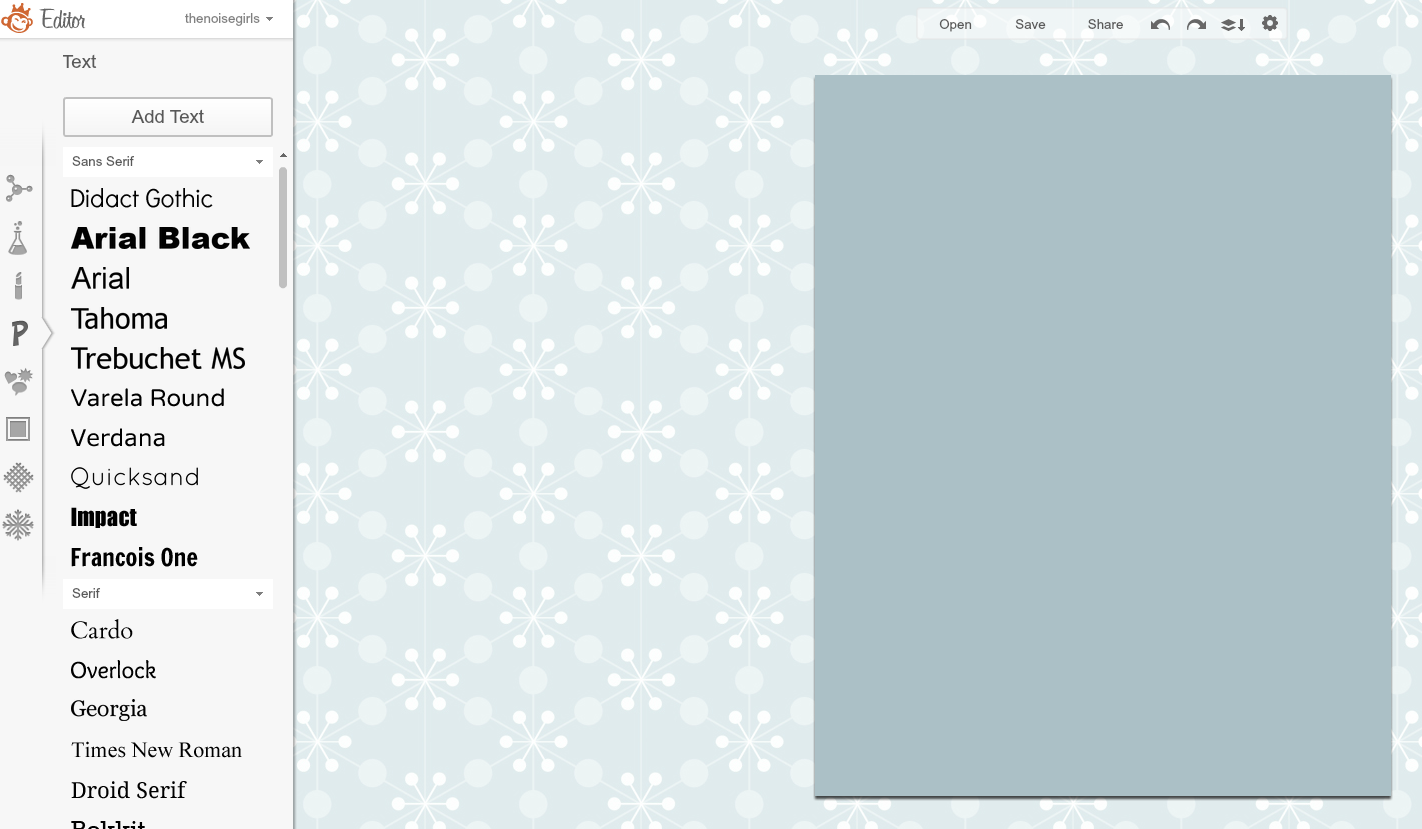
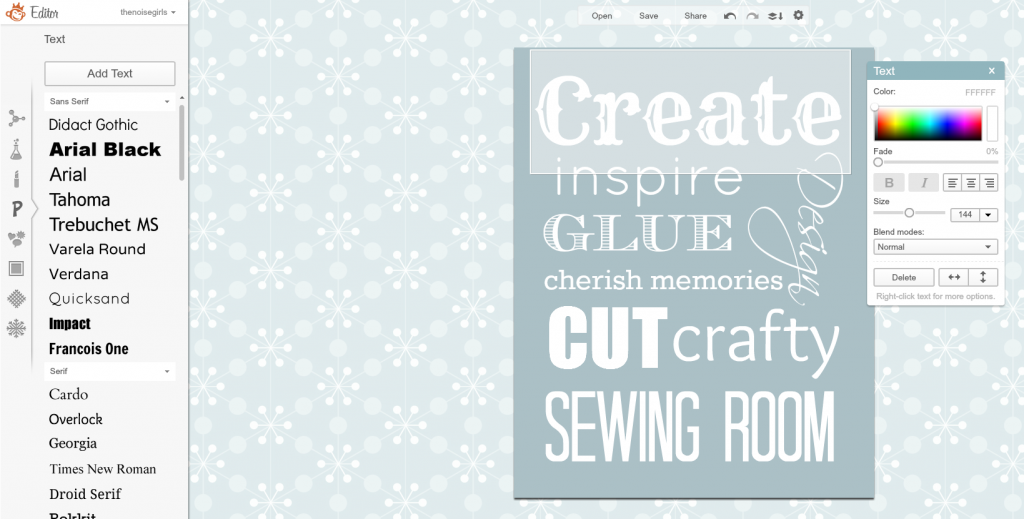
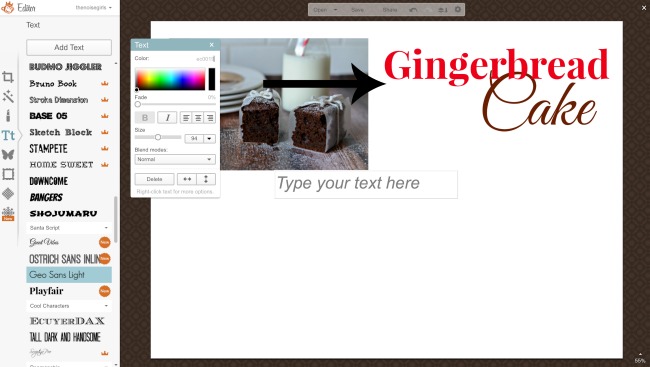
 6. Add the title of the recipe and the ingredients and instructions by adding Text to the card. If you’re a Royale Member of PicMonkey check out the awesome new Santa Script options. They’re some of my new favorites and what I’ve used on my card! Feel free to use the same color by grabbing and copying the color number (6 digits) and pasting it into the color box of your new text box.
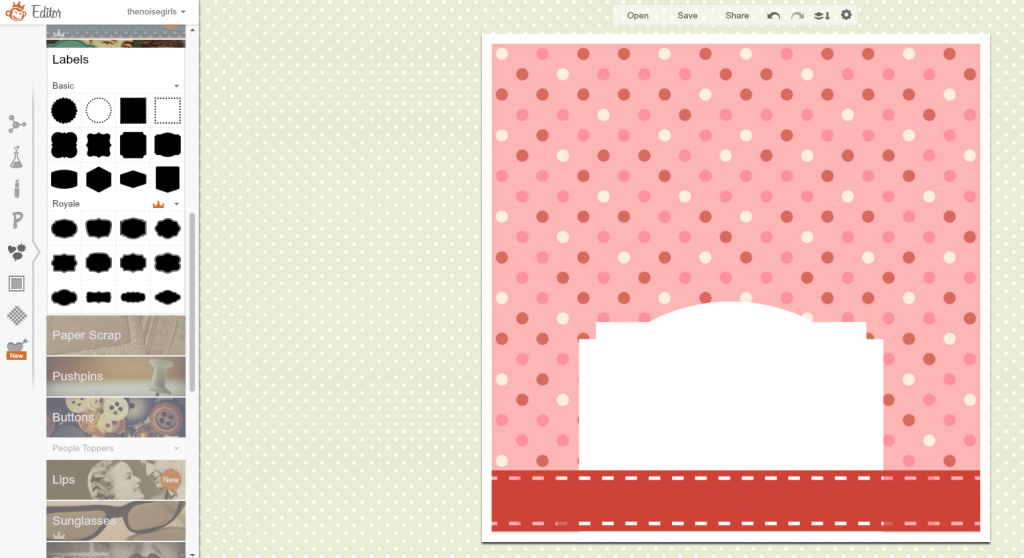
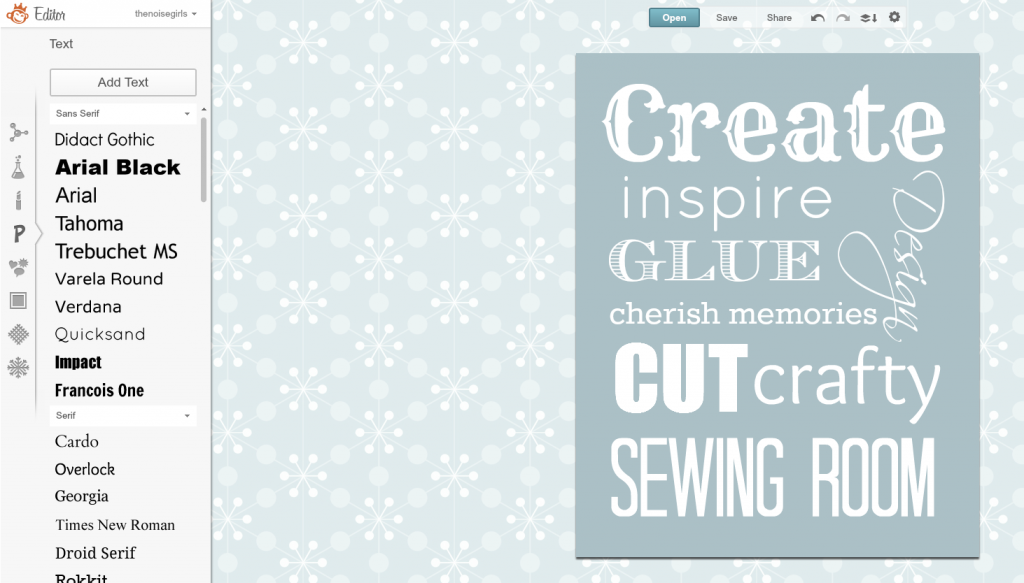
7. Now add some flourish and design to your card. To create a divider in between your ingredients and directions, use a Geometric overlay by re-sizing a rectangle.
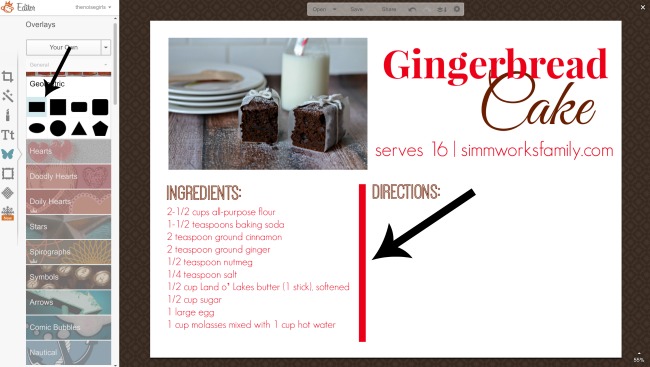
8. Add a border to one side or both by adding more Overlays. You can also add a frame around the recipe card under Overlays. I really like the look of the drop down option for these cards.

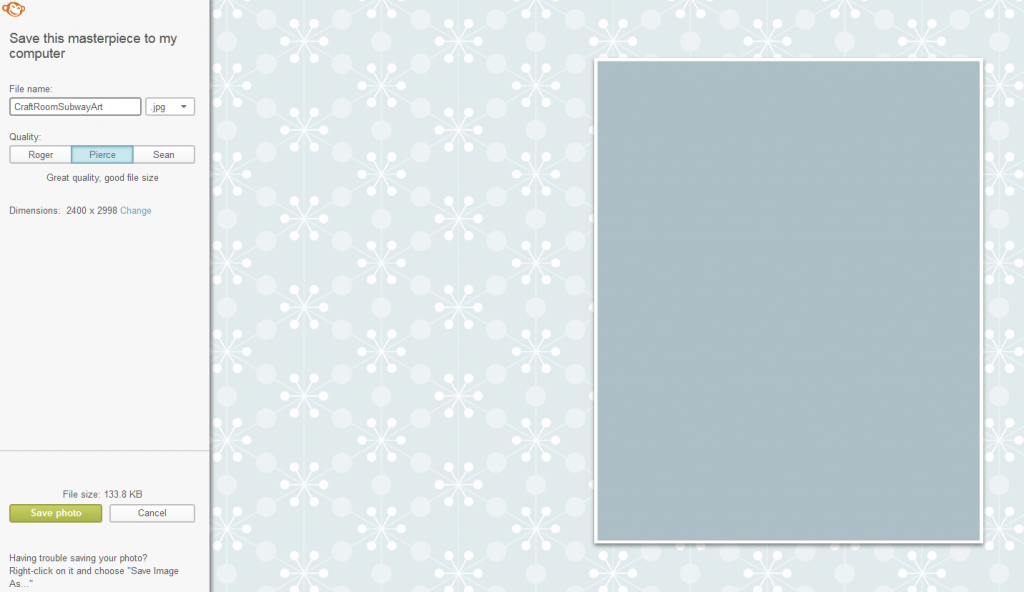
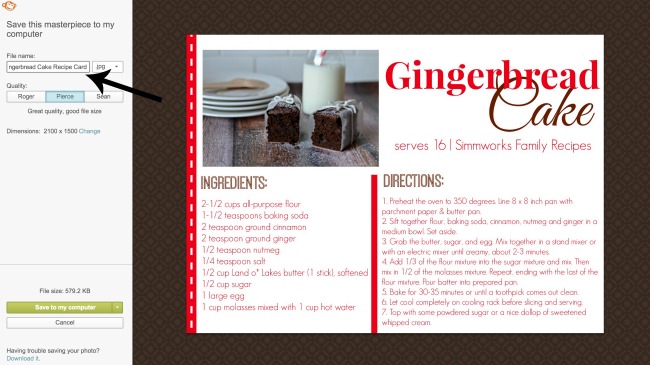
9. Now it’s time to Save the recipe card to your computer so you can upload and print from your favorite photo site or print from home.
10. Grab your printed recipe card, your plate of goodies, and start spreading some holiday cheer!
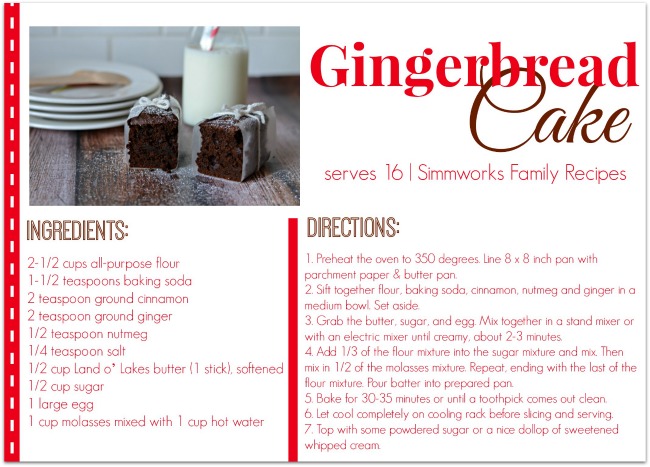
Have any questions about this tutorial? Please feel free to ask in the comments below. I’ll try my best to help you out if you have any questions! And for the full recipe post for the recipe above, visit my Gingerbread Cake Recipe post here.
What’s your favorite homemade gift to give?
Looking to play more with PicMonkey? Here are some fun projects to try out:


How To Make Subway Art With PicMonkey

How to Make Valentine’s with PicMonkey
Disclaimer: This post is contains affiliate links