DIY Bouncing Ball

Make DIY bouncing balls with your kids and share the fun of science in the process!
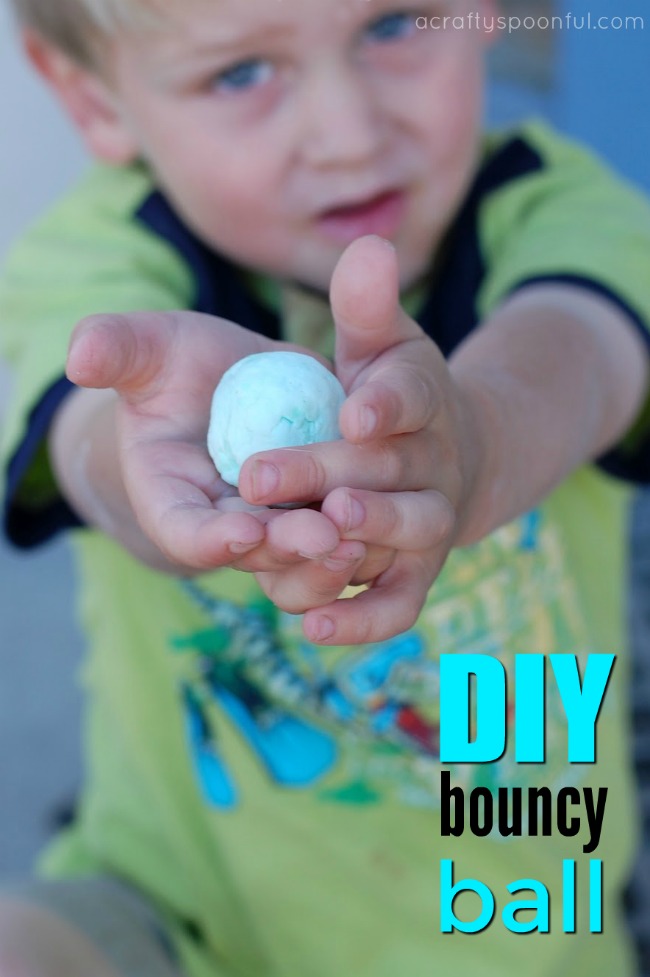
Have you ever wanted to make your own toys? See your creation unfold from idea to reality? My kids absolutely love balls. They always ask to buy more and our front yard is filled with them. So when I saw this tutorial on About.com on how to make polymer balls I had to give it a try.

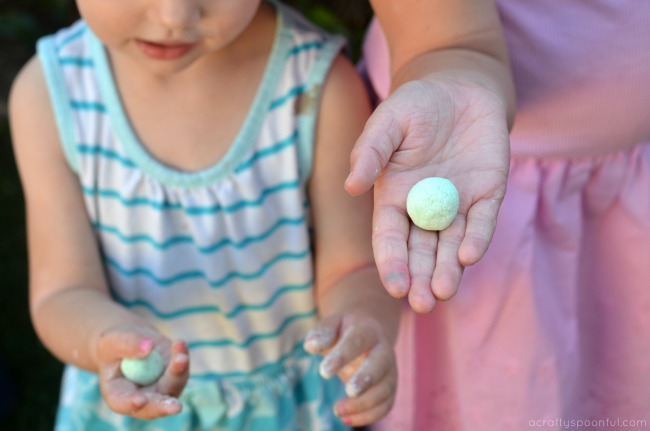
Result? A pretty fun experiment and toy all in one! And while the ball doesn’t bounce quite as high as the ones you buy from the machine outside of the grocery store it still provides hours of entertainment for children and adults alike. Whether you are looking to teach your kids about a little chemistry or just ready to make a fun toy, this is the perfect craft for a lazy afternoon. 

This post contains affiliate links.

DIY Bouncing Balls

What You’ll Need:

  • borax (found in the laundry section of the store)
  • cornstarch (found in the baking section of the store)
  • white glue (makes an opaque ball) or blue or clear school glue (makes a translucent ball)
  • warm water
  • food coloring (optional)
  • measuring spoons
  • spoon or craft stick to stir the mixture
  • 2 small plastic cups or other containers for mixing
  • marking pen
  • watch with a second hand
  • ruler
  • ziploc bag

[Read more…]

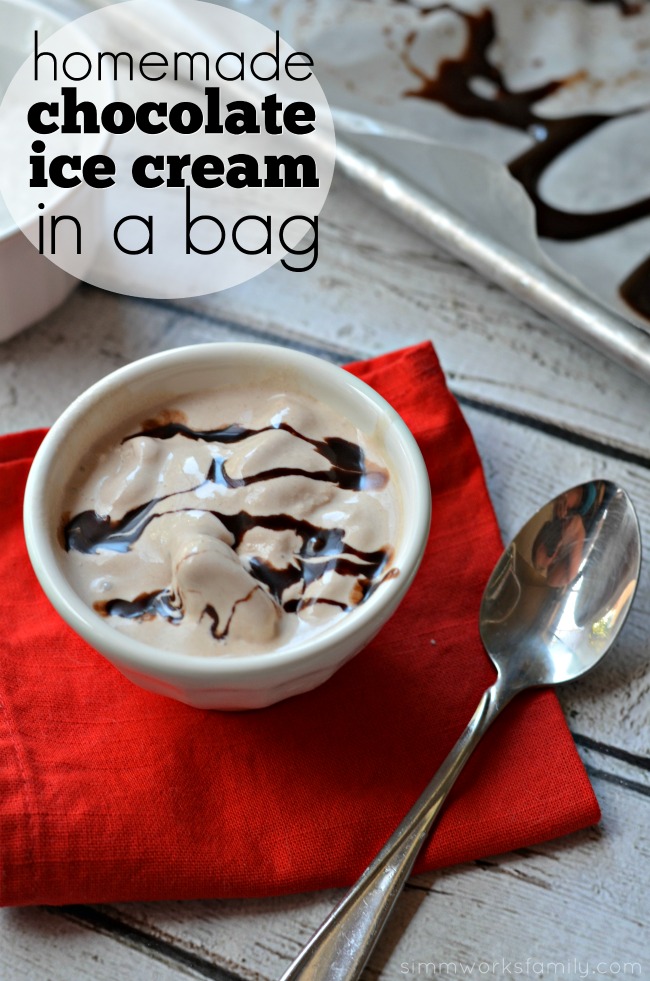
Science in the Kitchen: Homemade Chocolate Ice Cream In A Bag

We’re getting creative in the kitchen with this fun Homemade Chocolate Ice Cream in a Bag recipe brought to you thanks to our partnership with Hershey’s via MomTrends.  

Science in the Kitchen Homemade Chocolate Ice Cream In A Bag

This weekend the kids and I got a little creative in the kitchen. After finding that my husband ate the last of the ice cream, they were determined to make a fun sweet treat to enjoy while we watched movies together. So I suggested we make ice cream. Now their first reaction was one of disbelief. Not that they hadn’t made ice cream before, but because our ice cream maker has been in the garage since we’ve moved here and they knew that wasn’t going to happen. So when I suggested that we shake and make our own homemade ice cream in a bag like I used to with my grandma, their eyes lit up and they were 100% on board to try things out.

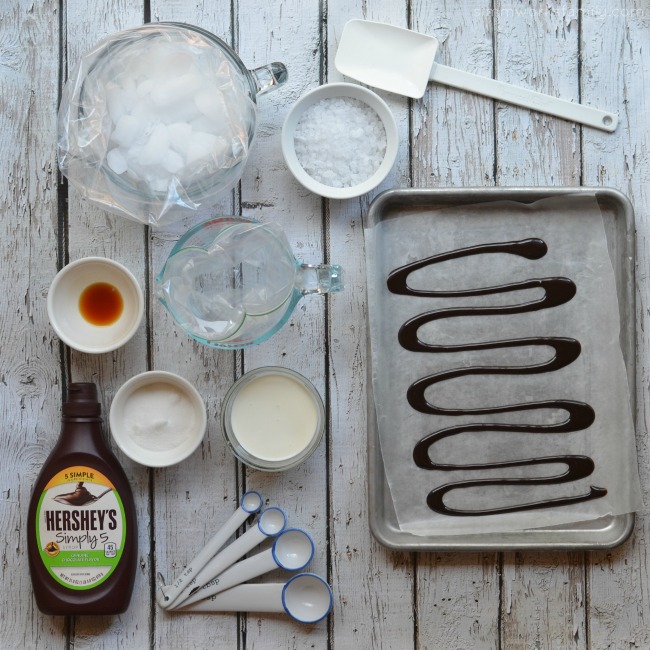
While we were going over what ingredients we needed – ice, ice cream salt, heavy whipping cream, vanilla, sugar – my son spotted the HERSHEY’S SIMPLY 5 Syrup and asked if we could turn our ice cream into chocolate chip ice cream like the kind we’ve made before with a ribbon of homemade ganache. Instead of nixing the idea right away, I asked him what he’d do to make chocolate chip ice cream from the syrup. His mind started going and the ideas started cranking out.

Homemade Chocolate Ice Cream In A Bag ingredients

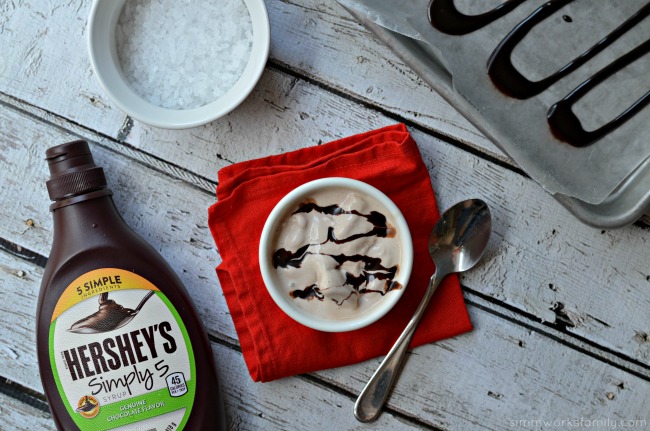
He settled on an experiment he wanted to try out: If we squeezed a ribbon of HERSHEY’S SIMPLY 5 Syrup onto wax paper and froze it, would it become hard so we could break it up into our ice cream?

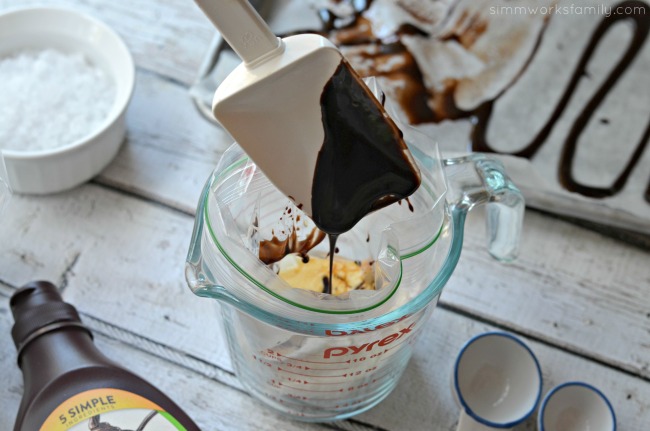
So I let him set everything up and try it out. After about 3 hours in the freezer, though, the syrup was very cold, but not solid. So he decided that we’d just drizzle the chocolate in the ice cream mix to make a chocolate ice cream. Even though his hypothesis was wrong, he still ended up with a pretty yummy outcome!

Homemade Chocolate Ice Cream In A Bag with Hershey's Simply 5

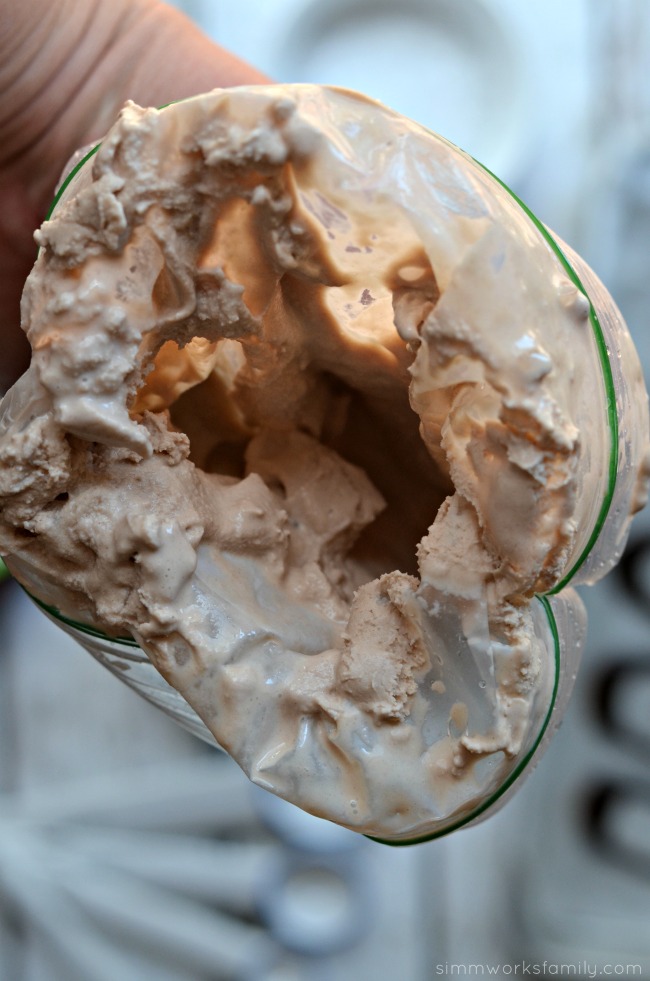
Each of the older two had their own bags of ice cream and both decided on stopping when it became the consistency of soft serve vs. waiting until it became a more formed ice cream (see the photo below). If you don’t like a little melted ice cream, feel free to shake until the ice cream turns harder.

Just a little squeeze of the HERSHEY’S SIMPLY 5 Syrup, brings back cherished childhood memories I created with my family so it was fun to do this with my kids. It’s an easy way to share a sweet and simple moment with my family. We also love enjoying a glass of milk with a little swirl of syrup inside!

Homemade Chocolate Ice Cream In A Bag and just right

Homemade Chocolate Ice Cream In A Bag

  • 1/2 cup heavy whipping cream
  • 1 tablespoon granulated sugar
  • 1 teaspoon vanilla
  • 1 drizzle of HERSHEY’S SIMPLY 5 Syrup
  • 6 tablespoons ice cream salt
  • 3 cups ice
  • 1 gallon size zippered plastic bag
  • 1 quart size zippered plastic bag

In the quart size zippered plastic bag, add heavy whipping cream, sugar, vanilla, and HERSHEY’S SIMPLY 5 Syrup. Seal tight making sure to get most of the air out.

In the freezer size zippered plastic bag, add the ice and ice cream salt. Then add the ice cream mixture bag. Shake, shake, shake like crazy until your ice cream starts forming (about 3-5 minutes of shaking). I suggest putting on some dance music to make it more enjoyable!

Once your ice cream has formed, wipe off any excess salt from the bag and snip a corner of the bag with some scissors (if soft serve consistency) to pour into a cup or bowl. Or use a spoon to scoop out (if harder consistency). Drizzle with more HERSHEY’S SIMPLY 5 Syrup and enjoy!

Homemade Chocolate Ice Cream In A Bag with Hershey's Simply 5 syrup

HERSHEY’S SIMPLY 5 Syrup is a sweet and simple take on the HERSHEY’S classic, now made with five simple ingredients. You can find more recipes and fun things to do with HERSHEY’S by visiting them on Facebook or following along on Twitter.

Disclaimer: Compensation was provided by Hershey’s via MomTrends.  The opinions expressed herein are those of the author and are not indicative of the opinions of Hershey’s or Momtrends.


© A Crafty Spoonful - All Rights Reserved
It is OK to use one of my photos provided a link back and/or proper credit is given. It is NOT ok to copy and paste a whole post including instructions. Please do not remove watermarks or alter images in any way. Please contact me with any questions at danielle@acraftyspoonful.com

.