
My family was (and still is) absolutely obsessed with green bean casserole growing up. I have so many memories of Thanksgiving dinners of the past where my mother and aunt fought over who would get the first serving as soon as we were done praying.
And sometimes we’d see them munching on the french fried onion topping before we even sat down at the table.
I shook my head wondering how the heck someone could like a dish that included some of my least favorite things: onions, green beans, and mushrooms. Ick! Then I grew up.
It took a Costco sampling this year to make me realize how much I’ve been missing out this whole time. So I decided I’d attempt my own homemade green bean casserole this year. And you know what? I love it!
Homemade Green Bean Casserole
Ingredients:
- 1lb green beans
- 6 ounces crimini mushrooms, sliced into 1/2″ pieces
- 2 tablespoons butter
- 1/2 teaspoon nutmeg
- salt and pepper
- 1 clove garlic
- 1 tablespoon all purpose flour
- 3/4 cup chicken stock
- 1/2 cup heavy cream
- 1 cup french fried onions + 1 cup reserved for topping

1. Preheat the oven to 400 degrees. Boil a pot of water and add salt. Cut green beans into 1-2″ pieces and cook for 5 minutes in boiling salt water.

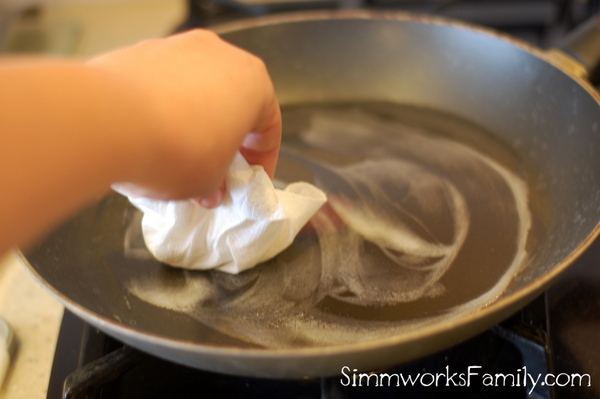
2. Heat butter in a cast iron skillet on medium. Clean your mushrooms off with a towel and slice thinly. Then chop into 1/2″ pieces. Cook mushrooms and salt and pepper in butter until they release their liquid, about 5 minutes.

3. Add garlic and nutmeg to the mushrooms and cook an additional minute. Sprinkle with flour and cook another minute.

4. Add chicken stock to the pan and scrape up all of the bits on the bottom. Reduce heat and let simmer for a few minutes until thickened.

5. Once green beans are done cooking, transfer them to an ice bath to quickly stop the cooking process.

6. Add the cream and stir. Let simmer another 2-3 minutes until creamy and fragrant.

7. Add the green beans and a cup of french fried onions to the mushroom sauce. Mix well until combined.

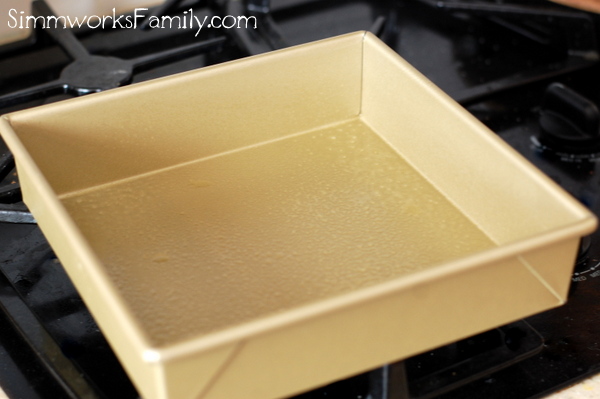
8. Add the green bean mixture to a 9×9 casserole dish and top with remaining cup of french fried onions. Bake for 15 minutes or until bubbly. Let cool 5 minutes and enjoy!

Do you serve green bean casserole at Thanksgiving?
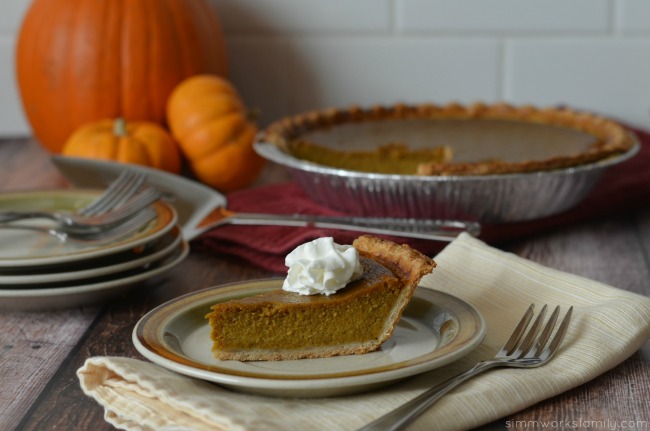
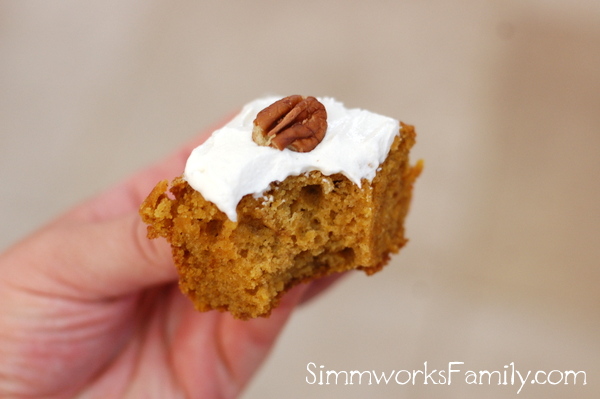
Don’t forget the pie!
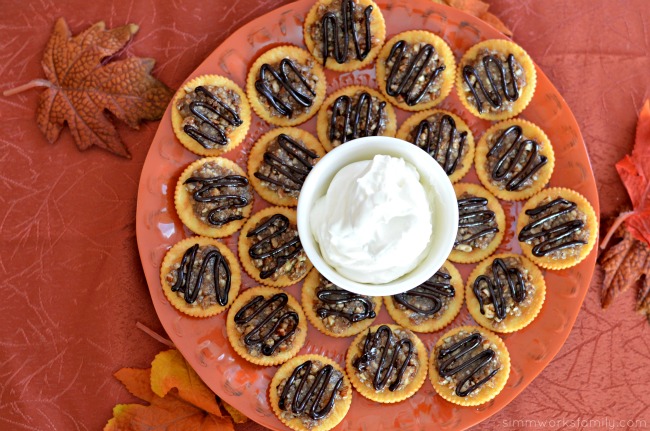
Mini Pecan Pie Bites


