Since our family has started to make a more conscious effort to become eco-friendly over the past four years there was one thing that I just never jumped on board with. And that was eco friendly menstrual products.
It might have been the fact that I was either pregnant or nursing during a majority of that time and therefore had no use for them. I only had three cycles between starting again after having my son and getting pregnant with my daughter. Lucky.
But now I have no plans of becoming pregnant again and needed a great solution. So I set out to find the perfect eco friendly menstrual products for me. Here’s what worked – and what didn’t – for me.
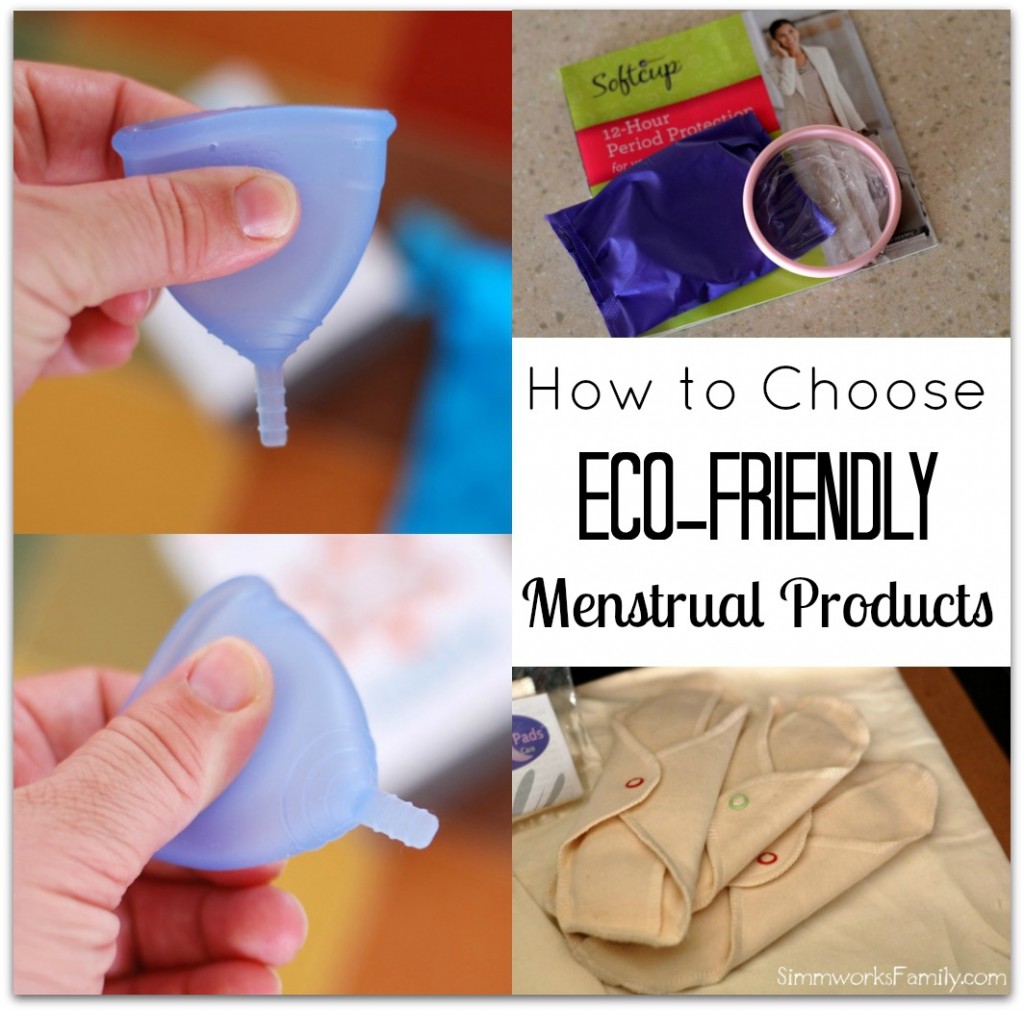
How to Choose Eco Friendly Menstrual Products
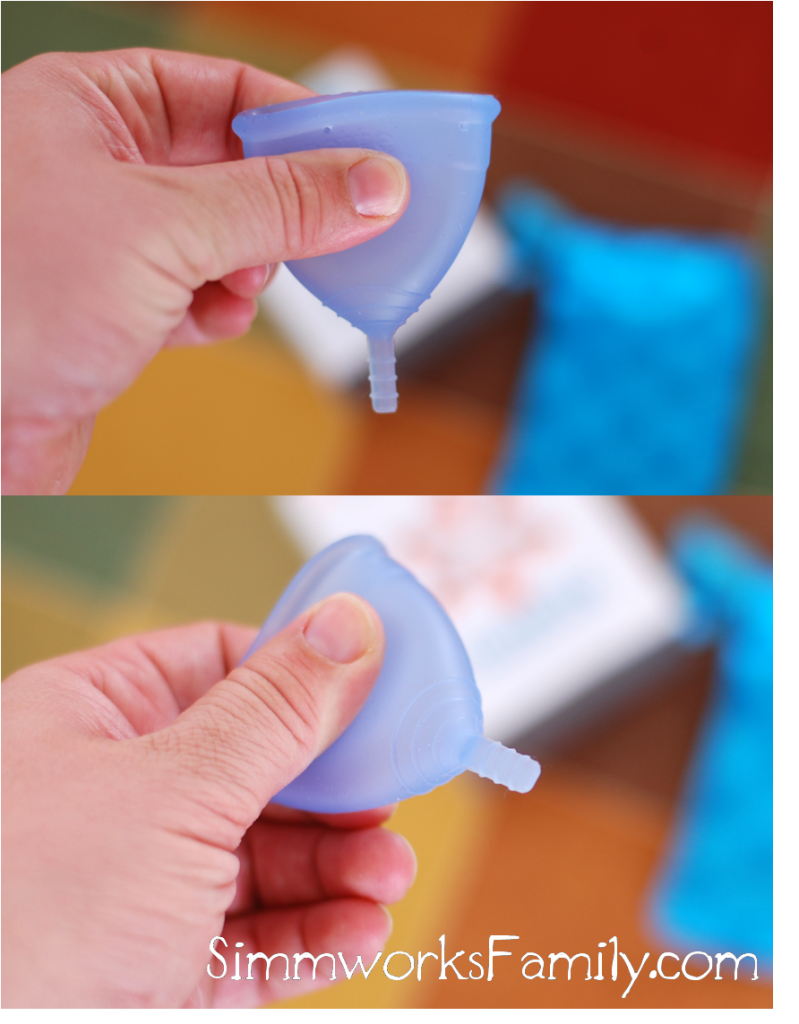
Reusable Menstrual Cups
The one option that was the best for me overall is a reusable menstrual cup like the Lunette (pictured above) or the Diva Cup. I’ve found that because you can choose the size and you can use the cup over and over again, it’s the most cost efficient and the easiest to use. You can read my full review of the Lunette here or check out more about reusable menstrual cups on Be Prepared Period’s website. But here’s a great breakdown on the pros and cons.
Pros: Truly reusable… simply empty, rinse off, and reuse throughout your whole visit from Aunt Flow. And it’s easy to carry around. Simply store it in the bag it comes in and put it in your purse or bag! It ends up being the cheapest option when you consider having to purchase a whole stash of pads depending on how heavy or light your cycle is as well as the cost of disposable menstrual cups. At $34.99 for the Diva Cup and $39.99 for the Lunette you’re going to save quite a bit of money over the years.
Cons: You have to deal with taking it out and emptying it when it’s full. While this might not bother some, the thought of dumping and cleaning the menstrual cup can throw some people off. I’ve found that after the first cycle I can now use my Lunette cup easily even when in public!
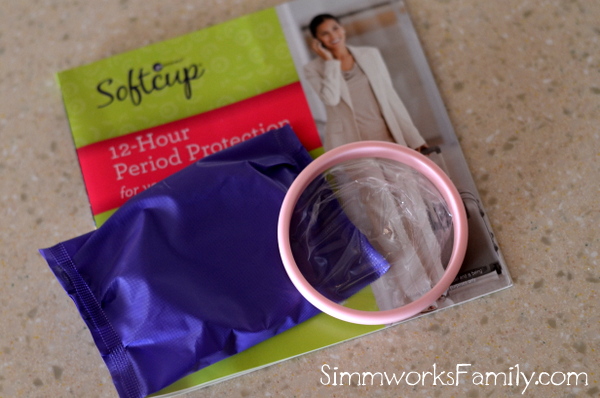
Disposable Menstrual Cups
Before switching to cloth pads or using a reusable menstrual cup I tried Softcup, a disposable menstrual cup option. And while I loved the idea of steering clear of tampons and the possibility of TSS I did not care for the mess and fussiness of this option. The fact that there was no easy way to take it out and that it had a smaller cup and, for me, doesn’t hold as much without leaking. However it’s a great alternative for those who are looking to get rid of tampons but aren’t quite ready for a reusable menstrual cup like the Lunette or Diva Cup. Here’s what I loved and what I didn’t:
Pros: The fact that I could simply grab and go just like a tampon was great. The Softcup is easy to insert and feels comfortable once its in place. Plus they last a bit longer than a tampon. Softcup is non-absorbent, and does not change the bacteria levels naturally present in the body. And in over 10 years of use, Softcup has never reported a case of TSS due to using this disposable menstrual cup.
Cons: I personally felt the need to change my Softcup every time I went to the restroom. It didn’t stay where I put it and was a bit difficult to get the hang of when I tried to take it out, therefore being a bit messier than I prefer. I also didn’t like the fact that i was still buying boxes of product each period.
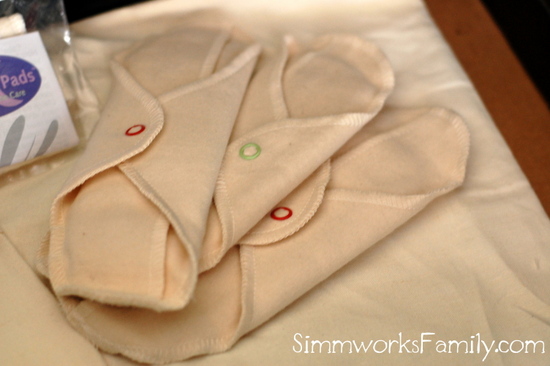
Reusable Cloth Menstrual Pads
Cloth was definitely an easy transition for me after using cloth diapers on my kids. I simply used the pads, put them in a small wetbag, and washed them with the towels. The ease of use was great and cloth pads work very well for right after having a baby!
Plus it was a lot more comfortable to use a cloth pad than a disposable one when dealing with the first 6 weeks after having a kid. I could put them in the freezer and feel instant relief! But because I’m a little on the heavier side I didn’t prefer them for every day use during my cycle. I did, however, use them as liners as I got used to my menstrual cups. You can read more about my experience with cloth pads here. Here’s what worked an what didn’t:
Pros: Reusable, easy to wash, and so soft! Plus they make great liners when using menstrual cups for beginners or for other times in the cycle. And they can be used for people who might have other issues and just need a little added protection down there (have you ever had a bit of trouble after sneezing or while running long distances?).
Cons: I just don’t care for pads so I couldn’t find myself using these all the time. I also didn’t like the fit and felt too bulky when I had to wear the larger ones on heavier days. And while they aren’t the most expensive of the bunch, just like cloth diapers you do have to invest a little bit of money in a stash up front.


I love all-in-one cloth pads. They even come in designer fabrics. Extremely absorbent and comfortable. Reusable menstrual products (RuMPs) changed my life. I no longer hate that time of the month. Actually, I look forward to it. They reduce waste, odor, irritation, cramping, and heaviness of flow. Who doesn’t want that?
If you’re curious about cups or cloth pads, I encourage you to come join the discussion to learn more from gals in the know. https://www.facebook.com/groups/185366334971051/
Although I haven’t had many cycles due to medication since my daughter was born 3 1/2 years ago, I can’t wait to try out all the new “green” options that are available!
I switched to cloth pads after we started cloth diapering our daughter. Love them! I just keep them in a laundry bag in my bathroom, or a mini wet bag in my purse. Then wash with the diapers. I’ve never been one for tampons, but I am starting to get intrigued with the menstrual cups. Thanks for the great review!
I’ve been thinking about going green with menstrual products but didn’t know where to start. I think the Lunette or Diva Cup will be the way to go for me. Do you find in public that you have to get out of the stall to clean it and then go back into the stall to re-insert? I’m figuring out how I can manage this with children in tow.
I really want to try the Diva Cup and I already love cloth pads! 🙂
You’ll love the cup! Much easier than cloth pads. I prefer the fit of my Lunette but have heard people loving both!
I have a friend who uses the Diva cup and she loves it. I have not tried any of those options but I just might have to check into it. Thank you for sharing such a great in depth review of the options. It makes it easier for me who knows almost nothing about them!
I’ve always wondered about the cups. I just don’t know if I could handle it!
You’ve taught me a lot. I was kind of scared of those cups before learning more about them. They look a tad bit intimidating. I should think about buying some reusable pads. Thanks for all the info.
Gosh, I am learning something new here. I had no idea there were reusable menstrual cups. I’m familiar with the reusable pads but not the rest. Thanks for the awesome info!
Sometimes we keep hush hush about this stuff to be PC but I figured if I didn’t know about them until a few months ago, why not share with everyone!