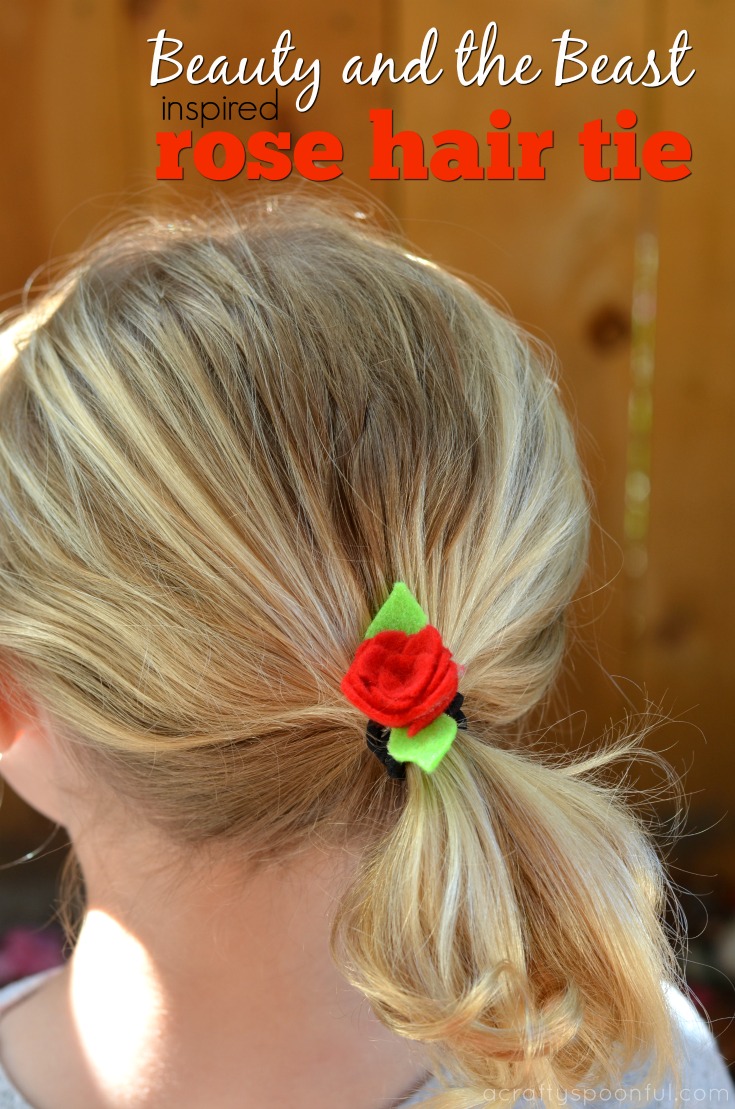
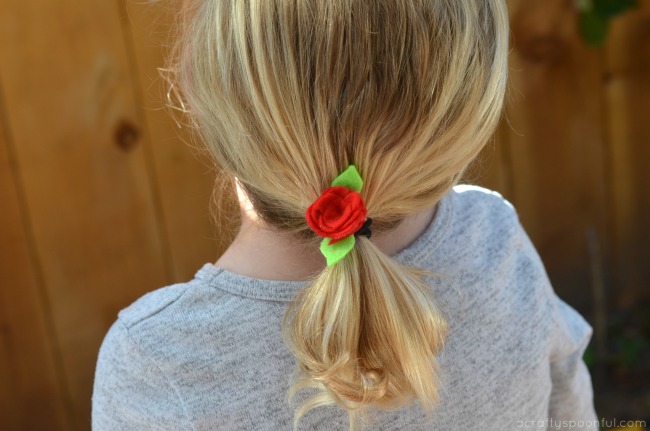
In celebration of the new Beauty and the Beast that hit theaters last week, my daughter asked me if I could make her a special hair tie to wear when I take her to see it. And since I’m always up for a challenge, I got to work to quickly make a cute DIY rose hair tie for her to wear.
Since she also had some leftover hair clips from St. Patrick’s Day, we used a few of those to make rose clips as well. We always try to craft with what we have around the house so feel free to adapt and create as you go to make the perfect rose hair accessory for you or your little one!
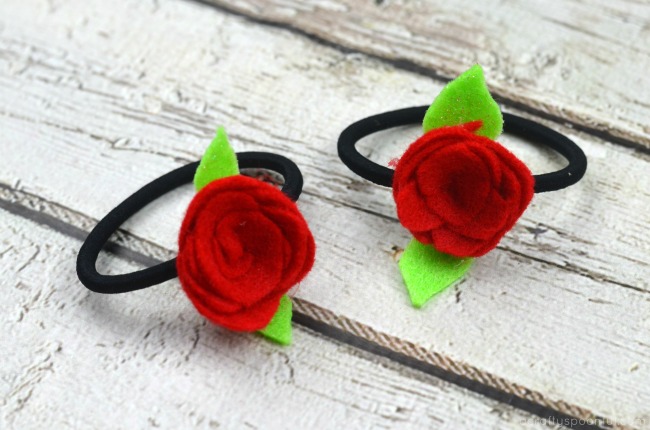
What I love about this craft is how easy it is to put together. You can have a super cute hair accessory in less than 5 minutes!
Here’s how:
DIY Rose Hair Tie
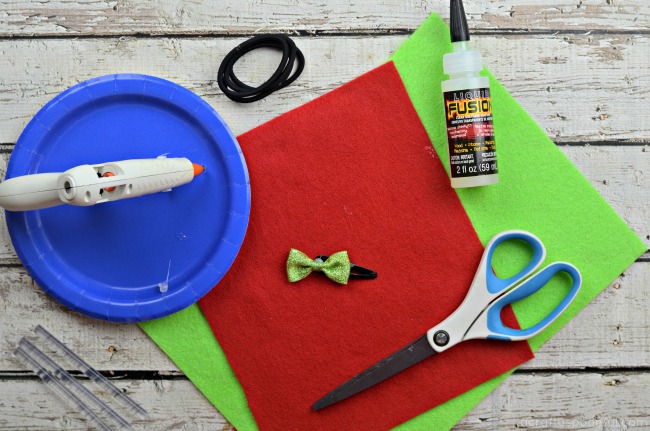
What you’ll need:
- red felt
- green felt
- scissors
- hair ties or hair clips
- hot glue gun or crafting glue
What you do:
1. Cut a 2″ circle out of the red felt. The size of the rose will be determined by the size of the circle so you can adjust to a larger circle for a bigger rose or smaller circle for a smaller rose.
2. Cut out a spiral into the circle leaving a small center to use as the base of your rose.
3. Take your spiral and cut a scalloped edge on the outer edge of the spiral to create the petals of your rose.
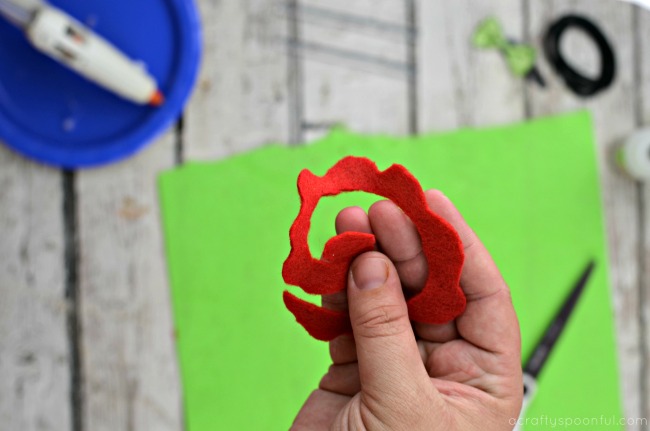
4. Gather the spiral scallops and, taking the center, start to tightly wrap the petals around the center of the spiral until a rose forms.
5. Using the glue, secure the edge of the rose to the side so that it doesn’t unravel.
6. Cut out some leaves out of the green felt. Start by cutting out a marquis first and then cutting into the marquis to form a round center with two petals coming out of it (see video for visual instructions).
8. Let set completely before pulling your hair into a pony tail to show off your new hair tie!
Did you see Beauty and the Beast yet? What did you think?
Read our review here.


