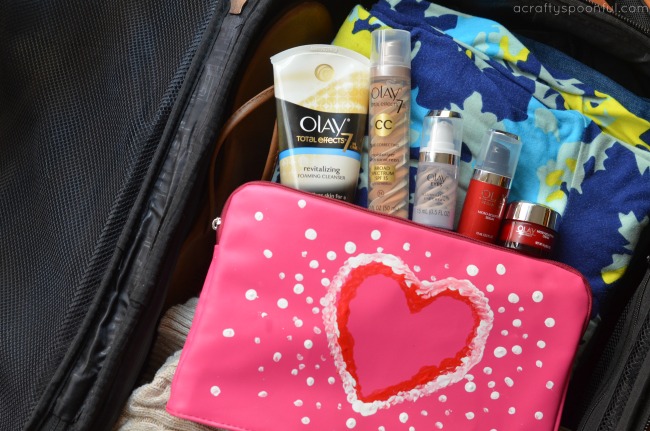
We’re sharing our DIY skin care kit sponsored by Olay, plus a fun travel case tutorial to carry it around wherever you go!
The past couple of weeks has been a whirlwind. With recovery from the holidays, more travel for work, and just an overall amount of trying to fit too much into too little time. Luckily the one thing I have made time for, even with all of the travel and schedule changes, is my skin care. For the past 28 days, I’ve taken part in the 28 Days of Olay; I’m using Olay products for 28 days to see the clear difference it makes.
Now I’m not a products person. I’m also not much of a makeup person. So skin care is something that is very important to me. Because I don’t wear a lot of makeup, cover up, etc, I rely on my skin care to do the bulk of the work for me. And with my DIY skin care kit, I’ve been able to take my skin care with me wherever I go. It doesn’t matter if I’m on the go and attending a conference or just doing everyday work at home mom stuff from the comforts of my own home.
Looking to make your skin care routine simple AND feel better in your own skin?
Here’s how you can do it:
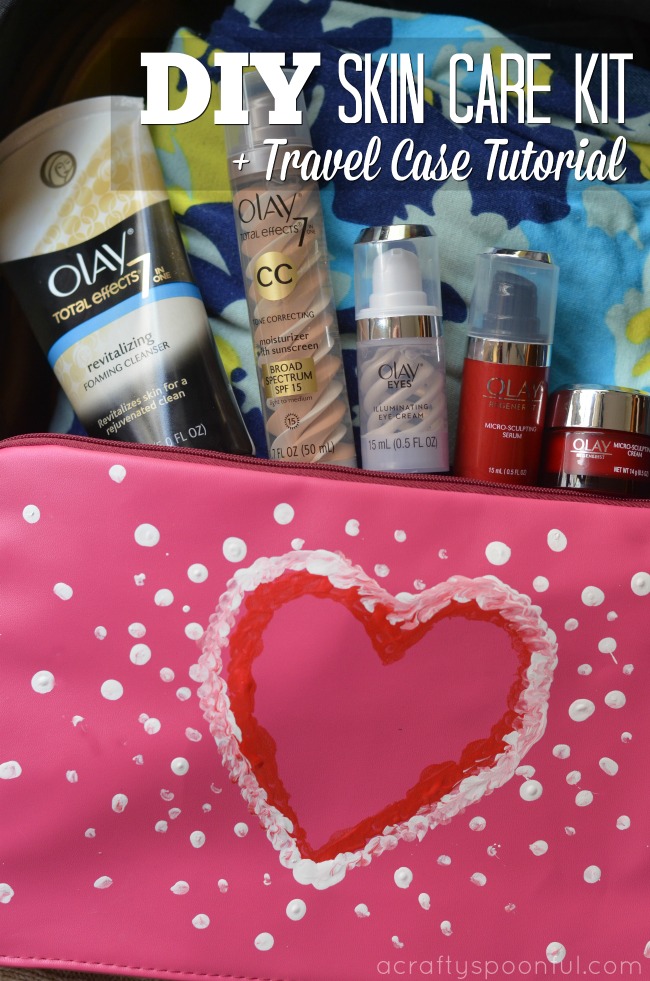
DIY Skin Care Kit
1. On your mobile device, visit the Skin Advisor website.
2. Snap a photo of yourself without makeup on and upload it. Skin Advisor will analyze your color, eye lines, wrinkles, and more – giving you an age estimate.
3. Then take the specific product recommendations for your skincare needs that Skin Advisor suggests that you purchase at Walmart.
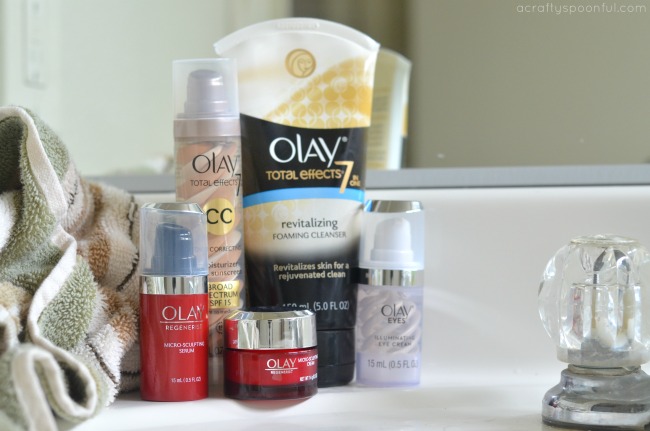
4. Make sure to get a cleanser, a moisturizer (for night and day), and a serum or cream to focus on any trouble areas.
Tip: Buy trial size versions of your favorites to take with you when you’re traveling. Or purchase a pill container and fill each day up with the cream or moisturizer you’ll need each day.
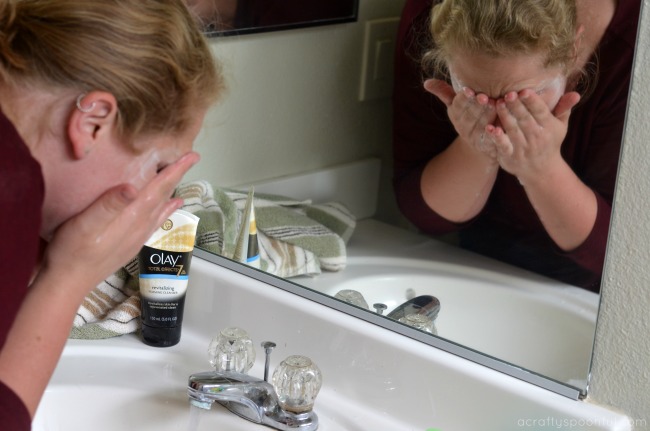
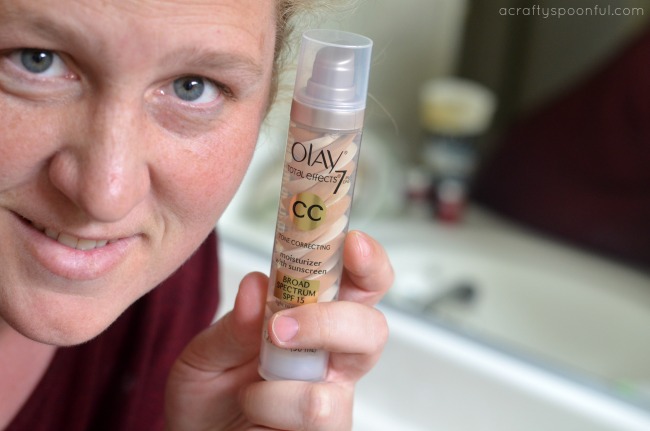
For me, the Olay Total Effects Revitalizing Foaming Cleanser and Olay Eyes Illuminating Eye Cream were a must. I can clean my face completely both day and night and not have to worry about my face drying out. Then I can hit my trouble spots – those dark circles and bags under my eyes – with the Olay Eyes Illuminating Eye Cream. I use the Olay Total Effects 7 in 1 CC cream to finish everything off before applying light makeup (mascara, some eye shadow, and tinted lip balm are my go to).
A simplified skin care routine has made it easier to stick with it for the past 28 days and my skin thanks me! You can tell how well my skin is doing by taking a peek at the photo above. I can’t wait to see what my skin looks like in another 28 days!

DIY Travel Case Tutorial
What you’ll need:
- zipper pouch or makeup case
- craft paint
- pencil with eraser
- 2 paper plates
- scissors
What you do:
1. Take a paper plate and cut a design out of it. You can do a heart, a star, a letter, or even a cute little airplane to represent travel. Just make sure the shape will fit on the front of your pouch.
2. Put the shape cut out on the front of the pouch (make sure the top of the bag is at the top of your design).
3. Using the eraser of the pencil, dot around the design with the paint color of your choice. Outline the shape in two layers. Then once the layers are complete, start to add more layers and taper off how dense the dots are until you are left with a starburst design.
4. Remove the cardboard cut out and admire your pouch as you let the paint dry. Fill with your favorite skin care kit items and enjoy!