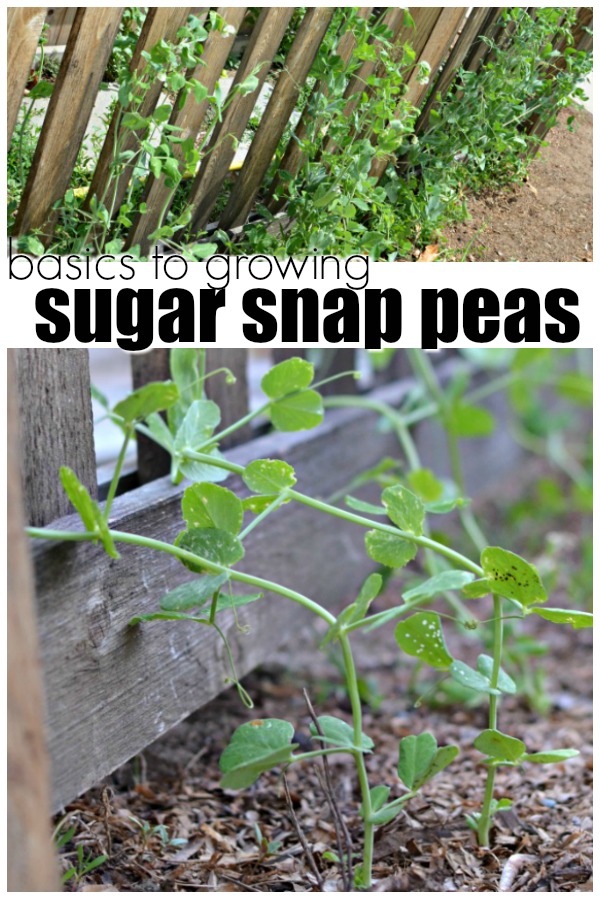
We love being able to grow new things each season. And this season we’re learning the basics to growing sugar snap peas! If you are looking for a great plant for kids to get involved in, you have to try growing sugar snap peas.

Peas are one of the easiest vegetables to grow from seed that you can choose from, and they constantly give you something to harvest. As long as you provide peas with the things that they need anyone can be a pro at growing peas. There are a few basics that hold true for every variety of pea plant that you are interested in growing, so as soon as you understand those basics you can begin growing your own pea crop.
Once you have decided what type of pea plants to grow, from snap to snow to vine to bush, learn these basics and get started.
Basics to Growing Sugar Snap Peas
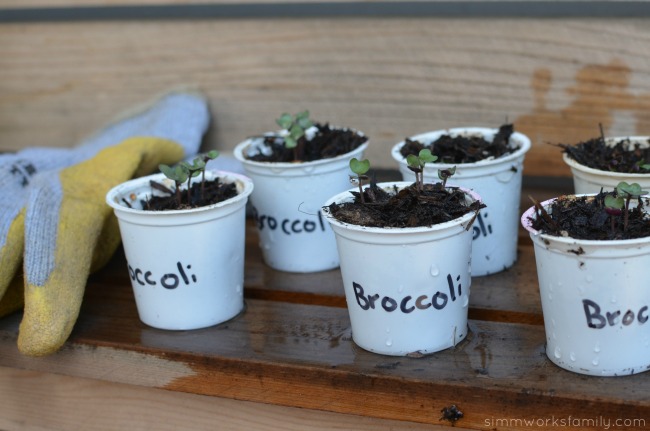
Start From Seed
Peas are best grown from seed, so it is always the best idea to decide where you are going to plant and grow your peas and then stick to that site. Pea plants do not do well with transplanting, so it is essential that the garden space or container that they are in is able to provide for their growing and nutrient needs. Do not plant all the seeds that you purchase at once, but just a few at a time so that you can replant in rounds throughout the growing season and always have plants at different stages of growth to harvest from.
Provide For Pea Plant Basic Needs
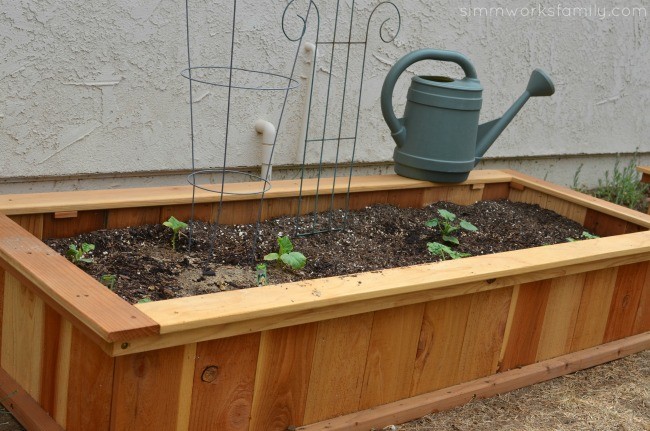
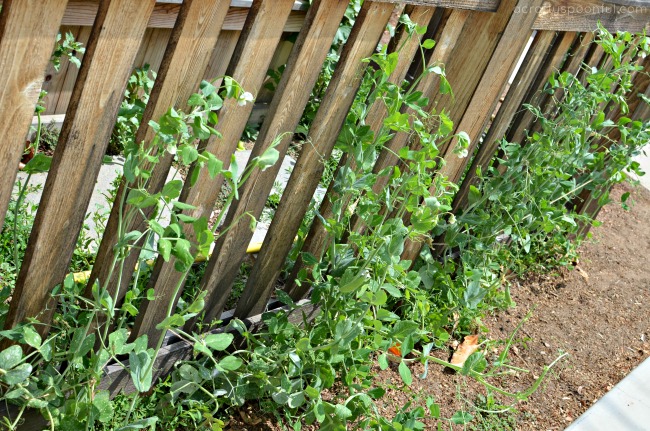
Sugar snap peas require full sun, well-worked soil that is organic-rich soil and space to spread out. Vine varieties of peas need to be planted next to a trellis, fence or stakes so that they have something to grab onto as they climb. Bushy varieties need space to spread out because they form clumps that do not like being crowded. As long as you can provide these three key needs and regular waterings, peas should be able to thrive in your garden with minimal attention.
Thinning Peas
Sugar snap peas should be planted 1 to 2 inches apart and then thinned out to 3 to 4 inches apart, so if you have a very successful show of seedlings, you will have to thin them out more than average. Use garden scissors to thin out your seedlings, or pinch them close to the soil, so that you do not uproot pea seedlings nearby.
Harvesting Your Peas
Pea pods will begin to appear on your plants about 6-8 weeks into their growing season, depending on variety. Do not wait for the pea pods to begin splitting and showing the peas inside, pick them before this happens when they have reached their final length. Pea pods will show bumps from the peas inside, but you do not want them to be bulging open. As long as you harvest early, your plants should give you another crop or two before the plant is entirely spent.

What are you growing in your garden right now?
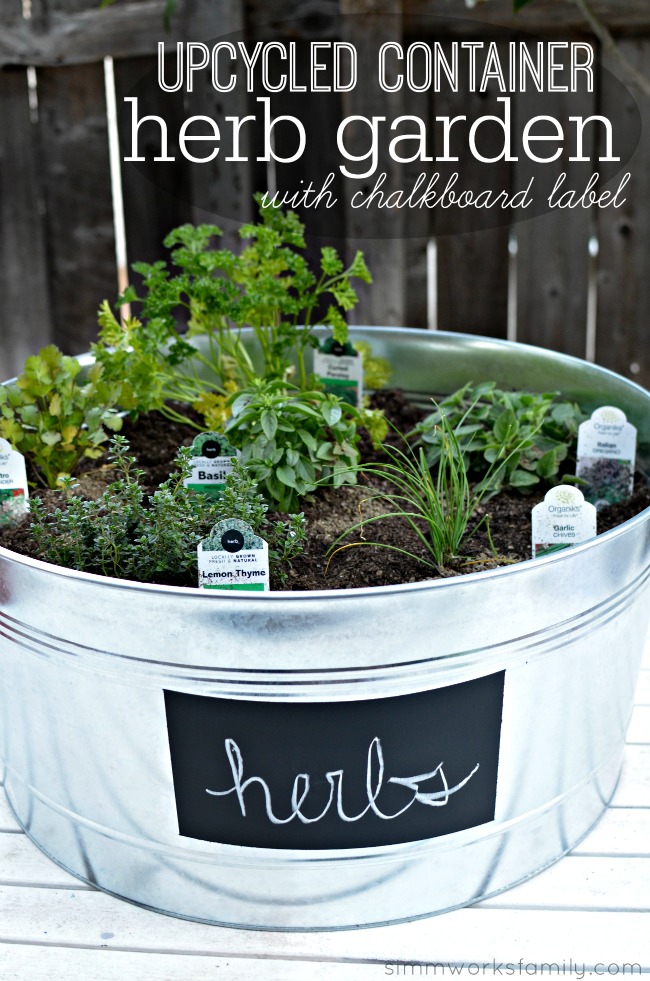
Looking to grow more in your garden? Try these kid-friendly crops!
DIY Indoor Hanging Herb Garden Ideas
Creating a Beautiful Butterfly Garden
Pin this article for later!
Click the Pin button on the image below to save for later.