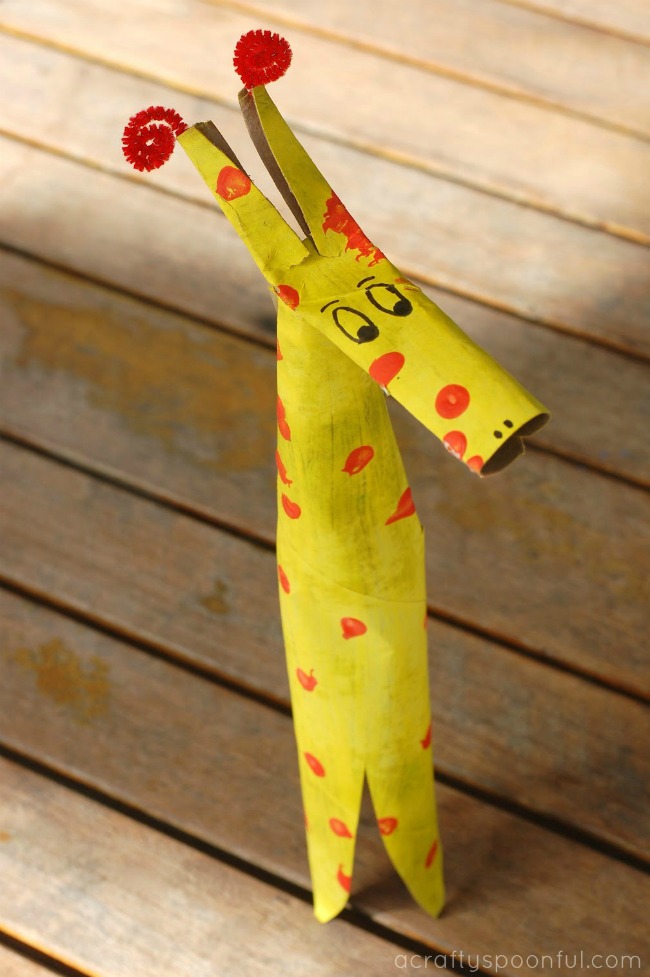
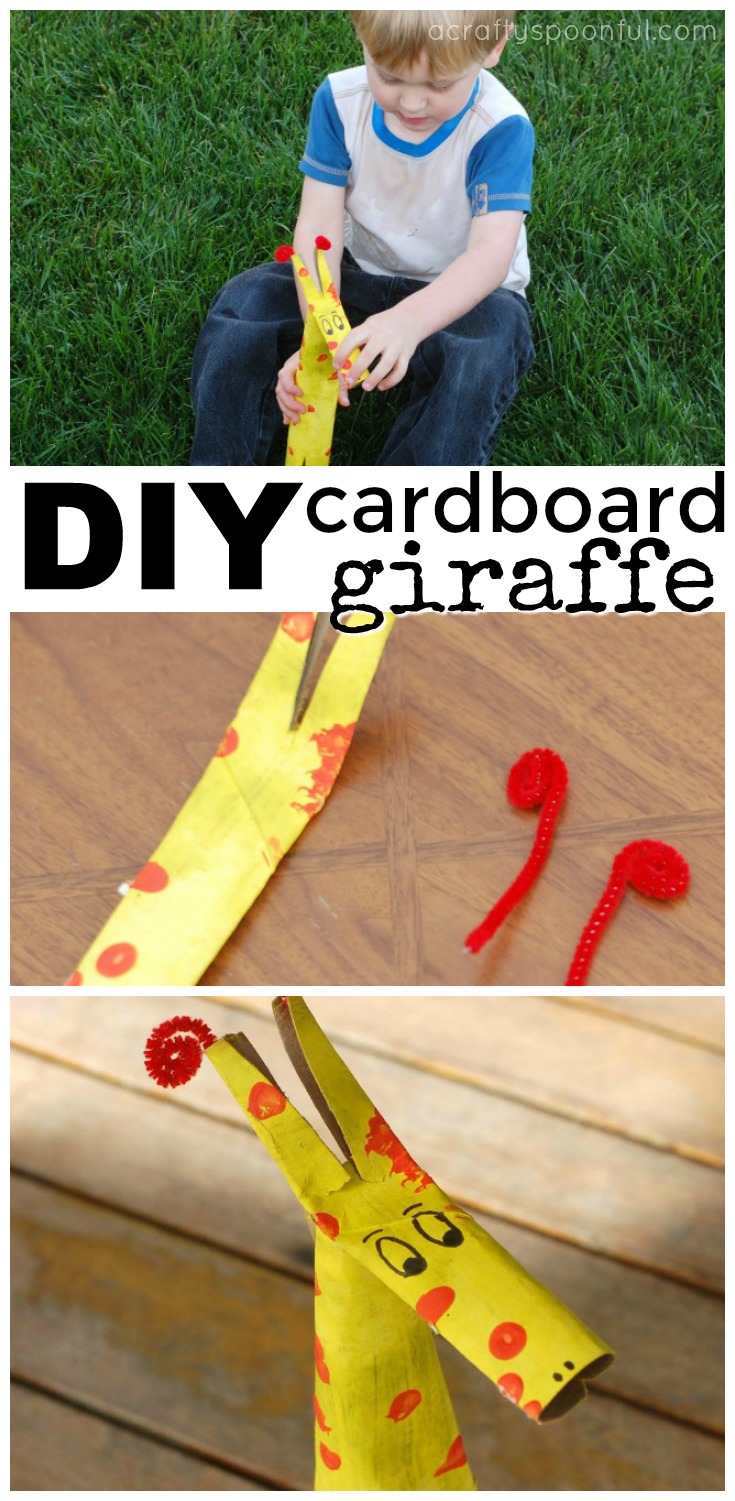
When life gives you toilet paper rolls, make a cardboard giraffe! This simple tutorial shares how you can make your own DIY cardboard giraffe using only a few supplies.
Since I started incorporating Tot School lessons into our weekly schedule I’ve been on the hunt for more and more fun crafts for my kids. I’ve been using Pinterest to keep track of what crafts to make and love being able to choose crafts that pair well with the week’s theme. This week we learned about mammals so I thought this adorable cardboard giraffe would be the perfect craft to make.
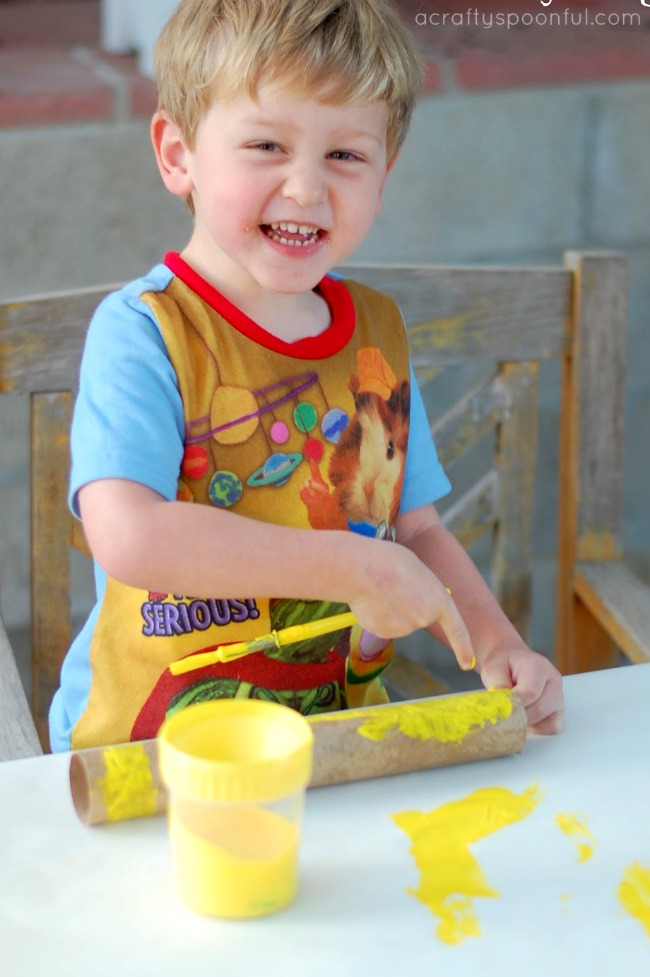
My three year old LOVES to paint so whenever I ask him if he wants to do a craft where painting is involved he quickly agrees. I love that this craft not only includes a paint brush to paint but also q-tips to make circles on the cardboard. My son has never used q-tips in his painting and I think this is one fun tool we’ll start incorporating more often! We also used the circles as a counting tool as well. we were able to count each circle we made after we assembled the giraffe. We also got a lot of fun imaginative play out of this craft turned toy.
DIY Cardboard Giraffe
What you’ll need:
- cardboard tube, paper towel size (about 1′)
- paint brush
- yellow paint
- orange or brown paint
- q-tips
- scissors
- pipe cleaners (any color)
- tape or glue
- stapler
- black marker
What you do:
1. Have your child paint the cardboard tube with the yellow paint. Make sure it’s completely coated. Let dry.
2. Once the yellow paint has dried grab the orange paint and some q-tips.
3. Let your child dip the q-tips into the paint and start to dot the yellow cardboard. Don’t be alarmed if they start drawing lines instead of dotting. It’s all fun!
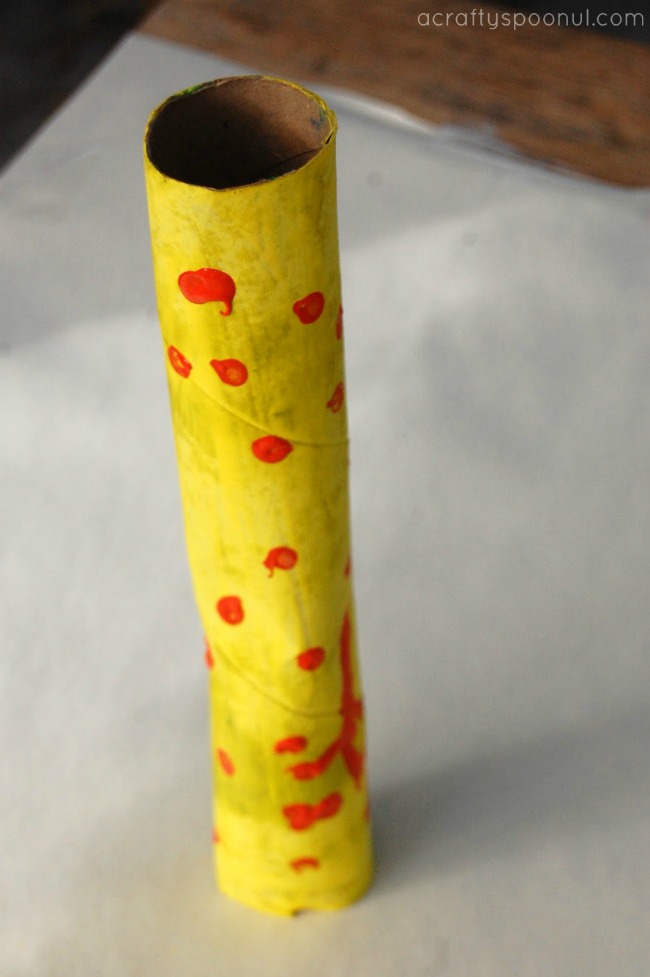
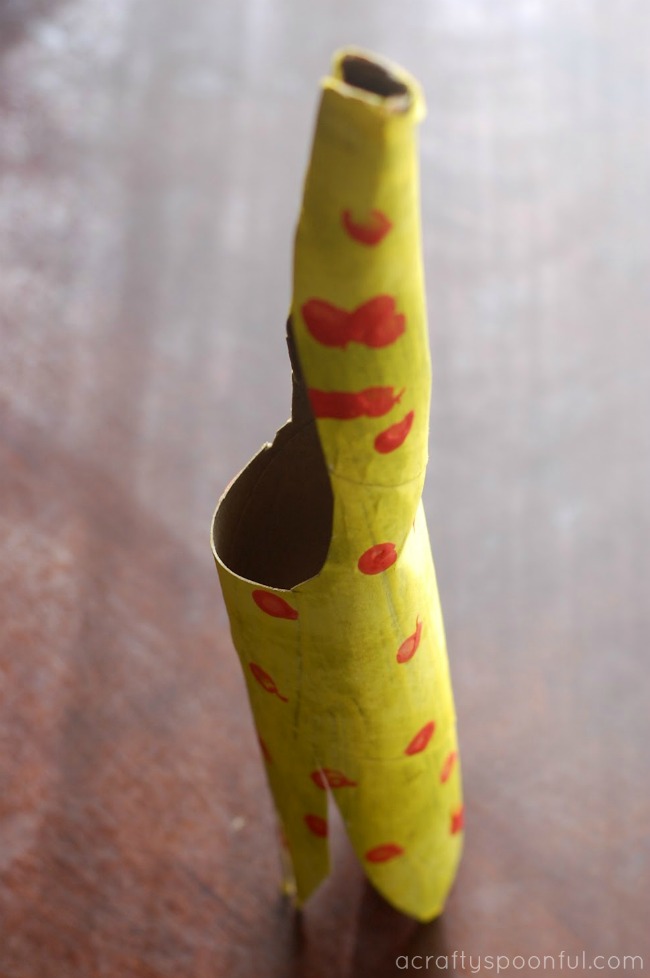
4. Let the orange dots dry. Once the paint is dried cut out four lines on one side of the cardboard. Then shape those four sections into the giraffe’s legs.
5. On the opposite side cut out a large U. The leftover portion of this side of the cardboard will be the neck of the giraffe. Take each open side and curl them into one another. Glue or tape closed.
6. Take the leftover cardboard from the U and roll it into a cylinder.
7. Glue or tape the cylinder closed. Flatten the cylinder and cut a V into one side.
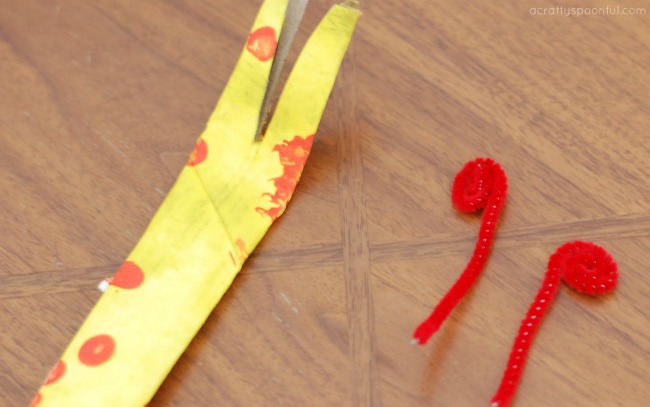
8. Take the pipe cleaners and roll up one side to create the horns of the giraffe. Slide the horns into the cardboard slots and close with glue or tape. Let dry if glued. Bend cylinder at the base of the horns to get them to stick up.
9. Attach the head and horns onto the neck with tape or a stapler. Draw eyes and nose slits on the cylinder to personalize your giraffe.
10. Give your giraffe a name (or allow your child to name it) and start playing. Have fun!
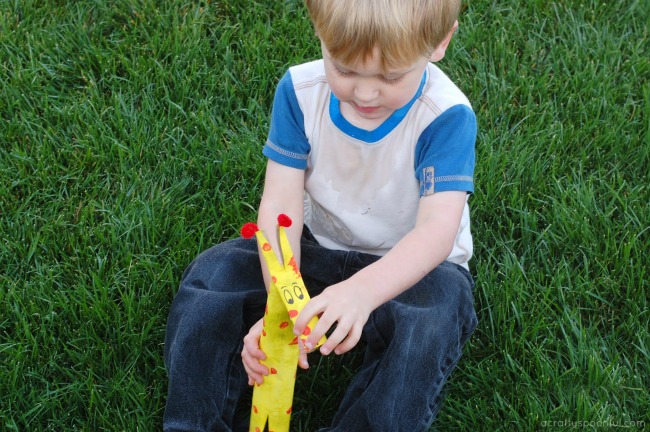
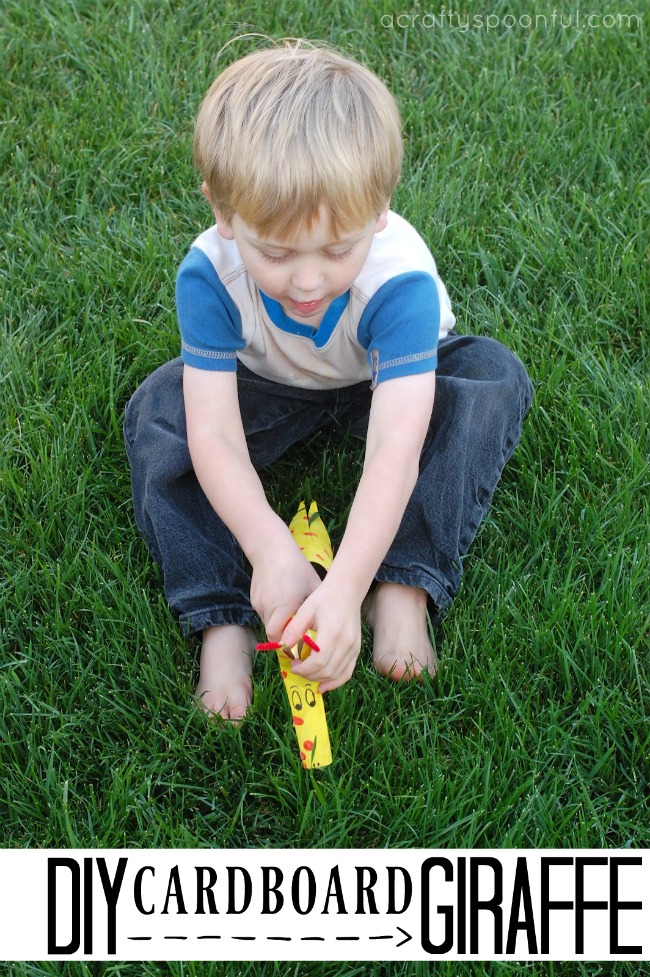
The first thing my son did when we finished his giraffe was to take it out to play in the grass. The giraffe loved eating all of the grass he offered it. If you make your own DIY cardboard giraffe, please make sure to share a photo with us on our Facebook page!
Have you made any cardboard animals? Which is your favorite?
Love this idea? Here are a few more:
Pin this article for later!
Click the Pin button on the image below to save for later.


Nicely put, Many thanks!|