When Babies Turn Into Toddlers: Creating a Toddler Room To Grow

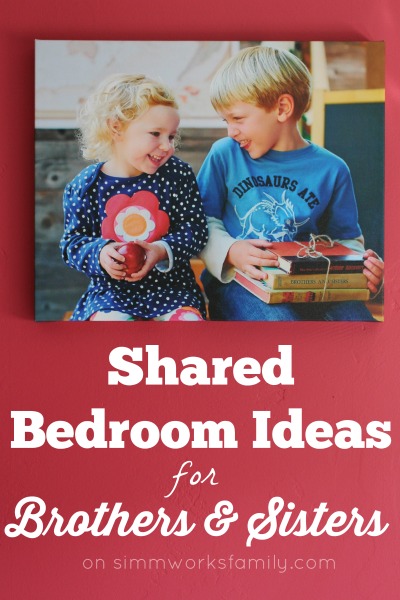
This post brought to you by Disney Junior. The content and opinions expressed below are that of mine alone.

When Babies Turn Into Toddlers Creating a Toddler Room To Grow

Babies turn into toddlers quite quickly. One minute they’re crawling on the ground and cooing and laughing and the next minute they’re running down the hall pointing at an object and saying (kind of) words. Their little brains are working so hard and so fast that if you don’t keep a look out for the changes, it may happen without you even knowing it!

Luckily we’ve been through this a few times before and it’s come to my attention over the past few weeks that my 15 month old has officially changed from a baby into a toddler. It almost feels like overnight. She’s still very much a baby but through her actions and reactions to our everyday adventures she is starting to act a whole lot more like me and her sister. She’s definitely our little MinnieMe.

When Babies Turn Into Toddlers Playing with Siblings

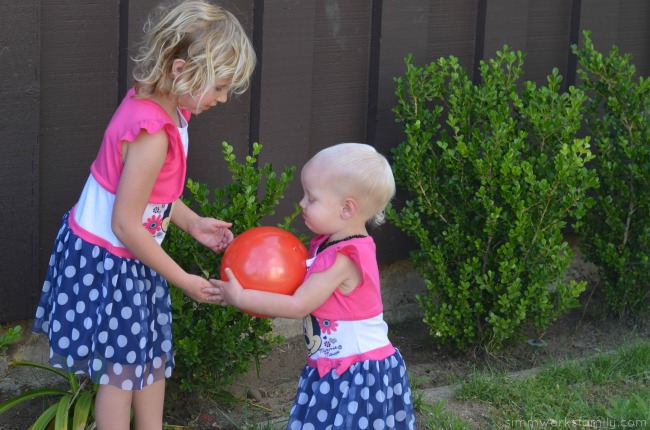
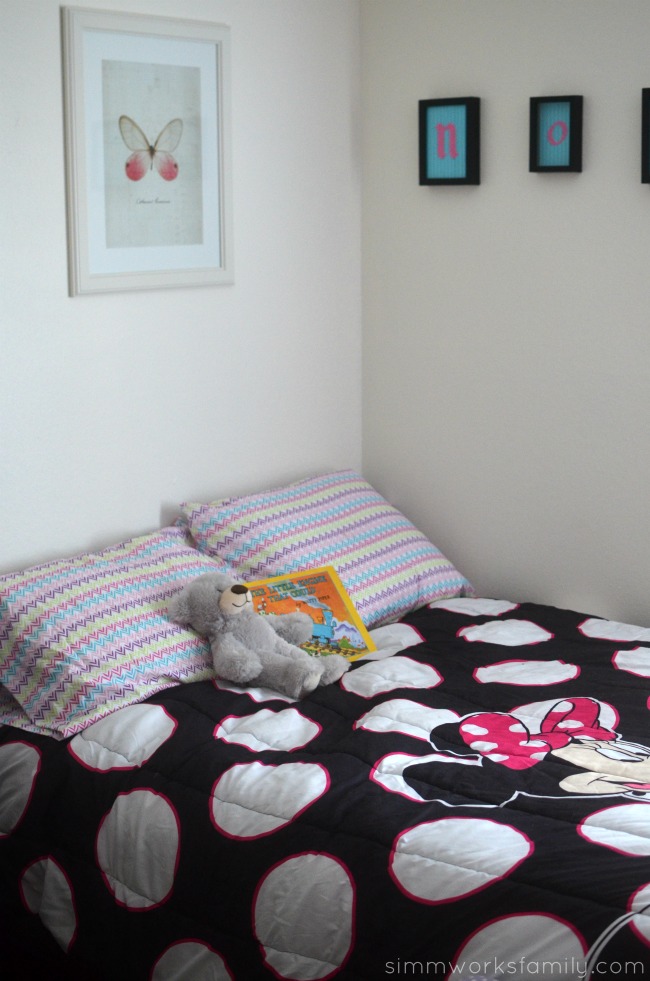
From wanting to help us bake and cook, to demanding that we read her a favorite book before bed as we cuddle on her new full size bed with cute new Minnie Mouse bedding, to insisting she wear the same thing as her older sister like her new adorable Minnie Mouse Toddler Girl 2-Fer Dress, or use the same Disney Minnie Mouse Bows and Dots Beach Towel after bath time, our little toddler loves to try and keep up with us no matter what we’re doing.

I cannot believe how much or how fast she is changing. And I don’t know if I can keep up! I feel like she went from not caring one bit about walking to going non-stop in her own direction. She definitely takes after us and I know she’ll be just as energetic and opinionated as her sister. 

When Babies Turn Into Toddlers - bedtime routines

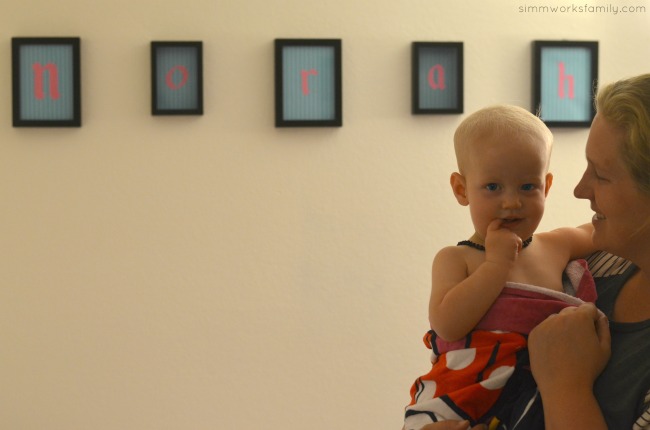
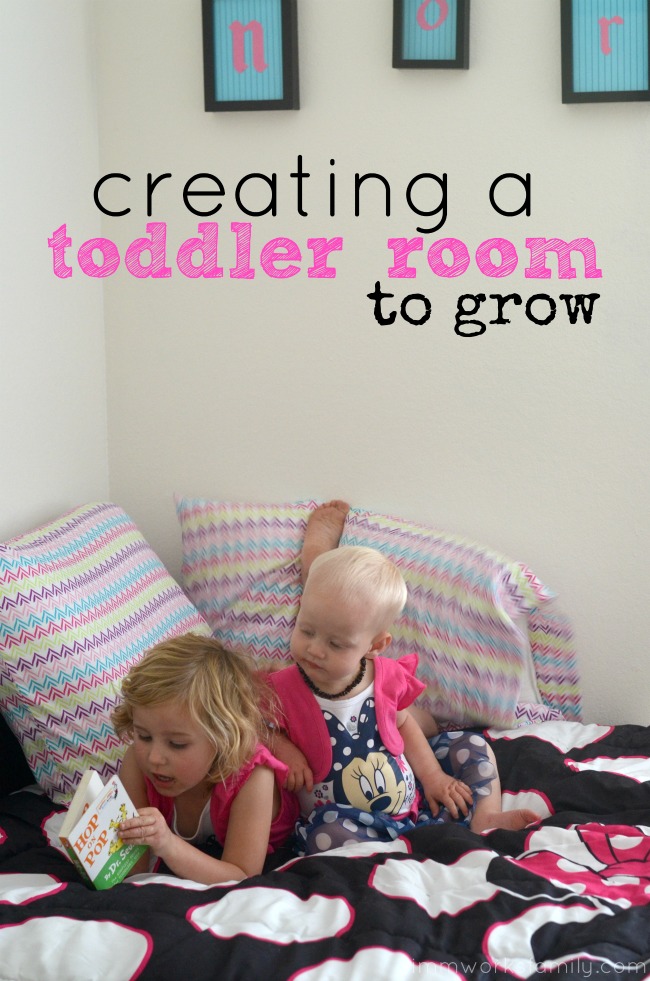
So the time has come for us to give our baby turned toddler her own space. We’ve fixed up a new room for her brother upstairs and have begun creating a room just for her. Inspired by her baby shower and her first birthday, we’ve used elements from Minnie Mouse to create a fun, playful atmosphere for her to learn and grow in. 

This Mother’s Day reminded me of how quickly these kids change and how much we need to preserve our memories with them. So as I transform her room for her, I want to share what we change and what we add to encourage her journey into toddlerhood. 

Tips on creating a toddler room to grow: 

  1. Purchase a twin or full size bed. Toddler beds are not comfortable… let me tell you! And when we transitioned the kids into their own beds, it was much easier to give them a full size bed then a small bed. And we didn’t have to buy another bed when they outgrew the toddler bed! 
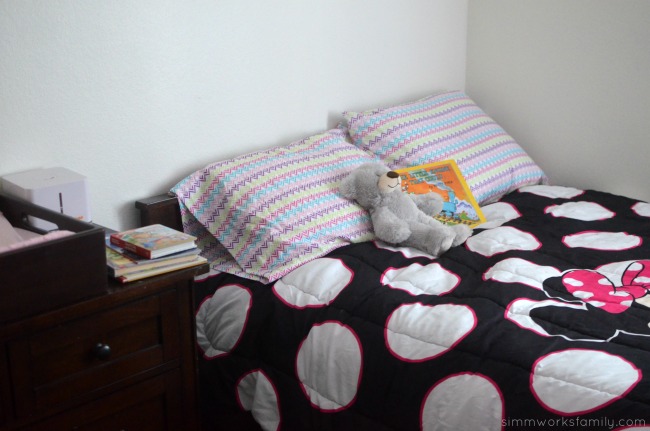
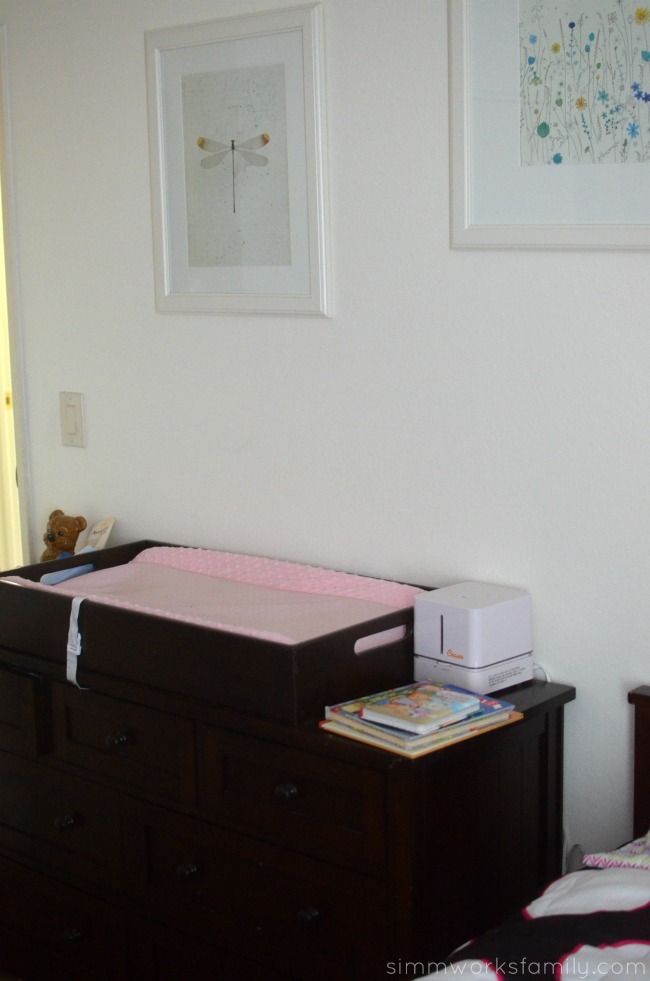
  2. Get a full size dresser and add a changing table box with pad to the top of it instead of using a separate changing table. Again… one less piece of furniture to buy! 
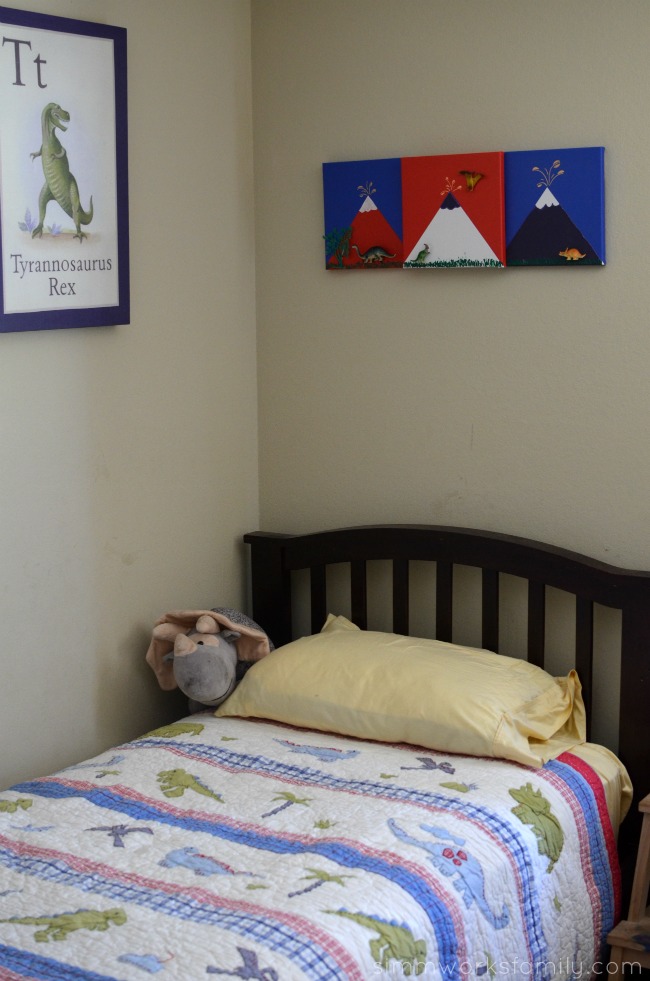
  3. Utilize photos or memorabilia from your child’s baby shower, birthdays, etc to decorate the room. We were able to repurpose her name sign from her baby shower as wall art.

Here’s a sneak peek at her almost finished toddler room:

When Babies Turn Into Toddlers Creating a Toddler Room To Grow with Disney Baby

When Babies Turn Into Toddlers Creating a Toddler Room To Grow #MinnieMe

When Babies Turn Into Toddlers Creating a Toddler Room To Grow changing table

Looking to create a fun toddler room of your own?

Check out these adorable Disney Junior Minnie Mouse items and grab a few things that would work for your explorative toddler! Not quite ready for a full size bed? Check out this Disney Minnie Mouse Bow Power 4-piece Toddler Bedding Set! So cute.

Watching my two little “MinnieMe’s” grow has been one of the greatest joys in my life. This time together with them goes quickly and I’m definitely soaking up every minute of it!

Visit Sponsors Site

DIY 3-D Dinosaur Wall Art

This shop featuring a DIY 3-D Dinosaur Wall Art tutorial has been compensated by Collective Bias, Inc. and its advertiser. All opinions are mine alone. #ProjectAmazing #CollectiveBias

DIY 3-D Dinosaur Wall Art

A few weeks ago we were perusing IKEA in search of… honestly I completely forget what. But I’m sure it was something we needed. While we were there we also found a nice duvet, a rug for right by our sliding glass door, and a set of 3 geometric canvases that my son desperately wanted. Turns out the canvases were on clearance so all we had to do was figure out what we wanted to do with them.

My son didn’t want to paint over them. He loved the triangles and the colors. So we had to think of some way to incorporate the triangles into our idea. I went with him into his room and looked at what we already had going on. Some large canvas pieces from Pottery Barn Kids (clearance, of course) with a rocket on one and a t-rex on the other, his 1 year cake smash photo, and the cross stitch his great aunt made him with his birth date and stats on it.

Then I looked down and saw what he had on the floor. Dinos spread out everywhere…

DIY 3-D Dinosaur Wall Art - dinosaur toys

And the idea popped in my head! Those triangles were going to turn into volcanoes and a few extra dinos from the dinosaur box would add to the scenery. But how to attach everything together? Do I cut open the dinos? Use glue?

I really didn’t want to make a mess everywhere. Especially since the kids wanted to help out. So I kept it simple. I grabbed some Command™ picture hanging strips and Command™ Clear Hooks as well as some Scotch® Permanent Double Sided Tape to adhere the dinos onto the canvas.

The Command™ picture hanging strips would be the perfect way to layer the canvases on top of one another to create a 3-D effect. Plus, if we ever wanted to display the 3 canvases seperate, there’s no worry about ruining the canvas underneath.

Here’s how I did the rest:  

DIY 3-D Dinosaur Wall Art - supplies needed

DIY 3-D Dinosaur Wall Art

What you’ll need:

  • 3 square canvases with sawtooth mounting
  • a handful of small dinos and greenery
  • paint or paint markers
  • green puffy paint
  • Scotch® Permanent Double Sided Tape
  • Command™ picture hanging strips
  • Command™ saw tooth picture hangers

DIY 3-D Dinosaur Wall Art - painting canvasesDIY 3-D Dinosaur Wall Art - paint grass

What you do:

  1. On the canvas, paint out the scenery you want for your dinos. As I mentioned before, we turned our triangles into volcanoes by adding tops to each volcano and some lava spurting out with an orange paint pen. I outlined one of the triangles I painted in with puffy paint to make it stand out.
  2. Once the mountain scenery is dry, add grass by using the puffy paint. You could also use regular green paint to do this but since everything else is 3-D I think the puffy paint gives it a nice touch.
  3. After the grass is dry, figure out where you want to mount the dinos. Then add pieces of the Scotch® Permanent Double Sided Tape to each dino and mount onto the canvas. 
  4. Next up, grab 4 sets of Command™ picture hanging strips (8 strips total) and put each set together. You’ll hear them connect together with a satisfying click. Once each set has been clicked together, remove the backing on one side and add two to the left edge of one canvas (the one you want to be on the right hand side), and add the other two to the right edge of one of the other canvases (the one you wnt to be on the left side). 
  5. Now remove the backing from all 4 sets and set the third canvas on top of the other two overlapping the edges by the width of the Command™ picture hanging strips.
  6. Using the Command™ saw tooth picture hangers, mount the canvases to the wall where you’d like to hang them. 

Tada! Now you have fantastic 3-D Dinosaur Wall Art to display for all to see. 

DIY 3-D Dinosaur Wall Art - command stripsDIY 3-D Dinosaur Wall Art - add tapeDIY 3-D Dinosaur Wall Art - attach dinos to canvas

Command™ Brand provides damage-free hanging solutions for a wide variety of uses for your craft projects. Their products hold on strongly, remove cleanly. That way I don’t worry about damage to my walls, holes left in random places, or a mess left in it’s place. Find more inspiration for amazing summer project ideas here.

Now shoppers no longer have to search Walmart for these 3M products, as they are now available in the crafting aisle. Both Scotch® Brand and Command™ products are available in this aisle at Walmart. I found mine near the adhesives!

Command and Scotch products at Walmart

DIY 3-D Dinosaur Wall Art - simple and easy to make

Where do you find inspiration when crafting?

Shared Bedroom Ideas for Brother and Sister

Shared Bedroom Ideas for Brother and Sister

My kids have been sharing a bedroom for quite some time and we’ve tried a few different shared bedroom ideas for brother and sister in the past three years. But I think we’ve finally found the perfect arrangement to work for both kids.

After my daughter outgrew her toddler bed we got the kids a bunk bed. But the whole time we had it my son was constantly complaining about wanting his old bed back – his twin bed. So after hearing the complaints day in and day out I decided we needed some changes.

Plus it was about time we turned the kids room from a toddler room to a big kid room. And painting over the hills on the walls and removing the wall decals we had up felt like it’d help us do that. [Read more…]


© A Crafty Spoonful - All Rights Reserved
It is OK to use one of my photos provided a link back and/or proper credit is given. It is NOT ok to copy and paste a whole post including instructions. Please do not remove watermarks or alter images in any way. Please contact me with any questions at danielle@acraftyspoonful.com

.