Kids helping in the garden this Spring? Why not use these painted rocks for garden markers! This craft is super easy to make and you can just use supplies you have around the house.
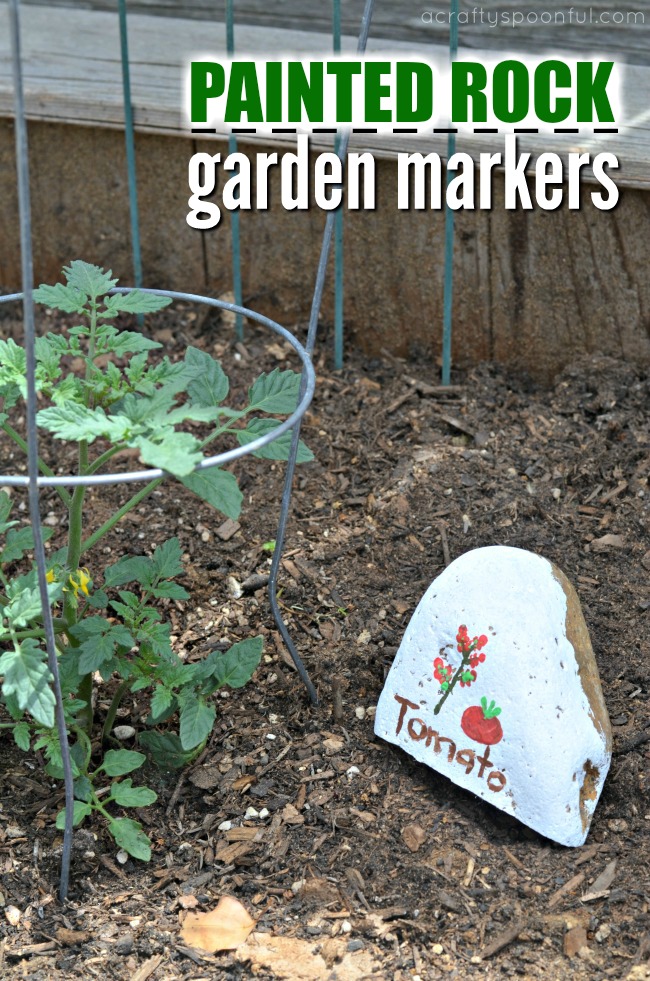
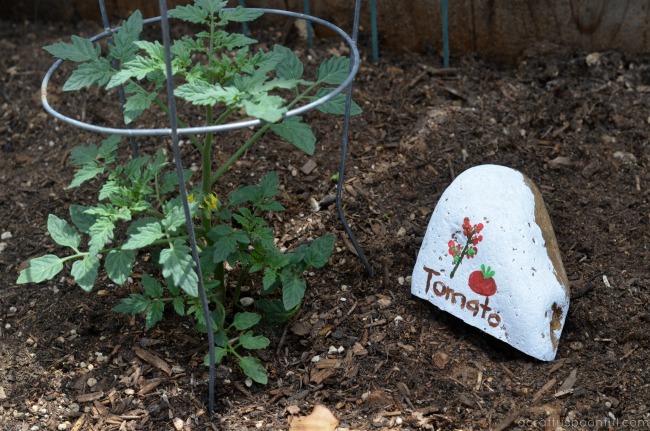
One thing I love about this time of year is all of the green and new growth sprouting about everywhere! And that means that our garden goes from sad and lackluster to full of life within a few short weeks. With that new life comes a bit of confusion for the kids with what plant is growing what type of fruit, herb, or vegetable. So we had a little fun and used painted rocks for garden markers to distinguish each plant from one another.
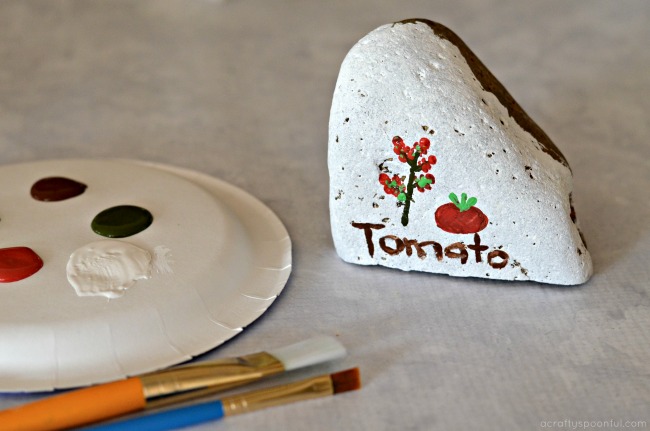
Now there’s no real huge planning that goes into these painted rock garden markers. We simply used a base color that would make our illustrations stand out, and I let the kids paint each of the plants that we were growing. They had fun choosing the colors and making different types of veggies and herbs on their rocks.
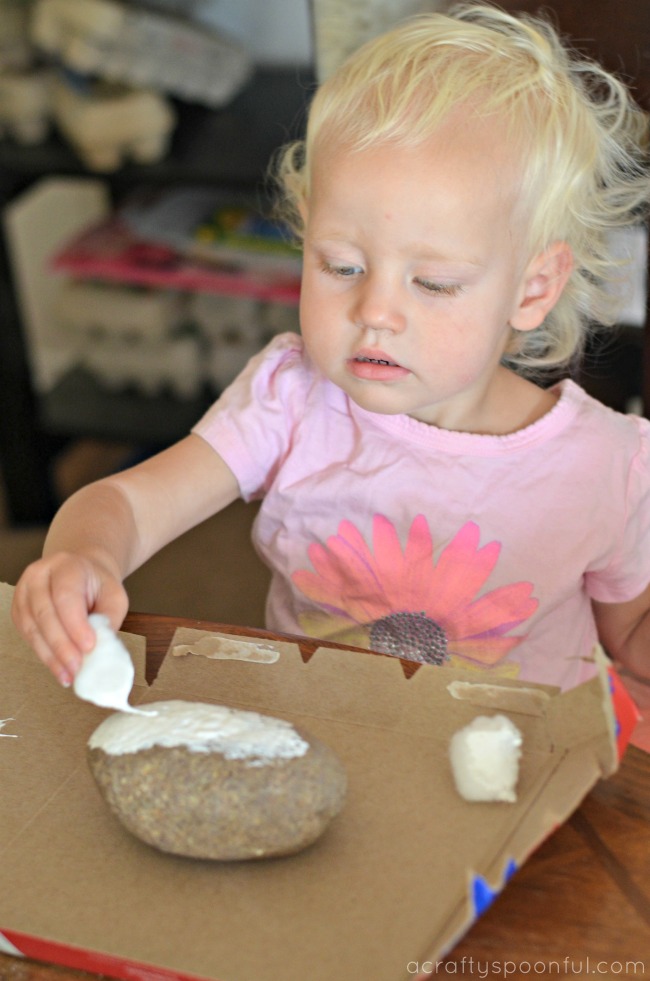
I think the most fun was when they tried to trace my penciled in names with paint to make each name stand out a bit more. The concentration my littlest had in her eyes (and brow) was quite humorous.
If you’re planning out your spring garden, or are already growing, these are a great addition to share with kids and guests alike what you’re growing this season. Here’s how to make these painted rocks for garden markers:
Painted Rocks for Garden Markers
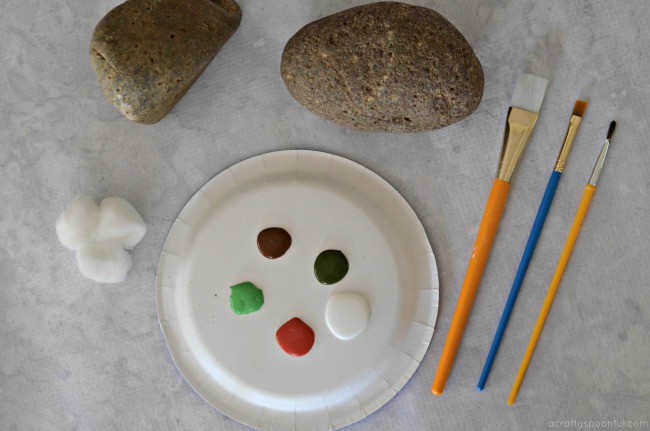
What you’ll need:
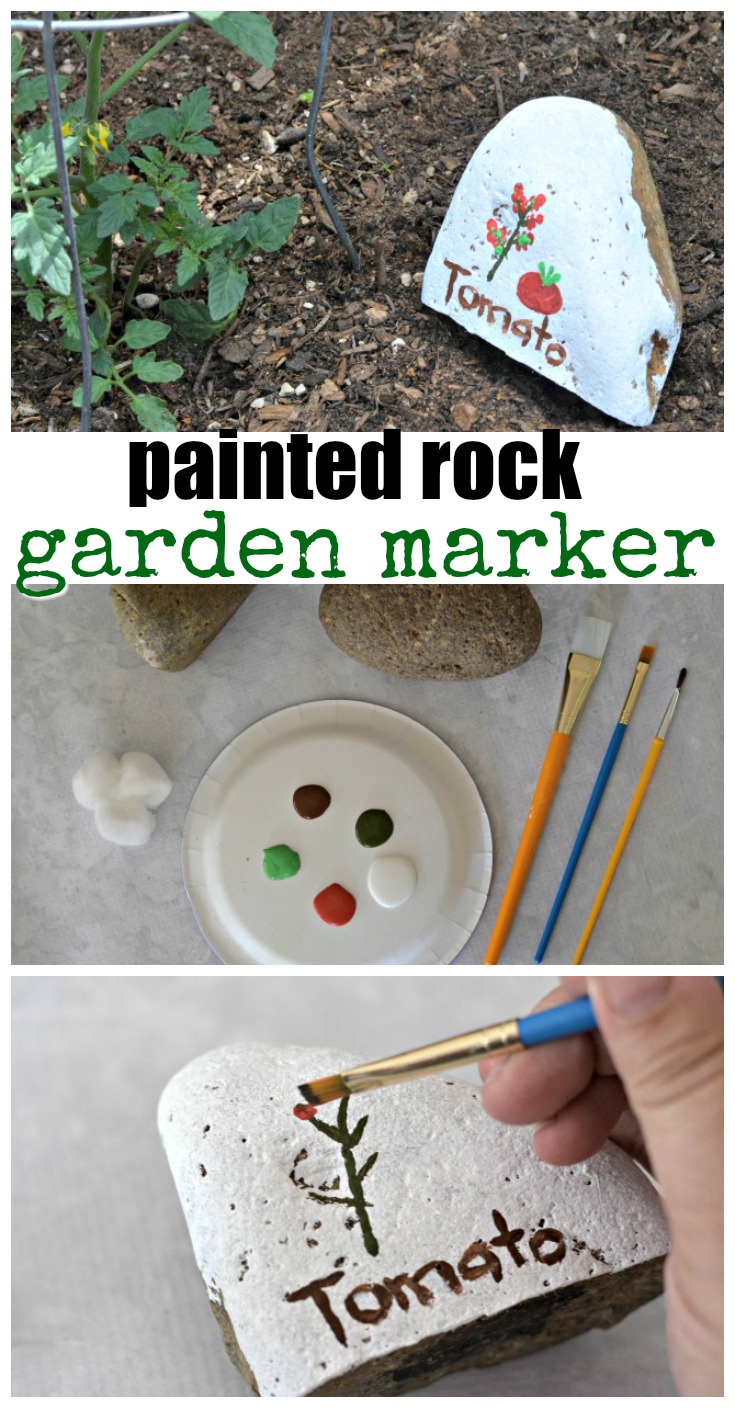
- good sized rocks
- paint in a variety of colors based on what you’re growing
- a variety of brush types, cotton balls, and/or cotton swabs
What you do:
1. Using either a brush or cotton ball, layer the base color on the rock so that the illustrations you paint will stand out. We used a white base but any light color will due.
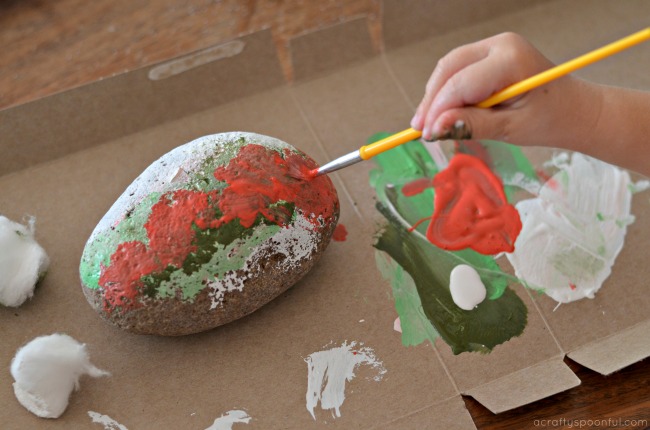
2. Once the base coat is dry, now it’s time to paint the objects you’re growing. As you can obviously see from the rock above, my daughter was painting strawberries. Remember, it’s ok if the artwork is a bit… abstract… in the next step we’ll make things a bit clear.
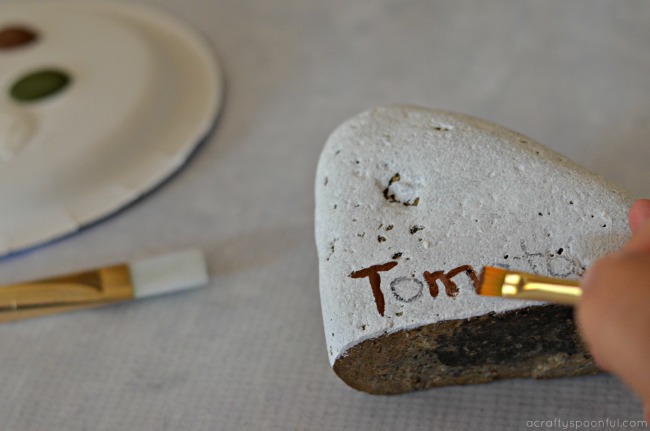
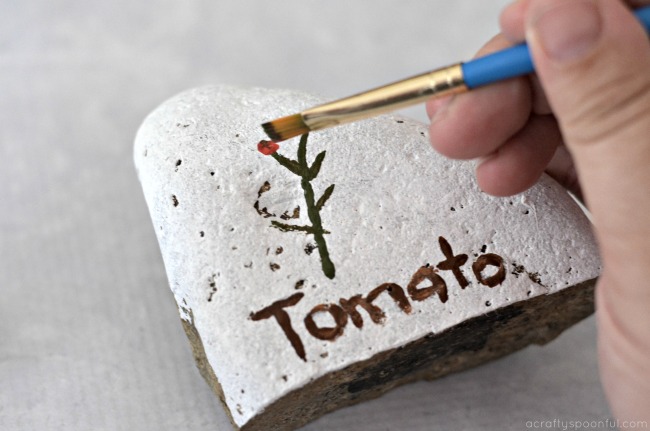
3. With a pencil, write out the names of each of the plants onto the rock. Then let your child trace the written names with their paint brush to make the name of the plant stand out.
4. Once your painted rock is completely dry, set it outside next to your plant and enjoy!
With Spring upon us, we’ve planted a variety of different seeds and plants in our garden. Here’s what my preschooler helped plant:
- Cherry Tomatoes
- Bell Peppers
- Radishes (from seed)
- Carrots (from seed)
- Cucumber (from seed)
- Snap Peas (from seed)
- Mint
- Sage
- Basil
- Parsley
- Thyme
And the big kids help by watering, weeding, and keeping an eye on the bugs that are in our garden beds.
Looking to get your kids more involved in the garden? You’ll love these tips!
Kid Friendly Ideas to Get Your Kids In The Garden
Pin this article for later!
Click the Pin button on the image below to save for later.


Hello!
This post was created with XRumer 23 StrongAI.
Good luck 🙂
Hello.
This post was created with XRumer 23 StrongAI.
Good luck 🙂
I’m not sure where you are getting your information, but good topic.
I needs to spend some time learning more or understanding more.
Thanks for fantastic info I was looking for this info for my mission.