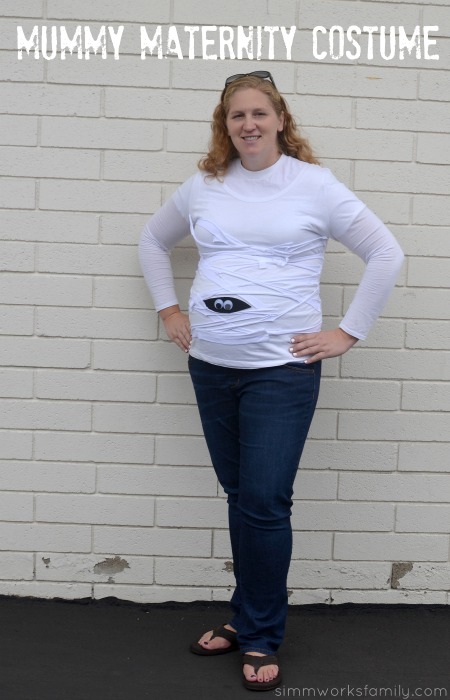
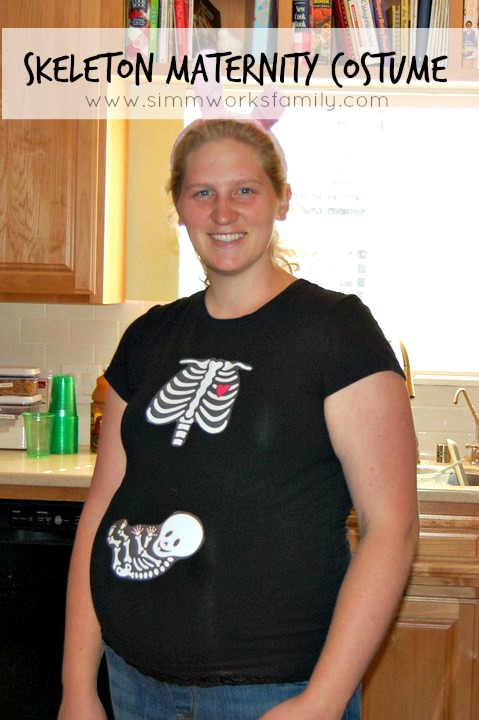
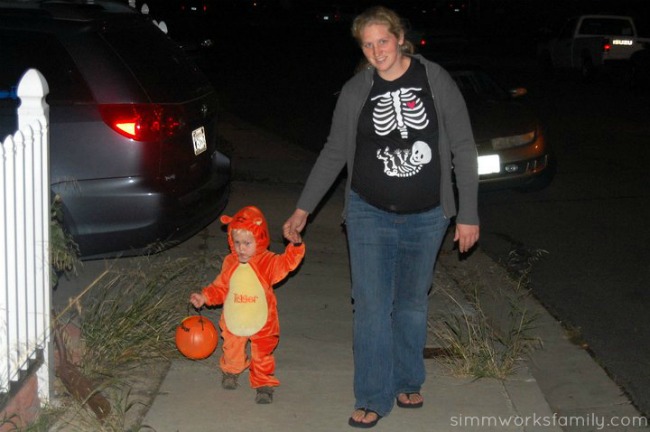
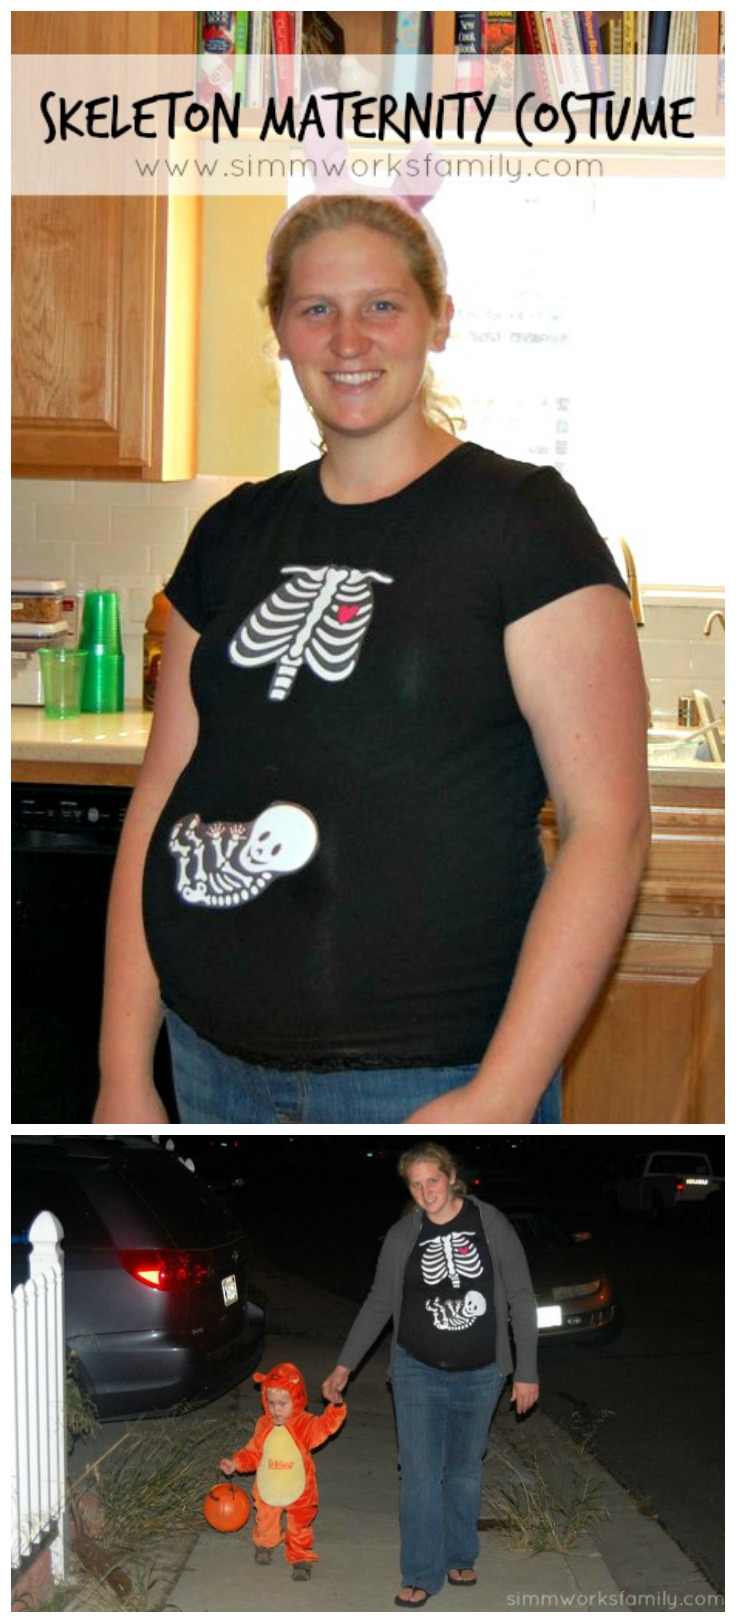
This time last year I was pregnant with my third child. And just like with the first two pregnancies, I wanted to do something fun for Halloween. With my first pregnance I was an oven with a bun inside. Pretty cute if I do say so myself! And with my second pregnancy I made a skeleton shirt with a skeleton baby. This pregnancy I wanted to get a little craftier and came up with this mummy mommy costume. It was the perfect way to celebrate the holiday while still staying comfortable.
Since it’s a shirt, I could pair it with my maternity jeans, leggings, or anything else depending on the weather. So when we headed to Mickey’s Not So Scary Halloween Party I didn’t have any part of my costume getting in the way. And when I helped out at my son’s school Halloween carnival, I was still able to run around and help the kids out at the various booths.
This costume took me all of 30 mintues to throw together but I’m sure with a little more time (and material) I could have really decked it out. Here’s how you put together this mummy mommy costume:
Last Minute DIY Mummy Maternity Costume
What you’ll need:
- white t-shirt (long or short sleeved)
- white tights (or an extra white t-shirt)
- black felt
- large sized googly eyes
- fabric marker
- hot glue gun
What you do:
1. Cut tights into long strips.
2. Layer strips over the t-shirt in a random pattern. Make sure the edges are at the seam of either side of the shirt.
3. Cut out a piece of black felt in the form of a football a little larger than the width of the googly eyes.
4. Hot glue googly eyes to the middle of the black felt and set aside.
5. Glue strips onto the shirt by adhering the edges to the seam of the shirt. Overlap edges to create a more layered look.
6. Put t-shirt on and grab the black felt googly eyes. Figure out the best position on your belly to put them and mark the center spot with a fabric marker.
7. Take t-shirt off. Glue black felt googly eyes to the spot you marked.
8. Add more strips if needed and glue in place.
That’s it! Simple. Easy. And cute!
