How to Create a Wishing Star Wand + Pinnochio on DVD

review affiliate link disclaimer

My daughter is obsessed with all things wands, swards, and sticks. Anything she can swing around and bop people on the head with (gently of course), she loves. And with our recent obsession with Pinocchio since it came out on Blu-Ray, it was the perfect way to commemorate the movie.

As we were planning for a family movie night, I decided to let the kids make their own wands customized to their likes and needs. It really was a simple craft and the kids had a great time doing it! With the help of mom and a glue gun to finish everything off.

So if you’re little princess loves wands as much as mine do, I highly suggest trying your hand at making a wishing star wand. It’s simple, easy, and takes less than 5 minutes!

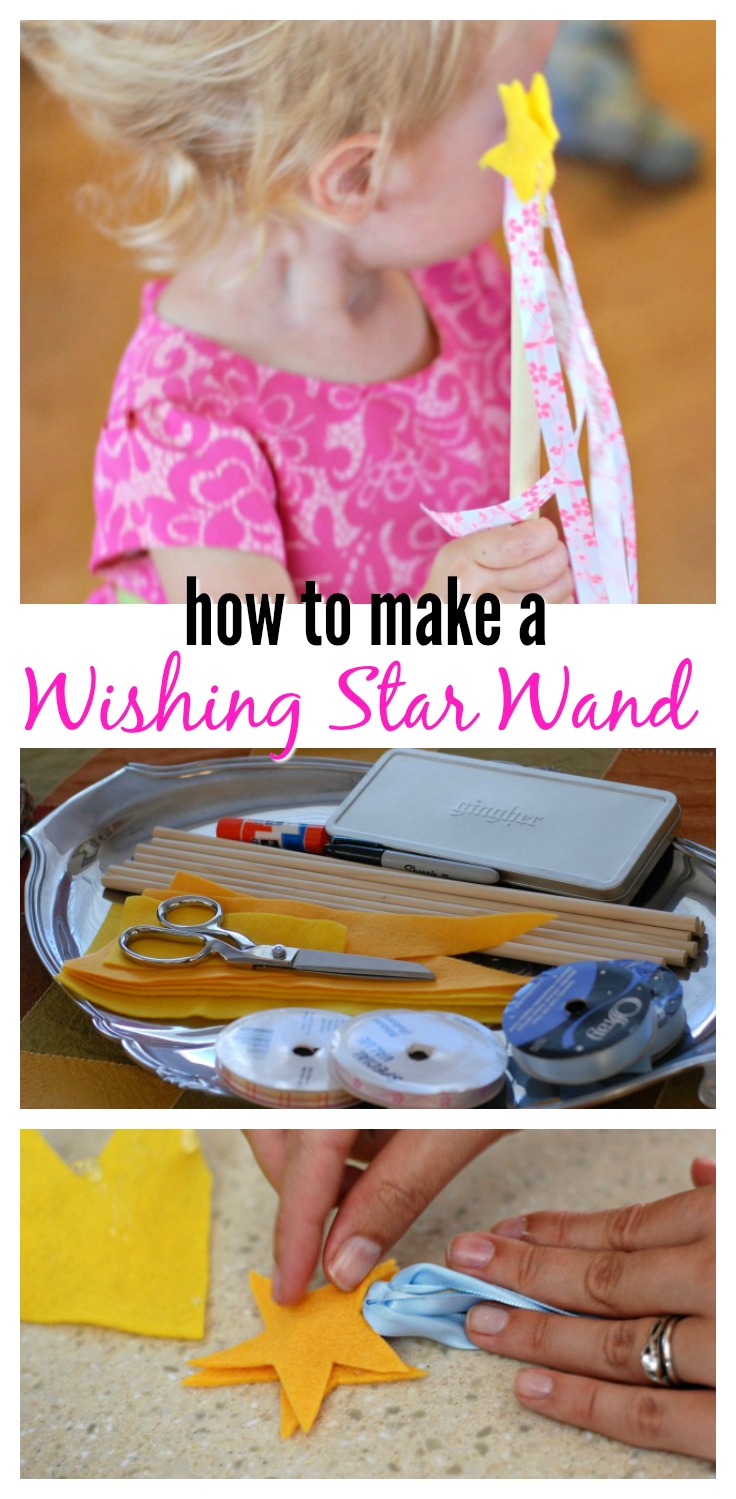
How to Create a Wishing Star Wand

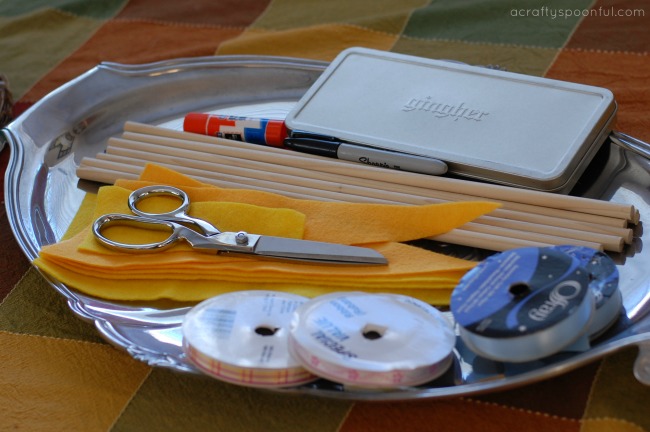
What you’ll need:

  • wooden dowels, cut to size (we purchased 48″ dowels and cut them in thirds)
  • felt, any color
  • ribbon, any color
  • glue gun

What you do: 

1. Cut out felt into the size and shape you want for the top of your wand. Cut out coordinating ribbon in the amount and length you prefer.
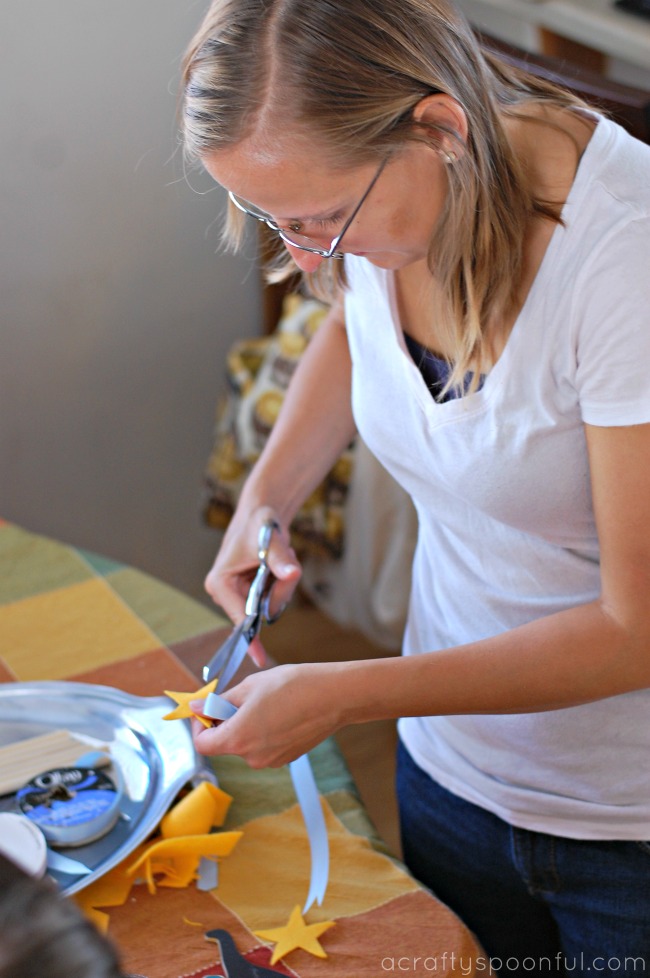
2. Do a dry run before gluing everything together to make sure the felt pieces fit together on the top of the wand.
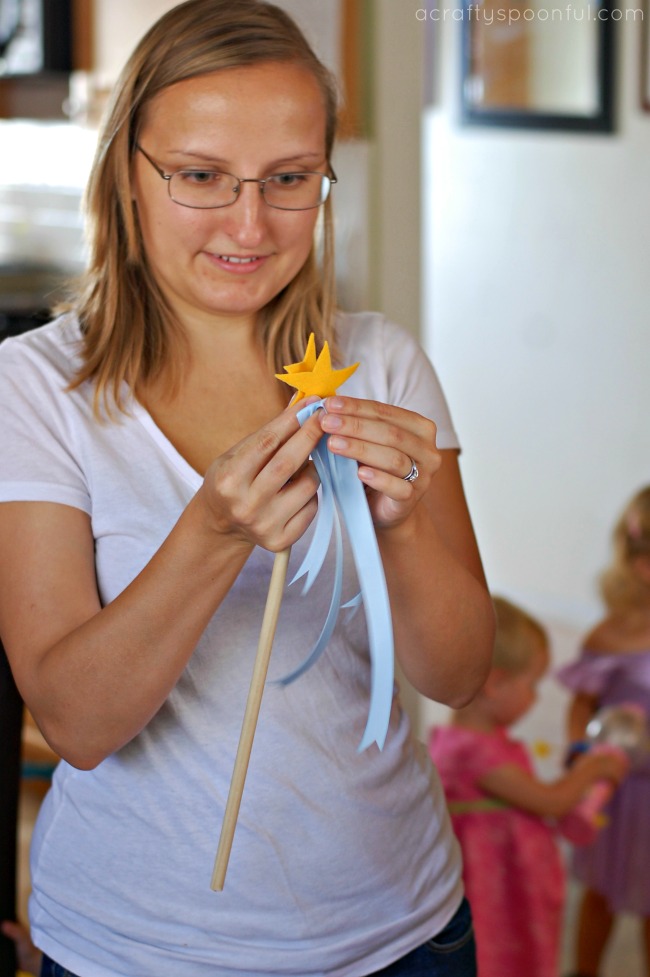
3. Tie the ribbon onto the top of the stick and secure with the hot glue.
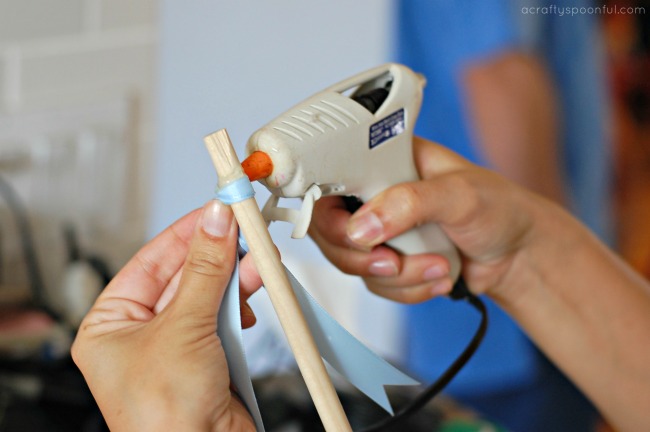
3a. Make sure to go all around the dowel so that the ribbon doesn’t slip down.
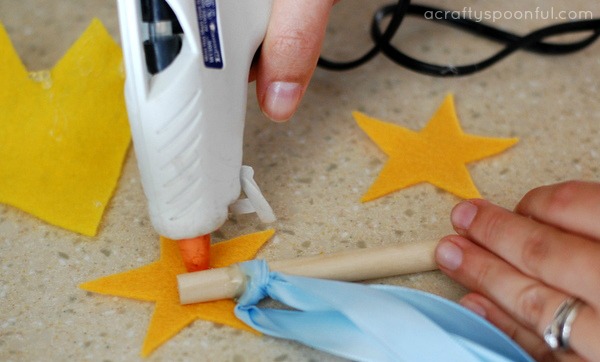
4. Now it’s time to glue down the felt pieces. Start with a small dab on one side of the dowel and adhere the first felt piece.
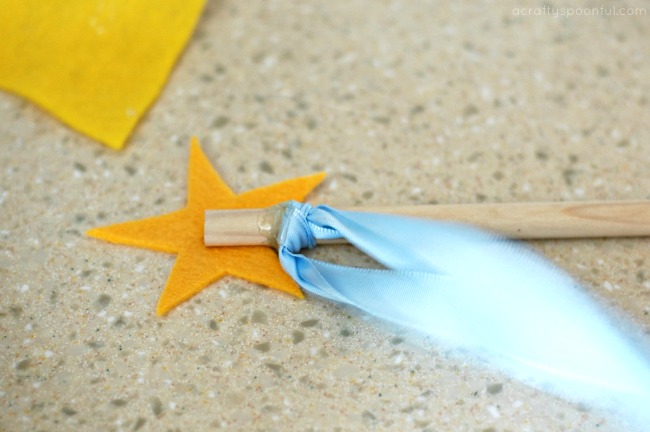
5. Then add a few dabs of hot glue to the other end of the dowel and the felt piece already adhered. Place the second felt piece on top covering the top of the dowel completely and sandwiching the ribbon in between the two felt pieces.
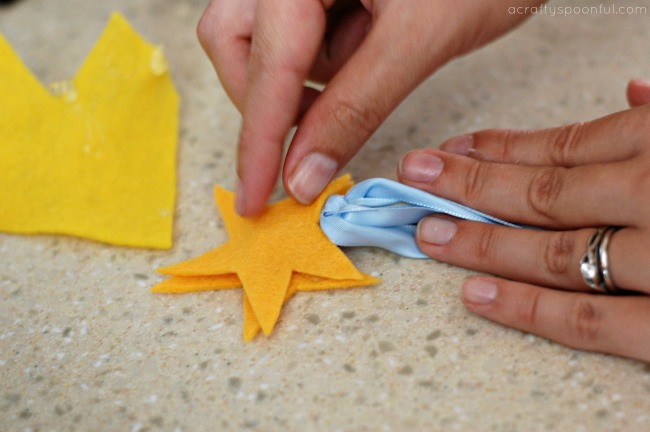
 
6. Hand the wand over to your favorite princess and watch them play! 

See how easy that was?

What type of wand would you make?

Disney’s timeless tale Pinocchio, considered one of the greatest animated films ever made with two Academy Awards, joins the Walt Disney Signature Collection. Now it will delight a whole new generation of dreamers with its masterful animation, unforgettable characters and award-winning music.

The movie which inspired the world to wish upon a star, arrives for the first time on Digital HD and Disney Movies Anywhere on Jan. 10, and on Blu-ray™ and DVD on Jan. 31 with hours of new and classic bonus features.

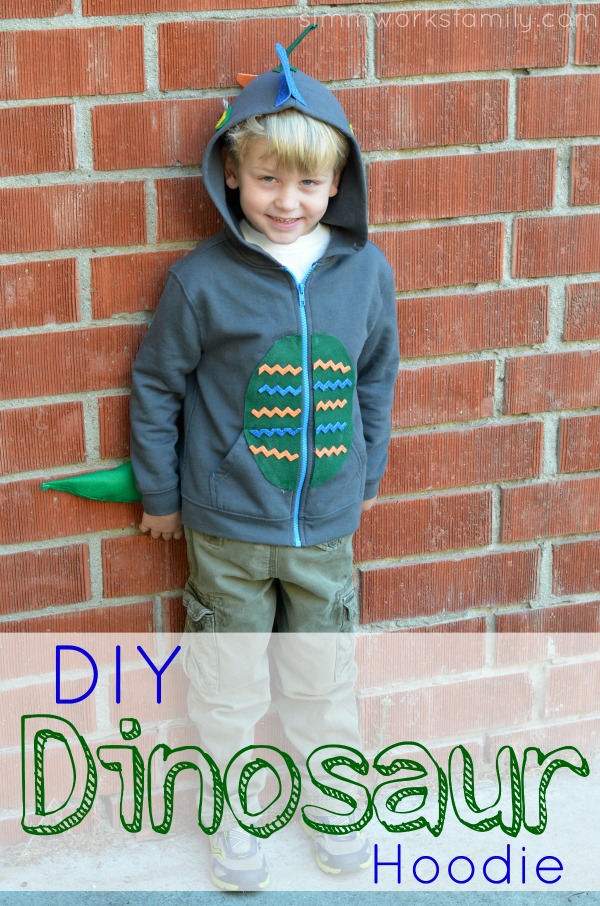
DIY Dinosaur Hoodie

DIY Dinosaur Hoodie

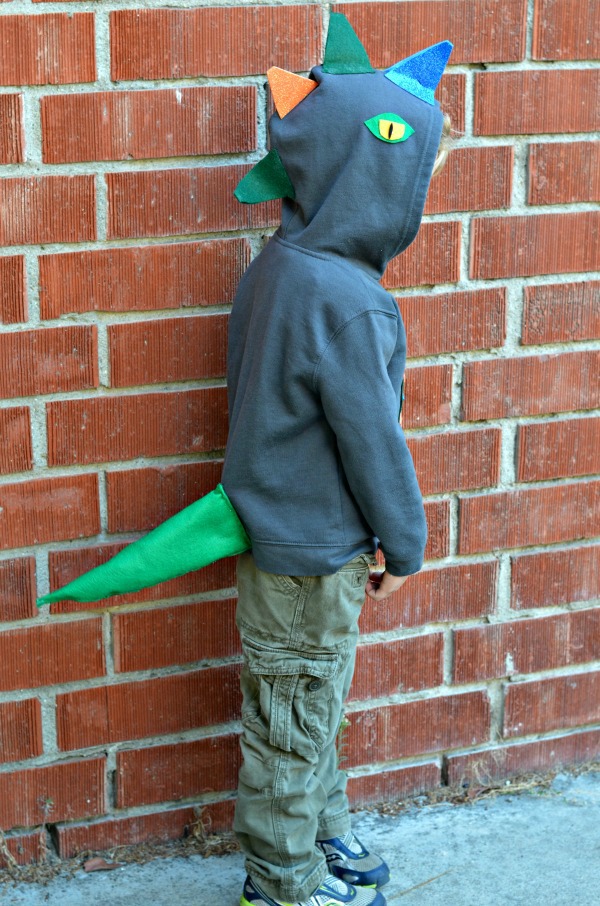
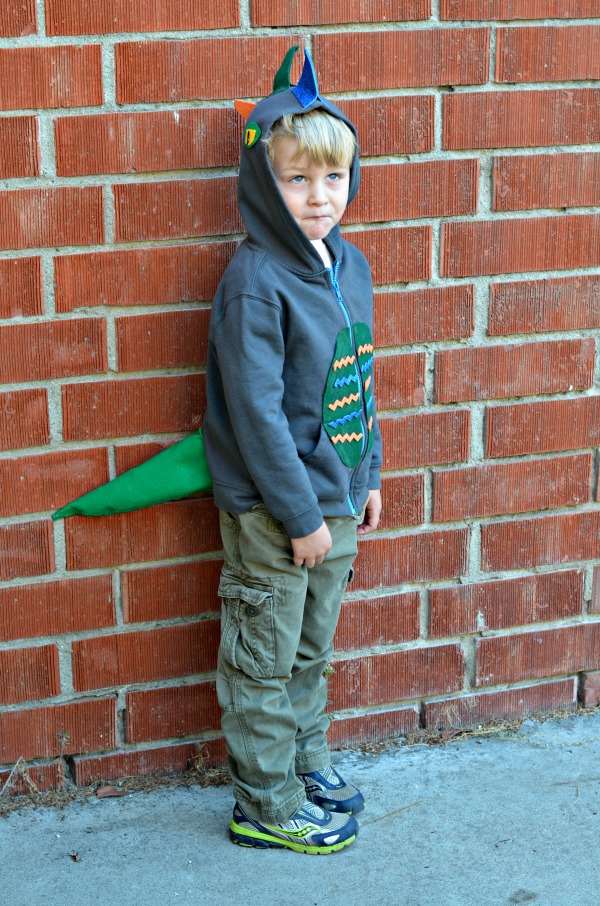
Last Halloween when I was busy figuring out costumes for the kids to wear I got a request from my son for a dinosaur costume. Since I know he doesn’t like big, full body costumes I thought that trying my hand at a DIY dinosaur hoodie would be easier for him to wear. Well a few months later and the hoodie is getting great use… as a fabulous addition to our dress up closet! And it’ll be the perfect thing to wear to The Good Dinosaur movie when it comes out on November 25th! 

Not only is this hoodie easy to make, it’s almost no-sew! With only a small bit of sewing needed (thanks to the wonderful product that is No Sew), even the amateur crafter can pull off this simple costume. All you need are some matching pants and some socks to cover your shoes and you have the perfect DIY costume for Halloween.

DIY Dinosaur Hoodie side profile

DIY Dinosaur Hoodie

What you need:

  • zip up hoodie jacket
  • adhesive felt in different colors (for spikes, eyes, and belly)
  • 1 piece regular felt (for tail) + more for stuffing tail
  • No Sew adhesive for fabric
  • needle and thread

What you do:

  1. Cut out 8 triangle shapes for spikes.
  2. Cut out a circle in one color felt. Cut that circle in half and adhere to either side of zipper on belly of jacket. Cut out zig zag pattern for decoration for belly in different colors and adhere to half circles.
  3. Cut out eyes using one color for the eye lid, one color for the eyeball, and one color for the pupil.
  4. Take felt for tail and create a cone. Using No Sew adhesive, glue cone in shape so that it stays. Trim away any additional felt.
  5. Stuff tail cone with additional felt and use No Sew to close cone opening.
  6. Using needle and thread, adhere cone tail to bottom back of jacket to secure in place.
  7. Add spikes to the hoodie of the jacket by taking two triangles, removing the adhesive backing, and placing together on the seam of the hoodie.
  8. Make sure about 1/2 an inch is attached to the jacket hoodie with the rest adhering to the other triangle. Use No Sew if additional adhesion is needed. Repeat with other three spikes.
  9. Adhere eyes to side of hood to give the illusion of dino eyes when the jacket is on.
  10. Let No Sew dry completely before letting your child wear the jacket.

Diy Dinosaur Hoodie 2

What themed hoodie would you love to create for Halloween?

THE GOOD DINOSAUR opens in theatres everywhere on November 25th!

Like THE GOOD DINOSAUR on Facebook | Follow @THEGOODDINOSAUR on Twitter | Visit the official THE GOOD DINOSAUR website

A little sneak peek at the movie:


© A Crafty Spoonful - All Rights Reserved
It is OK to use one of my photos provided a link back and/or proper credit is given. It is NOT ok to copy and paste a whole post including instructions. Please do not remove watermarks or alter images in any way. Please contact me with any questions at danielle@acraftyspoonful.com

.