Tissue Paper Jack-O-Lantern Preschool Craft

Tissue Paper Jack-O-Lantern

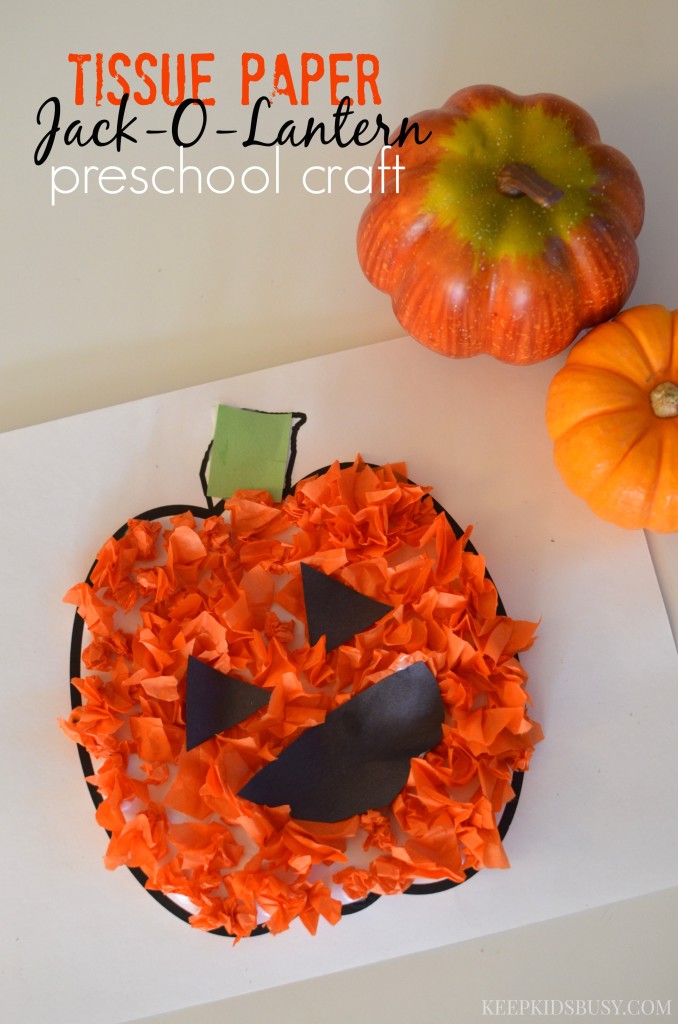
With Halloween right around the corner, these tissue paper jack-o-lanterns are a fun and easy project to do with any preschooler. It combines quite a few different skills including cutting, staying in the lines, and gluing the paper down.

This craft is very similar to the paper plate pumpkin we made. We’ve been working on fine motor skills and the steps taken to make this craft definitely helped her practice those skills. Plus, the kids love crafting with glue!
 

TISSUE PAPER JACK-O-LANTERN

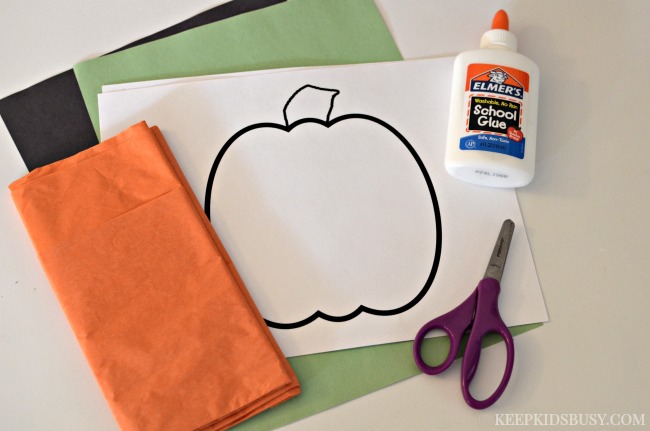
What you’ll need: 

  • Pumpkin template
  • orange tissue paper
  • 1 sheet black paper
  • 1 sheet green paper (or a scrap)
  • scissors
  • glue

WHAT YOU DO:

1. Cut one piece of tissue paper into 1″ squares. Set aside.

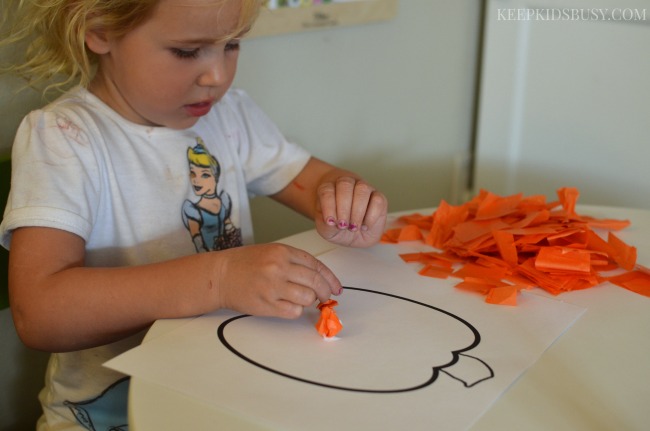
2. Grab the glue and squeeze little dots a few at a time in clusters.

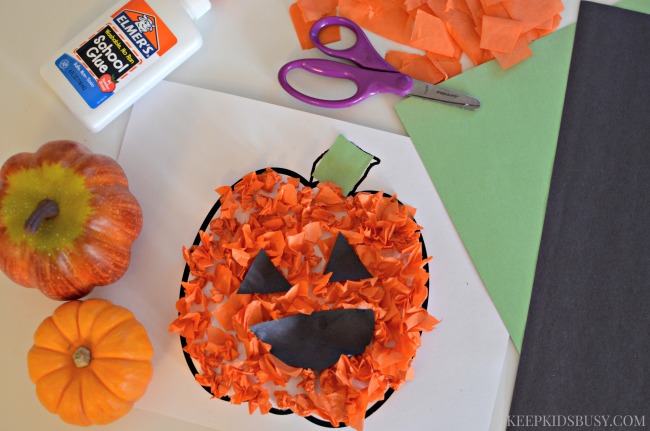
3. Ball up tissue paper and place on a glue dot. Repeat steps 2 and 3 until whole pumpkin is covered with orange tissue paper.

4. Cut out eyes and a mouth for the jack-o-lantern out of black paper and glue to top of pumpkin to create your jack-o-lantern.

5. Cut out a stem for the jack-o-lantern out of the green paper and glue on.
Tissue Paper Jack-O-Lantern Preschool Craft

My daughter had a blast with this craft and loved practicing her cutting skills, gluing the paper in the lines, and learning what the difference between a pumpkin and a jack-o-lantern are.

She’s already asking what her next craft will be. I guess I better start brainstorming!
HOW DO YOU WORK ON FINE MOTOR SKILLS?

DIY Football Photo Frame For Kids

This shop featuring a DIY football photo frame that’s super easy for kids to make has been compensated by Collective Bias, Inc. and its advertiser. All opinions are mine alone. #HandsOnCrafty #CollectiveBias

diy-football-photo-frame-a-quick-and-easy-way-to-display-great-football-memories

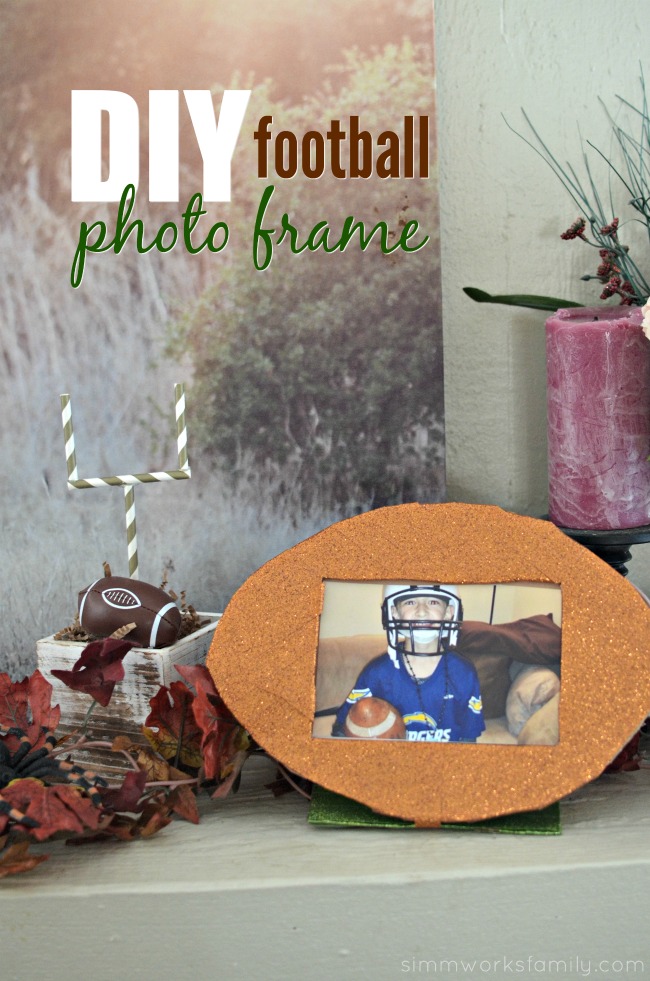
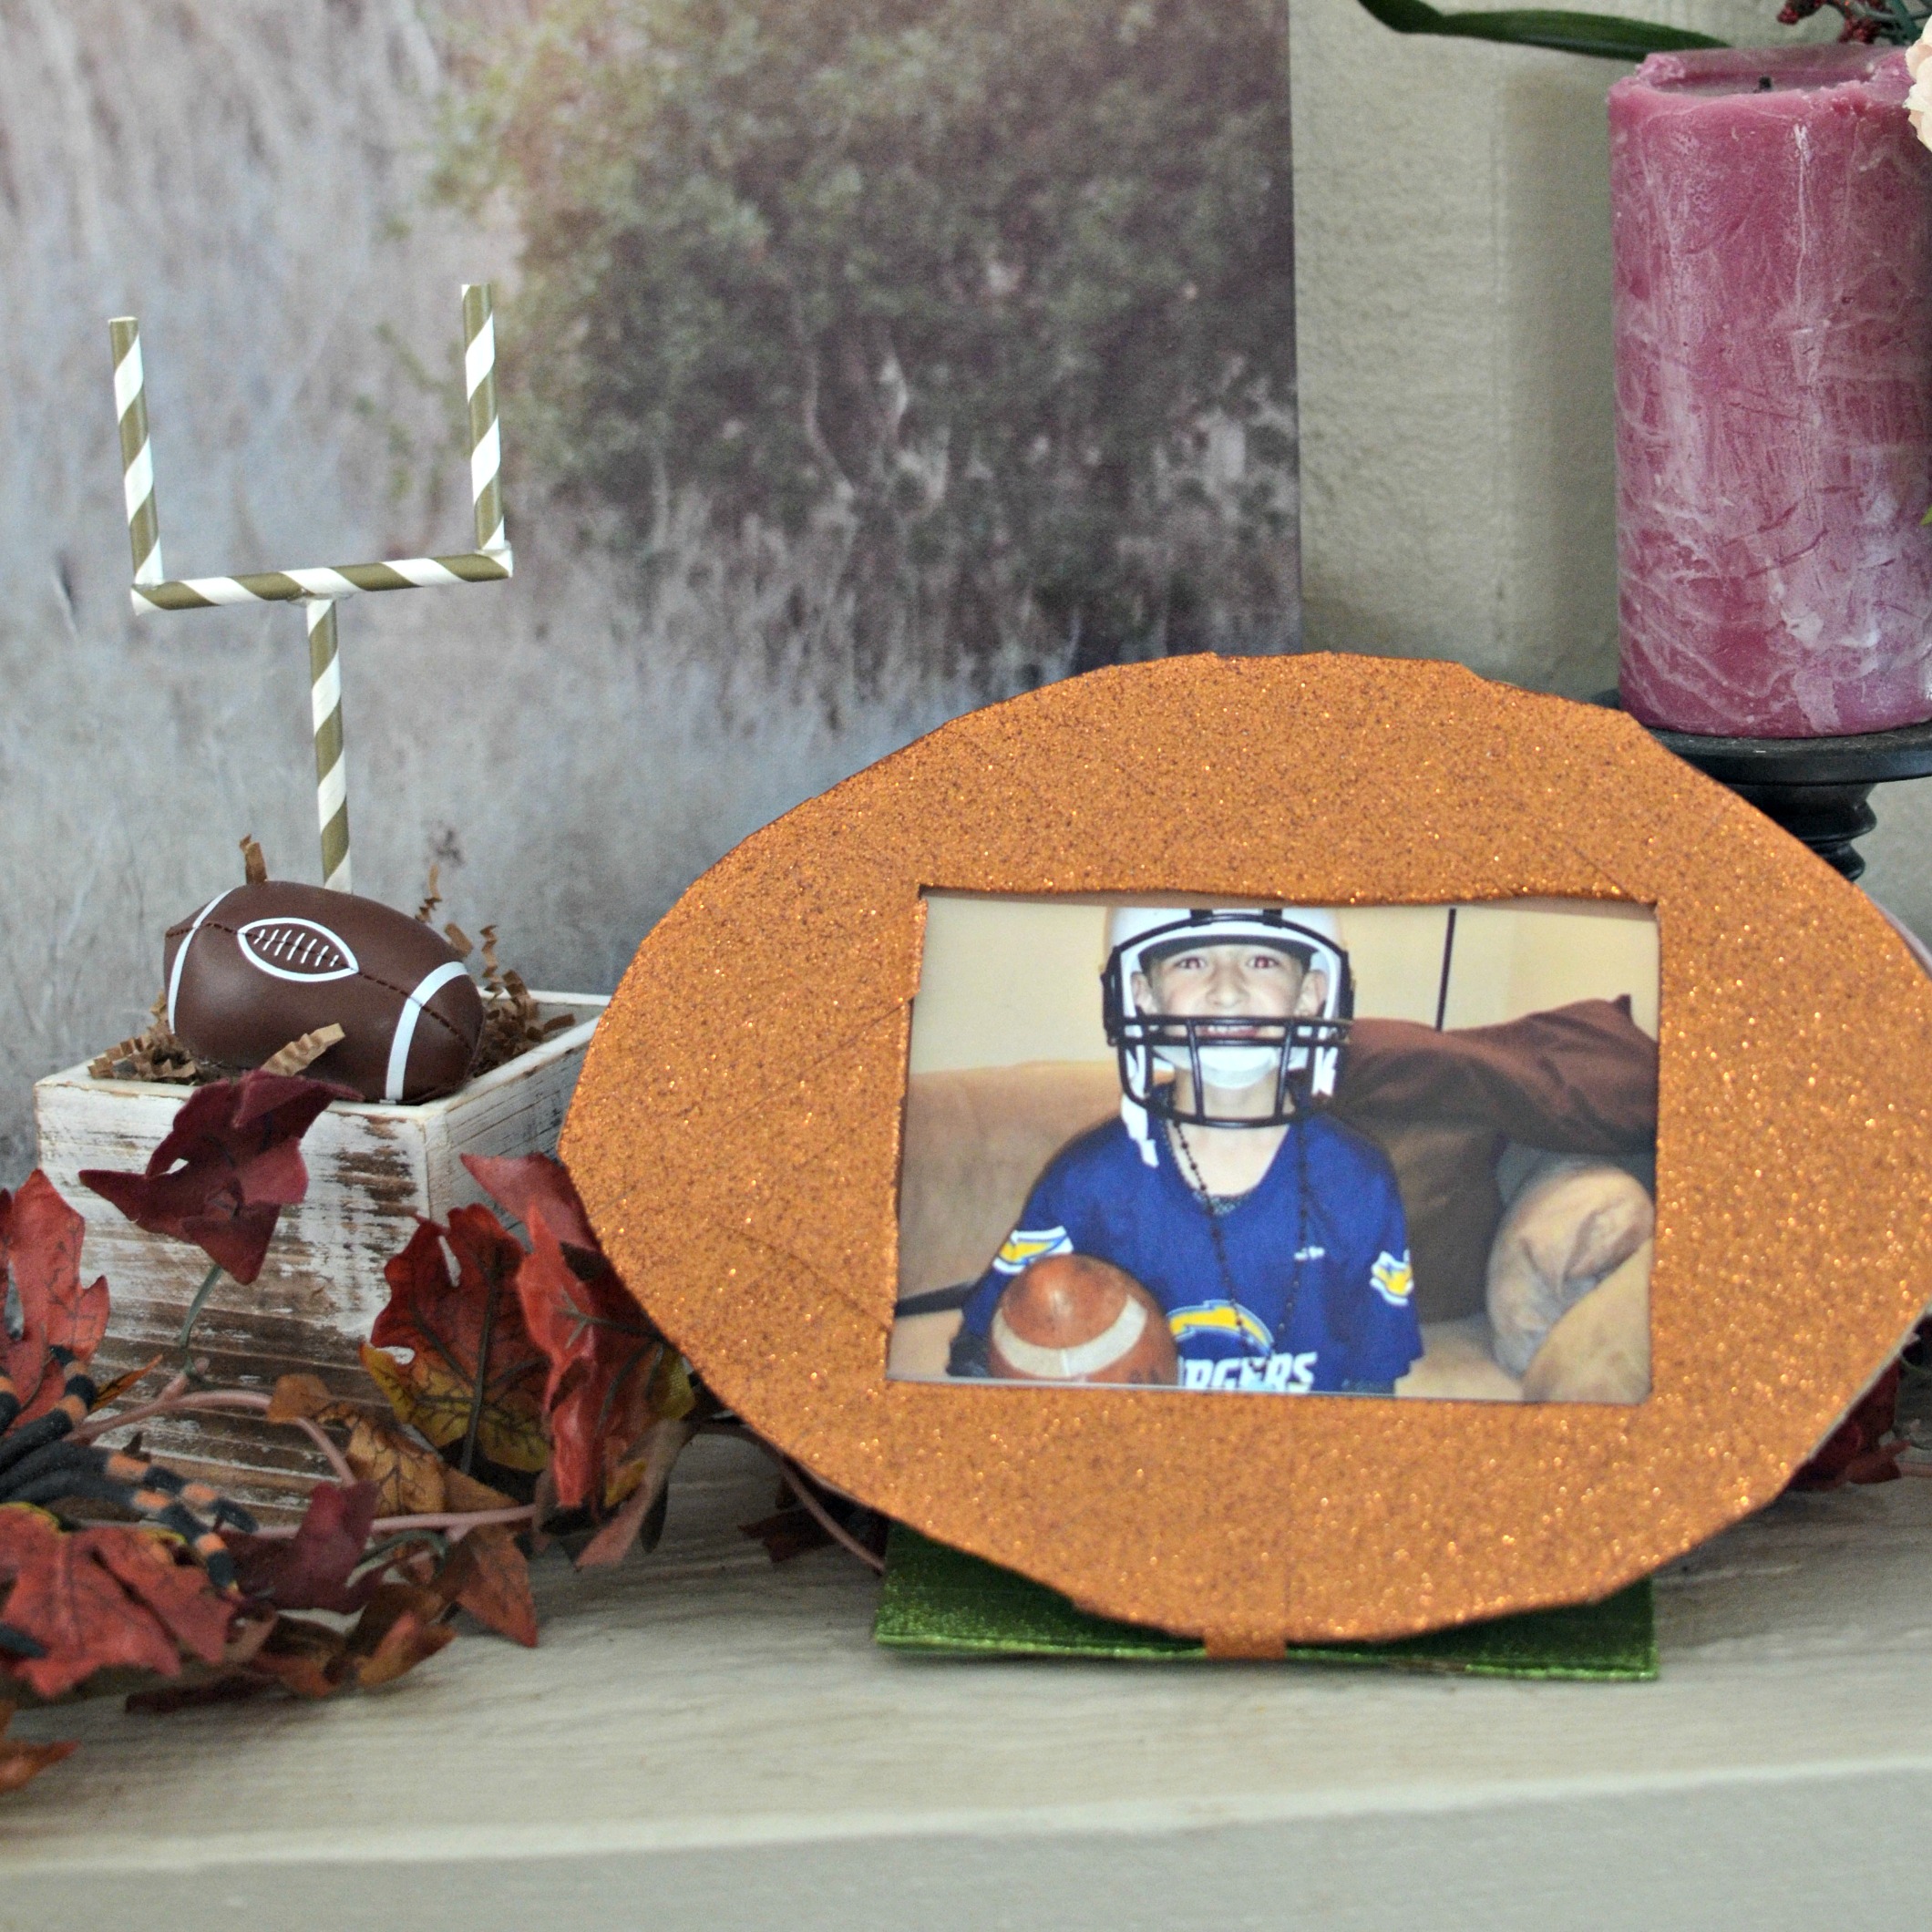
Do you have a football fan in your life? Looking to spread a little cheer in their football loving lives? My daughter wanted to get crafty this week and asked if we could make a photo frame. So I decided to bust out the Scotch® Expressions Glitter Tape and make a DIY Football Photo Frame that’s easy for kids to make. With the help of an adult, of course! The adult cuts out all of the shapes while the kids get to have fun decorating! Just like our DIY bottle toss game from last week. 

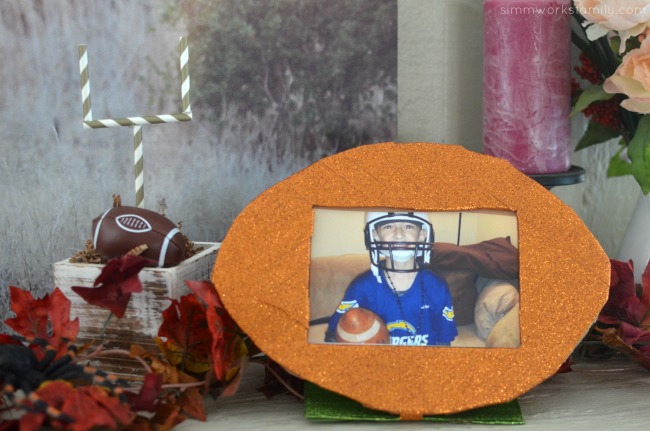
We ended up with the perfect gift for my football loving sister and brother in law with a photo of their oldest in the frame. How cute is that? And it was easy too! We were able to create this frame in an afternoon after school and display it on the mantel for when my sister comes over. How cute will this look on her mantel? 

Want to know JUST how easy it was? Read ahead to find out! 

diy-football-photo-frame-quick-and-easy-way-to-display-memories

DIY Football Photo Frame For Kids

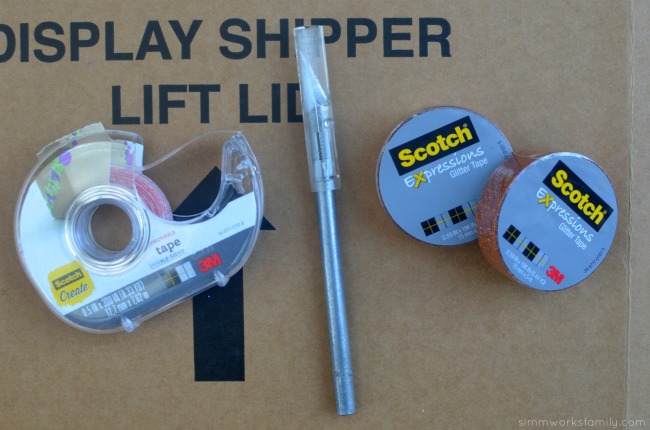
What you’ll need: 

  • Scotch® Expressions Brown Glitter Tape
  • Scotch® Expressions Green Glitter Tape
  • Scotch® Create Double-sided Tape
  • X-acto knife (for parents only)
  • 1 piece 8.5 x 11″ brown construction paper
  • 1 piece 8.5 x 11″ white card stock
  • 4×6 picture

diy-football-photo-frame-supplies-needed

What you do: 

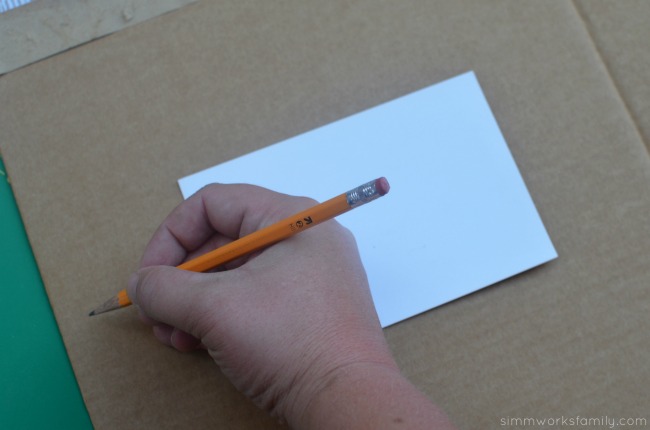
1. Grab your 4×6 photo paper and trace a football around the photo paper leaving about 1/2 an inch on each corner from the edge of the photo to the edge of the football. 

2. Cut out football shape with x-acto knife. 

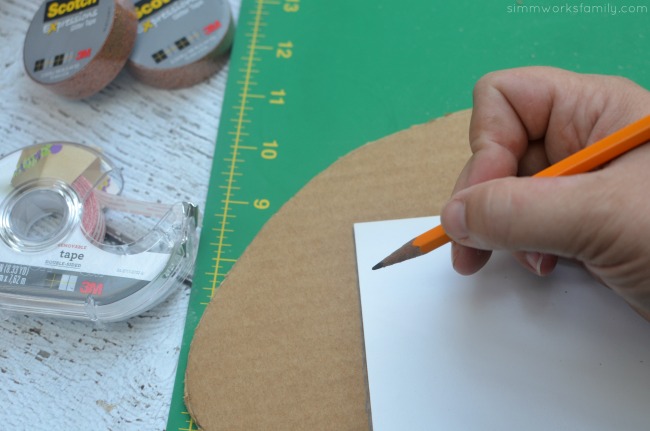
diy-football-photo-frame-trace-football-outline-around-4x6diy-football-photo-frame-trace-4x6-cut-out

3. Using same 4×6 photo paper, trace around it to create where the frame opening will be. 

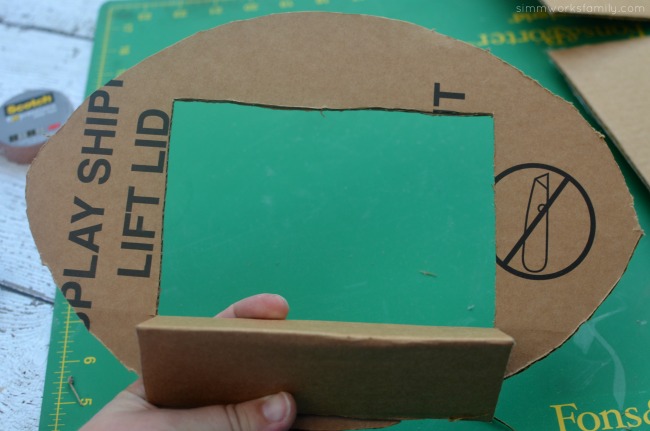
4. Cut out top and sides of 4×6 piece. Score on back side with x-acto knife and fold cut out piece into thirds to create stand for frame. 

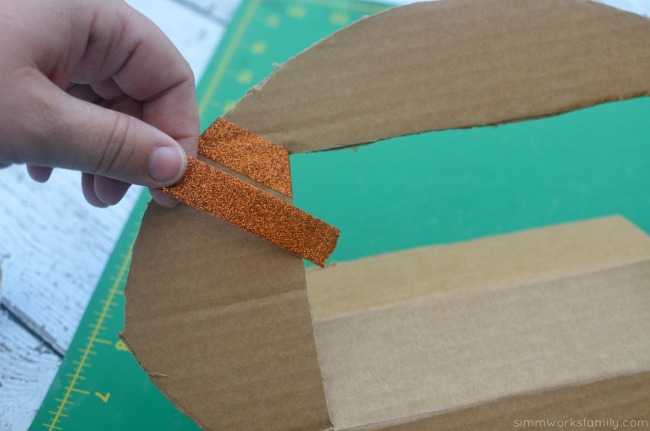
diy-football-photo-frame-cut-out-4x6-and-fold-cut-out-in-thirdsdiy-football-photo-frame-add-glitter-tapediy-football-photo-frame-taped-frame

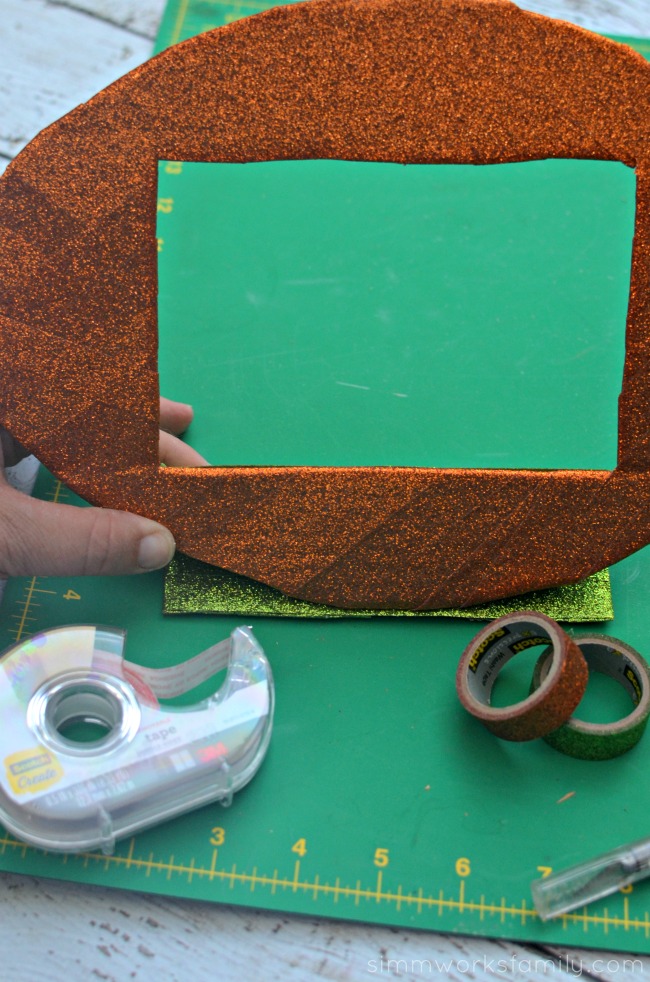
5. Using Scotch® Expressions Brown Glitter Tape, let your child wrap front side of the football frame completely until no cardboard is showing. Make sure the sides are covered complete. Don’t worry about the back side, we’ll be covering that up! 

6. Once you’ve covered out the front, wrap the stand with Scotch® Expressions Green Glitter Tape. Once the stand is covered, use a piece of Scotch® Expressions Brown glitter tape to secure the stand to the frame so it doesn’t unfold. 

diy-football-photo-frame-trace-out-construction-paper-for-covering-back-of-framediy-football-photo-frame-add-double-sided-tape

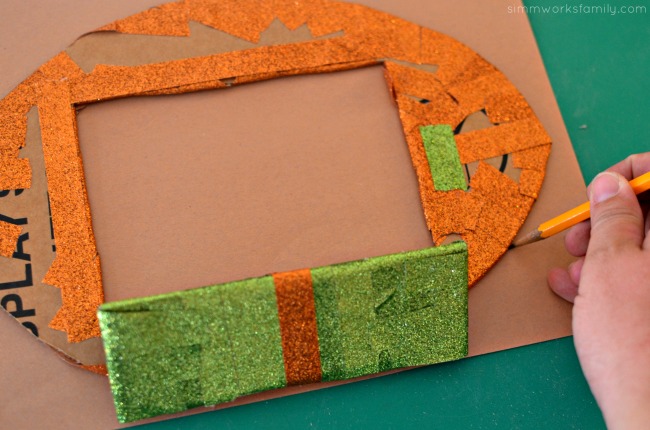
7. Grab your brown paper and trace the outline of the football and the 4×6 spot for the photo. Cut out the football shape of the construction paper. Cutting from the bottom of the football, cut out the 4×6 piece and the bottom of the football (to leave space for the stand). 

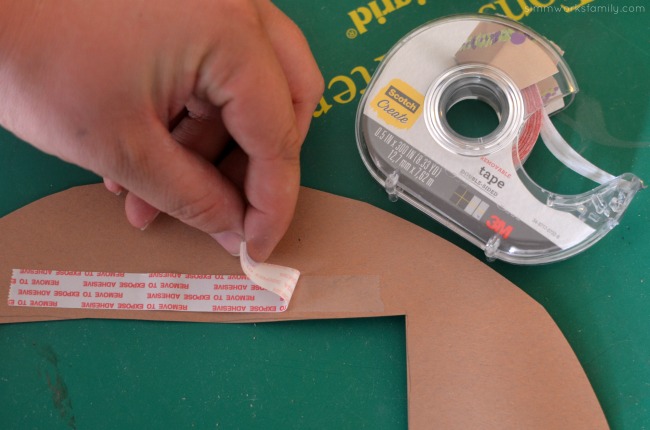
8. Attach brown cut out to back of the frame using Scotch® Create Double-sided Tape. 

diy-football-photo-frame-draw-out-larger-than-4x6diy-football-photo-frame-add-photo

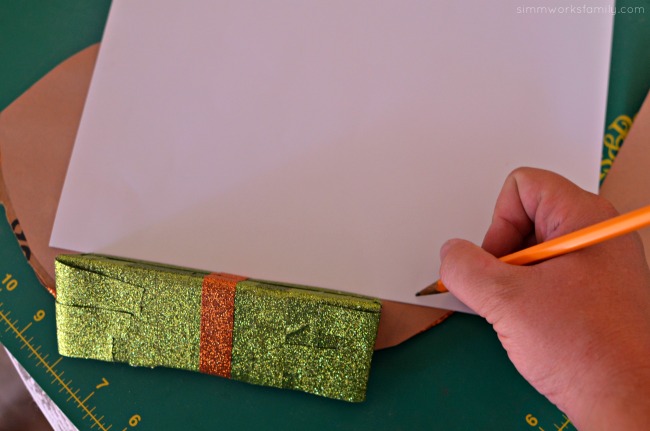
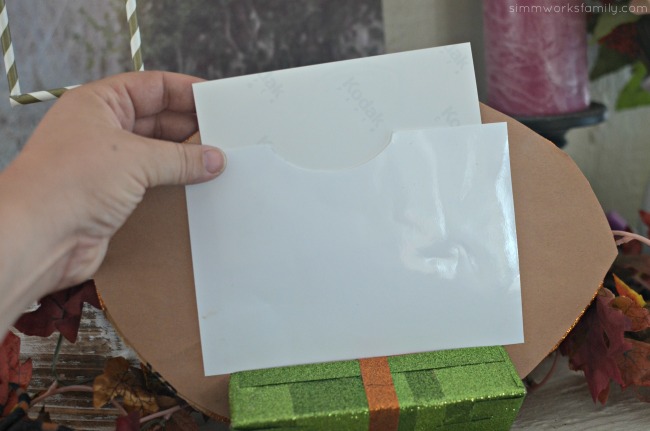
9. Cut out a 5×7 piece of white paper. Notch a small half circle on the top of the paper. Tape the white paper onto the back of the frame on the two sides with Scotch® Create Double-sided Tape. 

10. Add a photo and enjoy your frame! 

diy-football-photo-frame-ig

How do you celebrate sports in your home? 

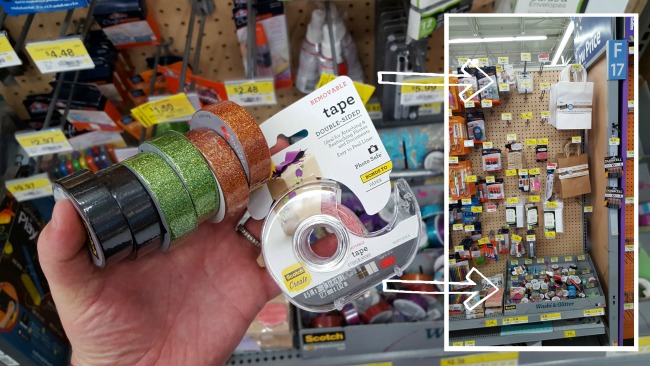
I was able to find all of the crafting goodies I needed, including the Scotch® Expressions Glitter Tape, in the craft aisle in Walmart. So easy to find everything in one place! With a perfect combination of versatility, function & fun, Scotch® Expressions Tapes turn everyday projects into simply inspired creations. I love how simple and easy it was to make this frame with my daughter and how fun and sparkly it ended up! How awesome is that? 

scotch-at-walmart

DIY Fruit Juice Dyed Watermelon Windsock

I am a member of the Collective Bias® Social Fabric® Community. This #KoolOff shop featuring a DIY Fruit Juice Dyed Watermelon Windsock tutorial has been compensated as part of a social shopper amplification for #CollectiveBias and its advertiser.

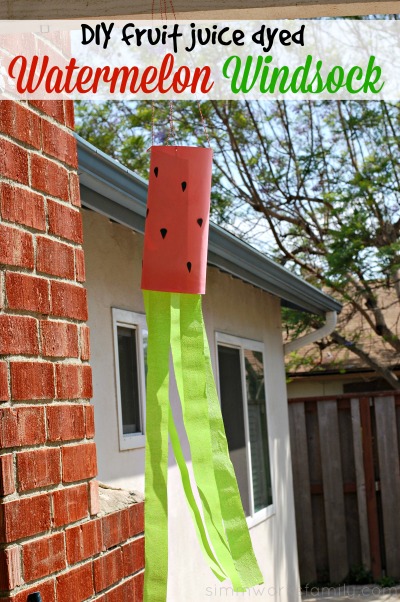
DIY Fruit Juice Dyed Watermelon Windsock

We are in the midst of a heat wave and the only thing we can think about these days is summer. But since we’re still in spring we’re doing a bit of summer prep. While working on our garden the kids decided they wanted to plant watermelon this year so I headed to the store to pick up some watermelon seeds.

While we were shopping at Walmart I ended up in the fruit juice aisle – trying to kill two birds with one stone and getting everything off my list. I noticed the larger ready-to-drink Kool-Aid bottles and grabbed some Tropical Punch to help me cool off while I was gardening. [Read more…]


© A Crafty Spoonful - All Rights Reserved
It is OK to use one of my photos provided a link back and/or proper credit is given. It is NOT ok to copy and paste a whole post including instructions. Please do not remove watermarks or alter images in any way. Please contact me with any questions at danielle@acraftyspoonful.com

.