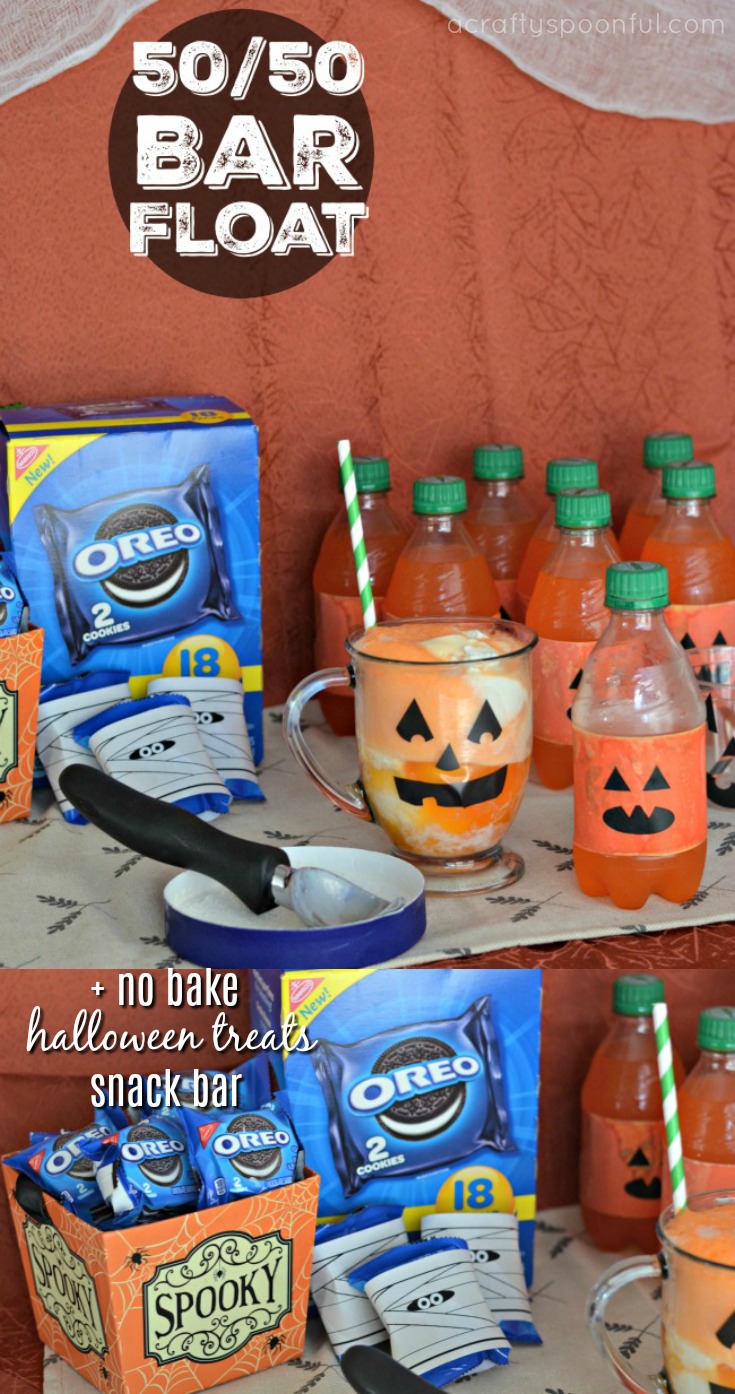
This no bake Halloween treats snack bar with 50/50 bar float recipe is an easy way to whip up some Halloween fun with friends!
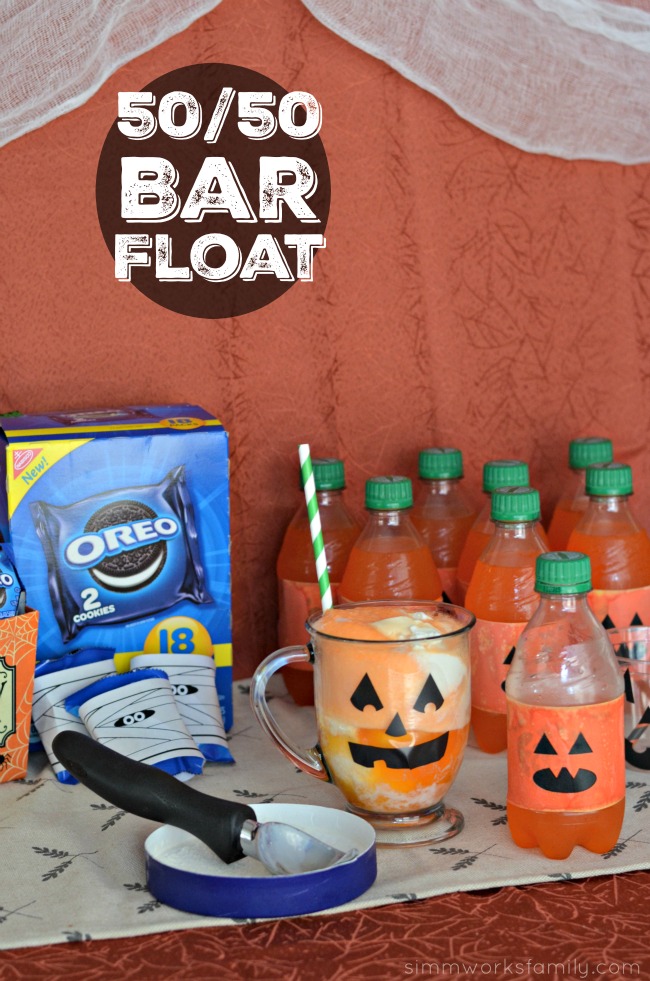
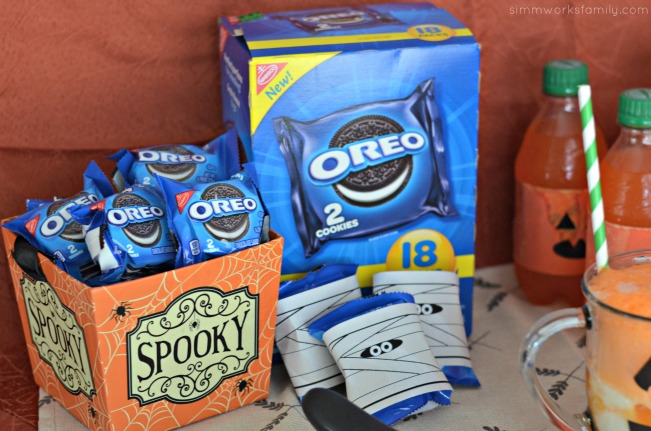
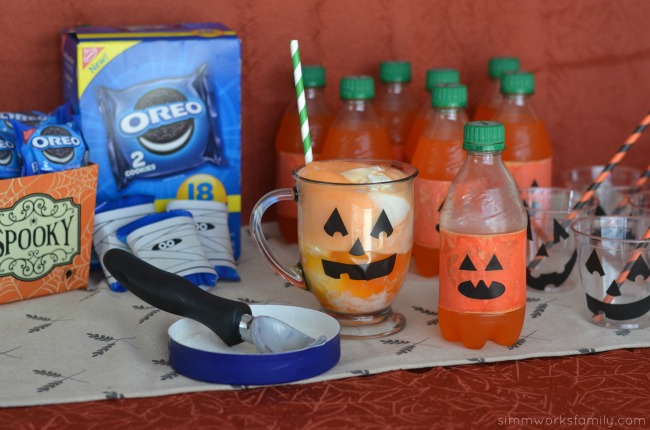
We’re in the final countdown to Halloween night and we’re planning a frighteningly spooky time with friends and family as we pass out treats to the trick-or-treaters. To keep everyone pepped up and ready for the busy night, I’ve created a delicious Halloween snack bar that includes a few of my family’s favorite treats: OREOs and Fanta orange soda.
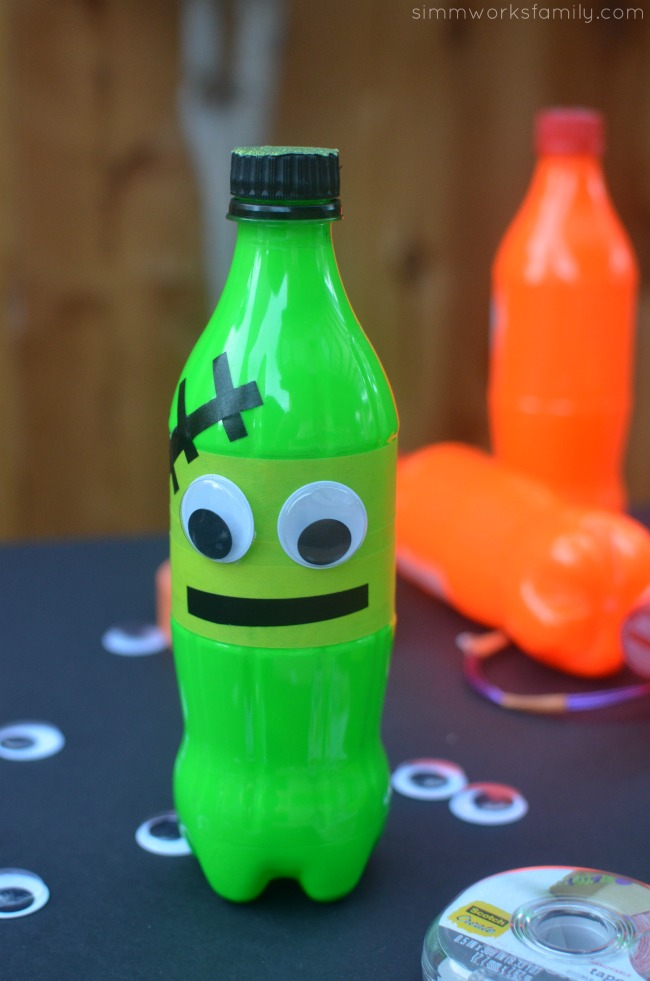
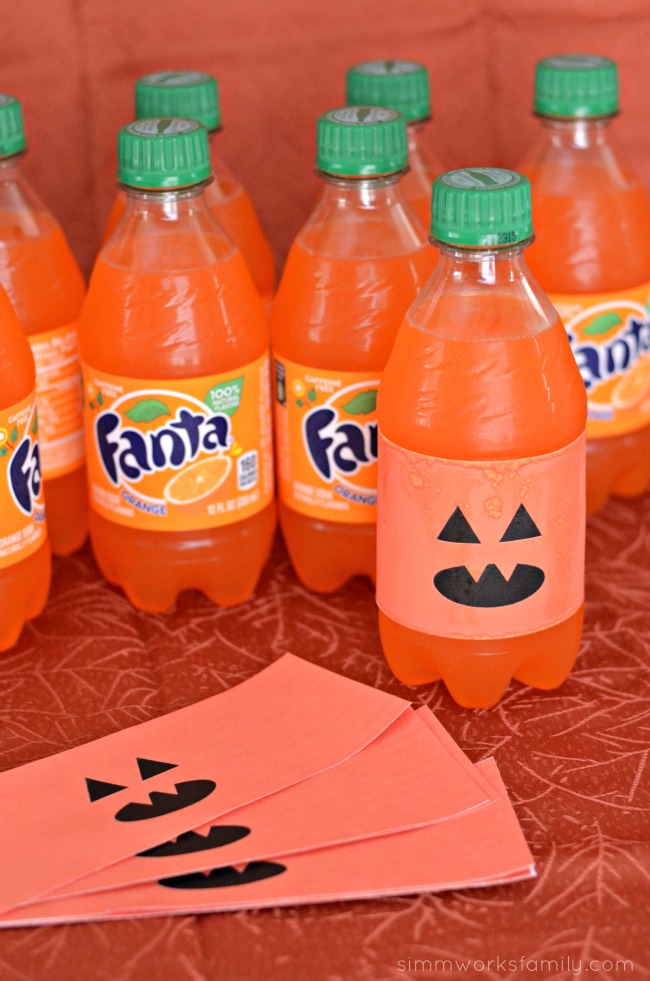
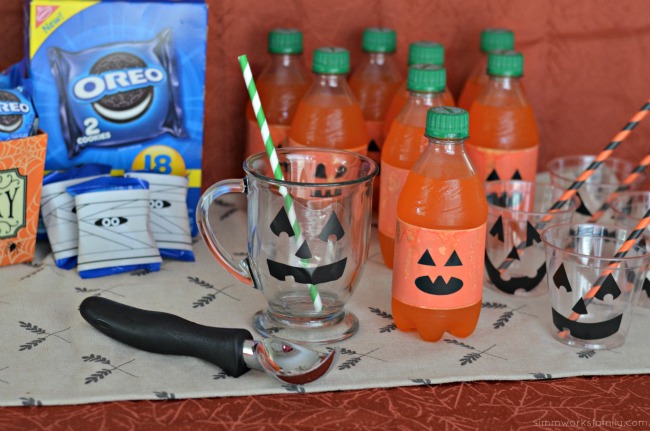
To make our spread more festive, I created some mummy snack wraps and pumpkin drink wraps. It was so simple to make these up in PicMonkey and they were a great addition to our snack bar. Plus the mummy OREO 2-packs will be great to add to my kids lunches leading up to Halloween or to pass out to my son’s class as a treat for their Halloween party.
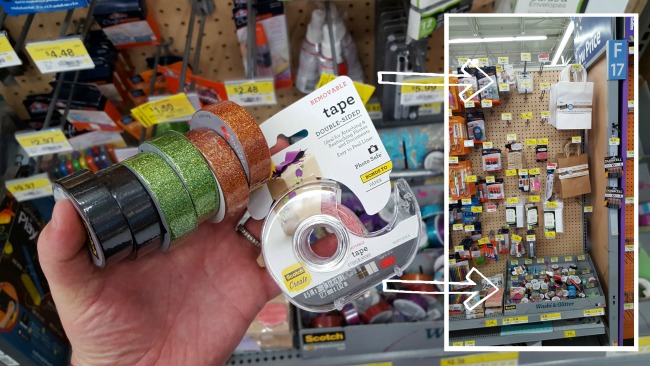
How to Make Snack Wraps in PicMonkey
If you aren’t familiar with PicMonkey, it’s so easy to create little printables to use for parties and special occasions. For these treat wraps I simply used the design option and chose the Facebook cover canvas to make my wraps. They’re the perfect size to wrap around an OREO 2-pack or a Fanta orange 12oz bottle.
Once I have the canvas I choose a canvas color for the wrap. For the pumpkins, I simply used a solid color, but for the mummies, I went into the Themes and chose a canvas design from the Demons theme (apparitions). But there are so many different options!!
I then added various basic shapes to create my design. There are a lot of shapes to use in the Halloween themes as well if you just want to use one of the pre-made overlays.
Don’t have time to DIY your own treat wrap? Download mine!
Pumpkin Drink Wrap | Mummy Snack Wrap
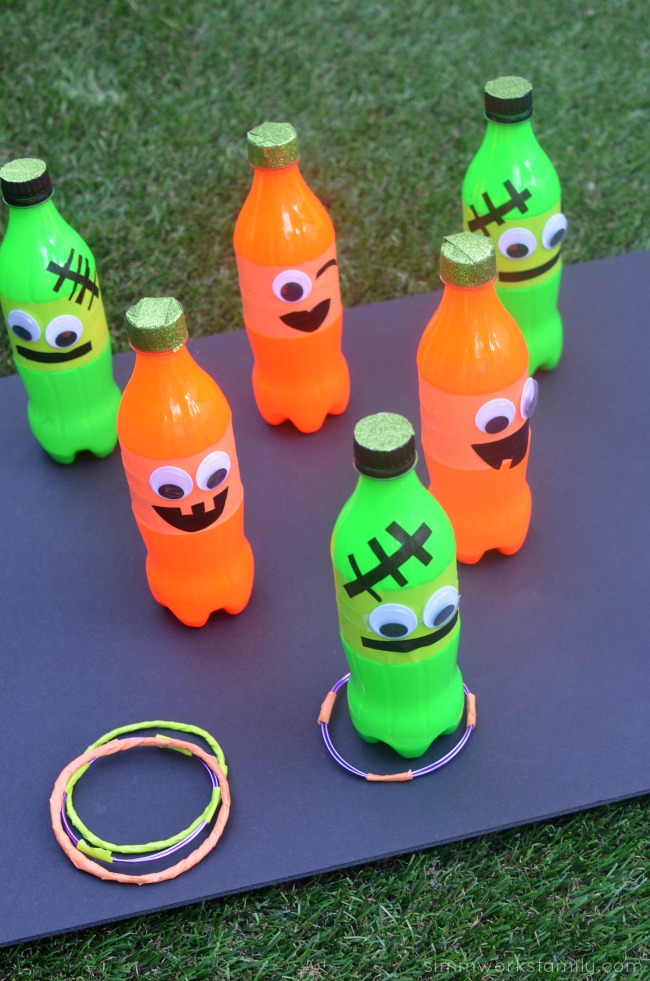
No Bake Halloween Treats Snack Bar
With delicious Oreos and some 50/50 Bar Floats available, we have the perfect snack bar spread for our guests to enjoy. I also made some delicious Oreo balls that I decorated as pumpkins however I’m sad to report that they didn’t make it over the weekend between the kids and the husband. The leftovers were NOT pretty and I didn’t want to share the delicious clumps of OREO balls that were left over.
However I will leave you with a link to the recipe here. Simply dip in orange candy melts or white chocolate with orange food dye and top with a mini chocolate chip for a simple and easy sweet treat.
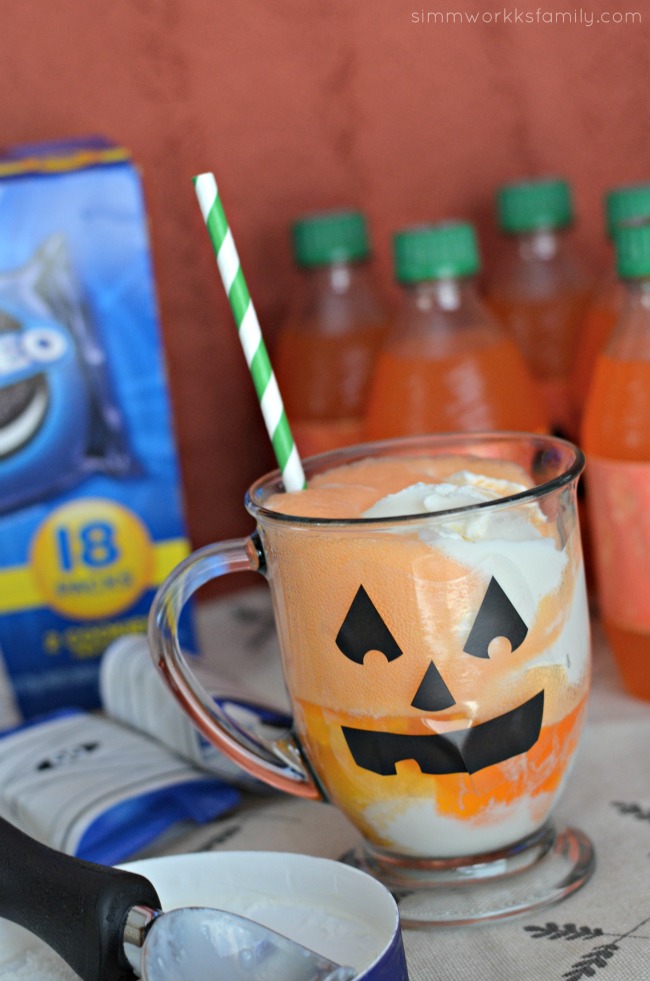
And now for this deliciously creamy 50/50 bar float recipe!
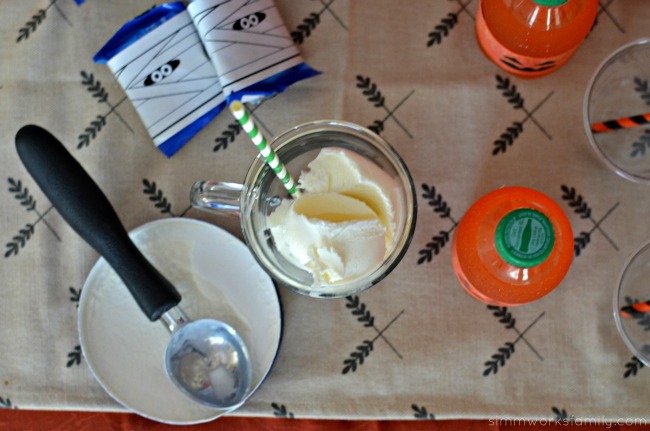
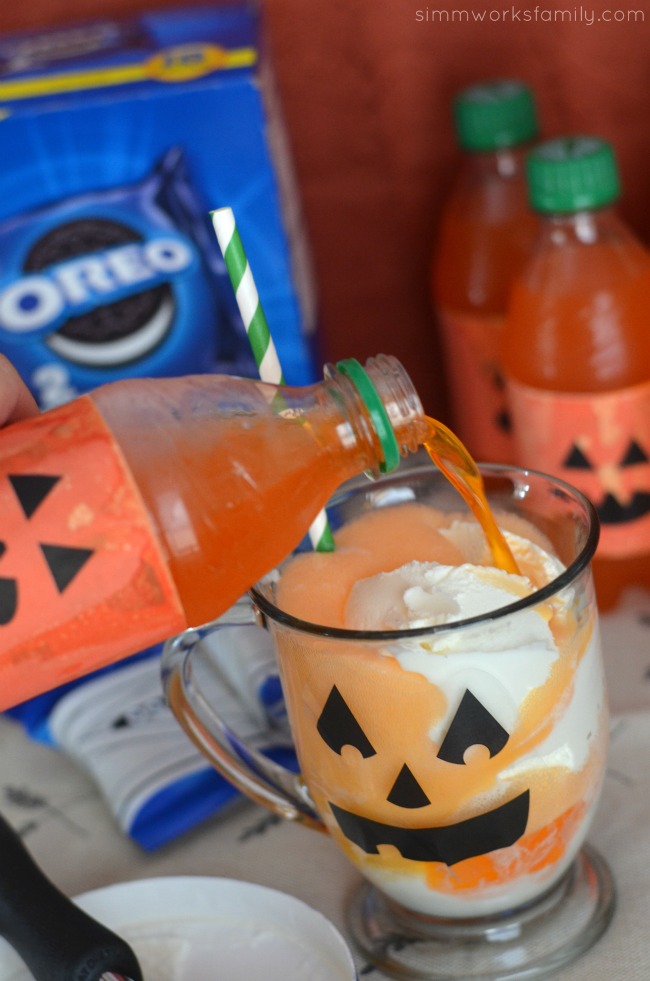
50/50 Bar Float
- 8 or 12 ounce Fanta orange soda
- Vanilla Ice Cream
- Whipped Cream (optional)
- Sprinkles (optional)
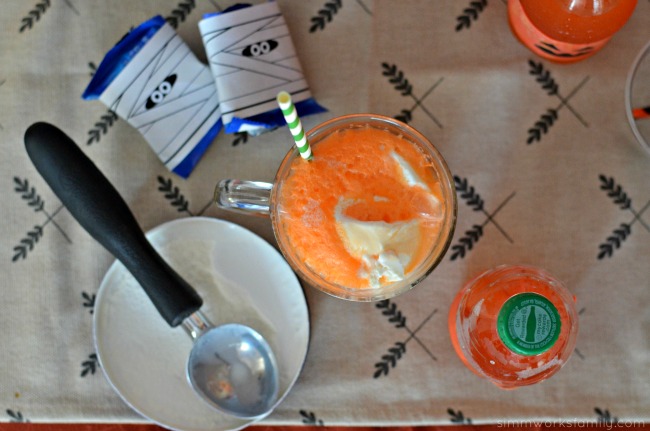
Grab a large cup and fill up with vanilla ice cream.
Pour over an 8 ounce can of Fanta orange soda (or 1/2 a bottle of 12 ounce Fanta orange soda) slowly in stages. Once the delicious bubbles go down again, add more soda.
Top with whipping cream and sprinkles, add a straw, and serve to friends and family alongside some delicious OREOs!
What are your favorite no bake Halloween treats?
Like this post? Read more!
Pin this article for later!
Click the Pin button on the image below to save for later.
This post was originally published on October 14th, 2015