Creating a Fun DIY Chalkboard Herb Planter

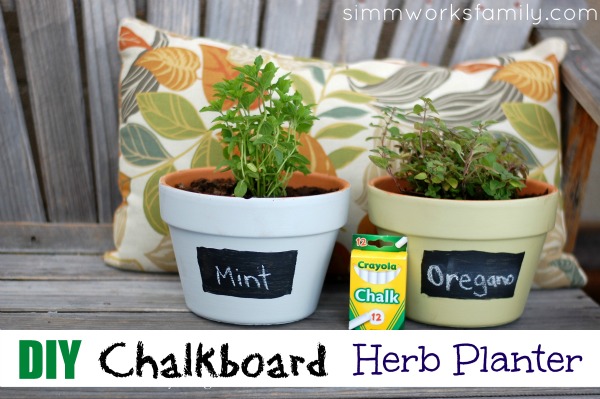
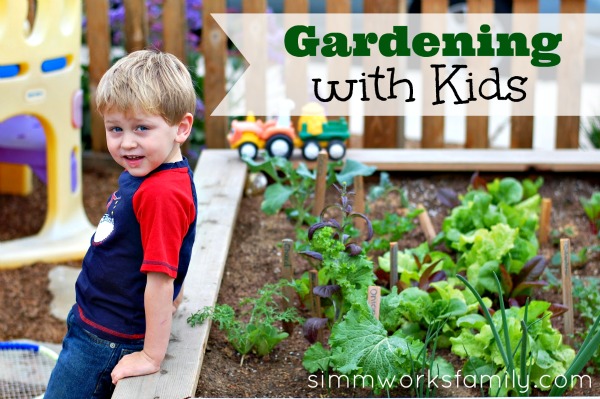
This DIY chalkboard herb planter turns regular clay pots into beautiful and fun places to grow your herbs! Use smaller pots for an indoor garden and larger for outside! Don’t forget to get the kids involved! 

I love to garden. I love being outdoors, enjoying the weather, and getting my hands dirty. I also love the sense of accomplishment I feel when I see the results of my hard work.

But sometimes gardening and landscaping doesn’t have to be difficult or hard. With this fun DIY Chalkboard Herb Planter I’m able to plant the herbs I love in cute decorative pots and don’t really have to worry much about them.

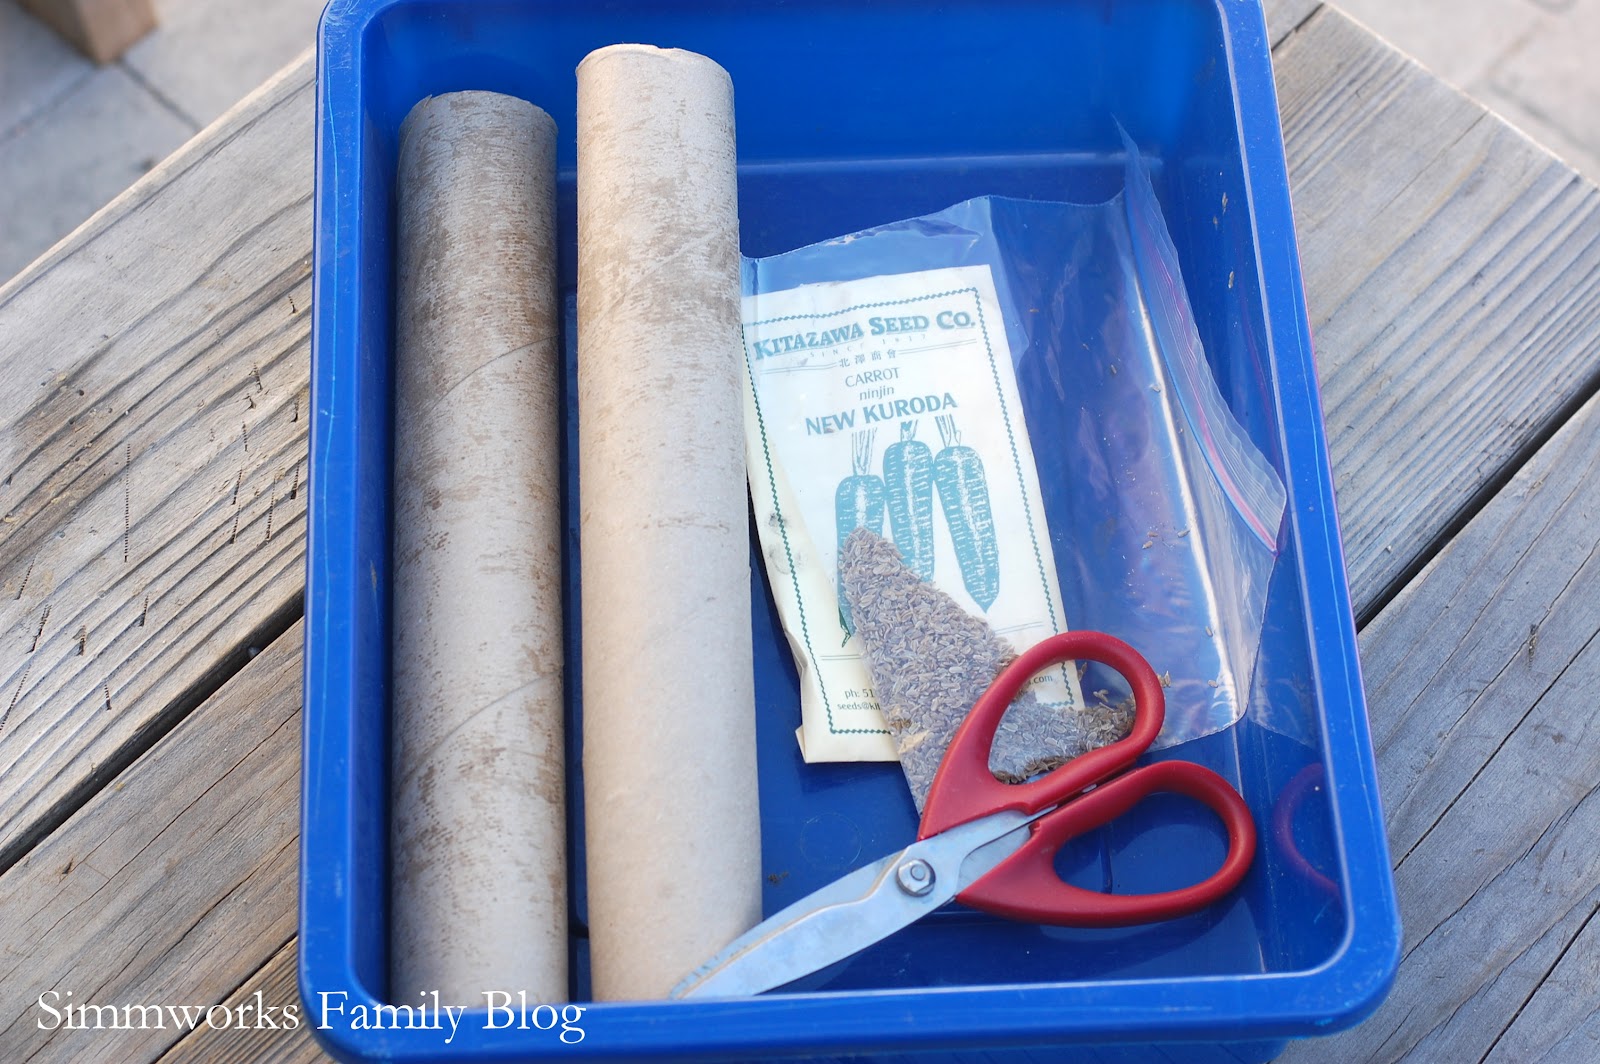
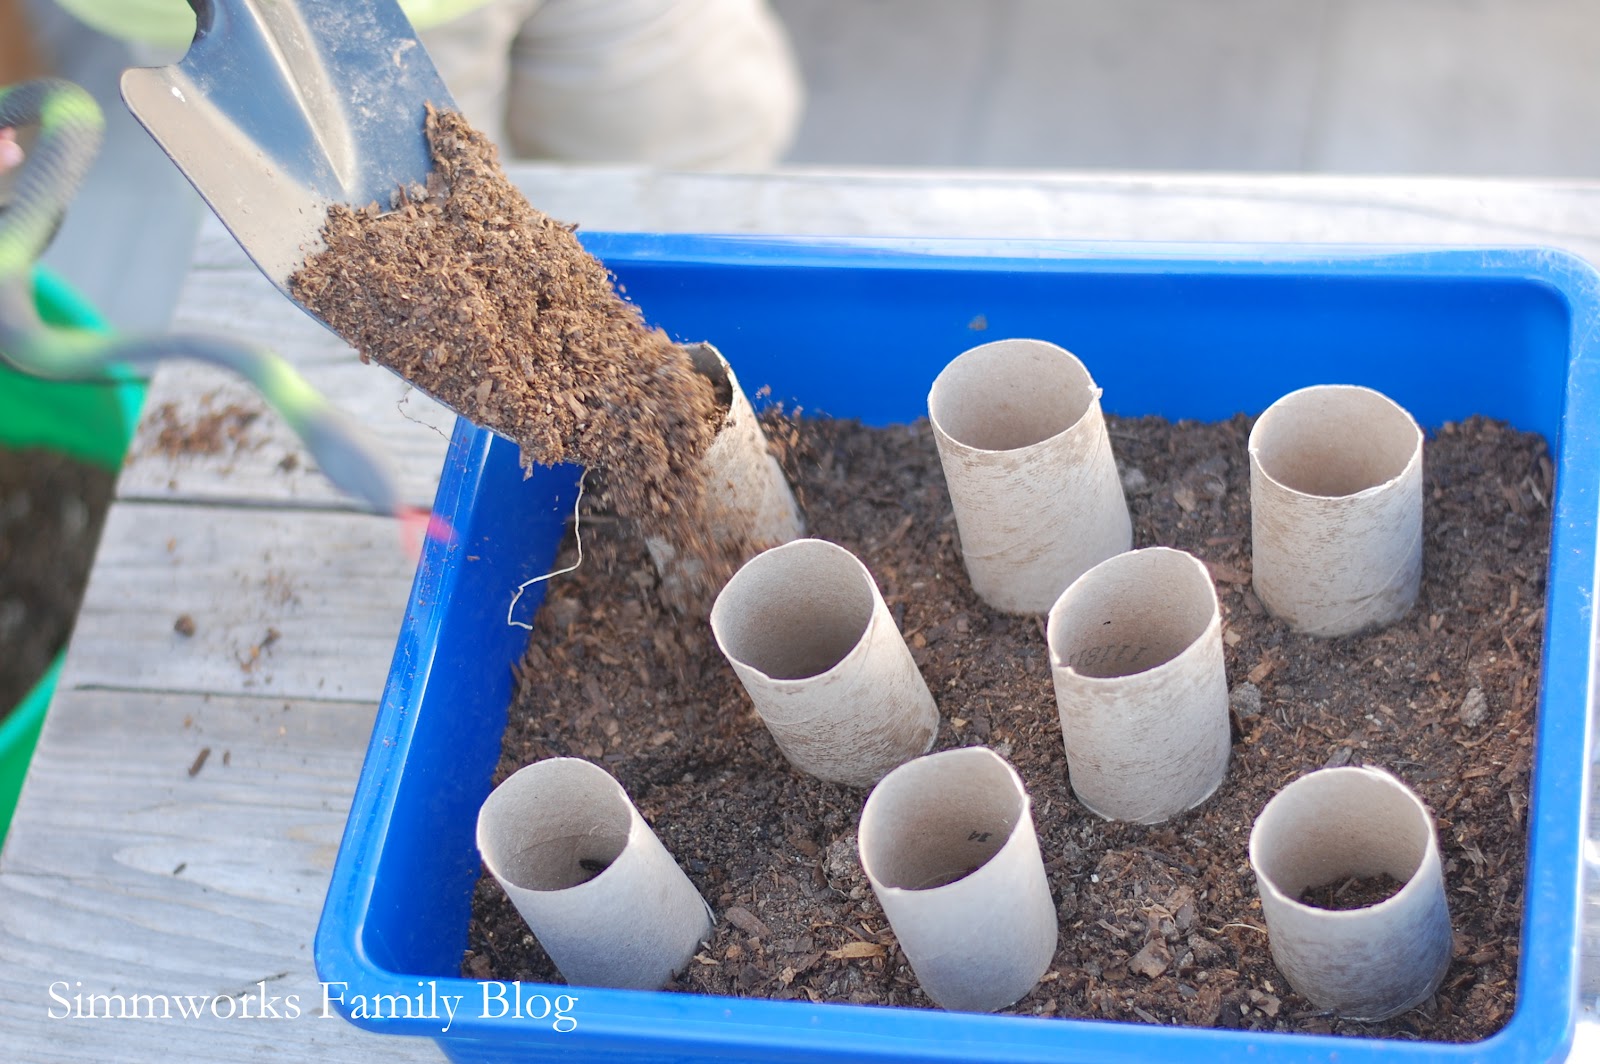
Plus, you can make this project with simple materials that you might already have in your home!

DIY Chalkboard Herb Planter
[Read more…]

DIY Cardboard Seedling Starter {Earth Day Celebration}

In celebration of Earth Day this year I wanted to share a way that you could get the kids involved more in starting your garden. I’ve already posted about releasing butterflies and getting kids involved in gardening so this activity just goes hand-in-hand!

Our family has become quite addicted to gardening over the past year. We were successful in our first attempt this season in our raised bed and are now expanding to the back yard. But since the back yard isn’t quite ready for plants yet we decided to start our seedlings in containers first before putting them in the back yard.

Since we’re a bit frugal we decided to use household items to start our seeds this time around. I grabbed some cardboard, a craft bin we weren’t using, and some left over compost to get started. This method not only proved to be easy but it was a great way to get the kids involved. I can’t wait for them to start seeing the little seedlings sprout!

DIY Cardboard Seedling Starter

What You’ll Need:

  • cardboard tubes
  • shallow container
  • compost or planting mix
  • seeds
  • scissors

What You Do:

1. Cut your cardboard tubes to size. If using paper towel roll cut in 4ths and if using a toilet roll cut in half.

2. Start to fill your container with dirt.

3. Spread the dirt out evenly over the whole container.


4. Using a finger, make a hole 1/4 to 1/2 inch deep in each tube. This will be where the seeds go so read the packaging on the seeds to see how deep you should be planting them.

5. Fill hole with recommended amount of seeds and cover back up.

6. Water well. 

7. Continue to water as directed on the package and allow for adequate sunlight. Depending on the variety of plant your growing, transfer to a larger garden bed when the sprouted plant is large enough (usually 2-3 leaves need to have formed and the plant should be 4-5 inches tall).

Starting from seeds is a great way to reap the benefits of home gardening without the costs of purchasing starter plants from your nursery. Plus, with seeds you get way more than a small plant will yield and you usually end up with multiple plants for a fraction of the cost!

Gardening with Kids

Gardening With Kids

Since we started our garden in November we’ve been trying to find more and more ways to get the kids involved in tending to it.

I’ve found that by including them in the process they’re not only more willing to actually eat what we harvest, they also are less tempted to start playing in the garden with trucks, balls, dinos and airplanes.

Those get left in the sand box where they belong! Below are a few ways to get your kids involved in the yard whether it be tending to an edible garden or picking the weeds in the flower bed.

[Read more…]


© A Crafty Spoonful - All Rights Reserved
It is OK to use one of my photos provided a link back and/or proper credit is given. It is NOT ok to copy and paste a whole post including instructions. Please do not remove watermarks or alter images in any way. Please contact me with any questions at danielle@acraftyspoonful.com

.