Homemade Gifts: DIY Body Scrub

homemade DIY body scrub

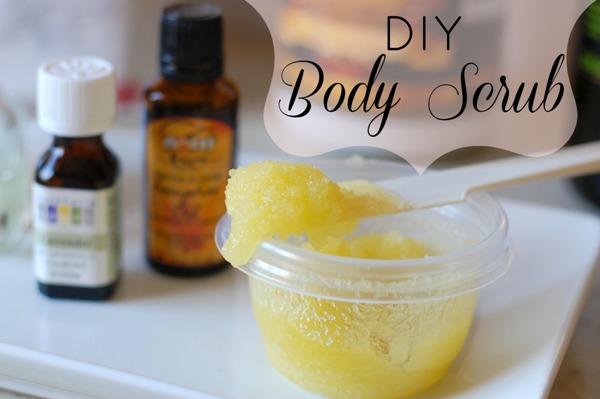
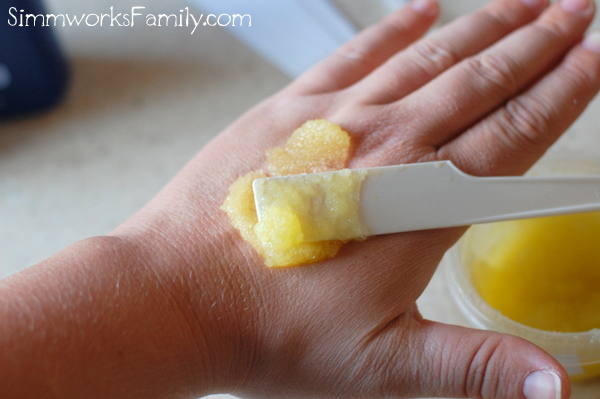
Creating your own DIY body scrub to give as gifts this year is an inexpensive way to get everyone on your list a little something special. Plus you are also gifting a little relaxation as well!

By customizing the scents of the essential oils you use, you can personalize each scrub you make for hte person you’re gifting it to, or simply make your favorite scent to share.

After using the scrub, your skin will feel smooth, refreshed, and will have a healthy, exfoliated glow.
Body Scrub holiday gifts

[Read more…]

Homemade Playdough {DIY Tutorial}

When we were planning our activities out for Valentine’s Day I wanted to do something special with the kids, just me and them. Now, we do special things together almost every day but I wanted to find a special time to focus solely on them without thinking about what we needed to do next (or what I needed to work on). And since I’ve been pinning crafts to do with them for a while now I thought it’d be a great time to try out a pin.

So after we hosted a super fun Valentine’s Day party with our playgroup I put the kids to bed and got out the ingredients for playdough. I found the “recipe” on one of my favorite blogs, How Does She?, and loved how easy the project sounded so I got to work. It took me all of 5 minutes to take the ingredients out, snap some photos and pre-measure everything. And once the kids woke up we were ready to get our DIY on!

Homemade Playdough

What you’ll need: 

  • 1 cup flour
  • 1 cup water
  • 1/4 cup salt
  • 2 teaspoons cream of tartar
  • food coloring
  • medium pot
  • wax paper

What you do:

1. Grab a medium pot and pre-measure all of the ingredients except the food coloring (if you’re including a little helper into the mix).

2. Let your little helper dump all of the ingredients into the pot except the food coloring (look at that concentration!).

3. Stir, stir, stir until combined.

4. Now it’s time for the adult to take over (unless your child is old enough to use the stove). Place pot on stove and set heat to medium and add food coloring (as many or as little drops as you’d like to get the color your going for).

5. Stir the mixture until it starts to form a ball.

6. Once the mixture forms into a non-sticky ball, dump it out onto wax paper and let cool.

7. Once the playdough has cooled a bit start kneading the dough a few times until there is a smooth and soft consistency. You can let your helper take over this part for you if the dough has cooled down enough.

8. Re-form into a ball and give it to the kids to enjoy! How easy was that?

The playdough lasts quite a while when stored in an air tight container. I love that Missy over at How Does She? repurposed baby food containers to store her playdough so I grabbed some containers I had in the tupperware cupboard that weren’t being used and use them. Little hummus or pizza sauce containers seemed to be the best size and held the full batch of playdough perfectly.

Also… if you want your playdough to smell wonderful too I’ve heard that using kool aid as food coloring not only makes pretty colors but leaves great scents too. Cinnamon will do the trick as well but you still have to add the food coloring. And if you’re really wanting to spice things up you can add glitter to the dough to add some sparkle while you’re kneading.

Molly had a lot of fun playing with the dough once it was ready. She tried to eat it at first…

Then decided it was a phone and she called Daddy…

Then she just played with it in her fingers and squeezed it a bit before trying to share with me…

What a great afternoon treat! And the perfect way to spend Valentine’s Day with my little valentines.

Do you have an awesome DIY project that would work great for kids? I’d love to hear them! We’re always looking for awesome things to do together and to incorporate with our Tot School.

Footsie Heart Valentine {DIY Tutorial}

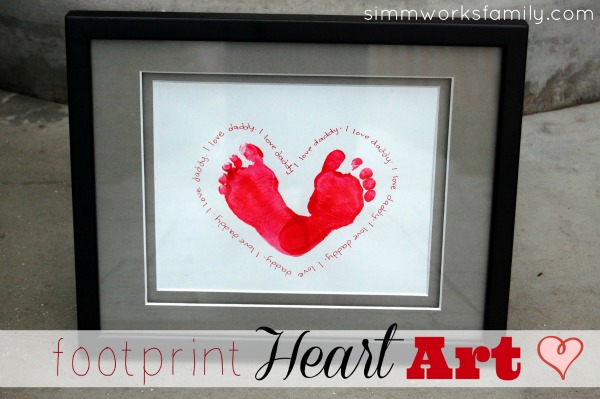
This valentine is super easy to make and is the perfect gift for parents, grandparents and special people in your child’s life. I made it two years ago with my son’s feet as a gift for my husband.

Then when I was actually making it I figured… his feet are already in the paint, why not make some more?! And I made a few others for his grandma, great aunt and uncle. I personalized them and he presented his gifts on Valentine’s Day.

Here’s what we did…

DIY Father's Day Gift Ideas - footprint I Love Daddy

Footsie Heart Valentine

What you’ll need: 

  • paper plate
  • painter’s tape (to be removed)
  • red washable poster paint (we used Crayola)
  • white construction paper
  • red fine point sharpie (or other pen)
  • damp wash cloth
  • dry wash cloth

What you do: 

1. Place a nice amount of paint onto the paper plate, set aside somewhere the kids cant reach it.

2. Tape the paper to the ground to reduce the chance of it slipping around.

3. Take your child’s bare foot and place it in the paint, right foot first.

4. Make the first half of the heart by placing the child’s foot at an angle facing the toes to the top right corner of the paper and the heel in the center of the paper closer to the bottom

5. Then dip the other foot, the left, into the paint and do the same to the opposite side of the paper placing the left heel inside the right heel and pointing the toes to the left upper corner of the paper.

6. Let the paper dry completely (you can make multiple at once by lining up the construction paper and stamping feet in a line).

7. Once the paint is dry start writing your phrase around the feet in a heart shaped pattern. I used, “I Love _____” and filled in the blank with the person we were making the valentine for.

You can frame your final product and wrap it to present as a cute keepsake or leave unframed and let your child hand it to their loved one. I’ve also seen this done with hand prints as well which would be equally as cute!

Have you made cute DIY valentine’s with your kids this year? I’d love to see what you have! Feel free to place your link in the comments below.


© A Crafty Spoonful - All Rights Reserved
It is OK to use one of my photos provided a link back and/or proper credit is given. It is NOT ok to copy and paste a whole post including instructions. Please do not remove watermarks or alter images in any way. Please contact me with any questions at danielle@acraftyspoonful.com

.