One thing I miss about our old house is the soaking tub we installed in the guest bathroom shortly after our son was born. I knew I wanted a great tub for bathtime and a deeper one would hold in all of the water for splashing. Plus I love to take baths so it’d be a great way for me to relax as well.
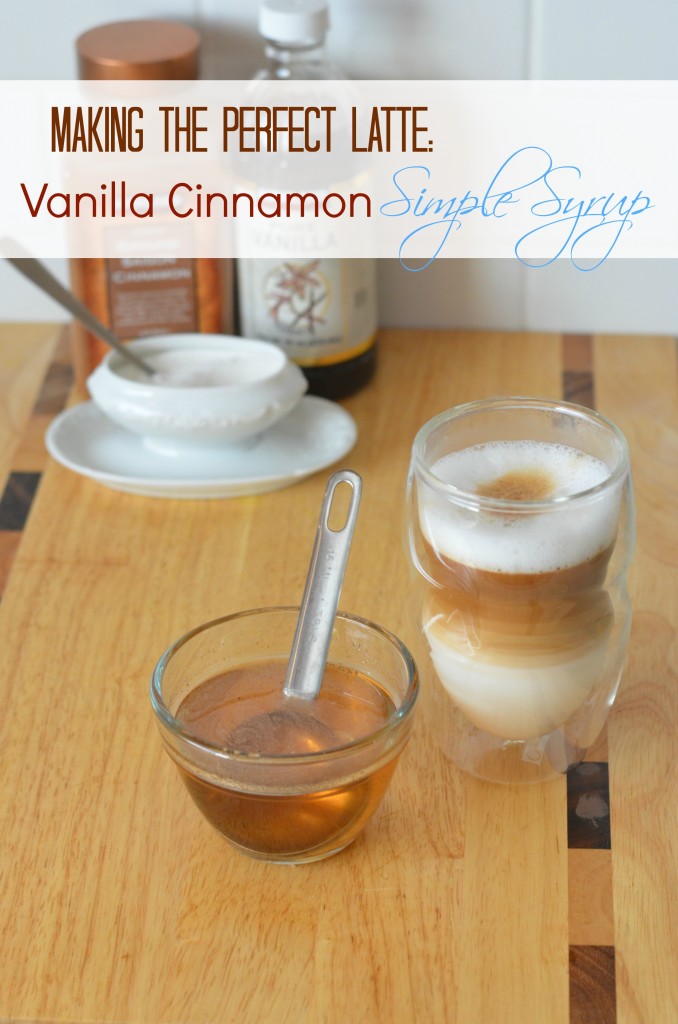
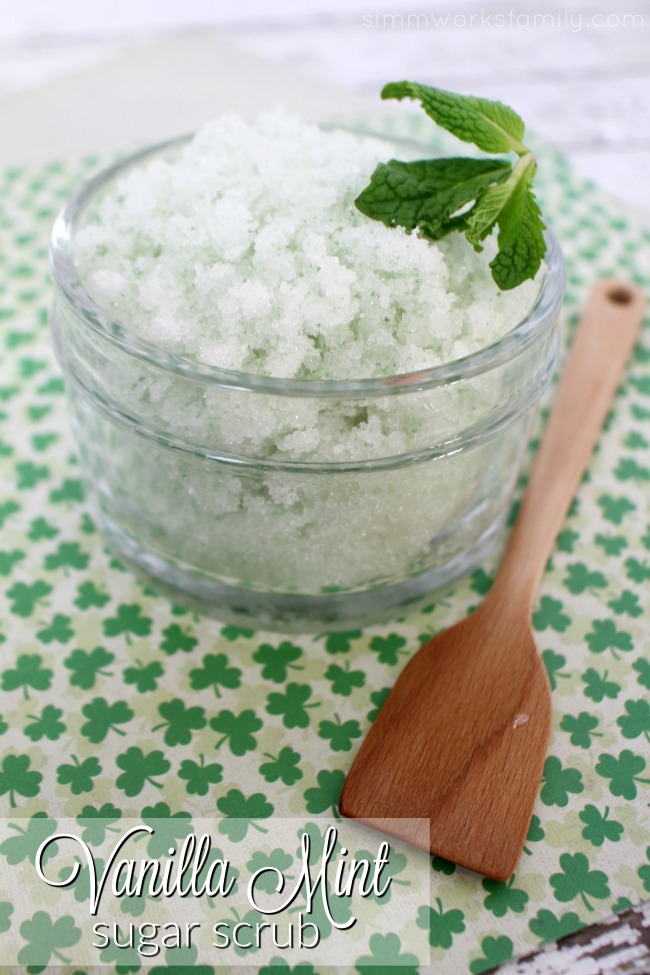
Our current bathrooms have shallow bathtubs that don’t allow much room for soaking. So I have to do all of my relaxing in the shower. Luckily I’ve made a few sugar scrubs to help make the shower just as relaxing as my old soaks in the tub. This vanilla mint sugar scrub would also be a great gift for St. Patrick’s Day. Or you could make a salt scrub and pair the two together for Valentine’s Day.
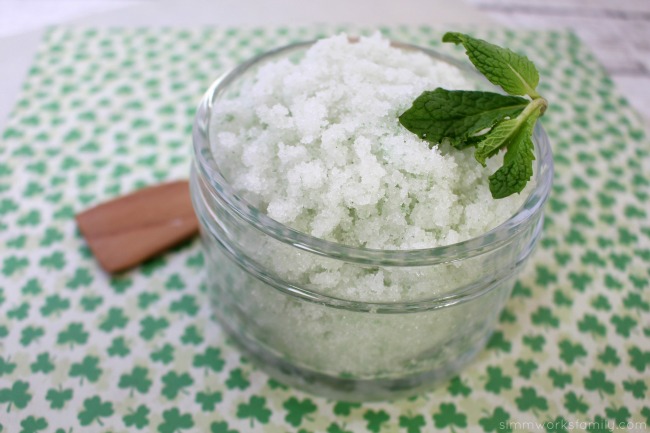
Vanilla Mint Sugar Scrub
- 1 1/2 cups granulated sugar
- 2 T sea salt
- 1/4 cup refined coconut oil
- 1/4 cup almond oil
- 1 teaspoon pure vanilla extract
- 1/2 teaspoon mint extract or 3 drops peppermint essential oil
- 3 drops Vitamin E oil (optional)
- 2 drops green food coloring
In a medium mixing bowl, add the sugar and sea salt.
Add the remaining ingredients and mix with a fork until well incorporated.
Transfer to an airtight container.
Enjoy in the shower or while soaking in the tub. You can store this Vanilla Mint Sugar Scrub up to 6 months but more than likely, it will be used before then…the smell is so soothing and calming!