This 2-Ingredient Homemade Bubble Solution is the perfect thing to have on hand for a boredom buster!
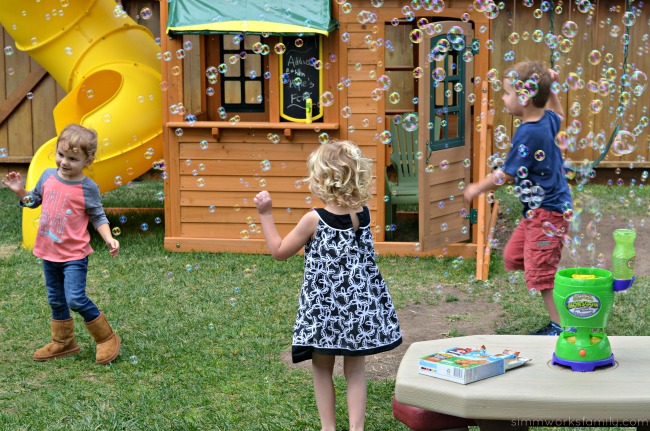
My girls are obsessed with bubbles. Completely obsessed. Every day they head outside, grab the bubbles, fill up the bubble maker, turn it on, and dance around in the bubbles. Hearing the joy and squeals that come out of them as they play is the best. But when the bubbles run out, sadness hits. Hearing my little 18 month old asking for more “buh-bowls” is the cutest thing ever but she’s serious when she says she wants more.
So the last time we ran out of bubble solution I decided to see if there was an easy recipe to make them at home. We tried a few out and changed some around but honestly this recipe below was the best homemade bubble solution that worked perfectly both with a wand and our bubble maker. The best part? Our girls can help make it with me!
And it’s a lot less expensive than bubble solution. Unless we find bubble solution on clearance (PS… it’s on clearance now at Target!).

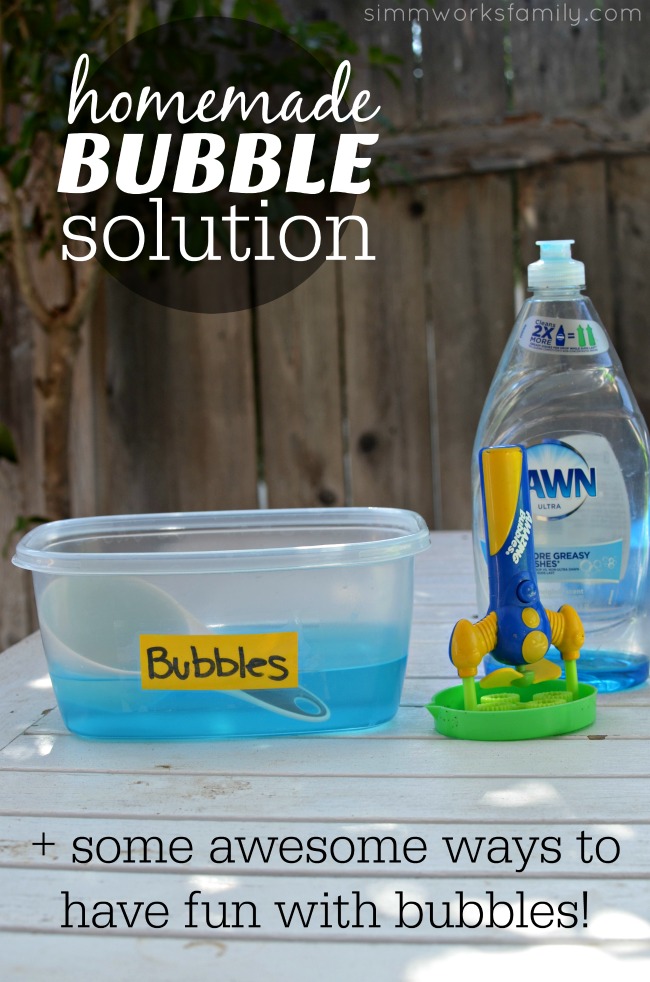
2-Ingredient Homemade Bubble Solution
- 1/2 cup dish soap
- 3 cups water
Add water to a container (preferably with a lid). Then slowly add in soap and stir gently. Try not to create too many suds while you incorporate the soap completely into the water. Use right away or place lid on bubble solution.

Other Fun Ways To Use Bubbles
- Color Bubble Art
- Bubble Party In The Sink
- Homemade Super Strong Bubbles
- Affordable Family Fun with Bubble Activities
- Homemade Bubble Wands