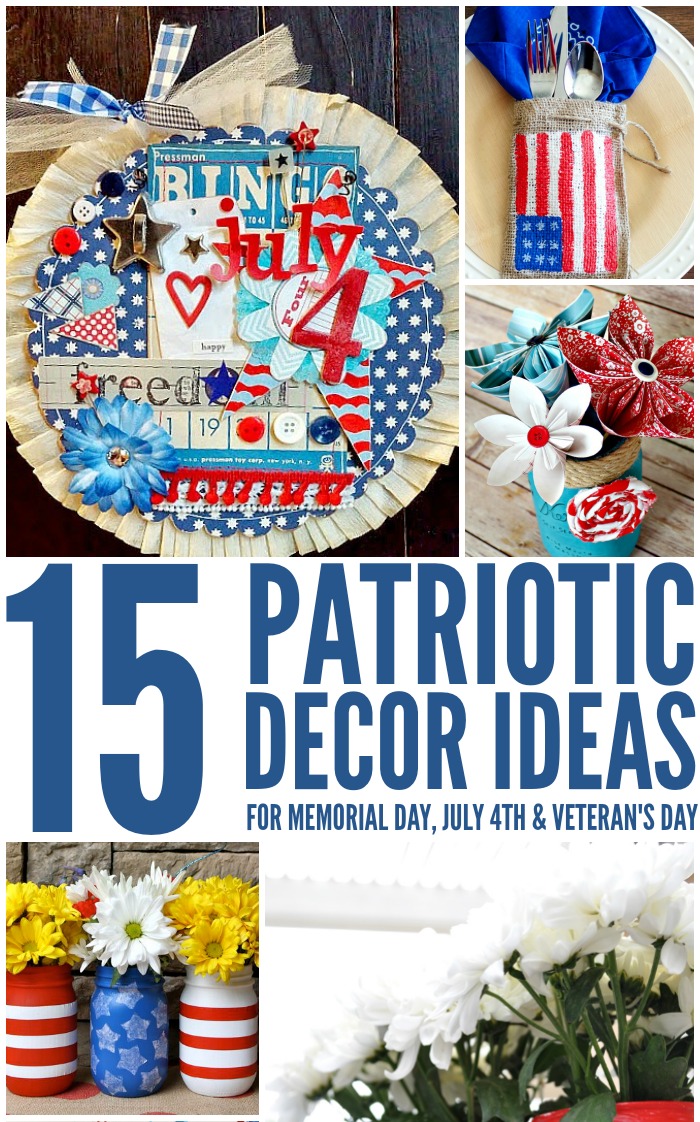
15 Patriotic Decor Ideas


Patriotic Decor Ideas for Summer

Memorial Day is approaching. This holiday is usually the day most consider the unofficial start of Summer. And for us that means decorating for the Summer holidays to not only remember our troops but to remember our country and show our patriotic pride.

I love changing up my mantel and home decor depending on the holiday or season and Summer is the perfect season to decorate with American flags and red, white, and blue decor.

Here are a few patriotic decor ideas to spruce up your home for the summer holidays!

1. Painted Burlap Patriotic Place Settings | Source: A Night Owl

2. Patriotic Wand Centerpiece | Source: The Country Chic Cottage

3. Patriotic Hanging | Source: DIY Beautify

4. Patriotic Paper Flowers Tutorial | Source: View From the Fridge

5. Quickie Memorial Day Garland | Source: Happiness is Homemade

6. Patriotic Mason Jars | Source: Yesterday on Tuesday

7. Patriotic Upcycled Can Flower Pots | Source: Club Chica Circle

8. Pledge Printable | Source: Seven Thirty Three

9. Patriotic Initial Wreath | Source: We Three Smiths

10. Rustic Americana Scrap Fabric Banner | Source: Catch My Party

11. Easy Red, White and Blue Party Decor | Source: She Wears Many Hats

12. Pringles Can Firecrackers | Source: I Gotta Create

13. Patriotic Luminaries | Source: My Blessed Life

14. Vintage-Inspired Patriotic Printables | Source: Live Laugh Rowe

15. Patriotic Clothespin Wreath Tutorial | Source: Everything Etsy
Living Room Decor Ideas To Think About with Mohawk

Disclaimer - Review Posts
Living Room Decor Ideas with Mohawk

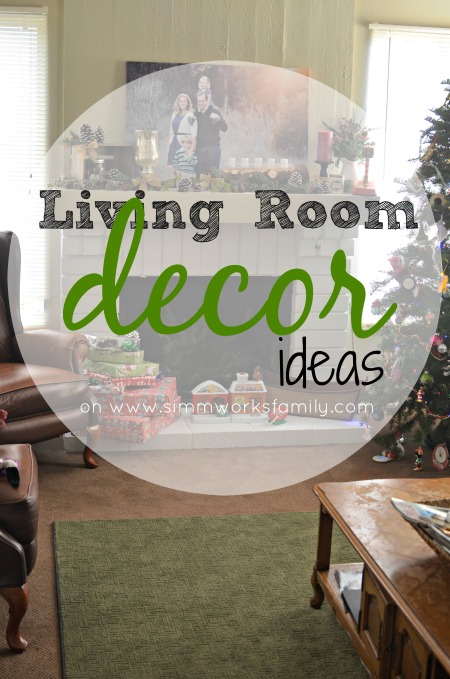
One thing I had a bit of a problem with when we moved into our new home was figuring out how to decorate each room. Luckily with a little time I was able to search some living room decor ideas to find the perfect layout for our new living room.

It may have taken us almost 6 months but we took our time to find pieces that fit our lifestyle and our space. Two things that I think are very important when furnishing and decorating a room.

We started with looking at pieces of furniture that would fit the space and then started looking at the colors that would work in our room. Everything pulled together nicely and now we have a lovely entertaining space for guests.  [Read more…]

How To Make Subway Art on PicMonkey

affiliate link disclaimer

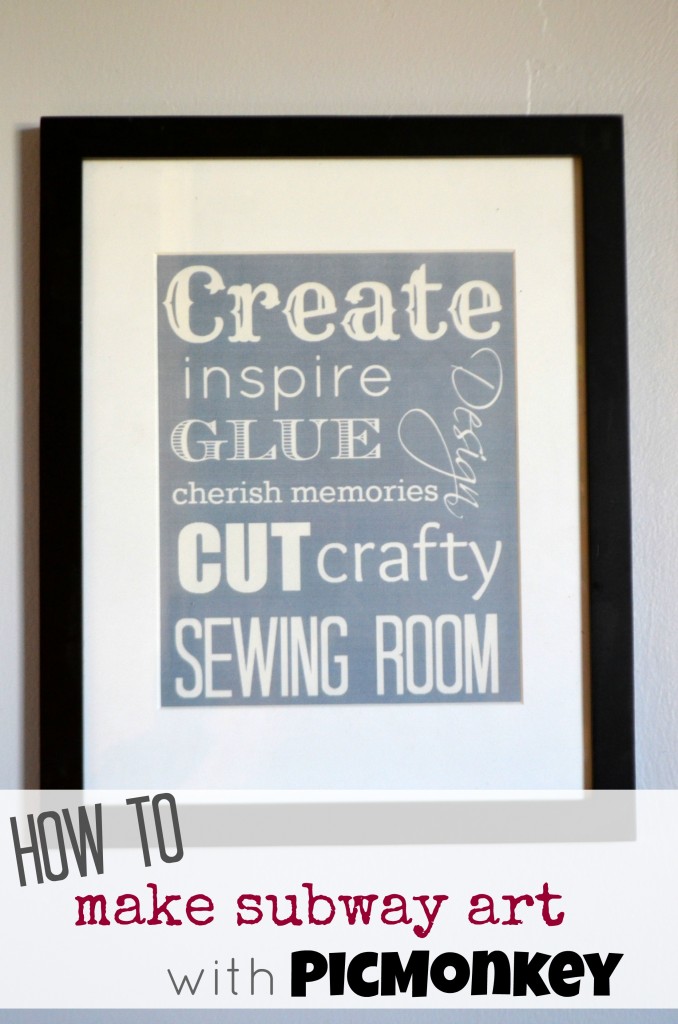
PickMonkeySubwayArt

When I started to put the final touches on my home office and craft area I knew I wanted to add some personalization to the space to really make it mine. I scoured over Etsy and other designers to find the perfect wall art but nothing screamed me. So I decided to put my creative skills to the test.

What I came up with was how to make subway art on PicMonkey! Not only did I get to personalize the words to what I wanted my space to reflect, it cost me nothing. Well… besides the monthly fee I’m already paying for the premium services.

Below is a step-by-step tutorial on how to make subway art on PicMonkey so you can create your own artwork to hang up!

How to Make Subway Art on PicMonkey

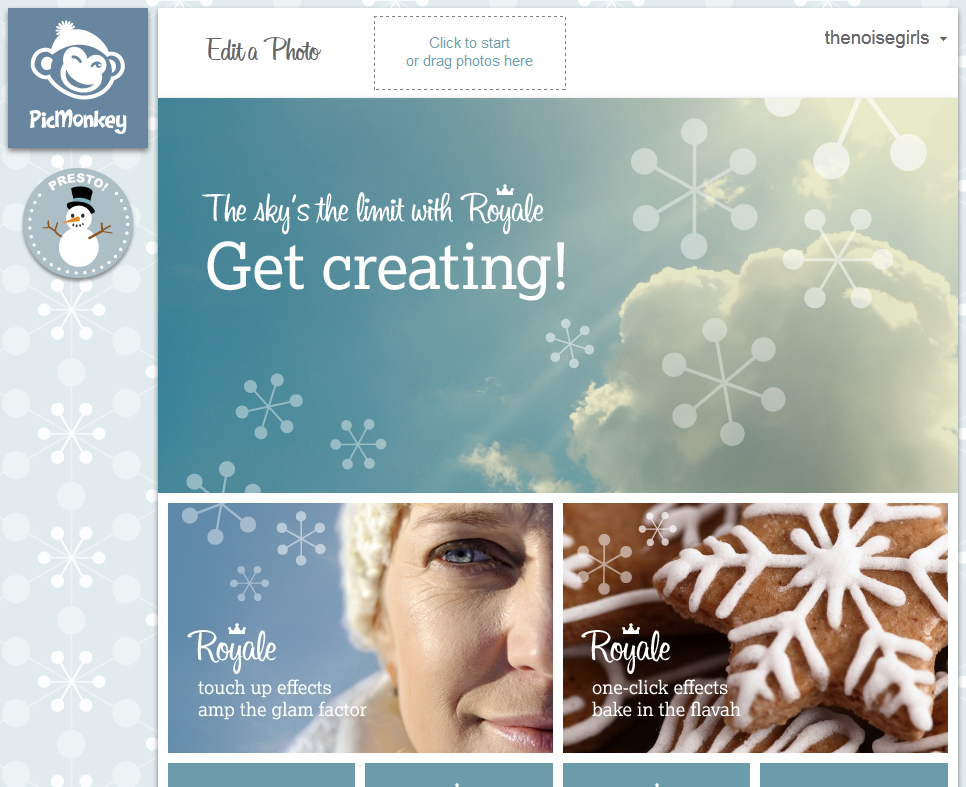
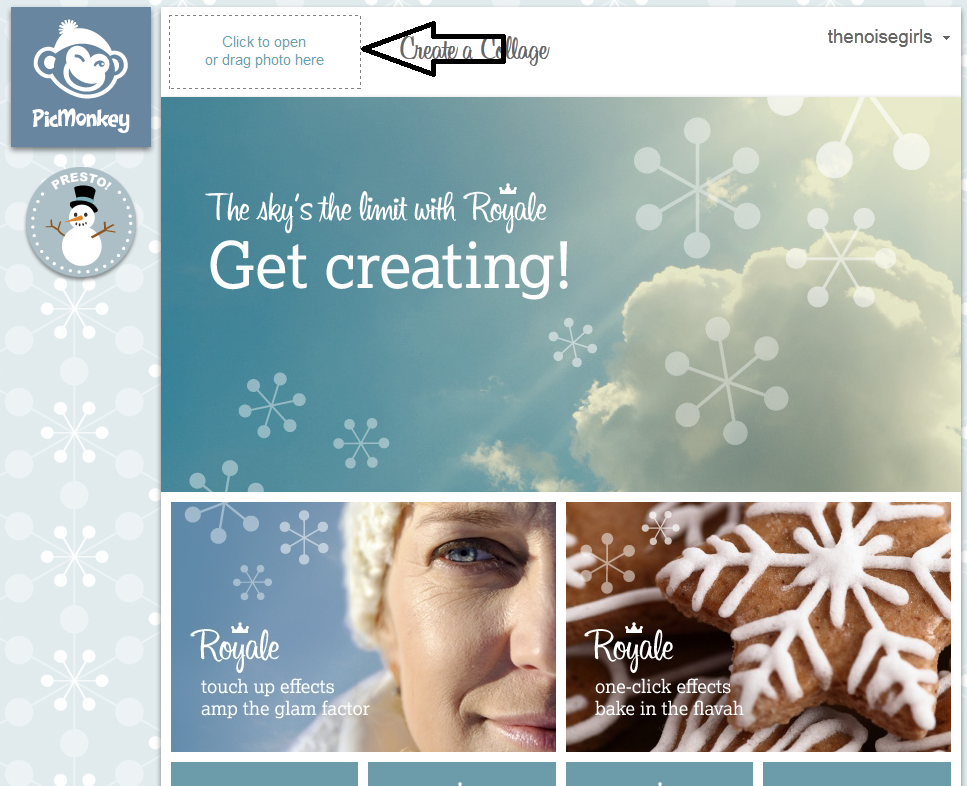
When you head over to PicMonkey click on Create a Collage. We’re going to create our template first before adding our words.

PicMonkeyClickOnCreateACollageCraftRoomSubwayArt

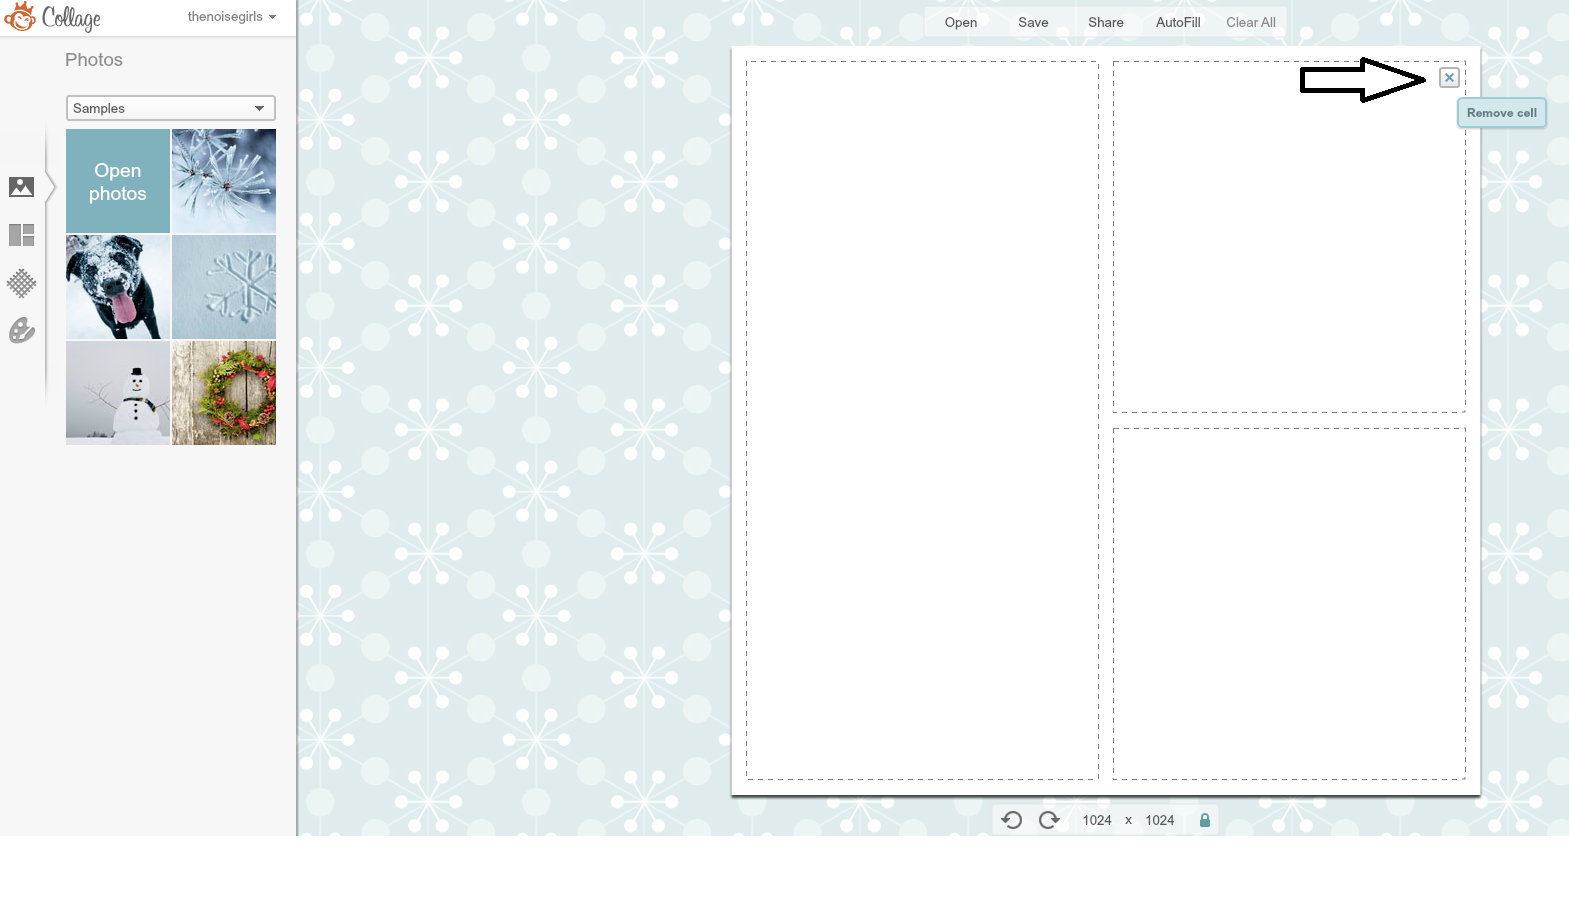
1. Delete all but one cell from your collage.

PicMonkeyClickOnRemoveCellCraftRoomSubwayArt

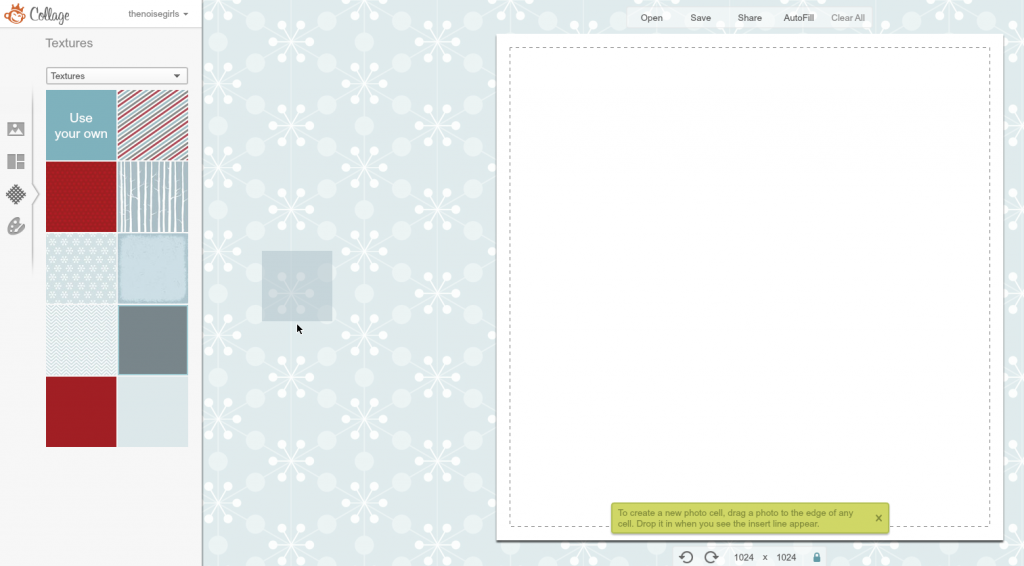
2. On the left hand side click on textures (diamond grid icon). Choose a texture.

PicMonkeyChooseATextureCraftRoomSubwayArt

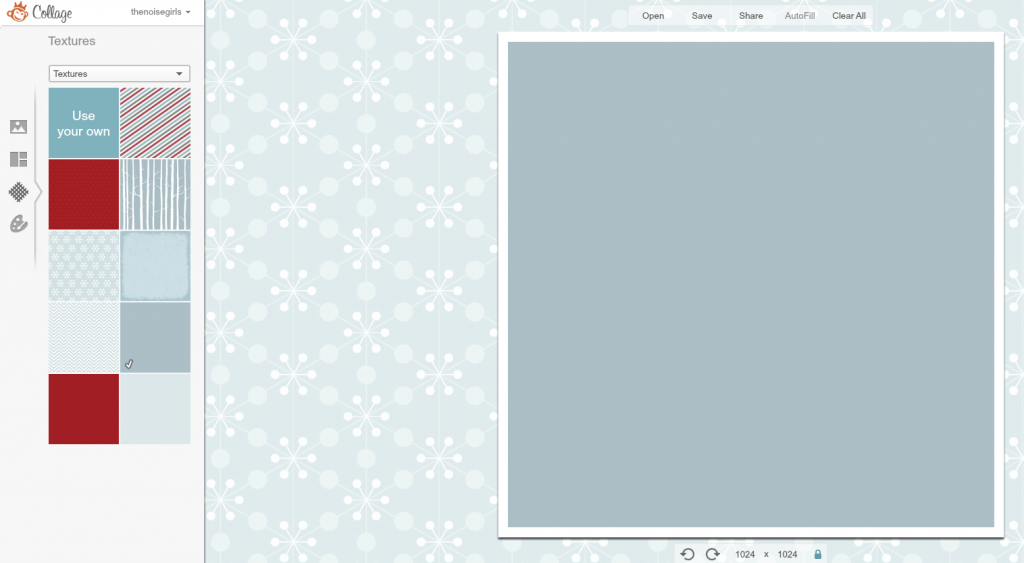
3. Drag the texture to the cell.

PicMonkeyTextureCraftRoomSubwayArt

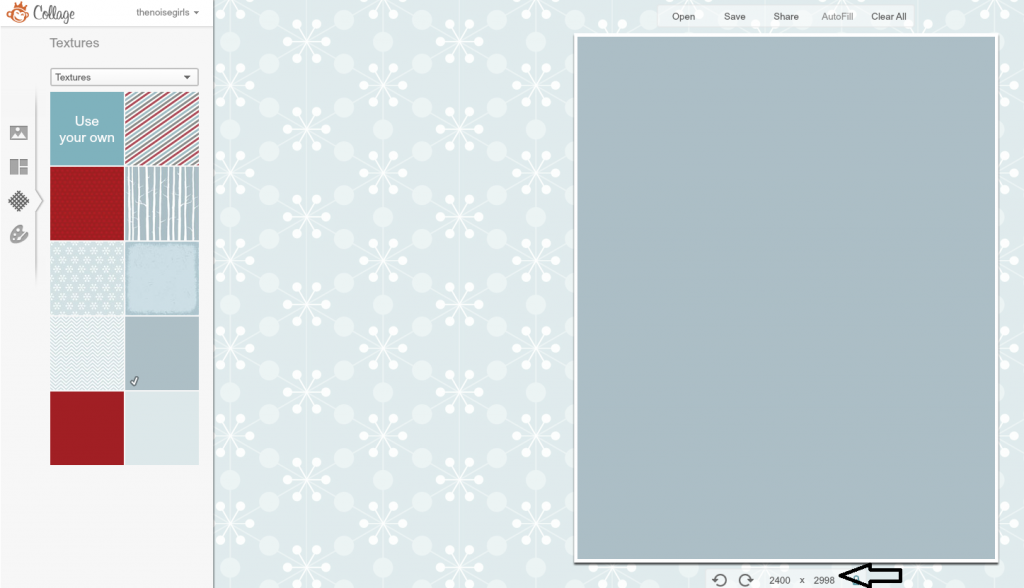
4. Resize the cell to match the resolution and size you want to print your photo. For an 8×10 photo it’s suggested to use a 2400×3000 pixel ratio.

PicMonkeyResizeTemplateCraftRoomSubwayArt

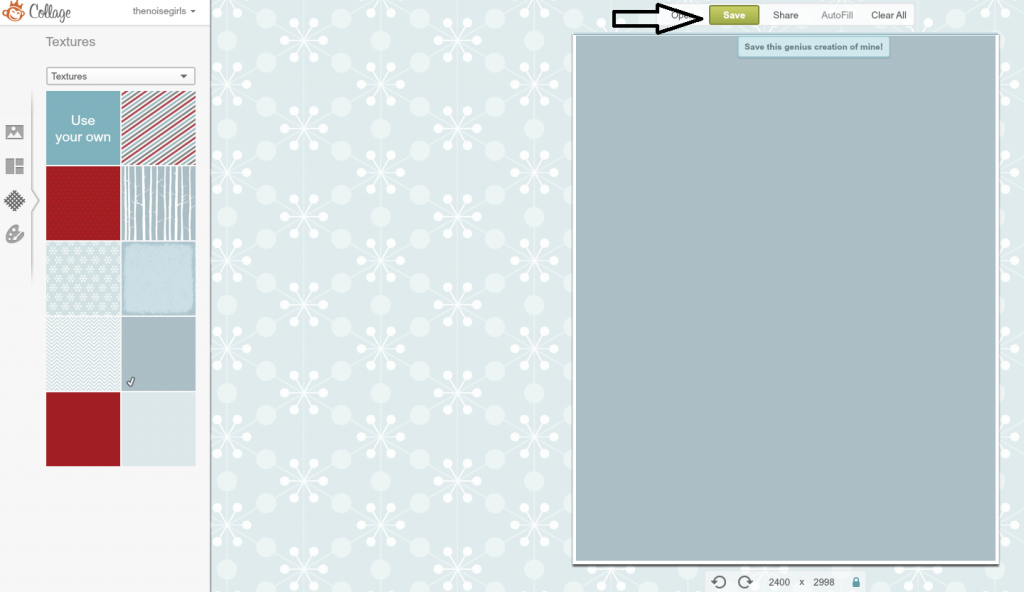
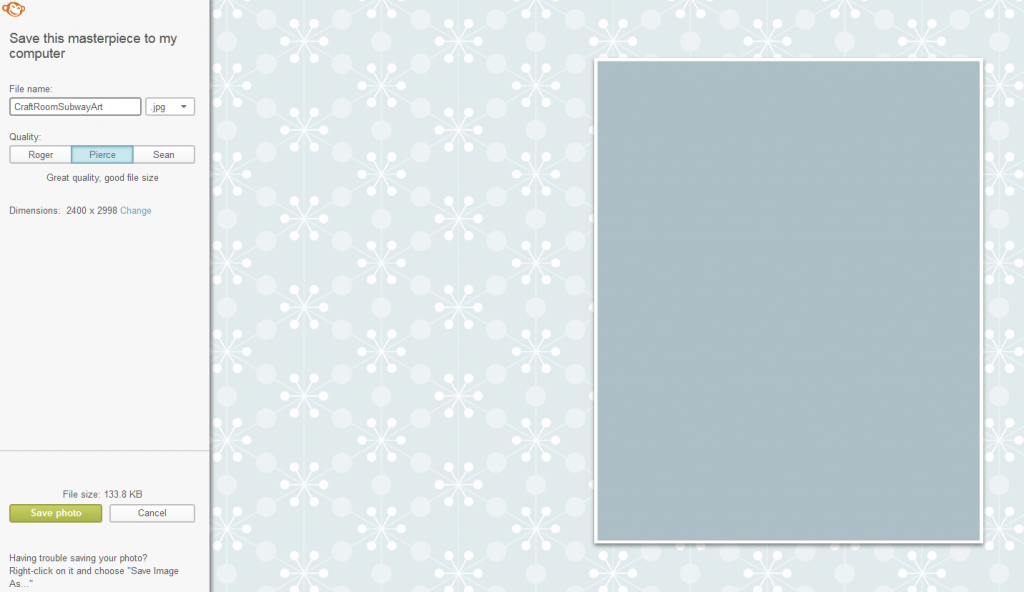
5. Save your re-sized template. This will be the base of your subway art.

PicMonkeySaveCraftRoomSubwayArt

PicMonkeySaveAsCraftRoomSubwayArt

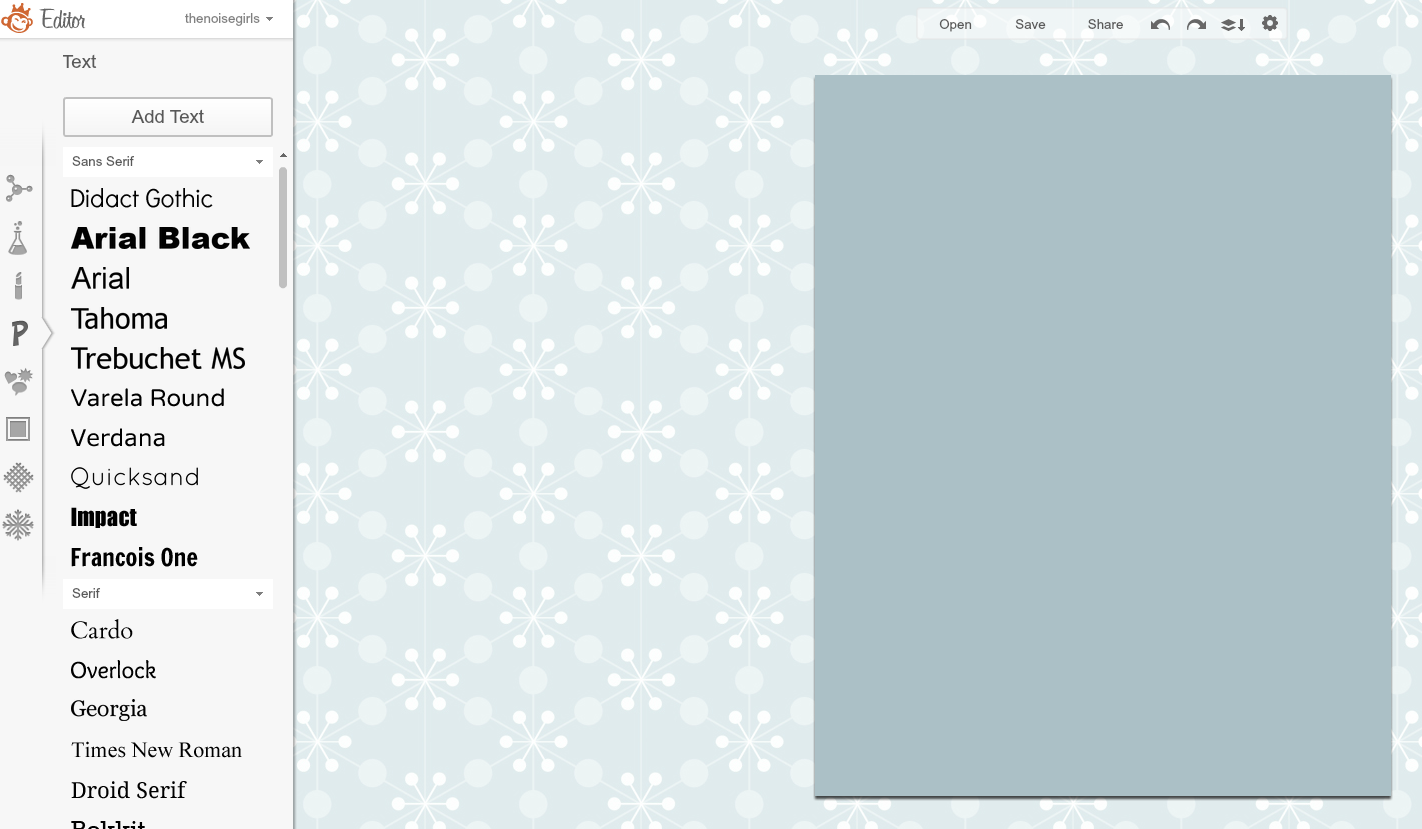
6. Now that your template is saved, go to Edit a Photo and open it up.

PicMonkeyEditAPhotoCraftRoomSubwayArt

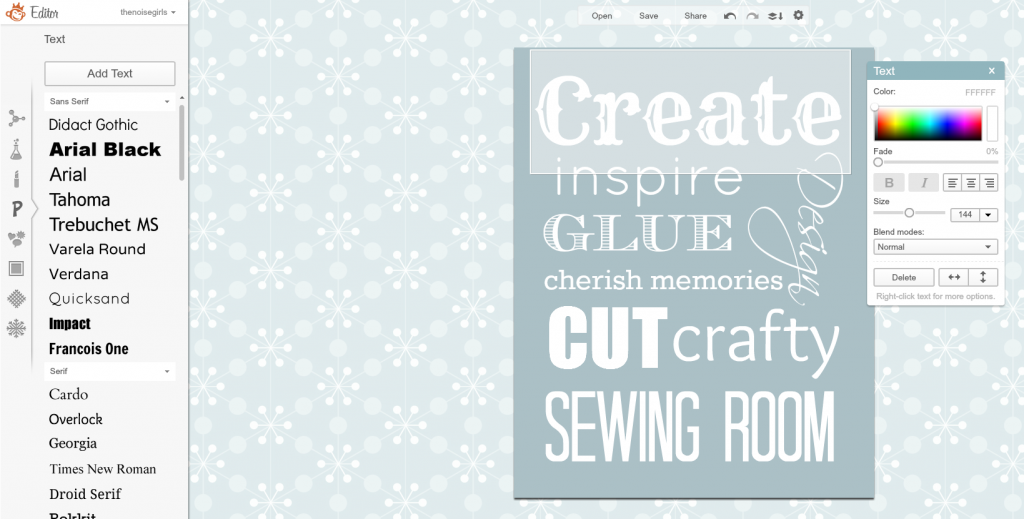
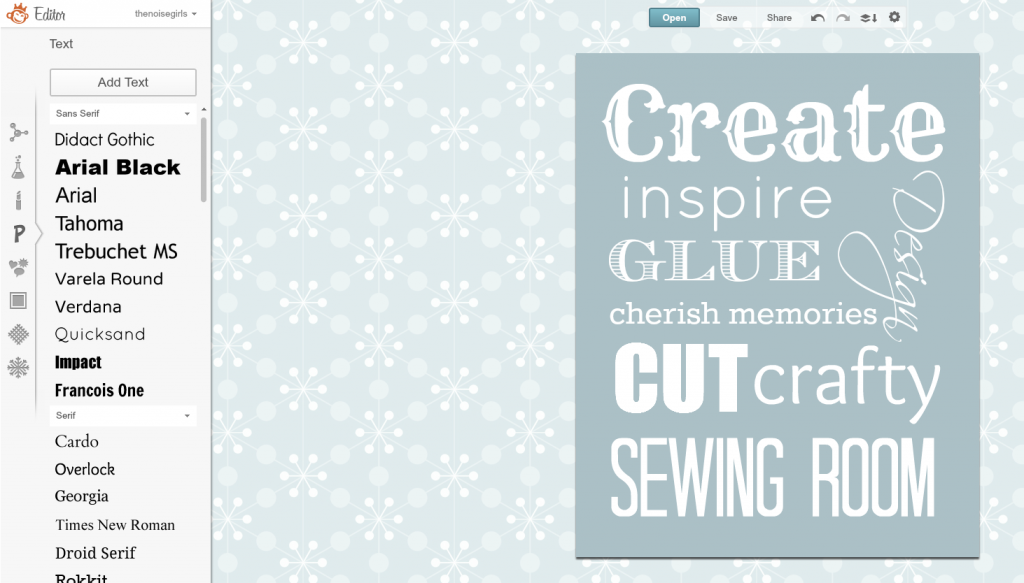
7. Using the words you want to display on your subway art, start adding different words and fonts to your page.

PicMonkeyOpenPictureCraftRoomSubwayArt

8. Play around with different sizes and colors to get the look and feel you’re going for. Remember that you can also turn words vertically if you prefer.

PicMonkeyEditingCraftRoomSubwayArt

9. Once you’ve added all of the words and have them aligned the way you want, make sure there’s a nice 1/2 inch boarder around the wording to make room for framing.

PicMonkeyCraftRoomSubwayArt

10. Print out your subway art, frame it and enjoy!

Have you created subway art before? What was your focus or keywords?

Looking to play more with PicMonkey? Here are some fun projects to try out:

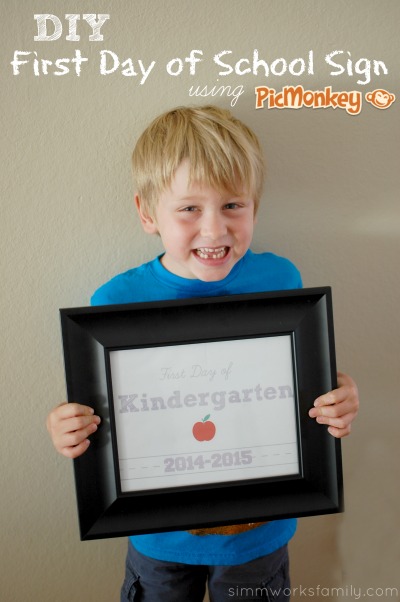
How to Make a DIY First Day of School Sign Using PicMonkey #BackToSchool

DIY First Day Of School Sign

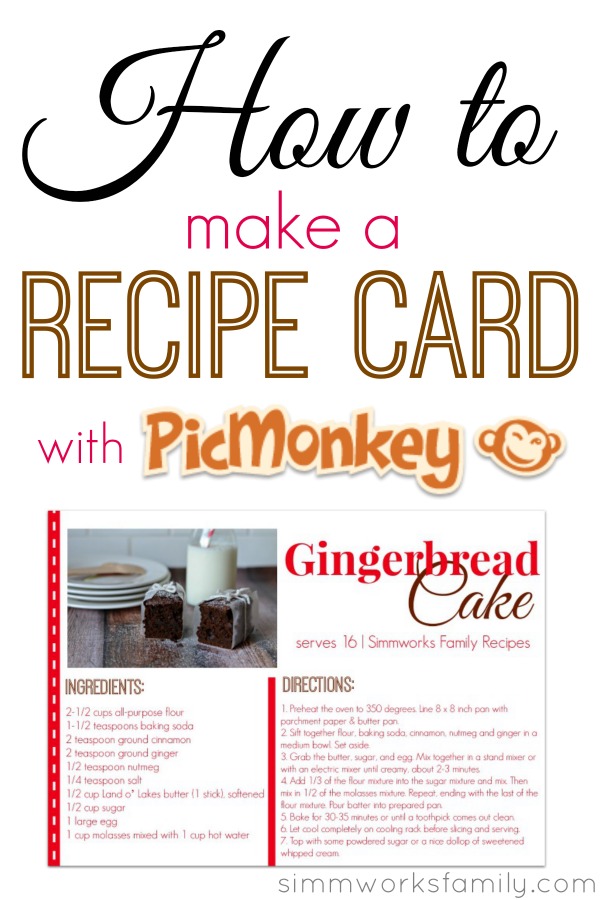
how to make a recipe card with picmonkey pinterest

How To Make A Recipe Card With PicMonkey

How to Make Valentines with PicMonkey

How to Make Valentine’s with PicMonkey

Disclaimer: This post is contains affiliate links

Displaying Your Child’s Artwork

Lets face it, our kids love to create. Crafts, art, glitter, paint. It’s all exciting when you’re small.

And sometimes those pieces of artwork, no matter how small, need a place in the home to be displayed. But because of how MUCH artwork can be created, taken home, and demanded to be up, we’ve come up with a few solutions for displaying artwork in a way that isn’t permanent.

So here are a few tips and tricks to displaying your child’s masterpiece.

Framed and Clipped

This is one of my favorite ways to display my kids stuff. All it takes is an empty frame, a butterfly clip and a nail or two. 

Simply hang the empty frame (garage sales are an excellent place to find these on the cheap), add the butterfly clip, and hang whatever artwork your child wants to display. You can easily swap out pictures as frequently as you’d like! And you can even personalize each frame by adding your child’s name inside (or outside) in vinyl letters to create their own space. 


Framed and Matted

We love to make crafts that are specifically for gift giving. One of the first craft projects my son and I made was this adorable footprint heart for Valentine’s Day. To make it extra special and display it in Daddy’s office we framed it in a matted frame to give it more depth. 

We also frame our children’s drawing as well on an “art wall” in our hallway. It helps to use simple frames that we can easily change out the pictures in. Each child gets to choose one piece of art to display all month. It can be a seasonal piece or something they’re proud of.


Framed and Pinned

This frame used to be a mirror. A mirror with a LARGE crack in it. We snagged it at our local furniture store for $7. Such a steal!

Simply put up a few letters to spell out ART and I have a customized large frame to thumb tack any artwork the kids might want to have showcased. Easy peasy!

And if you aren’t lucky enough to score such an awesome deal you can easily put up a large cork board and achieve the same effect.

How do you display your child’s artwork?


Big Boy Room Completed

We’ve finally completed the big boy room. This past week we picked up an awesome Pottery Barn Kids bedspread from craigslist because we knew our big boy would love it. And he does! Now we just have to get a few more prints we bought for the walls framed and the room will look awesome. Animals and Dinosaurs may not be the best combo but it’s what our son loves 🙂 What do you think?


© A Crafty Spoonful - All Rights Reserved
It is OK to use one of my photos provided a link back and/or proper credit is given. It is NOT ok to copy and paste a whole post including instructions. Please do not remove watermarks or alter images in any way. Please contact me with any questions at danielle@acraftyspoonful.com

.