Washing Wool {Cloth Diapering Tips and Tricks}

Wool covers can be a bit intimidating at first. But once you start using them I’m sure you will start to love this amazing fabric. Not only is it absorbent, it’s breathable as well. I love using wool covers at night to reduce the chance of any irritation or redness on my children’s legs due to PUL covers. I do have to admit that I was quite scared to wash them when I received my first wool soaker in the mail. I was scared that I’d somehow ruin it and I would have spent a lot of money on nothing. But I followed the directions I was given very carefully and have never looked back!

So once you add a piece of wool (or two or five) to your collection, the first thing you’ll need to do is learn how to properly clean it. The best part about cleaning wool is that, at most, you’ll only have to wash it once a week. I actually go every 2-3 weeks with my wool since I switch two covers every other night. But you can definitely tell when it’s time for a washing.

You’ll need a few basic supplies for washing your wool diaper covers:

Sink, pot or bucket: We like to use a large pot for one item, but for more wool items you’ll need to use the sink (or a large 5 gallon bucket).
Water: You will need warmish, but not hot water to clean your wool without shrinking or felting.
Wool soap: Liquid or solid, you choose! We have both liquid wool wash and a wool wash bar.
Towel: We use a bath sized towel. Choose an older one in case any color bleeds out of the wool.

Here’s how to get started:

  • Rinse your wool covers in cool water and gently squeeze out excess water. This will remove any urine salts in the wool that will dry the fibers and retain odor.
  • Fill your sink, pot or bucket with tepid (not hot or boiling) water.

Now for the soapy part

      • If using liquid wool soap, add about a teaspoon to about 1 quart of water. Use approximately 1 tsp and 1 qt of water for each item when washing multilple items together.
      • If using a bar wool soap, lightly lather the bar under the water as you fill the basin.
      • Gently move the water in and around the wool in the sink for 1-2 minutes.
      • Soak your wool diaper cover for 10-15 minutes, without any further agitation. The wool wash will work on its own without your help.
      • Watch your wool in case of bleeding color. If your wool diaper cover is bleeding color you may want to shorten the soaking time.

      And the drying part

      • Drain the water from the sink and gently squeeze some of the water from your wool diaper cover. Be sure to handle it carefully, supporting all of its weight. Don’t let any parts dangle.
      • Refill the sink with cool water and place the wool diaper cover into the clean water to rinse. This will remove soap residue and any grime that didn’t go down the drain.
      • Drain the water again and let the diaper cover drain in the sink after the water is all out, or move the diaper cover to a colander.
      • Gently squeeze the diaper cover to remove additional excess water.
      • Carefully place your wool diaper cover on the towel, roll it up into the towel and press to remove excess water.
      • Lay the wool diaper cover out flat on a screen or another towel, shaping it gently back to its original shape and let it air dry.

          Once your cover is completely dry you can start to use it again. It’s as simple as that! And some say that they’ve had success using their washing machine to wash their wool (not the crochet or knitted stuff!) however I haven’t been brave enough to try yet. Now start shopping… if you’ve already begun cloth diapering then I’m sure you are already addicted to purchasing the diapers. Just wait till you see what wool options are out there! Dangerous. But only for your bank account.

          Source: Zany Zebra Designs, Pinstripes and Polkadots

          Washing Cloth Diapers {How To}

          I’ve highlighted my love for cloth diapers (CDs) on this blog before but since having my daughter I haven’t talked much about our cloth diapering experience with her. Honestly it’s because it’s been going very well. We haven’t run into one issue with the diapers we bought for her. Mainly, I think, because we are using all of the diapers we grew to love with our son. I still have the Happy Heiny and Bum Genius love but more than likely I’m grabbing for a prefold and Thirsties cover in the closet then a pocket or all-in-one diaper.

          One question I have received a few times is how I clean them. Most assume I use a service. And they’re surprised to hear that I take care of the washing (poop and all) myself. It’s actually quite easy! So I figured I’d break it down for those who were curious and/or interested in cloth diapering. Just remember that this is how I wash my diapers. Always consult the manufacturers instructions for their recommendations before jumping in. We’ll start with the basics and go from there.

          Stuff You’ll Need:

          • CD friendly detergent (check out this website for comparisons)
          • Vinegar
          • Original (blue) Dawn or Bac-Out (to strip your diapers if needed)
          • Dryer Balls
          • Clothes line with clothes pins

          What You Do
          Washing cloth diapers is pretty simple. After the initial prep wash, which we’ll go over, you can wash all of your cloth diapers together in the same load. The only thing you won’t be able to throw in the wash are your wool covers. That will be another post! Before washing make sure that when baby has a poopy diaper you clean it out by either spraying, scraping or plopping the waste in the toilet before putting your diaper in your wet bag.

          Prep Wash
          When you first get your cloth diapers you will need to do a bit of prep washing to maximize the absorbency of the diaper (so it holds more pee). With this initial prep wash you will need to separate natural fibers like hemp from your synthetic fibers. The natural fibers release oils during this initial wash that you don’t want coating your other diapers.

          Most diapers only need that first initial prep wash. But if you are buying prefolds brand new it can take anywhere from 3-5 wash and dry’s to fully get the absorbency needed. An easy way to test your diapers to see if they’re pee-ready is to put a few drops of water on them. If the diapers immediately absorb the water with no problem then they’re ready to go. If the water beads up then the diapers need another go through or two.

          To prep your diapers just do the following:

          • separate natural and synthetic fibers
          • wash diapers in cold water with a small amount of detergent (usually 2 tablespoons)
          • dry the diapers on low heat until fully dry or line dry diapers
          • repeat 2-4 times until diapers absorb water (prefolds will quilt up)

          Washing Diapers
          When you have about 24-30 dirtied diapers in your diaper pail or bag it’s time to do some wash! Don’t be scared. Diaper laundry will come as natural to you as washing your clothes. There are just a few simple steps you will need to add to the routine.

          1. Set your water level to the highest it goes
          Do NOT lower the water level to the level your diapers reach in the wash. It’s important to fully submerge the diapers and give the diapers some room to move around to get all the ickies out.

          2. Rinse your diapers first with cold water
          Include a small amount of detergent with this rinse to freshen things up. The rinse will remove any excess poo that may still be on your diapers and will also wash the diapers out a bit so that when they are being washed they’ll get cleaner.

          3. Wash your diapers with hot water, rinse again with cold
          There’s no need to use the sterilize cycle if you have it but please feel free to do so. I prefer just using the hot wash/cold rinse. Add in the recommended amount of detergent. This usually ends up being roughly 1/2 the amount you would use with your regular clothes.

          After the wash is complete add some vinegar (about 1/4 cup) to the laundry for the rinse. This will reduce the need for dryer sheets or fabric softener. It’s also a great alternative for your regular laundry too. You can also purchase a downy ball and throw the downy ball (filled 1/2 way with vinegar) to the wash so you don’t have to listen to when the second rinse occurs.

          4. Dry your diapers on low heat or on the clothes line
          Some prefer to dry their diapers on medium or high heat but in order to save a little energy I dry on low. I also add dryer balls to the dryer to beat out any static that may be lingering. Try not to use fabric softener or dryer sheets in the washer and dryer you use for your cloth diapers. These products leave a film on your clothes and your washer and dryer. The build up of this film will reduce the absorbency of your diapers.

          When the weather is nice I like to dry my diapers on low for 10 minutes and then pull them out and line dry them until fully dry. I then pop them back in the dryer with some dryer balls for another 10-15 minutes with the dryer balls to fluff them up. Best thing about line drying in the sun? The natural bleaching the sun does to the diapers. Natures miracles. Then you simply just take the diapers out of the dryer, stack together or stuff and stare in awe at your stash. Oh, wait. Maybe I’m the only one that does that. I may have a sick obsession with how much I love the fluff.

          So basically it’s cold rinse, hot wash, cold rinse, dry and you’re done!

          Need help stripping your diapers? Check out my Stripping Diapers post for more information.

          *** This giveaway is now closed ***

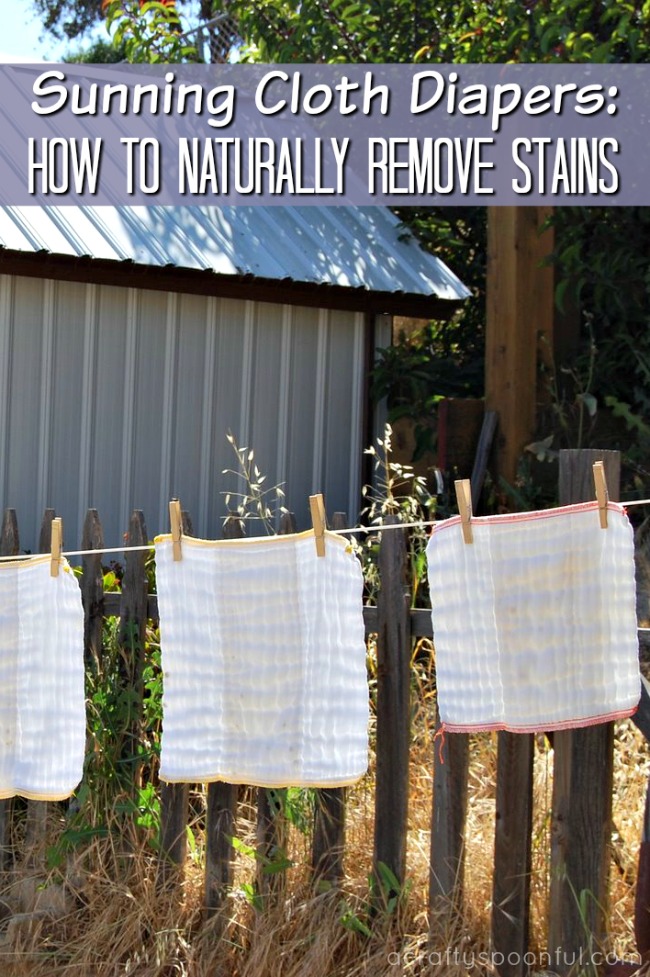
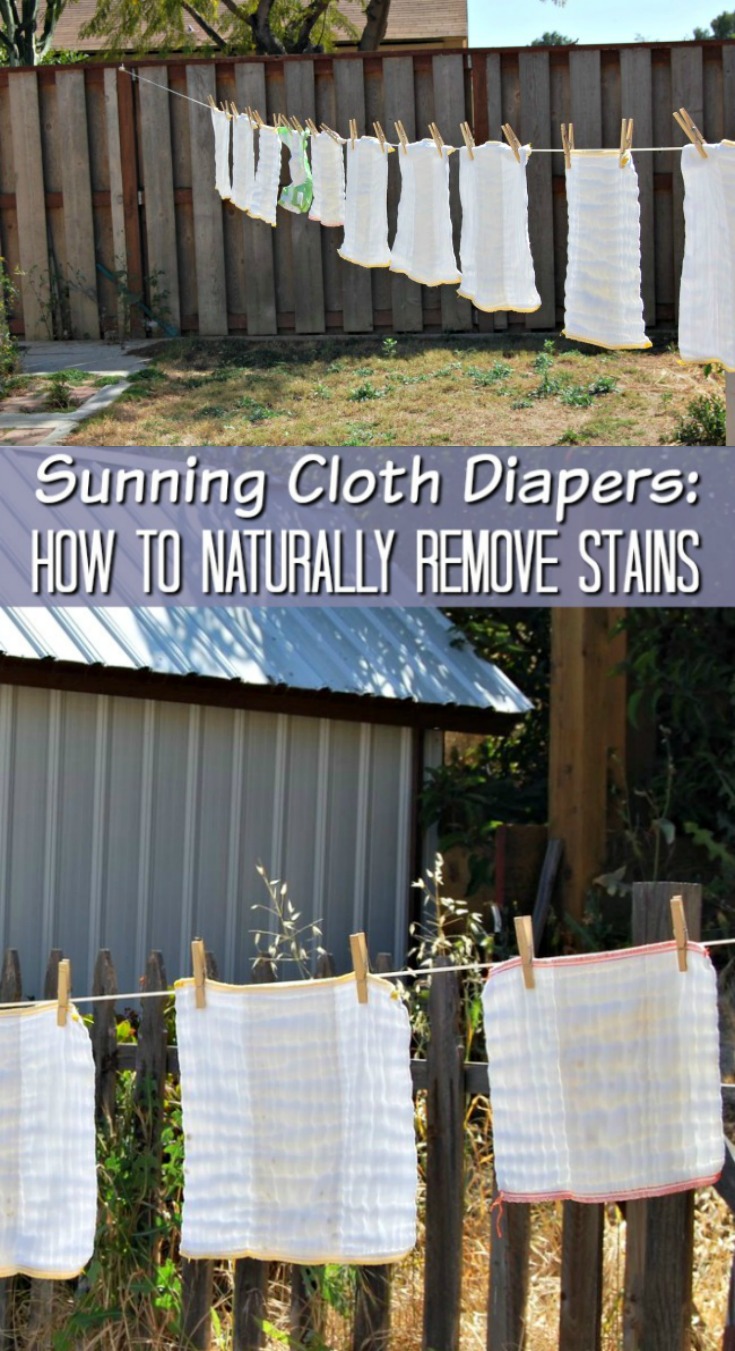
          The Secret to Remove Stains From Cloth Diapers: Sunning Diapers

          Did you know that the sunning diapers can actually work like bleach and get stains out? We share how below!


          Did you know that the sun can actually work like bleach and get stains out? We had no clue! I had to try it out because I did not believe it. I mean, I understood how it could work because every summer I get great highlights just by going outdoors so there must be some truth to it.

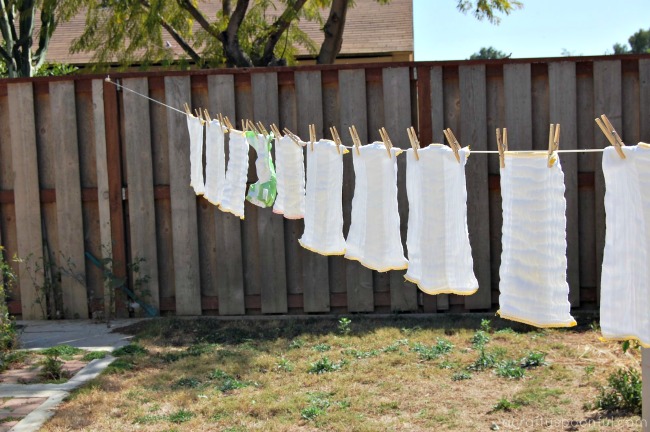
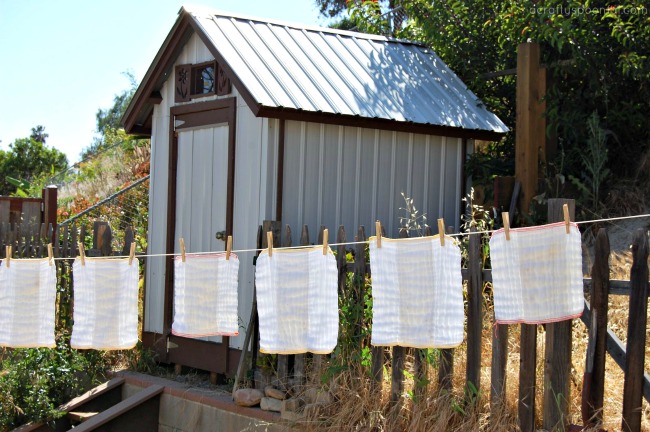
          So I had my husband set up a clothesline in the back yard. Oh, The clothesline isn’t for our clothes… it’s for the cloth diapers 🙂 Baby poo stains like no other. And when diapers are white there are a lot of stains. And then you dry them in the sun and they magically disappear!

          Where does the stain go?

          How to Remove Stains From Cloth Diapers

          1. Wash your cloth diapers like you normally would. 
          2. When still wet from the wash, take them out to your clothesline in direct sunlight and pin onto the clothesline. 
          3. Let dry completely in the sun and watch the stains fade away!
          4. If you still have some staining on your diapers, dampen a bit and let dry again. 
          5. Pop the diapers in the dryer for 2-5 minutes to soften them up a bit before putting away. 

          This also works on white clothing that baby spits up on as well! Or if you have an antique gown or outfit you want to remove the yellowing from. Such magic! 

          While this won’t work for all stains, it does work for the ones baby creates (until they start eating food and playing in the dirt). 

          What great laundry tricks do you use? 

          Love what you’ve read? Read more! 

          Pin this article for later! 

          Click the Pin button on the image below to save for later. 


          © A Crafty Spoonful - All Rights Reserved
          It is OK to use one of my photos provided a link back and/or proper credit is given. It is NOT ok to copy and paste a whole post including instructions. Please do not remove watermarks or alter images in any way. Please contact me with any questions at danielle@acraftyspoonful.com

          .