The Best No Flour Monster Cookie Bars + A Cookie Bar Mix Gift Idea

We’ve whipped up these deliciously satisfying No-Flour Monster Cookie Bars and are sharing how you can create your own Monster Cookie Bar Mix to gift to friends this holiday season. This shop has been compensated by Collective Bias, Inc. and its advertiser, Mars Wrigley Confectionery US, LLC. All opinions are mine alone. #SimplySweetness #CollectiveBias
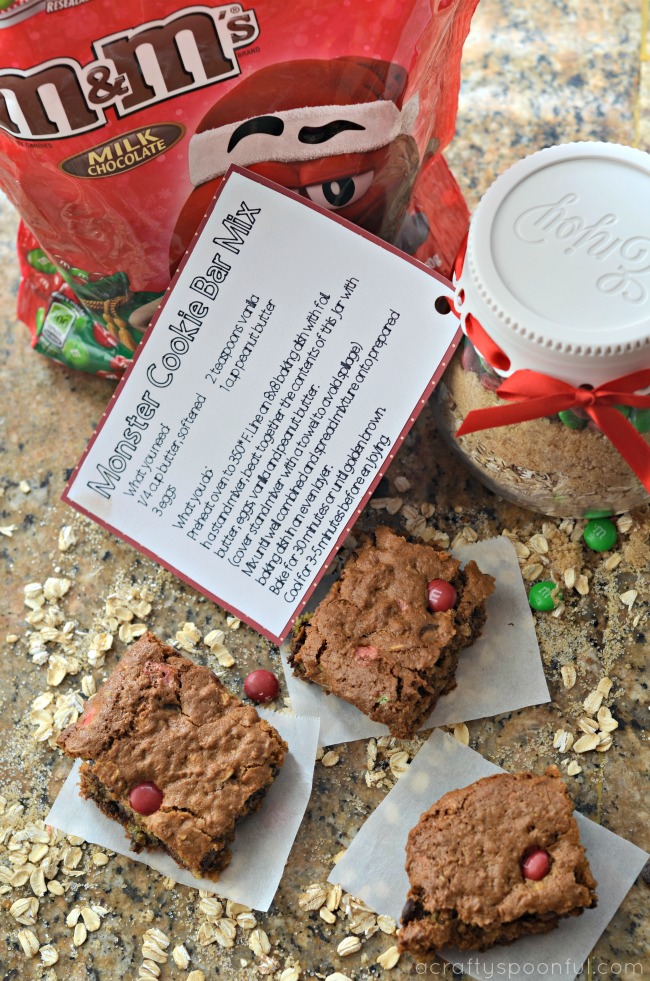
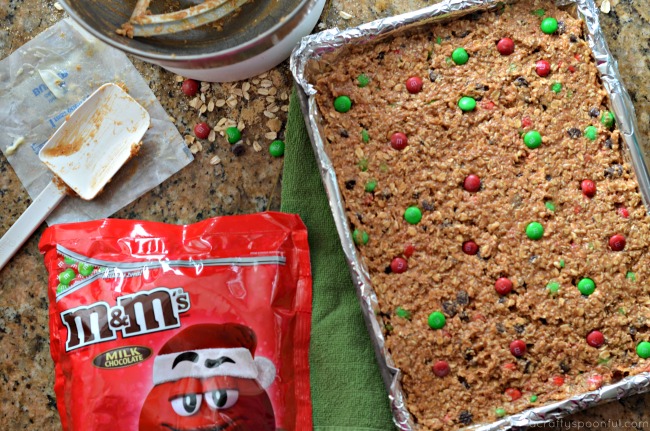
Holiday baking season has arrived! And you know what that means? Lots and lots and LOTS of dishes in our home. Because when we bake, we bake. I’m sure I’ve mentioned it before but the kids LOVE to help out in the kitchen. And when Christmas rolls around, we stock up on all of our baking necessities (like the big Red & Green Holiday 52 oz. Bag of M&M’S® from Sam’s Club). We wouldn’t want to run out mid-holiday baking. 

One thing I love about baking during the holidays is that it’s an inexpensive way to share our love with others. We don’t necessarily have the budget to purchase a gift for everyone we know so we can make fun little platters filled with goodies for others to enjoy. And one of my new favorite gifts to make are these fun cookie bar mixes so others can make our favorite recipes at home. That way we can whip up a batch to share with them now and provide them with a mix to make them later. Hey, who knows? Maybe they’ll even use the kit to make some holiday goodies for their loved ones! 
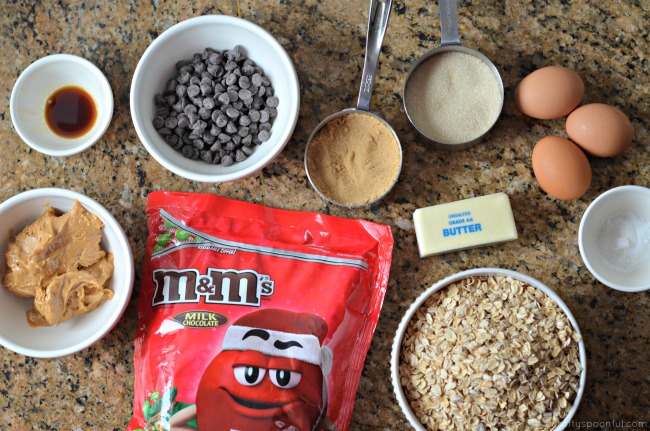
Red & Green Holiday 52oz. Bag of M&M’S® are a festive and colorful treat to bring into your baking, decorating and every aspect of your holiday celebrations. The Stand-Up Pack will keep your M&M’S® fresh and ready-to-go in an easy resealable package. Heck, if I wasn’t baking with them, I’d probably give these bags as gifts! What says, “I love you,” better than a big bag of M&M’S®, right? 

But for now we’ll stick with gifting some delicious cookie bars and mixes.
No Flour Monster Cookie Bars
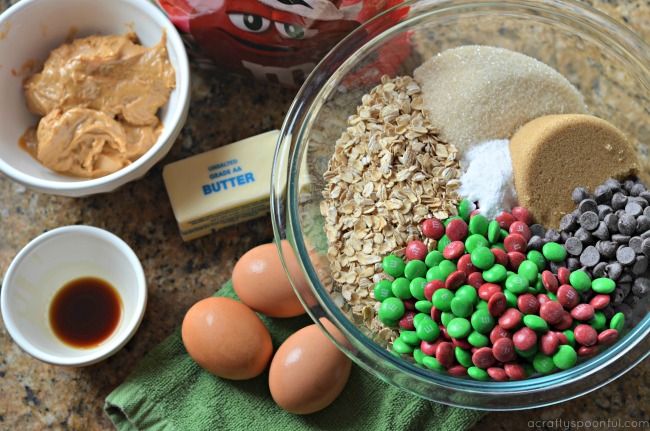
  • 1 cup sugar
  • 1 cup brown sugar
  • 1/4 cup unsalted butter, softened
  • 3 large eggs
  • 1 cup peanut butter
  • 2 teaspoons vanilla extract
  • 2 teaspoons baking soda
  • 1/2 teaspoon salt
  • 4 cups Old Fashioned oats
  • 1 cup M&M'S®
  • 1 cup chocolate chips
  1. Pre-heat the oven to 350°F. Line a 13×9-inch metal baking pan with foil.

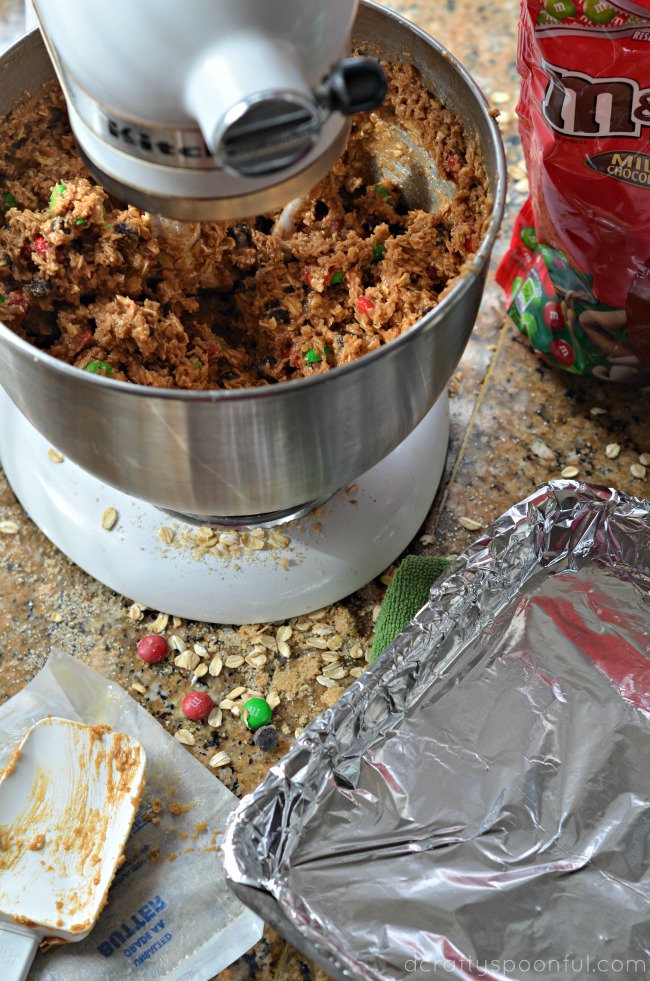
  2. Add all of the ingredients into the bowl of a stand mixer fitted with the paddle attachment,

  3. Cover bowl with dish towel and mix on lowest setting. Once mixed up a bit, increase speed and mix until all of the ingredients are combined. 

  4. Spread mixture onto prepared baking pan and bake for 30 minutes or until golden brown. 

  5. Take out of the oven and let cool for 5 minutes then transfer foil and bars to a cooling rack. Cut into squares and enjoy! 
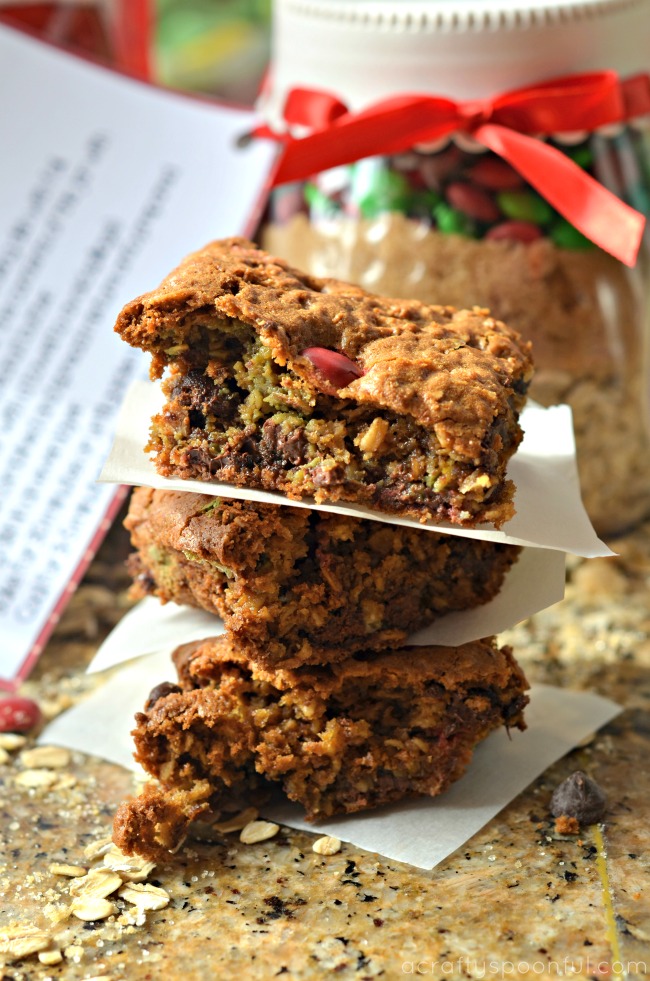
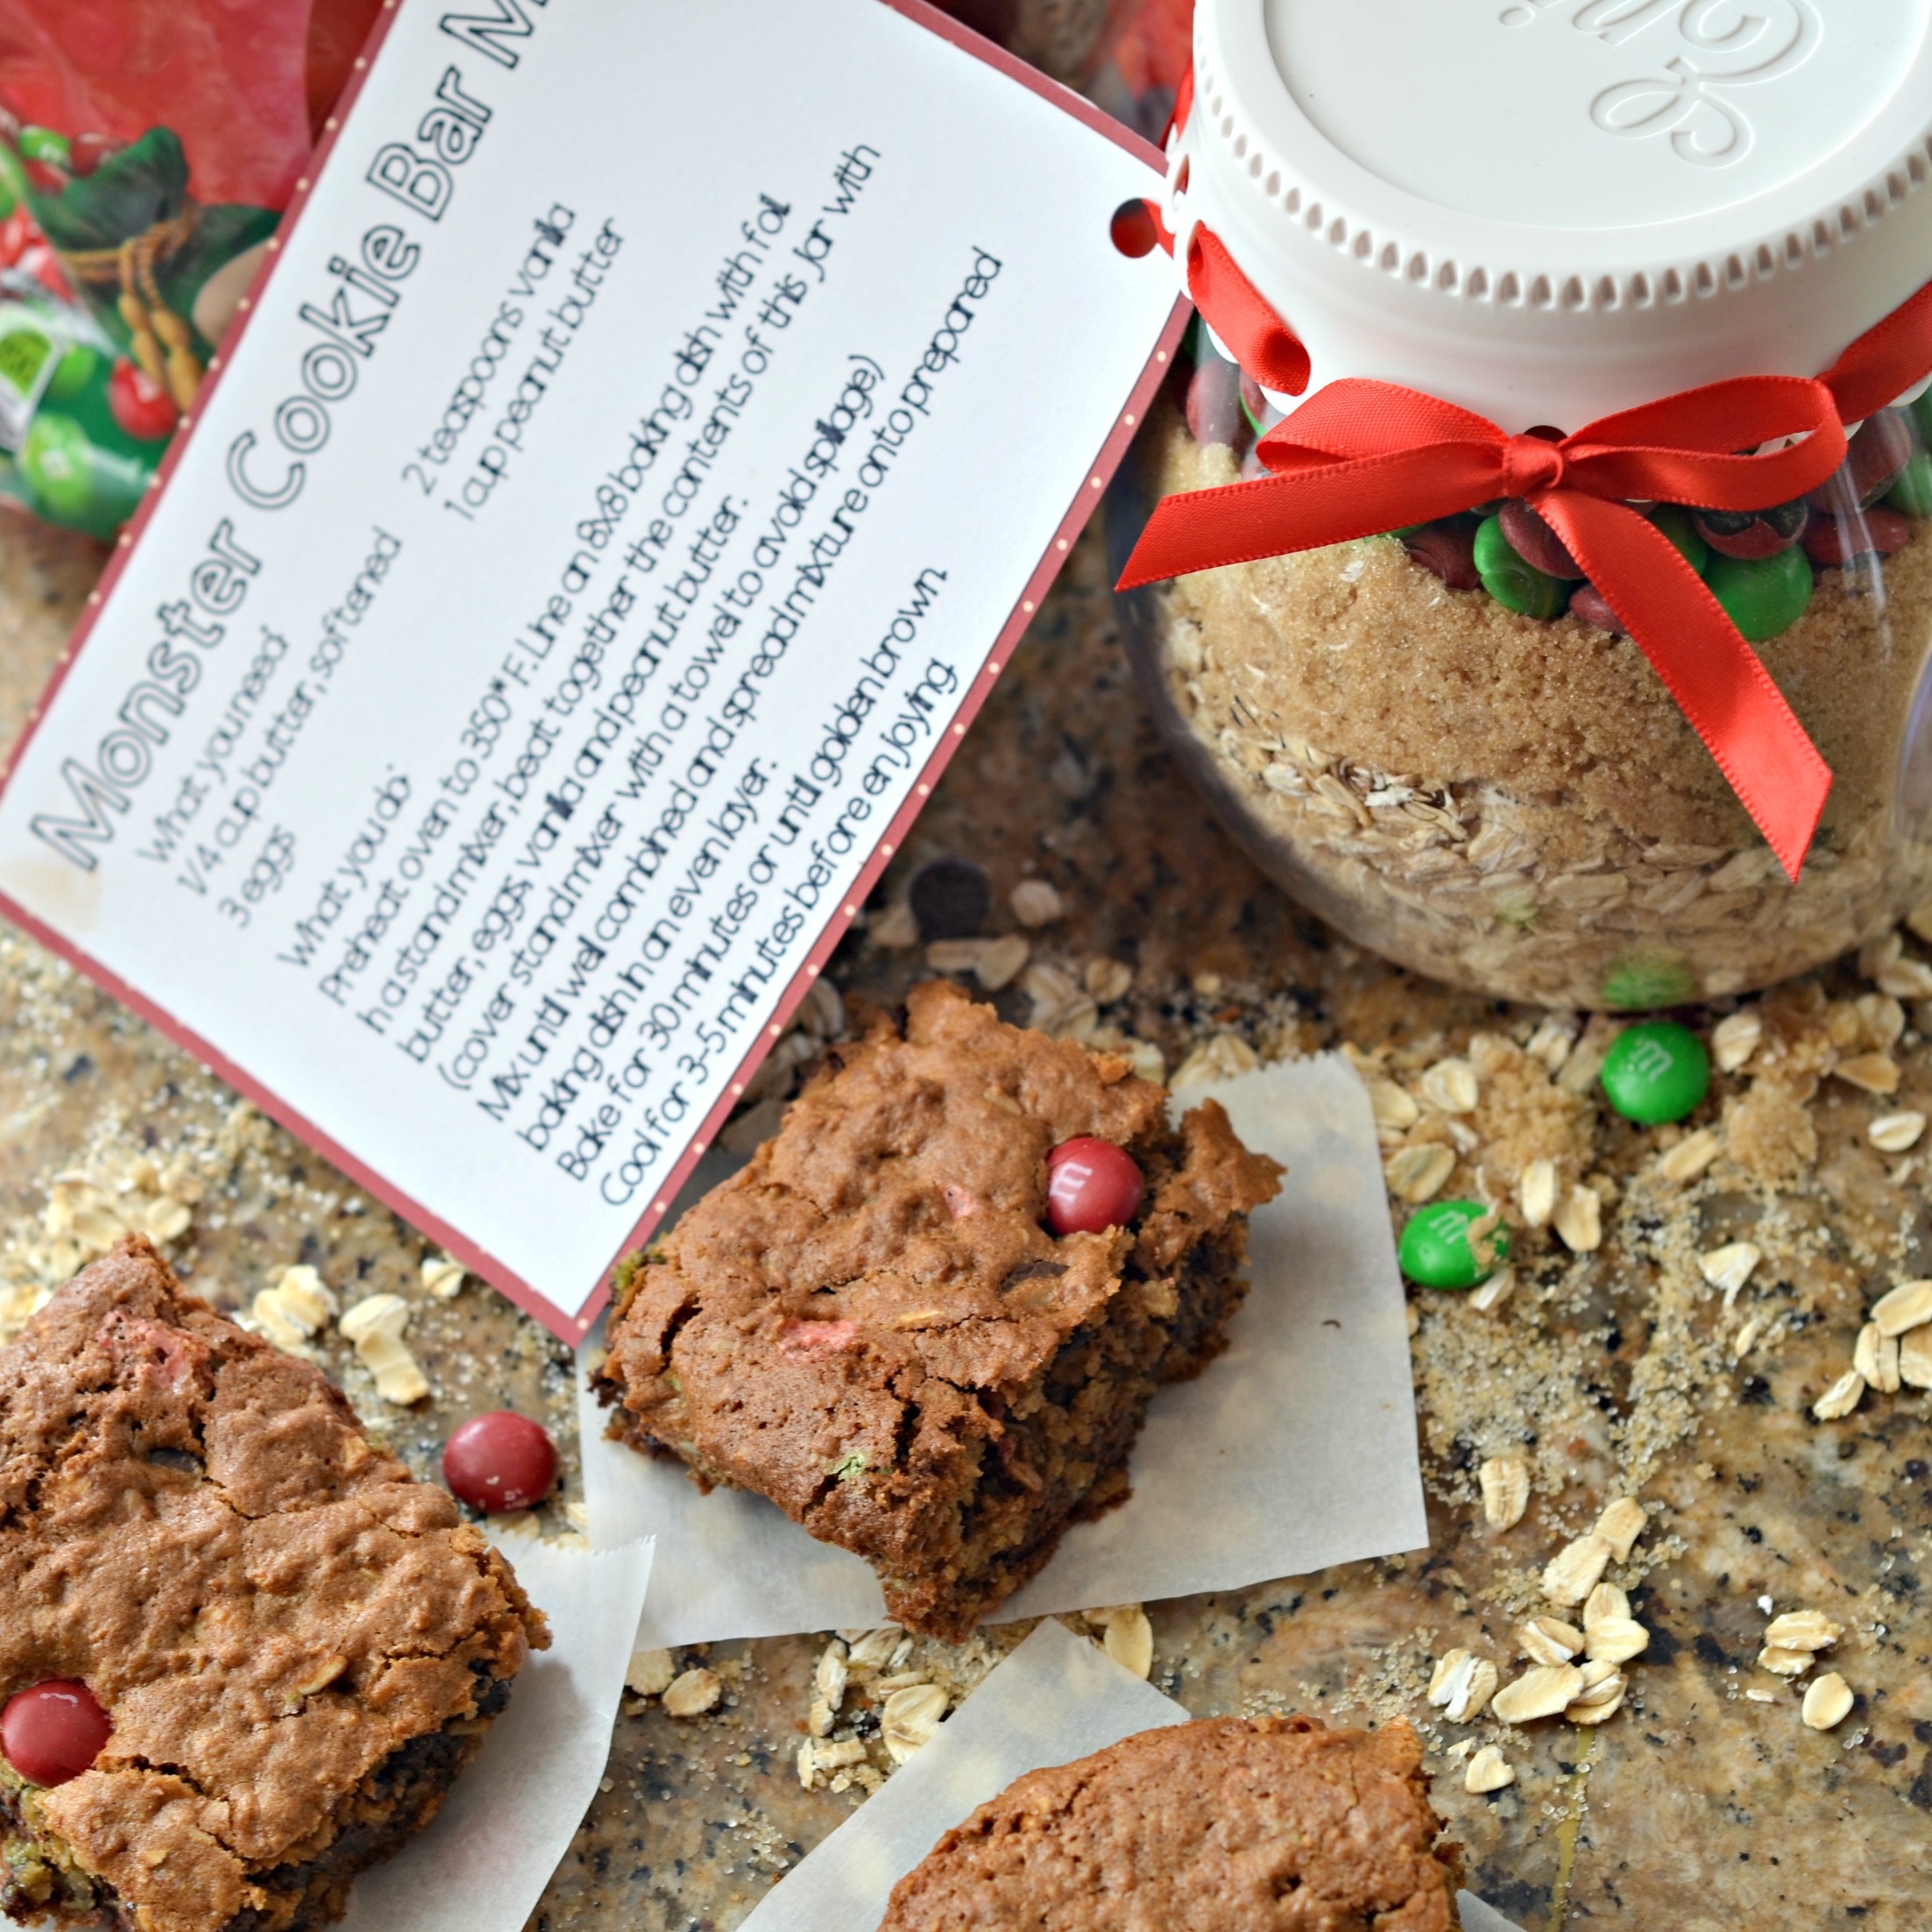
Remember how I said you could GIFT these bad boys to your friends and family in a fun mix? Well here’s how! 

Monster Cookie Bars Mix

What you’ll need: 

  • 4 cups old fashioned oats
  • 1 cup brown sugar, packed
  • 1 cup white sugar
  • 2 teaspoons baking soda
  • 1/2 teaspoon salt
  • 1 cup M&M’S®
  • 1 cup chocolate chips
  • 1 32 oz jar with lid
  • ribbon
  • hole punch

What you do: 

Layer each ingredient in the order it’s shown above into a 32oz plastic or glass jar with lid

Place lid on jar and close tight. 

Print out Monster Cookie Bar Mix printable and cut out and attach to jar with ribbon.

Gift to the ones you love! 
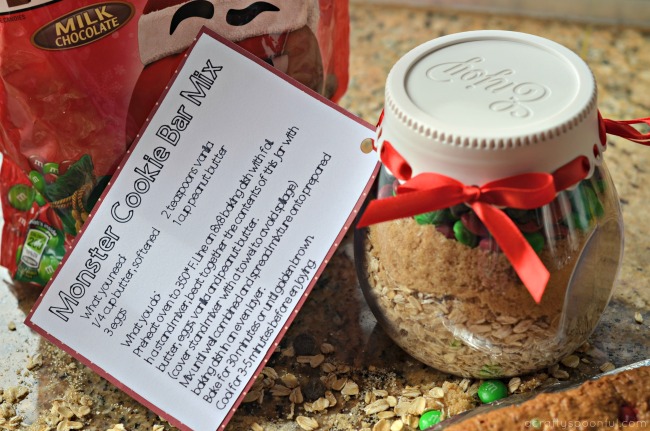
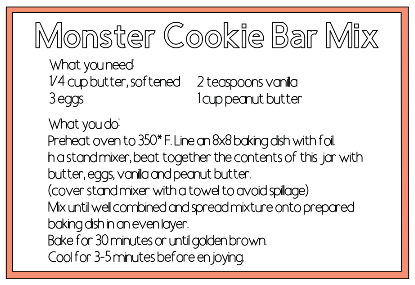
Click on image to download printable
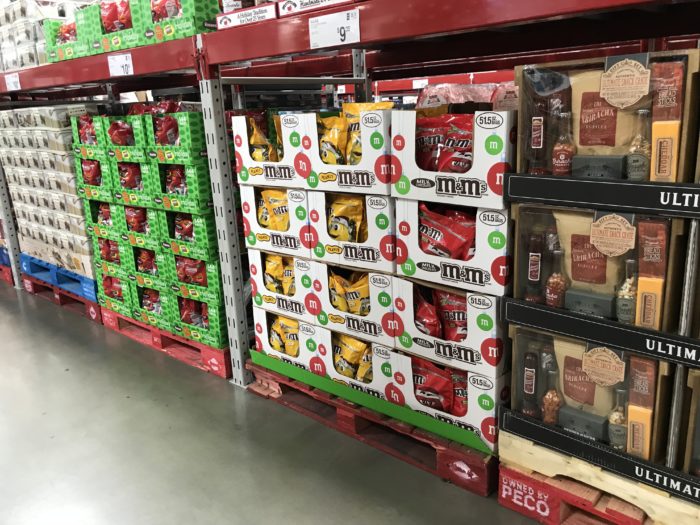
You can find the big Red & Green Holiday 52 oz. Bag of M&M’S® in the candy aisle of your local Sam’s Club. And while you’re there, stock up on the rest of your holiday baking items! That’ll save you a few trips in the long run. 

And right now you can sign up for a free Ibotta account and earn $2 off with the purchase of a 52 oz bag of Red and Green M&M’S®. Offer valid from 11/1/17 until 12/25/17. 

Don’t forget to check out more awesome ideas you can make with M&M’S® by checking them out on Facebook, Pinterest, Instagram, and Twitter

Love this recipe? Check out these delicious bites: 

Pin this article for later! 

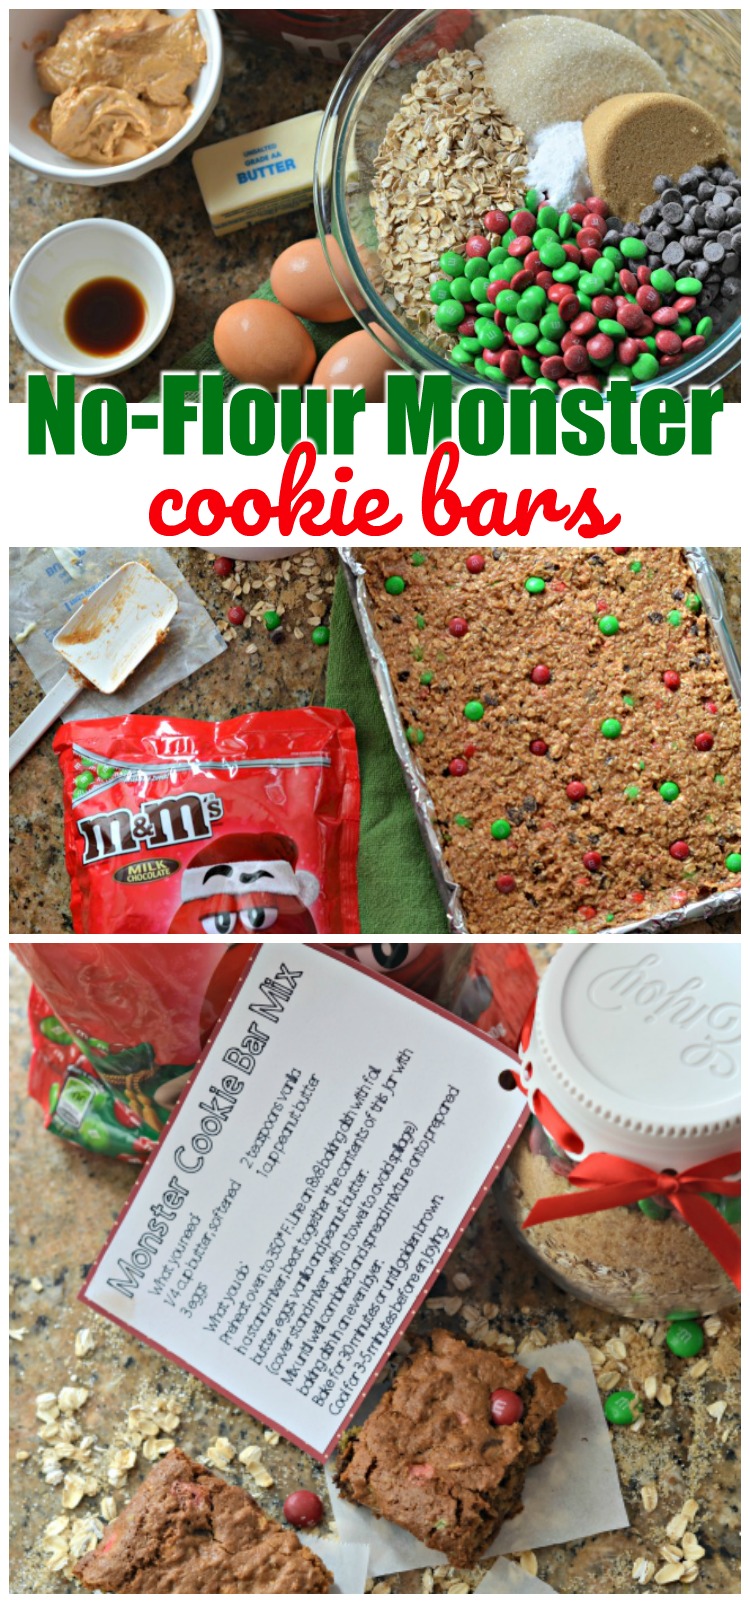
Click the Pin button on the image below to save for later. 
How to Make Chocolate Peanut Butter Crinkle Cookies Your Guests Will Love

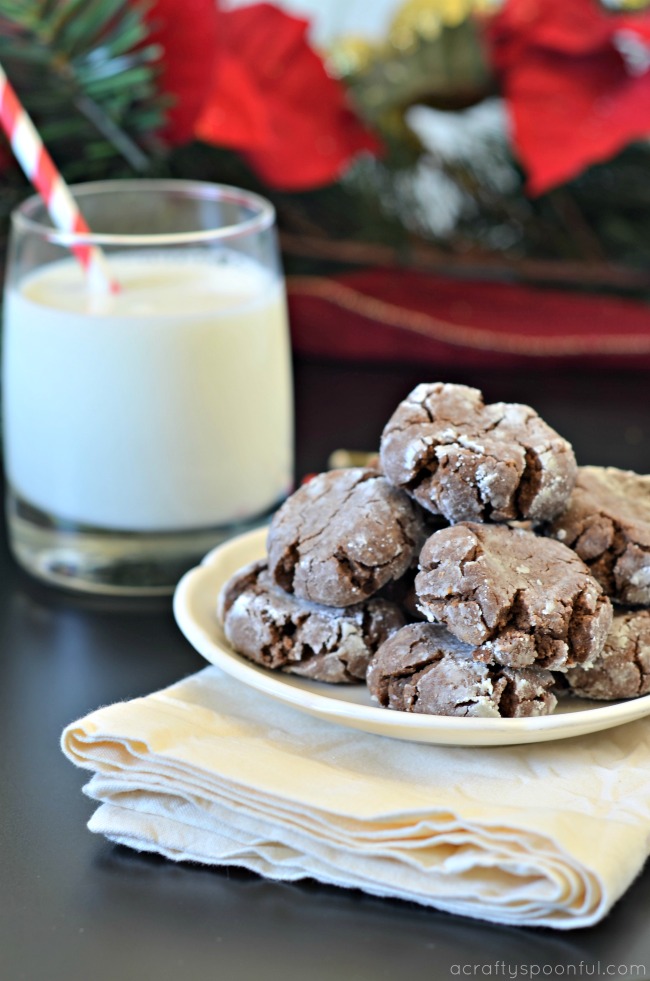
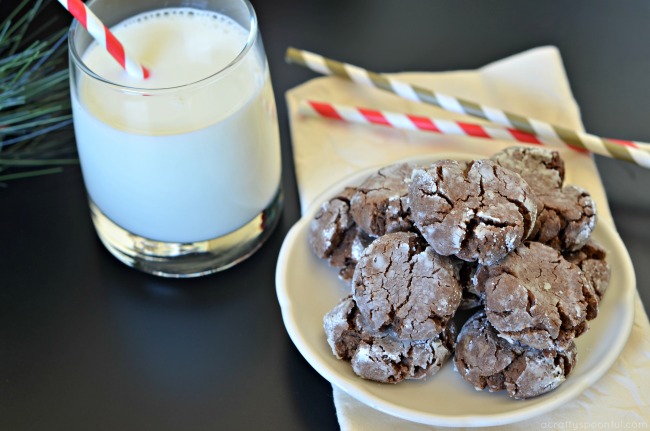
If you’re looking for the perfect holiday cookie this season then look no further than these Chocolate Peanut Butter Crinkle Cookies! Your guests will love their small perfection. Plus they pair perfectly with milk, cocoa, and coffee! 

How was your Thanksgiving? We spent the day baking in the morning with the kids and then enjoying a wonderful meal with our extended family. It was perfect. One of the things we decided to bake up that morning to bring to dinner were these deliciously perfect chocolate peanut butter crinkle cookies. They’re small, bite-size cookies that aren’t too sweet so they were perfect to pair with the pies and enjoy with a cup of coffee or cocoa to drink. 

Normally we make chocolate crinkle cookies but this time my older daughter wanted to add something a bit different to them to change things up. The addition of peanut butter was the perfect touch and added a great flavor combo to these classic cookies. I may try adding a pinch of cinnamon next time too! 

This recipe is one of many we’re sharing on the Houseful of Cookies tour this year. Last year we made another fun cookie recipe: Pfeffernüsse Cookies. You have to try them if you haven’t made them yet! The rest of the cookies on this tour are linked at the bottom of this post. 

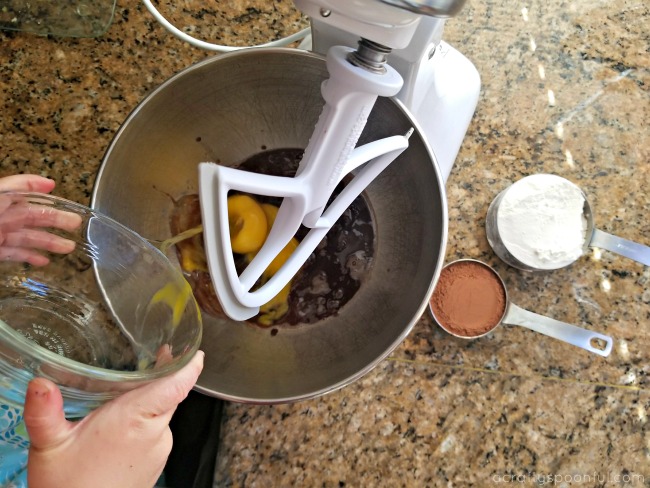
When making cookies with the kids I always try to measure everything out before we start mixing so they don’t just dump everything out without knowing what they’re putting in. It helps them to understand the quantities needed for each recipe. 

But one thing we are working on is adding one egg at a time while mixing so each can be incorporated before the other is added. The 2 year old prefers to dump them all in at once! 

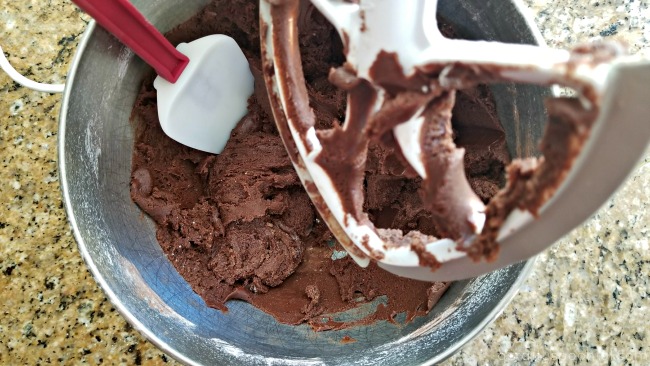
This dough is a thicker dough that, once all of the ingredients are combined, form a ball in the mixer. This makes it easier to get out to refrigerate once mixed up. 

And I’ll let you in on a little secret. Even though the recipe does say to chill for 1 hour… I don’t always let it chill. I’ll divide the dough up into two halves and place one in the fridge but will start rolling out the other right away. 

This is a great cookie to make before guests come over if you’re looking for something little to nibble on. Or to give as gifts during the holidays because they’re small and do well in an airtight container. 

Chocolate Peanut Butter Crinkle Cookies

  • 10 tablespoons butter (cut into 10 pieces (1/2 cup plus 2 tablespoons))
  • 1 1/4 cups light brown sugar (packed)
  • 10 ounces bittersweet chocolate (coarsely chopped)
  • 2 1/2 cups all-purpose flour
  • 1/2 cup unsweetened cocoa
  • 1 teaspoon baking soda
  • 1/2 teaspoon teaspoon salt
  • 2 eggs
  • 1/2 cup peanut butter
  • 1/2 cup powdered sugar
  1. Put the butter, sugar, and chocolate in that order into a 2-quart saucepan. Put the pan over low heat and warm the ingredients, stirring occasionally, until they are melted and smooth. Scrape everything into the bowl of a mixer.

  2. Sift together the flour, cocoa, baking soda, and salt.

  3. Working with a mixer with a paddle attachment, add the eggs, one at a time, beating until the eggs are well blended into the chocolate. With the mixer still on low, add the dry ingredients, mixing just until the dough is smooth and shiny; it will clean the sides of the bowl and form a ball. Then add the peanut butter and stir in until just combined. Turn the dough out onto a work surface, divide it in half, wrap each piece in plastic wrap and chill for at least 1 hour. 

  4. Preheat the oven to 350°F and line two baking sheets with parchment paper.

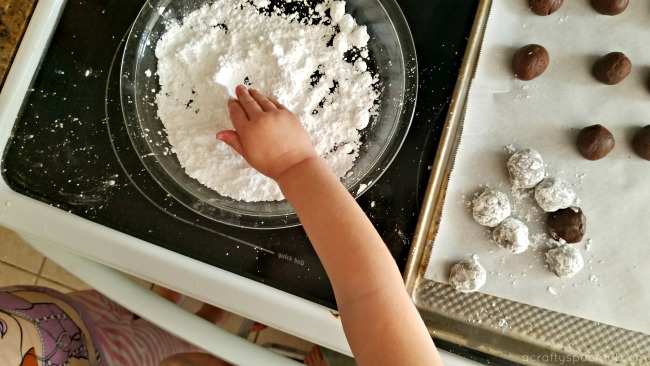
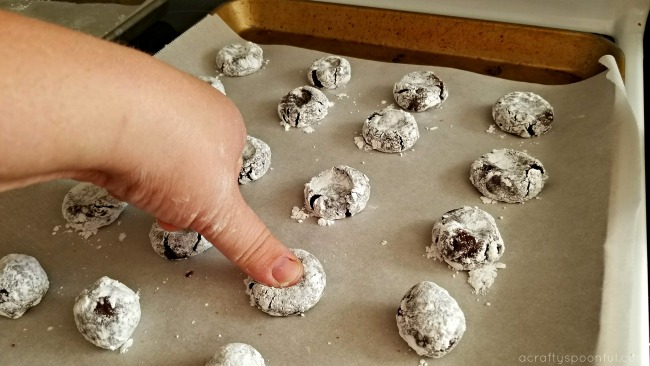
  5. Working with 1 tablespoon of dough at a time, roll the dough between your palms to form firm, shiny balls. (If the dough breaks as you work, squeeze and knead it a bit, then reroll it between your palms.) Add to a small shallow dish filled with powdered sugar and roll in sugar until lightly coated. Place the balls about 1 inch apart on the baking sheets and lightly press each one down a bit with your thumb.
  6. Bake the cookies for 9 to 10 minutes, rotating the baking sheets from top to bottom and front to back at the midway point. The cookies should be delicately firm and crackled across the top. (It’s better to under- than over bake.) Remove the sheets from the oven, let the cookies rest on the sheets for 2 minutes, then, using a wide spatula, gently transfer the cookies to a rack; cool to room temperature.

  7. Repeat with the remaining dough, cooling the baking sheets between batches. 

Looking for more deliciousness to enjoy this holiday season? Don’t forget to check out the rest of the stops on the Houseful of Cookies tour! 

Houseful of Cookies 2017 Blog List

Houseful Of Nicholes – Slow As Molasses Cookies

A Crafty Spoonful – Chocolate Peanut Butter Crinkle Cookies

A Real Urban Mom – Chocolate Chip Cookies

Dash Of Evans – Cranberry Hootycreeks

Divas With A Purpose – Houseful Of Cookies 2017

Everyday Party Magazine – Simple Caramel Cream Sugar Cookies Swirls

Fab Haute Mama – Belgian Waffle Cookies

Good Girl Gone Redneck – Perfect Holiday Saltine Toffee Treat

Happily Homegrown – Old Fashioned Hermit Bar Cookies

Her Life On Purpose – Red Velvet Cake Mix Cookies

Honest & Truly! – Triple Chocolate Dipped Cookie

How Was Your Day – Houseful Of Cookies 2017

Hysterical Mom – Lemon Sugar Cookies

I am the Maven® – Moldy Mice Cookies

Keep Calm & Teach Fifth Grade – Winter Wonderland Sugar Cookies

Kenya Rae – Pecan White Chocolate Chip Cookies

Kiss My Tulle – Chunky Christmas Cookies

Mom On The Side – Hopscotch Crunchies Holiday Cookies

More Than Thursdays – Mint Surprise Sugar Cookies

Mother Of The World – Houseful Of Cookies 2017

Our Crafty Mom – Houseful Of Cookies 2017

Peyton’s Momma – Houseful Of Cookies 2017             

Simplify Live Love – Double Chocolate Pomegranate Cookies

Teachable Mommy – 3 Ingredient Peanut Butter Cookies

The Analytical Mommy – Favorite Lactation Cookie Recipe

The Biswolds – White Chocolate Chip Toffee Cookies

The Olive Blogger – Gingerbread Biscotti

We’re Parents – Cranberry Cheesecake Cookies  

Soft and Chewy Gingerbread Men Cookies

Soft and Chewy Gingerbread Cookies

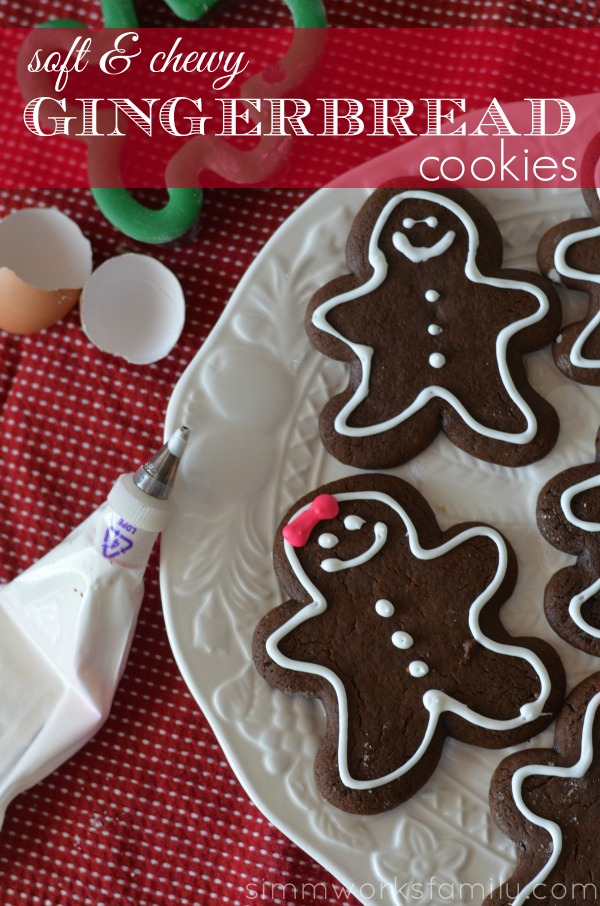
While everyone was slaving away on Thanksgiving making beautiful turkeys, preparing casseroles, and baking bread, my family was baking something else… gingerbread men and women! My husband is slightly obsessed with the holidays and asked the kids if they wanted to make some soft and chewy gingerbread men to take with us to Thanksgiving dinner. You know, to get in the holiday spirit!

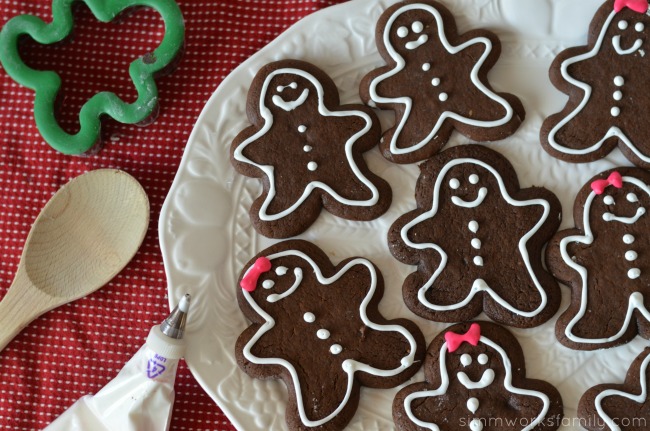
After they baked them up they turned the reigns over to me and had me make the royal icing and decorate the men and women. We threw in some turkeys and fall leaves (not pictured) to round out the merging of the holidays but most purists around the dinner table grabbed for the gingerbread men and women.

Now that we’ve found an awesome recipe for the cookies it’s time to start planning what recipe we’ll be using for the houses we construct!
Soft and Chewy Gingerbread cookies platter

Soft and Chewy Gingerbread Men Cookies

  • 3/4 cup unsalted butter
  • 3/4 cup brown sugar (packed)
  • 3/4 cup molasses
  • 1 teaspoon salt
  • 2 teaspoons cinnamon
  • 2 teaspoons ground roasted ginger
  • 1/4 teaspoon allspice
  • 1 large egg
  • 1 teaspoon baking powder
  • 1/2 teaspoon baking soda
  • 1 cup white whole wheat flour
  • 2 1/2 cups Unbleached All-Purpose Flour

Royal Icing

  • 1/4 cup meringue powder or egg white powder
  • 1/4 teaspoon salt
  • 3 1/2 cups powdered sugar (sifted)
  • 3/4 cup cool water
  1. In a saucepan set over low heat, or in the microwave, melt butter, then stir in the brown sugar, molasses, salt, and spices.
  2. Transfer the mixture to a medium-sized mixing bowl, let it cool to lukewarm, and beat in the egg.
  3. Whisk the baking powder and soda into the flour, and then stir these dry ingredients into the molasses mixture.
  4. Divide the dough in half, and wrap well. Refrigerate for 1 hour or longer.
  5. Preheat your oven to 350 degrees. Get out several baking sheets and line with parchment.
  6. Once the dough has chilled, take one piece of dough out of the refrigerator, and flour a clean work surface, and the dough. Roll it out as thin or thick as you like; for slightly less crisp cookies, roll it out more thickly. We go for 1/4 inch for a soft and chewy gingerbread man.
  7. Place the dough on parchment, and put a sheet of plastic wrap over it as you roll, pulling the plastic to eliminate wrinkles as necessary when rolling; this will keep dough from sticking without the need for additional flour.
  8. Cut out shapes with a cookie cutter, cutting them as close to one another as possible to minimize waste.
  9. Transfer the cookies to un-greased cookie sheets (or, if you’ve rolled right onto the parchment, remove the dough scraps between the cookies). Bake the cookies just until they’re slightly brown around the edges 8 to 12 minutes, or until they feel firm.
  10. Let the cookies cool on the baking sheets for several minutes, or until they’re set. Transfer them to a rack to cool completely. Repeat with the remaining dough.
  11. Decorate the cookies with Royal Icing.

For the Royal Icing:

  1. In a stand mixer or large bowl with electric mixer, add dry ingredients. Start the mixer and slowly pour in the cool water.
  2. Mix on low speed at first, increasing to high speed over several minutes. Beat until the icing is fluffy.
  3. Keep the frosting covered with a damp towel and some plastic wrap until you are ready to use it.
  4. Divide the frosting into smaller containers and mix with food coloring for several colors.

Soft and Chewy Gingerbread Men Cookies

What’s your favorite holiday cookie?

This recipe originally appeared on this site on December 1st, 2013


© A Crafty Spoonful - All Rights Reserved
It is OK to use one of my photos provided a link back and/or proper credit is given. It is NOT ok to copy and paste a whole post including instructions. Please do not remove watermarks or alter images in any way. Please contact me with any questions at danielle@acraftyspoonful.com

.