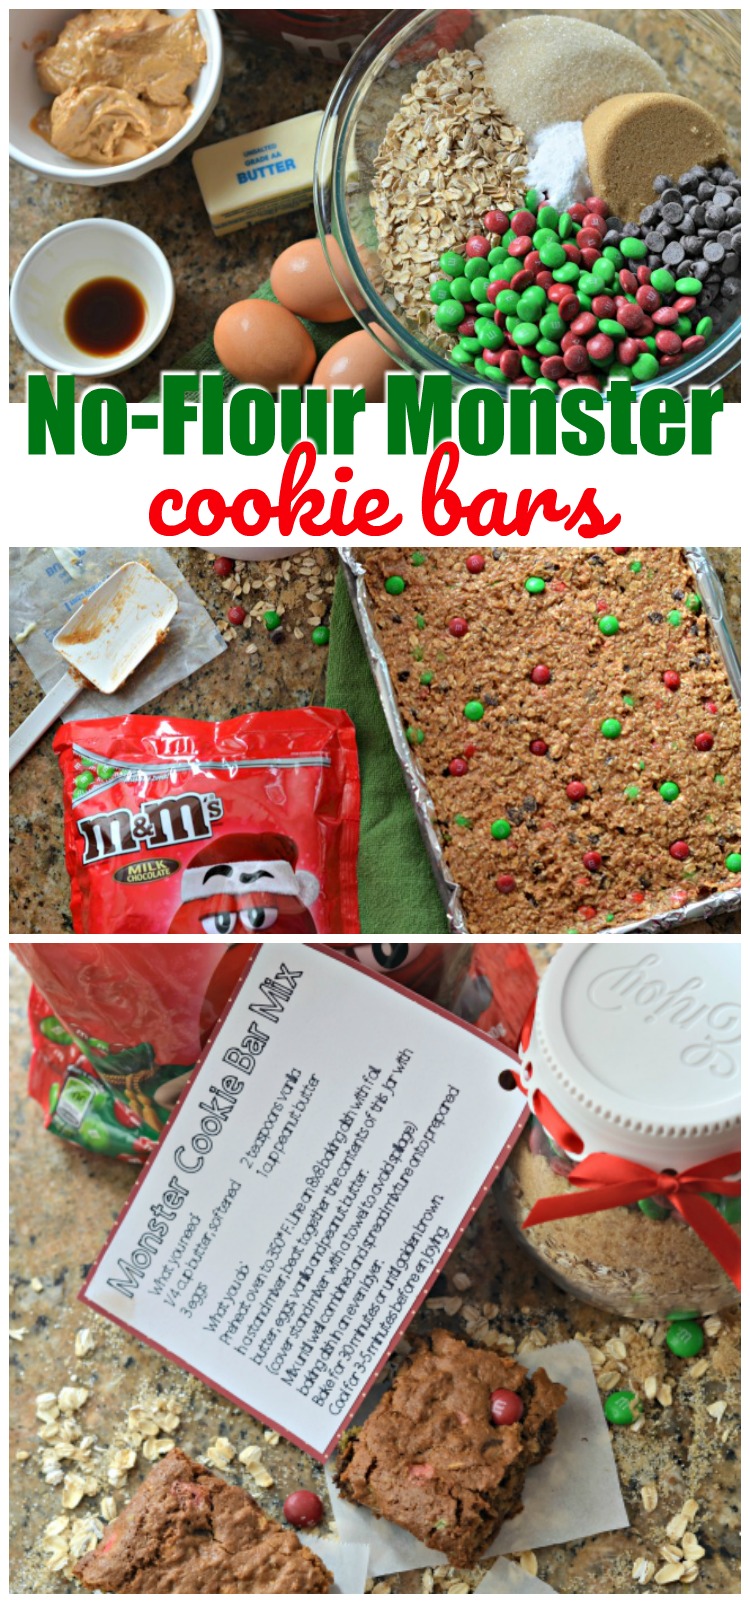
We’ve whipped up these deliciously satisfying No-Flour Monster Cookie Bars and are sharing how you can create your own Monster Cookie Bar Mix to gift to friends this holiday season. This shop has been compensated by Collective Bias, Inc. and its advertiser, Mars Wrigley Confectionery US, LLC. All opinions are mine alone. #SimplySweetness #CollectiveBias
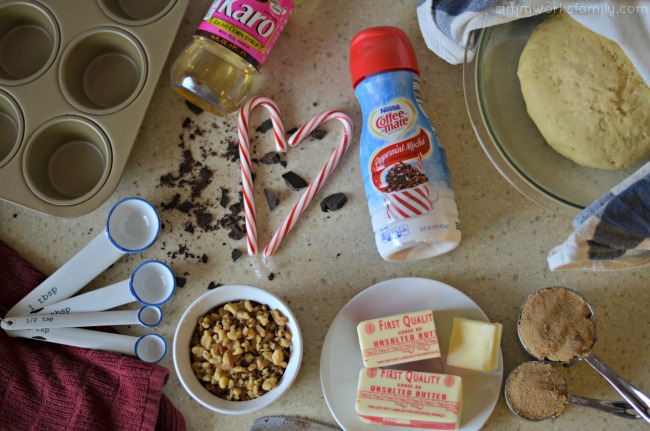
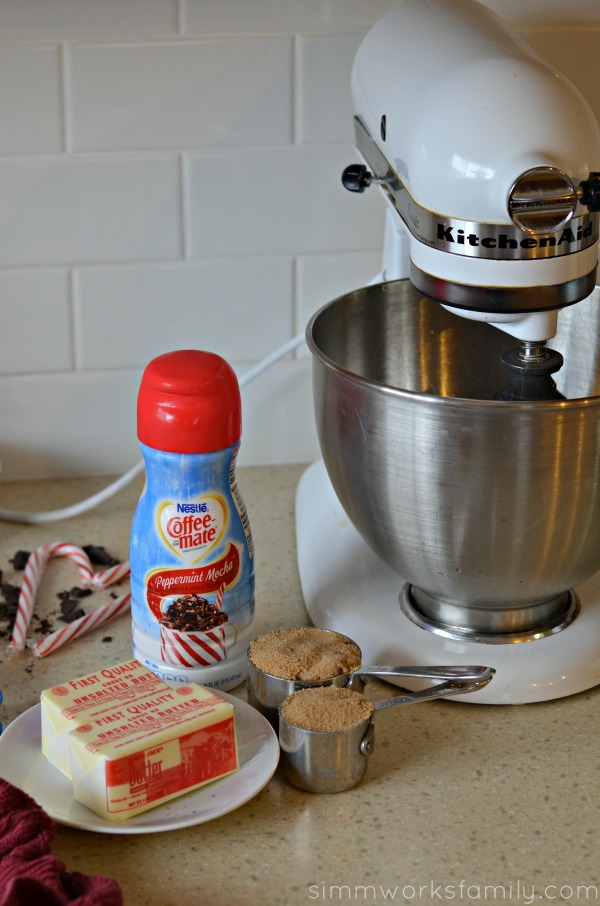
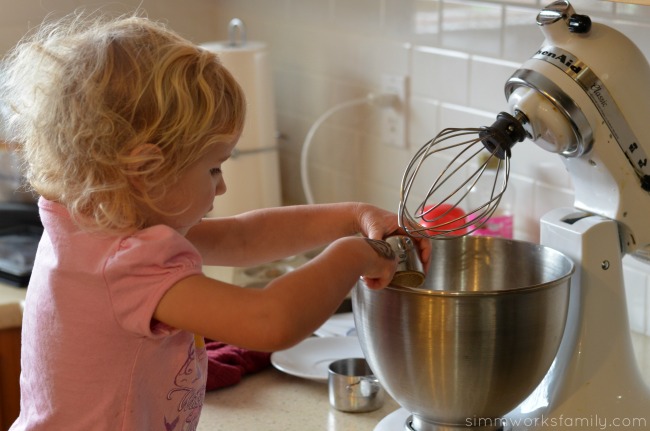
Holiday baking season has arrived! And you know what that means? Lots and lots and LOTS of dishes in our home. Because when we bake, we bake. I’m sure I’ve mentioned it before but the kids LOVE to help out in the kitchen. And when Christmas rolls around, we stock up on all of our baking necessities (like the big Red & Green Holiday 52 oz. Bag of M&M’S® from Sam’s Club). We wouldn’t want to run out mid-holiday baking.
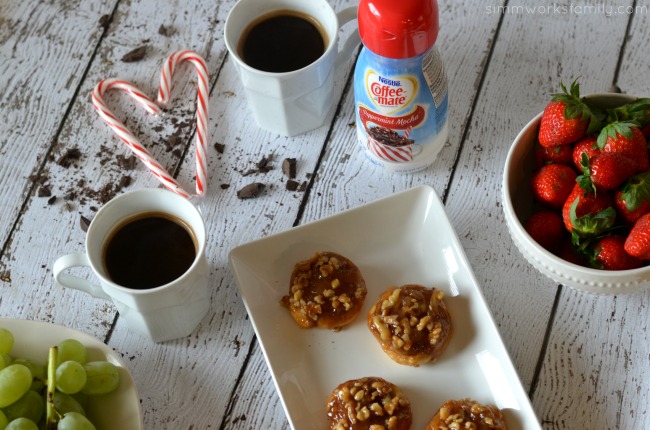
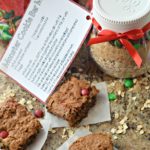
One thing I love about baking during the holidays is that it’s an inexpensive way to share our love with others. We don’t necessarily have the budget to purchase a gift for everyone we know so we can make fun little platters filled with goodies for others to enjoy. And one of my new favorite gifts to make are these fun cookie bar mixes so others can make our favorite recipes at home. That way we can whip up a batch to share with them now and provide them with a mix to make them later. Hey, who knows? Maybe they’ll even use the kit to make some holiday goodies for their loved ones!
Red & Green Holiday 52oz. Bag of M&M’S® are a festive and colorful treat to bring into your baking, decorating and every aspect of your holiday celebrations. The Stand-Up Pack will keep your M&M’S® fresh and ready-to-go in an easy resealable package. Heck, if I wasn’t baking with them, I’d probably give these bags as gifts! What says, “I love you,” better than a big bag of M&M’S®, right?
But for now we’ll stick with gifting some delicious cookie bars and mixes.
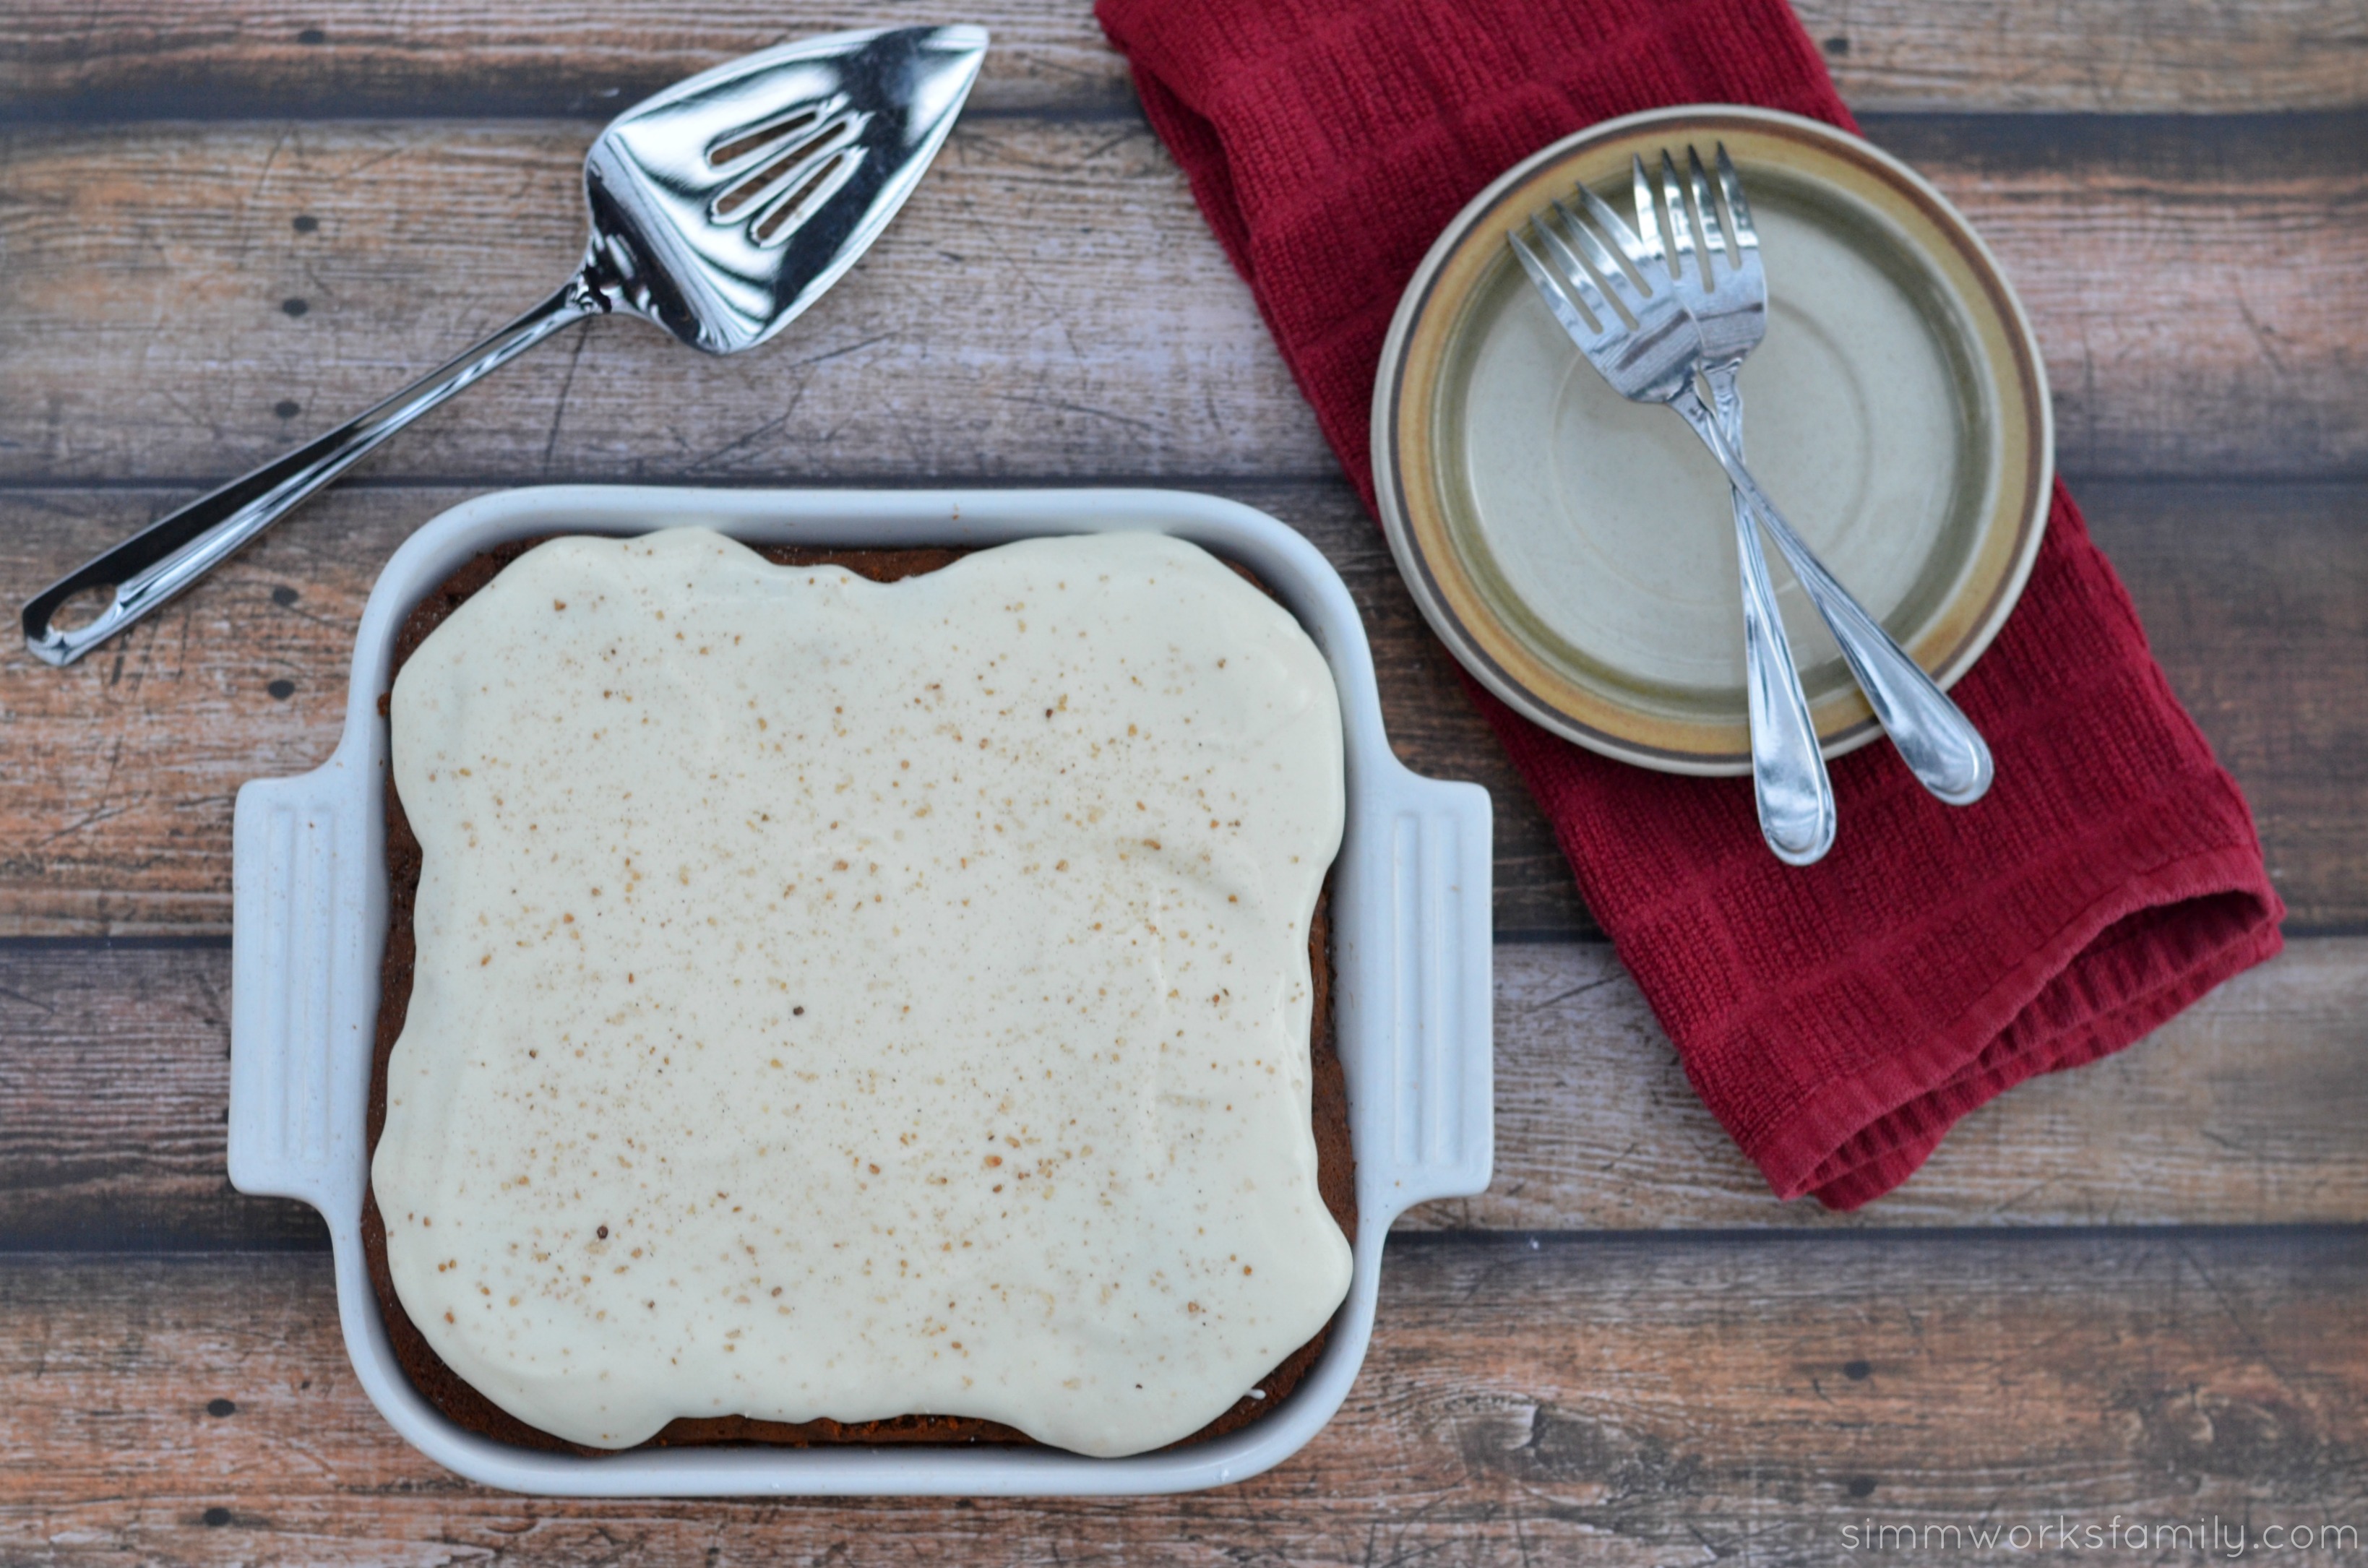
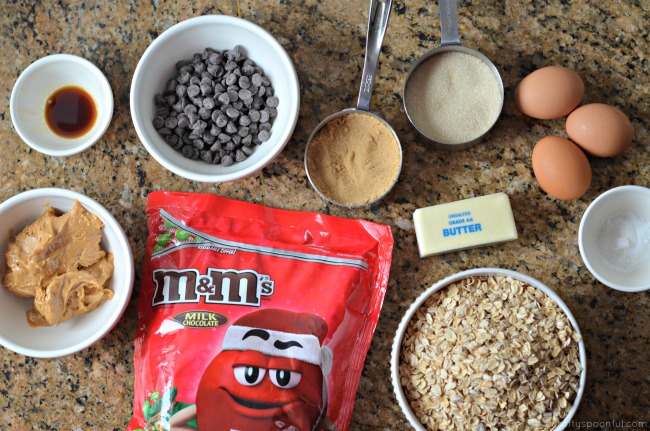
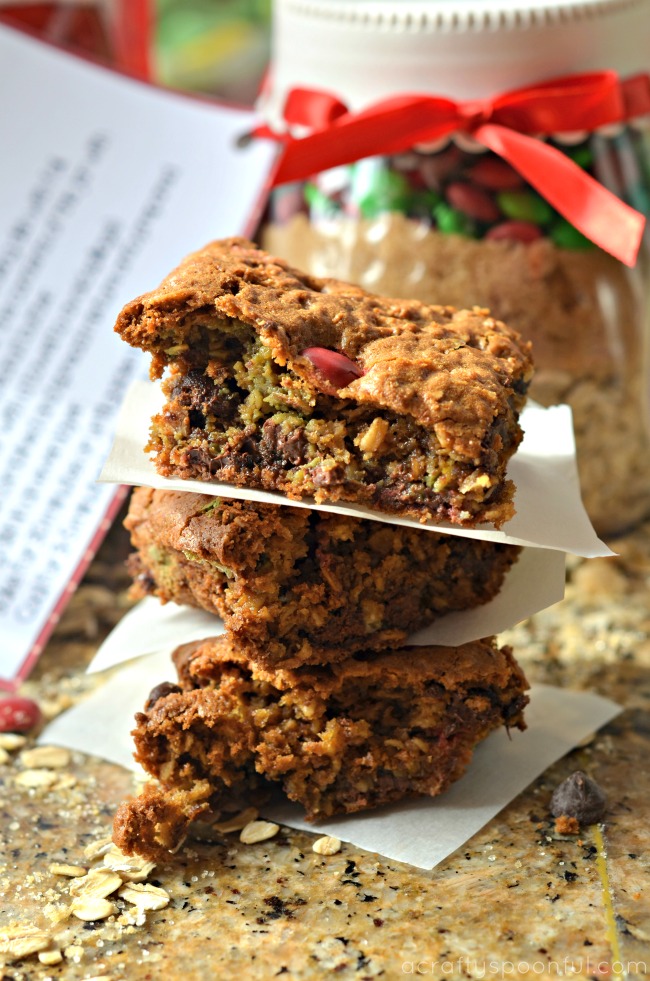
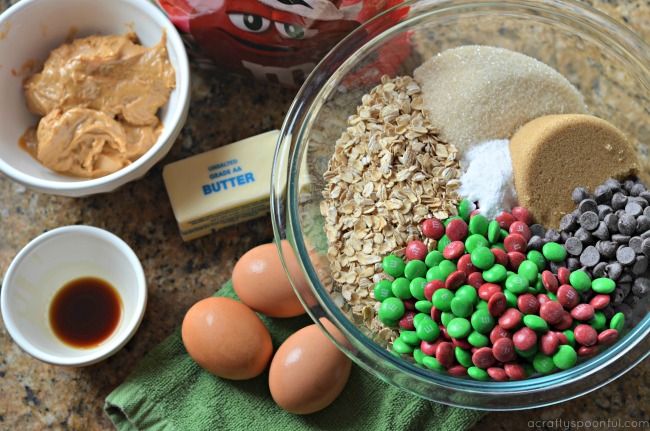
No Flour Monster Cookie Bars
- 1 cup sugar
- 1 cup brown sugar
- 1/4 cup unsalted butter, softened
- 3 large eggs
- 1 cup peanut butter
- 2 teaspoons vanilla extract
- 2 teaspoons baking soda
- 1/2 teaspoon salt
- 4 cups Old Fashioned oats
- 1 cup M&M'S®
- 1 cup chocolate chips
-
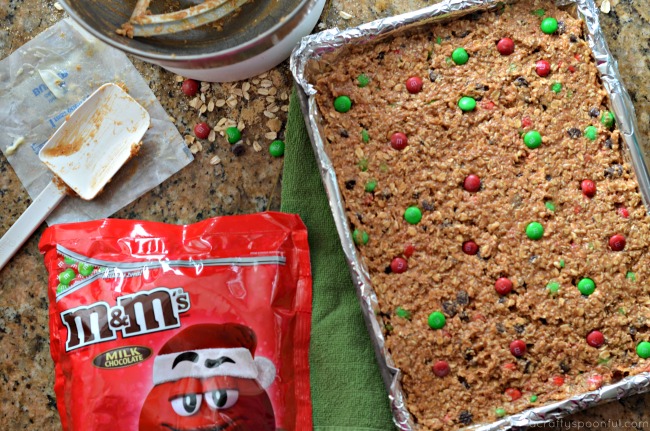
Pre-heat the oven to 350°F. Line a 13×9-inch metal baking pan with foil.
-
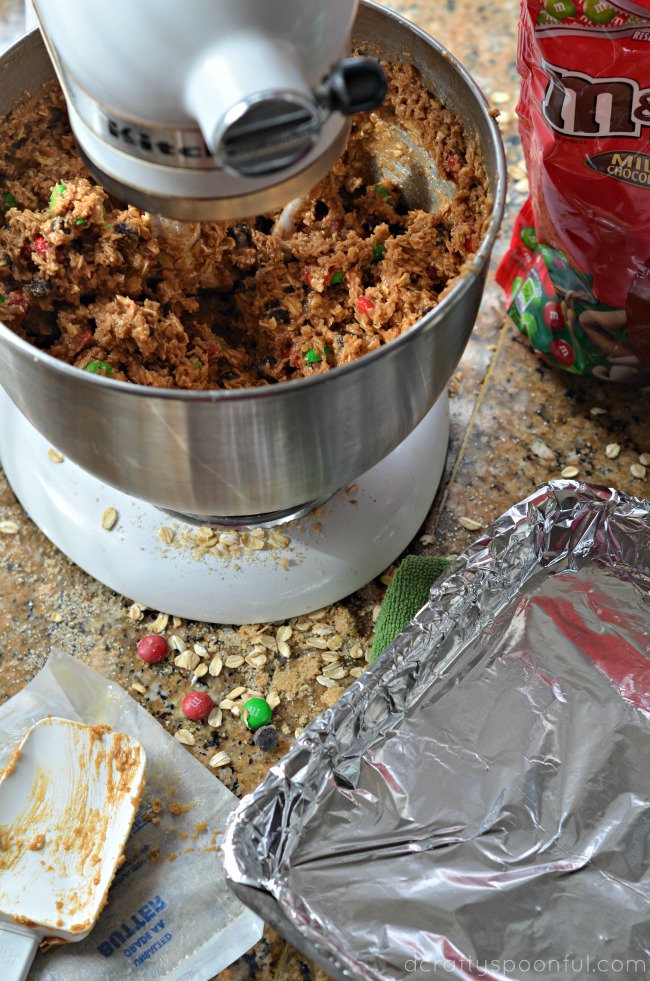
Add all of the ingredients into the bowl of a stand mixer fitted with the paddle attachment,
-
Cover bowl with dish towel and mix on lowest setting. Once mixed up a bit, increase speed and mix until all of the ingredients are combined.
-
Spread mixture onto prepared baking pan and bake for 30 minutes or until golden brown.
-
Take out of the oven and let cool for 5 minutes then transfer foil and bars to a cooling rack. Cut into squares and enjoy!
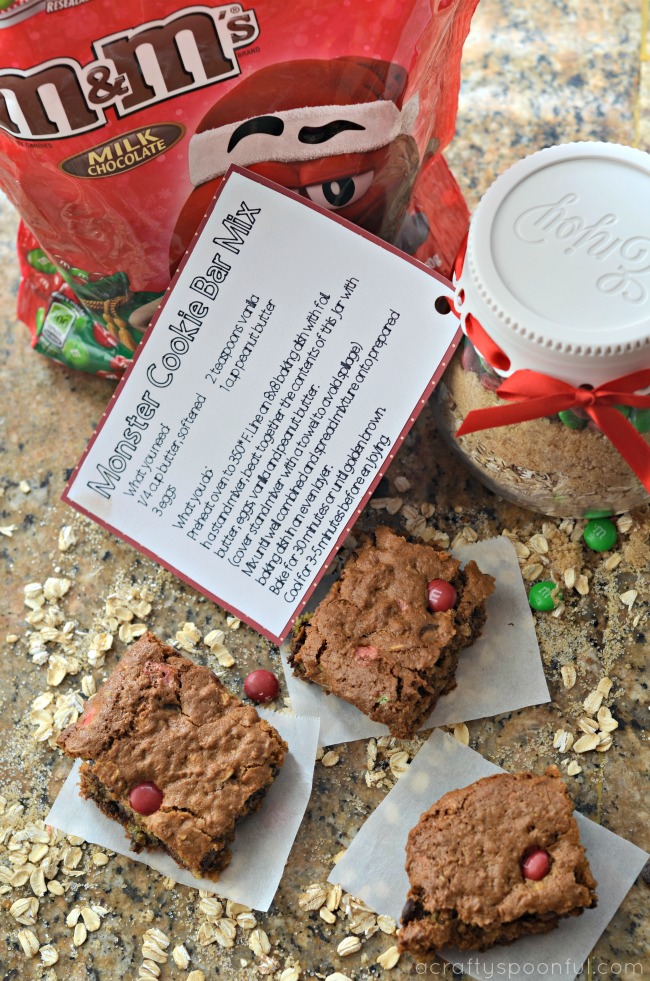
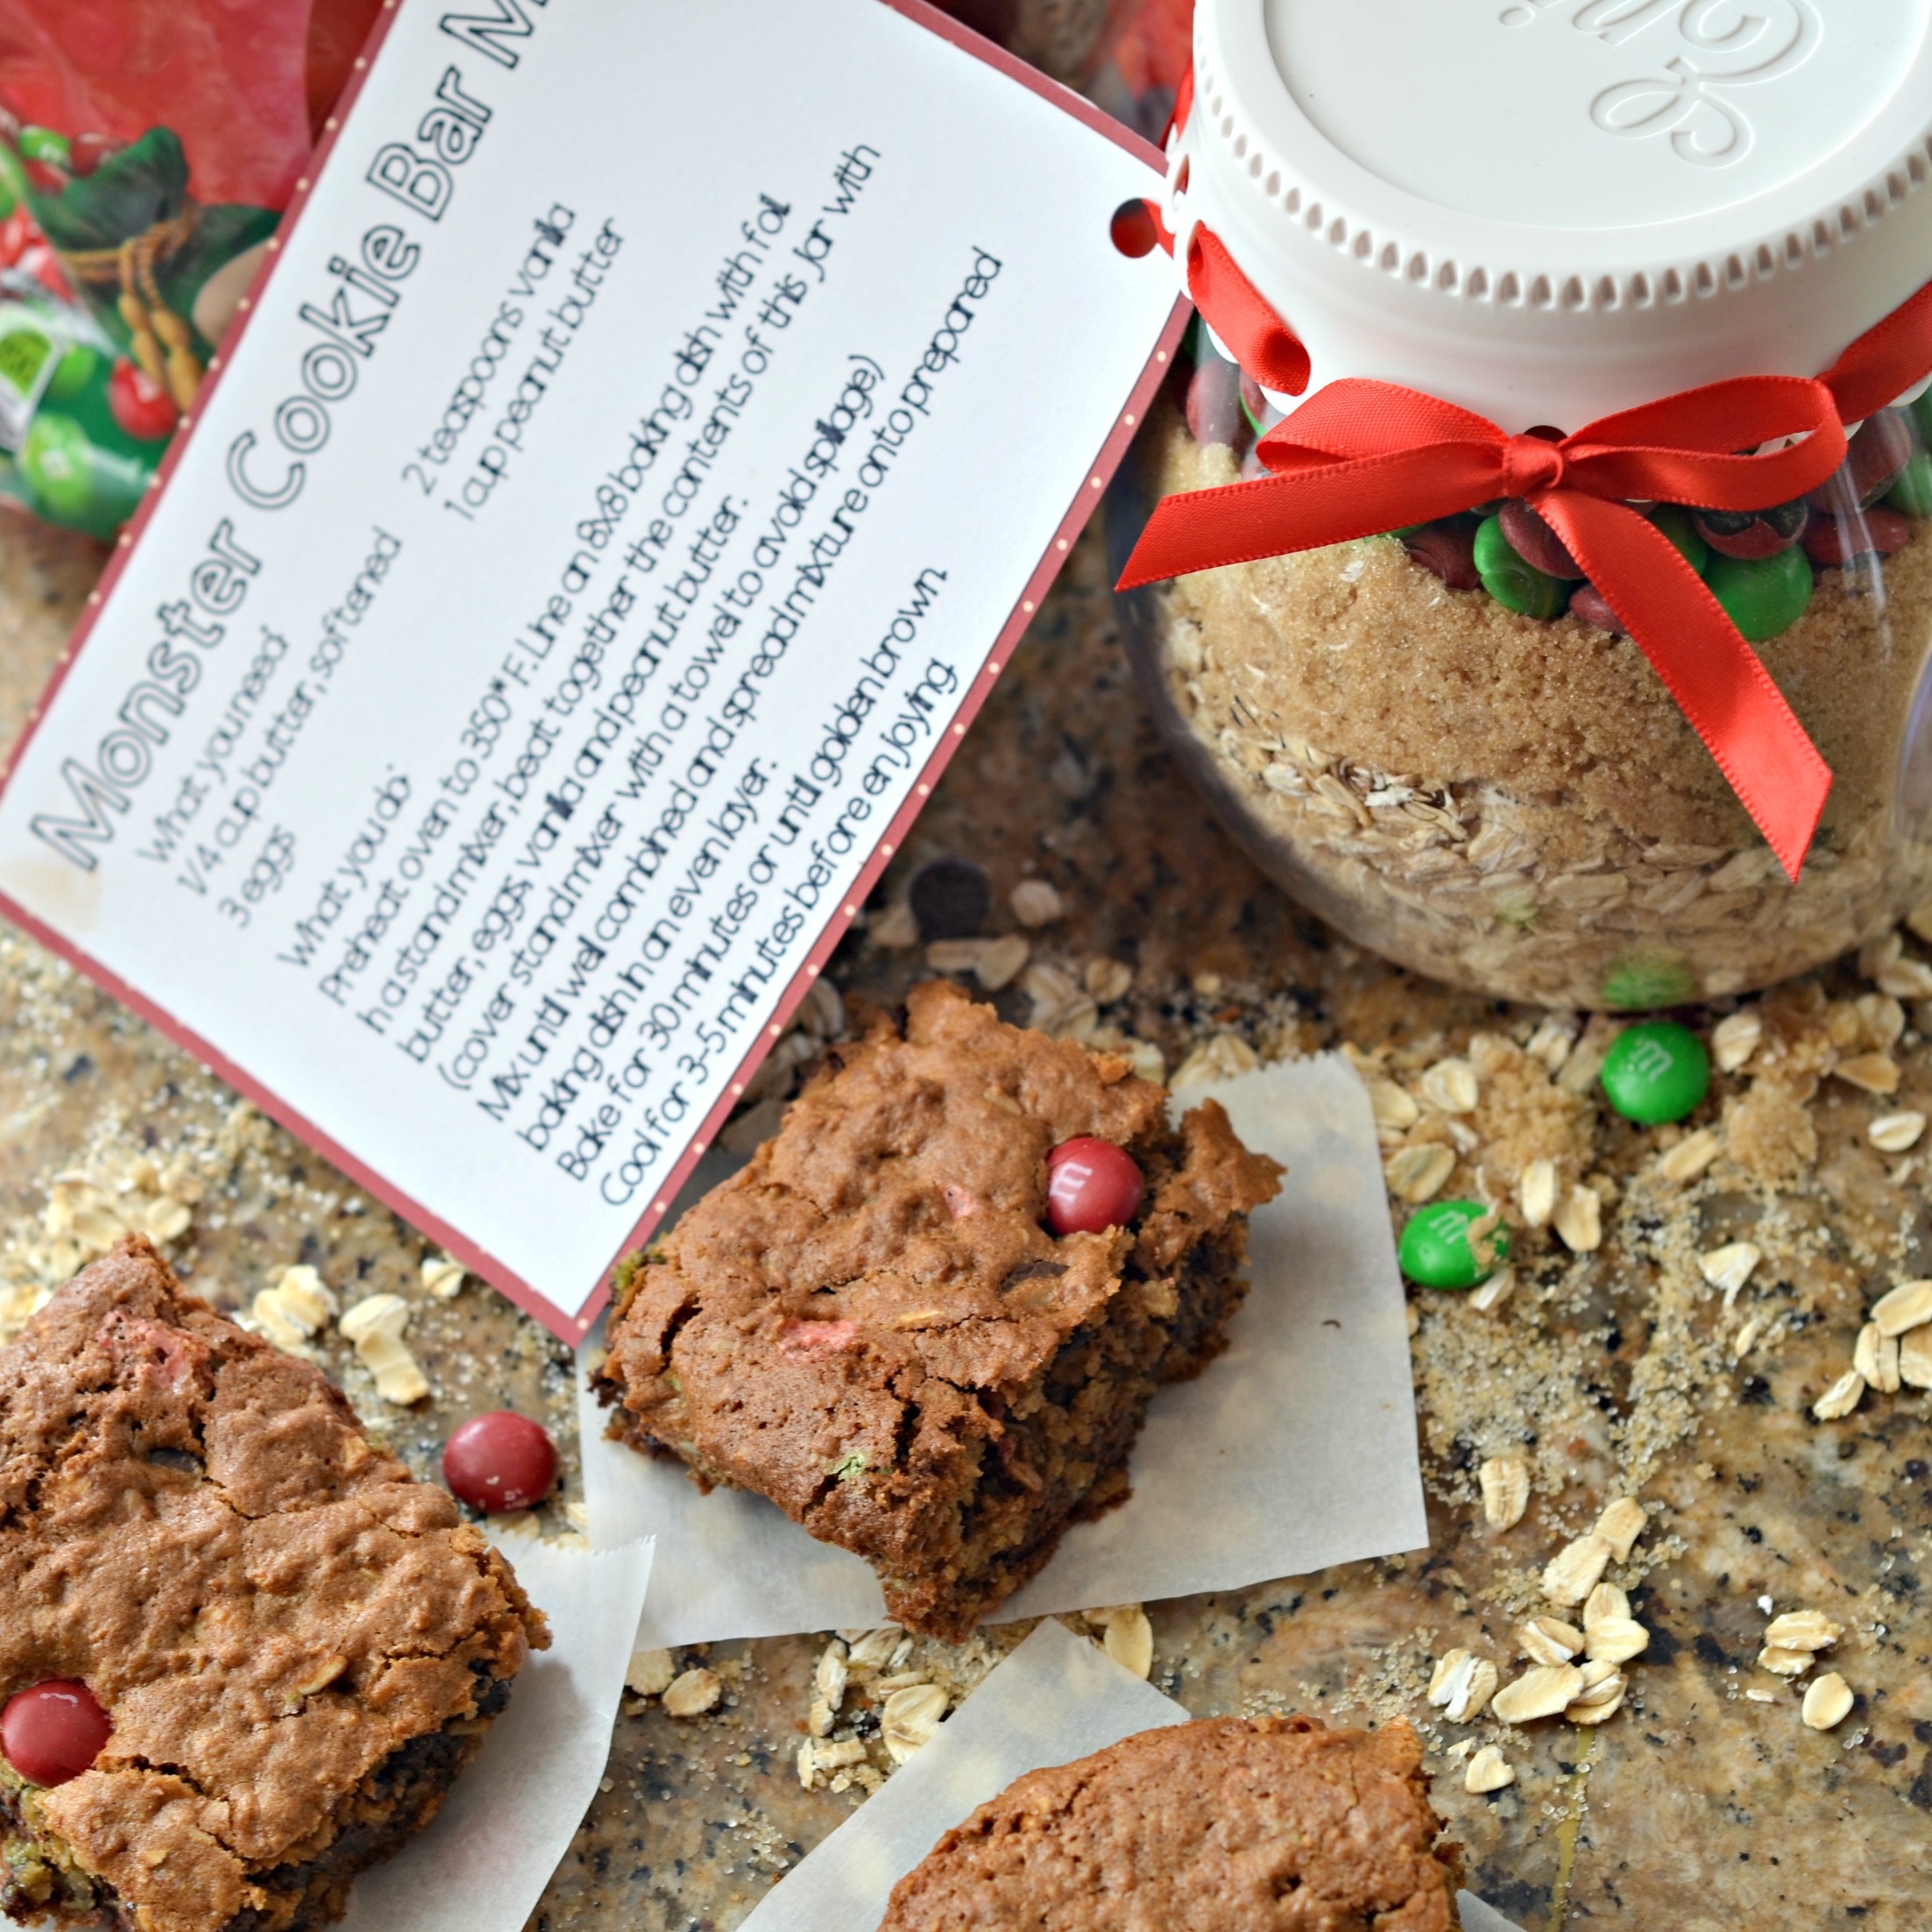
Remember how I said you could GIFT these bad boys to your friends and family in a fun mix? Well here’s how!
Monster Cookie Bars Mix
What you’ll need:
- 4 cups old fashioned oats
- 1 cup brown sugar, packed
- 1 cup white sugar
- 2 teaspoons baking soda
- 1/2 teaspoon salt
- 1 cup M&M’S®
- 1 cup chocolate chips
- 1 32 oz jar with lid
- ribbon
- hole punch
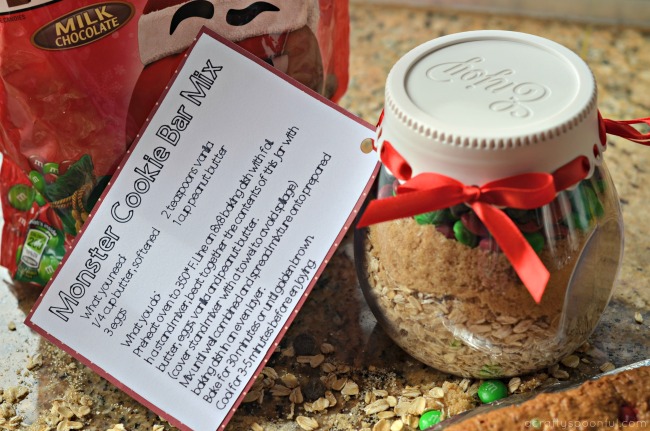
What you do:
Layer each ingredient in the order it’s shown above into a 32oz plastic or glass jar with lid.
Place lid on jar and close tight.
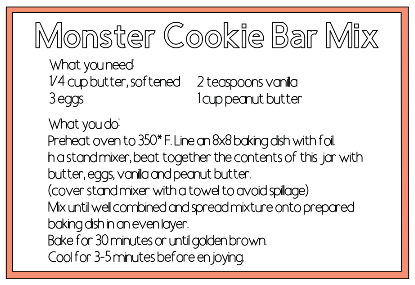
Print out Monster Cookie Bar Mix printable and cut out and attach to jar with ribbon.
Gift to the ones you love!
Click on image to download printable
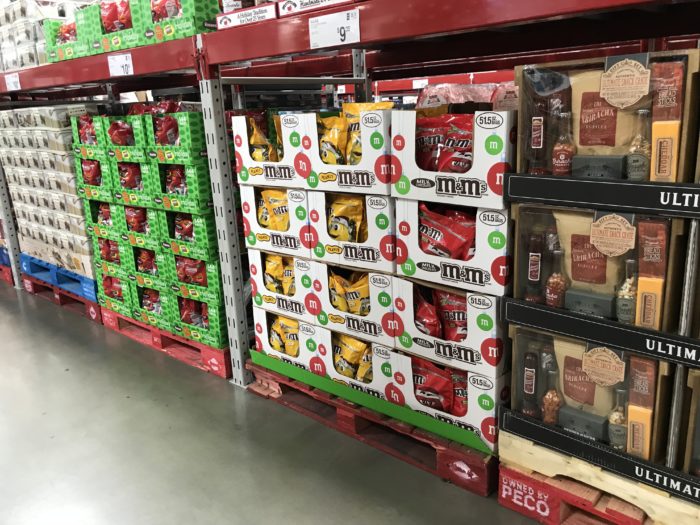
You can find the big Red & Green Holiday 52 oz. Bag of M&M’S® in the candy aisle of your local Sam’s Club. And while you’re there, stock up on the rest of your holiday baking items! That’ll save you a few trips in the long run.
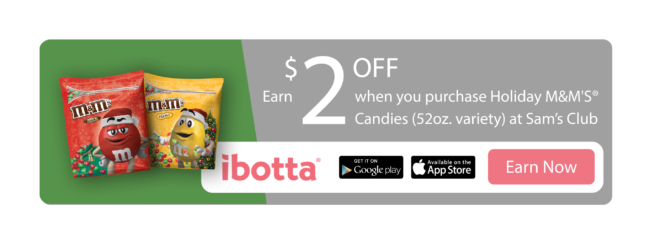
And right now you can sign up for a free Ibotta account and earn $2 off with the purchase of a 52 oz bag of Red and Green M&M’S®. Offer valid from 11/1/17 until 12/25/17.
Don’t forget to check out more awesome ideas you can make with M&M’S® by checking them out on Facebook, Pinterest, Instagram, and Twitter!
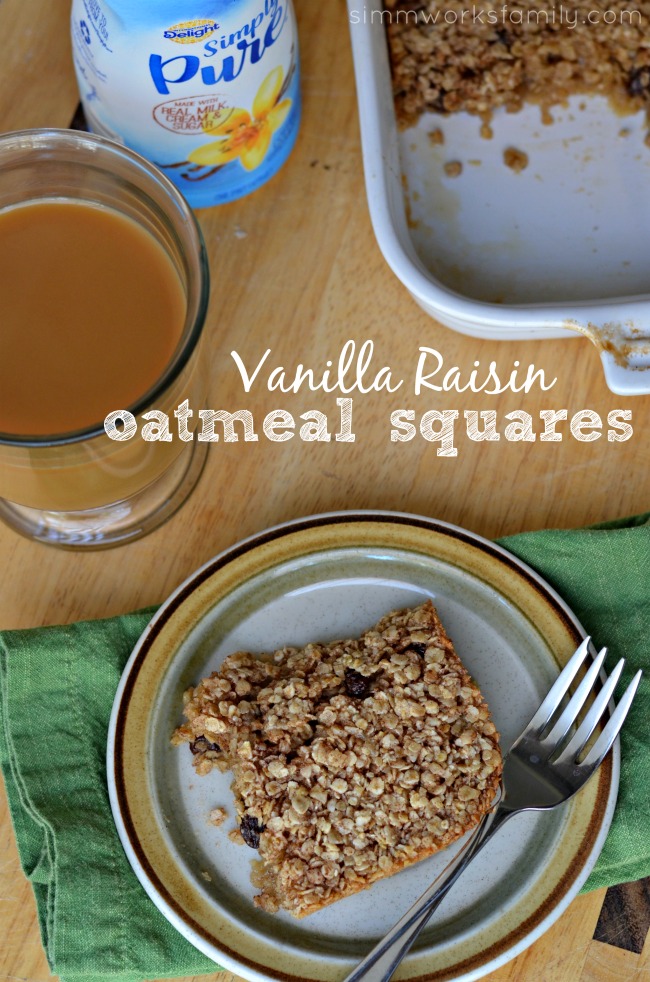
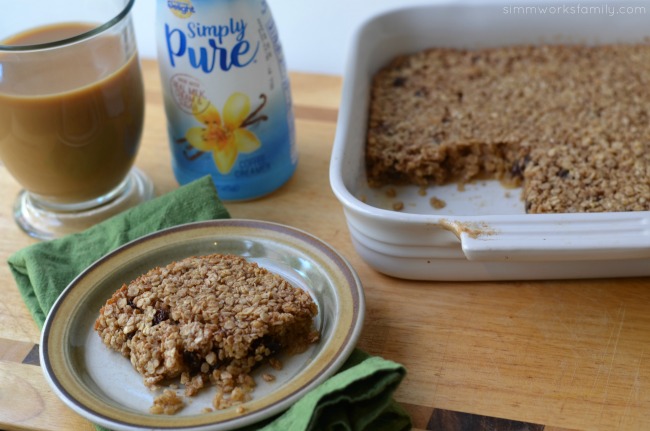
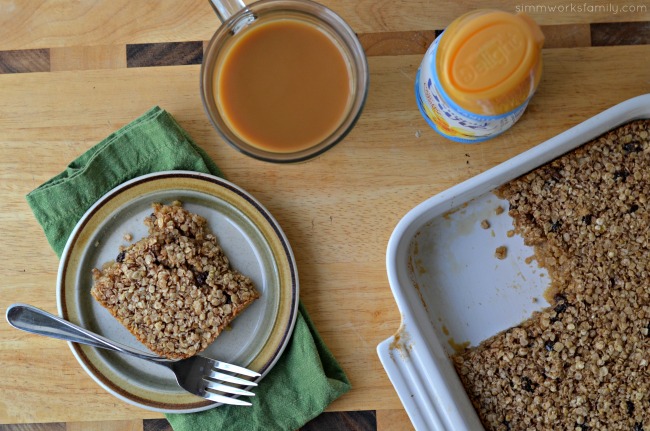
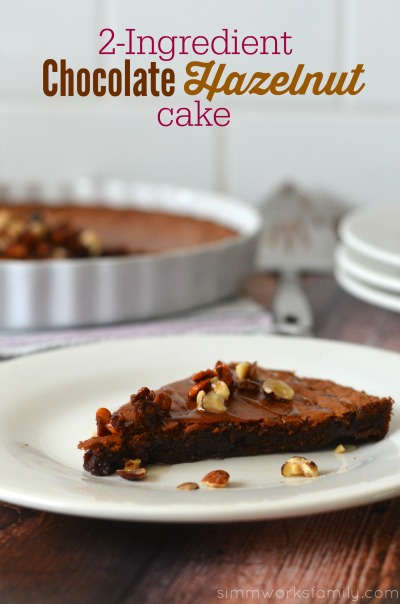
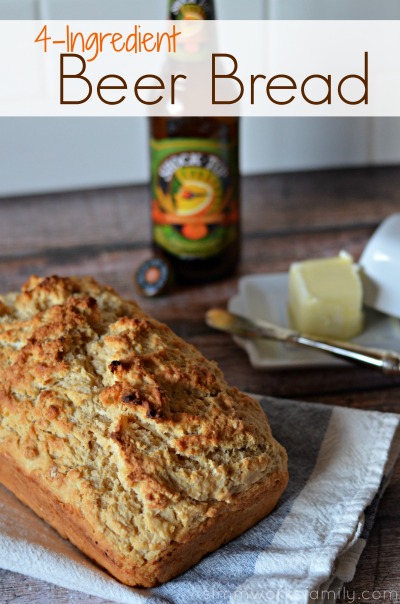
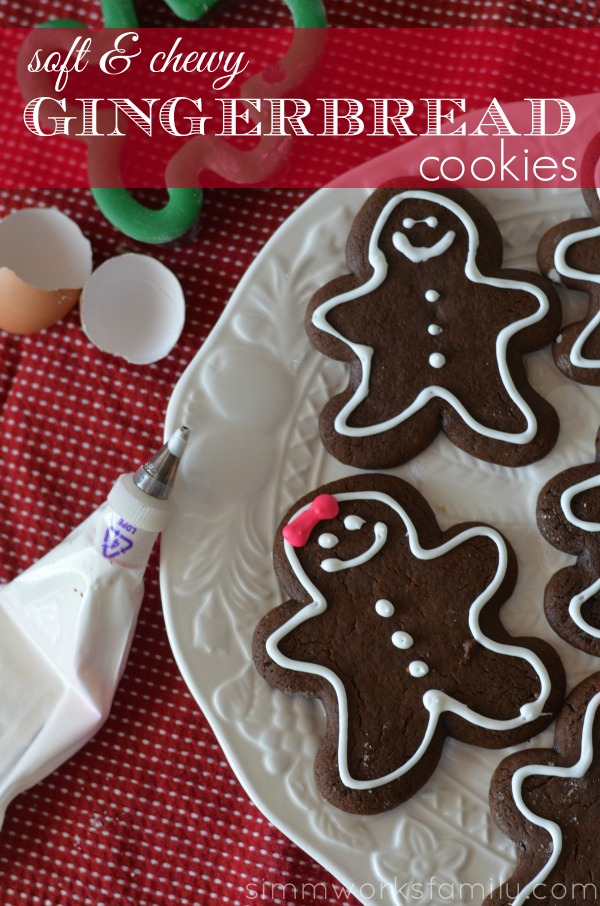
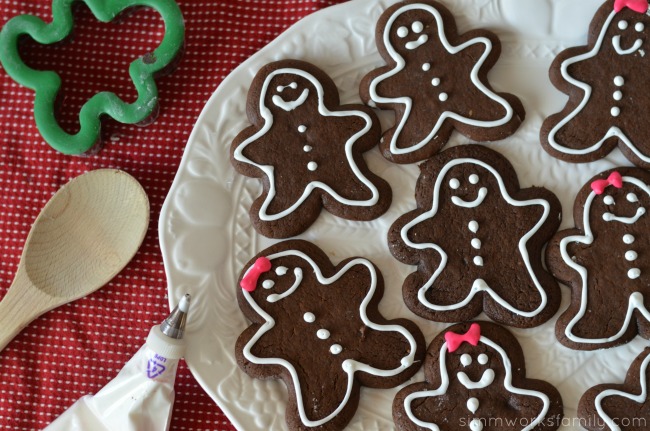
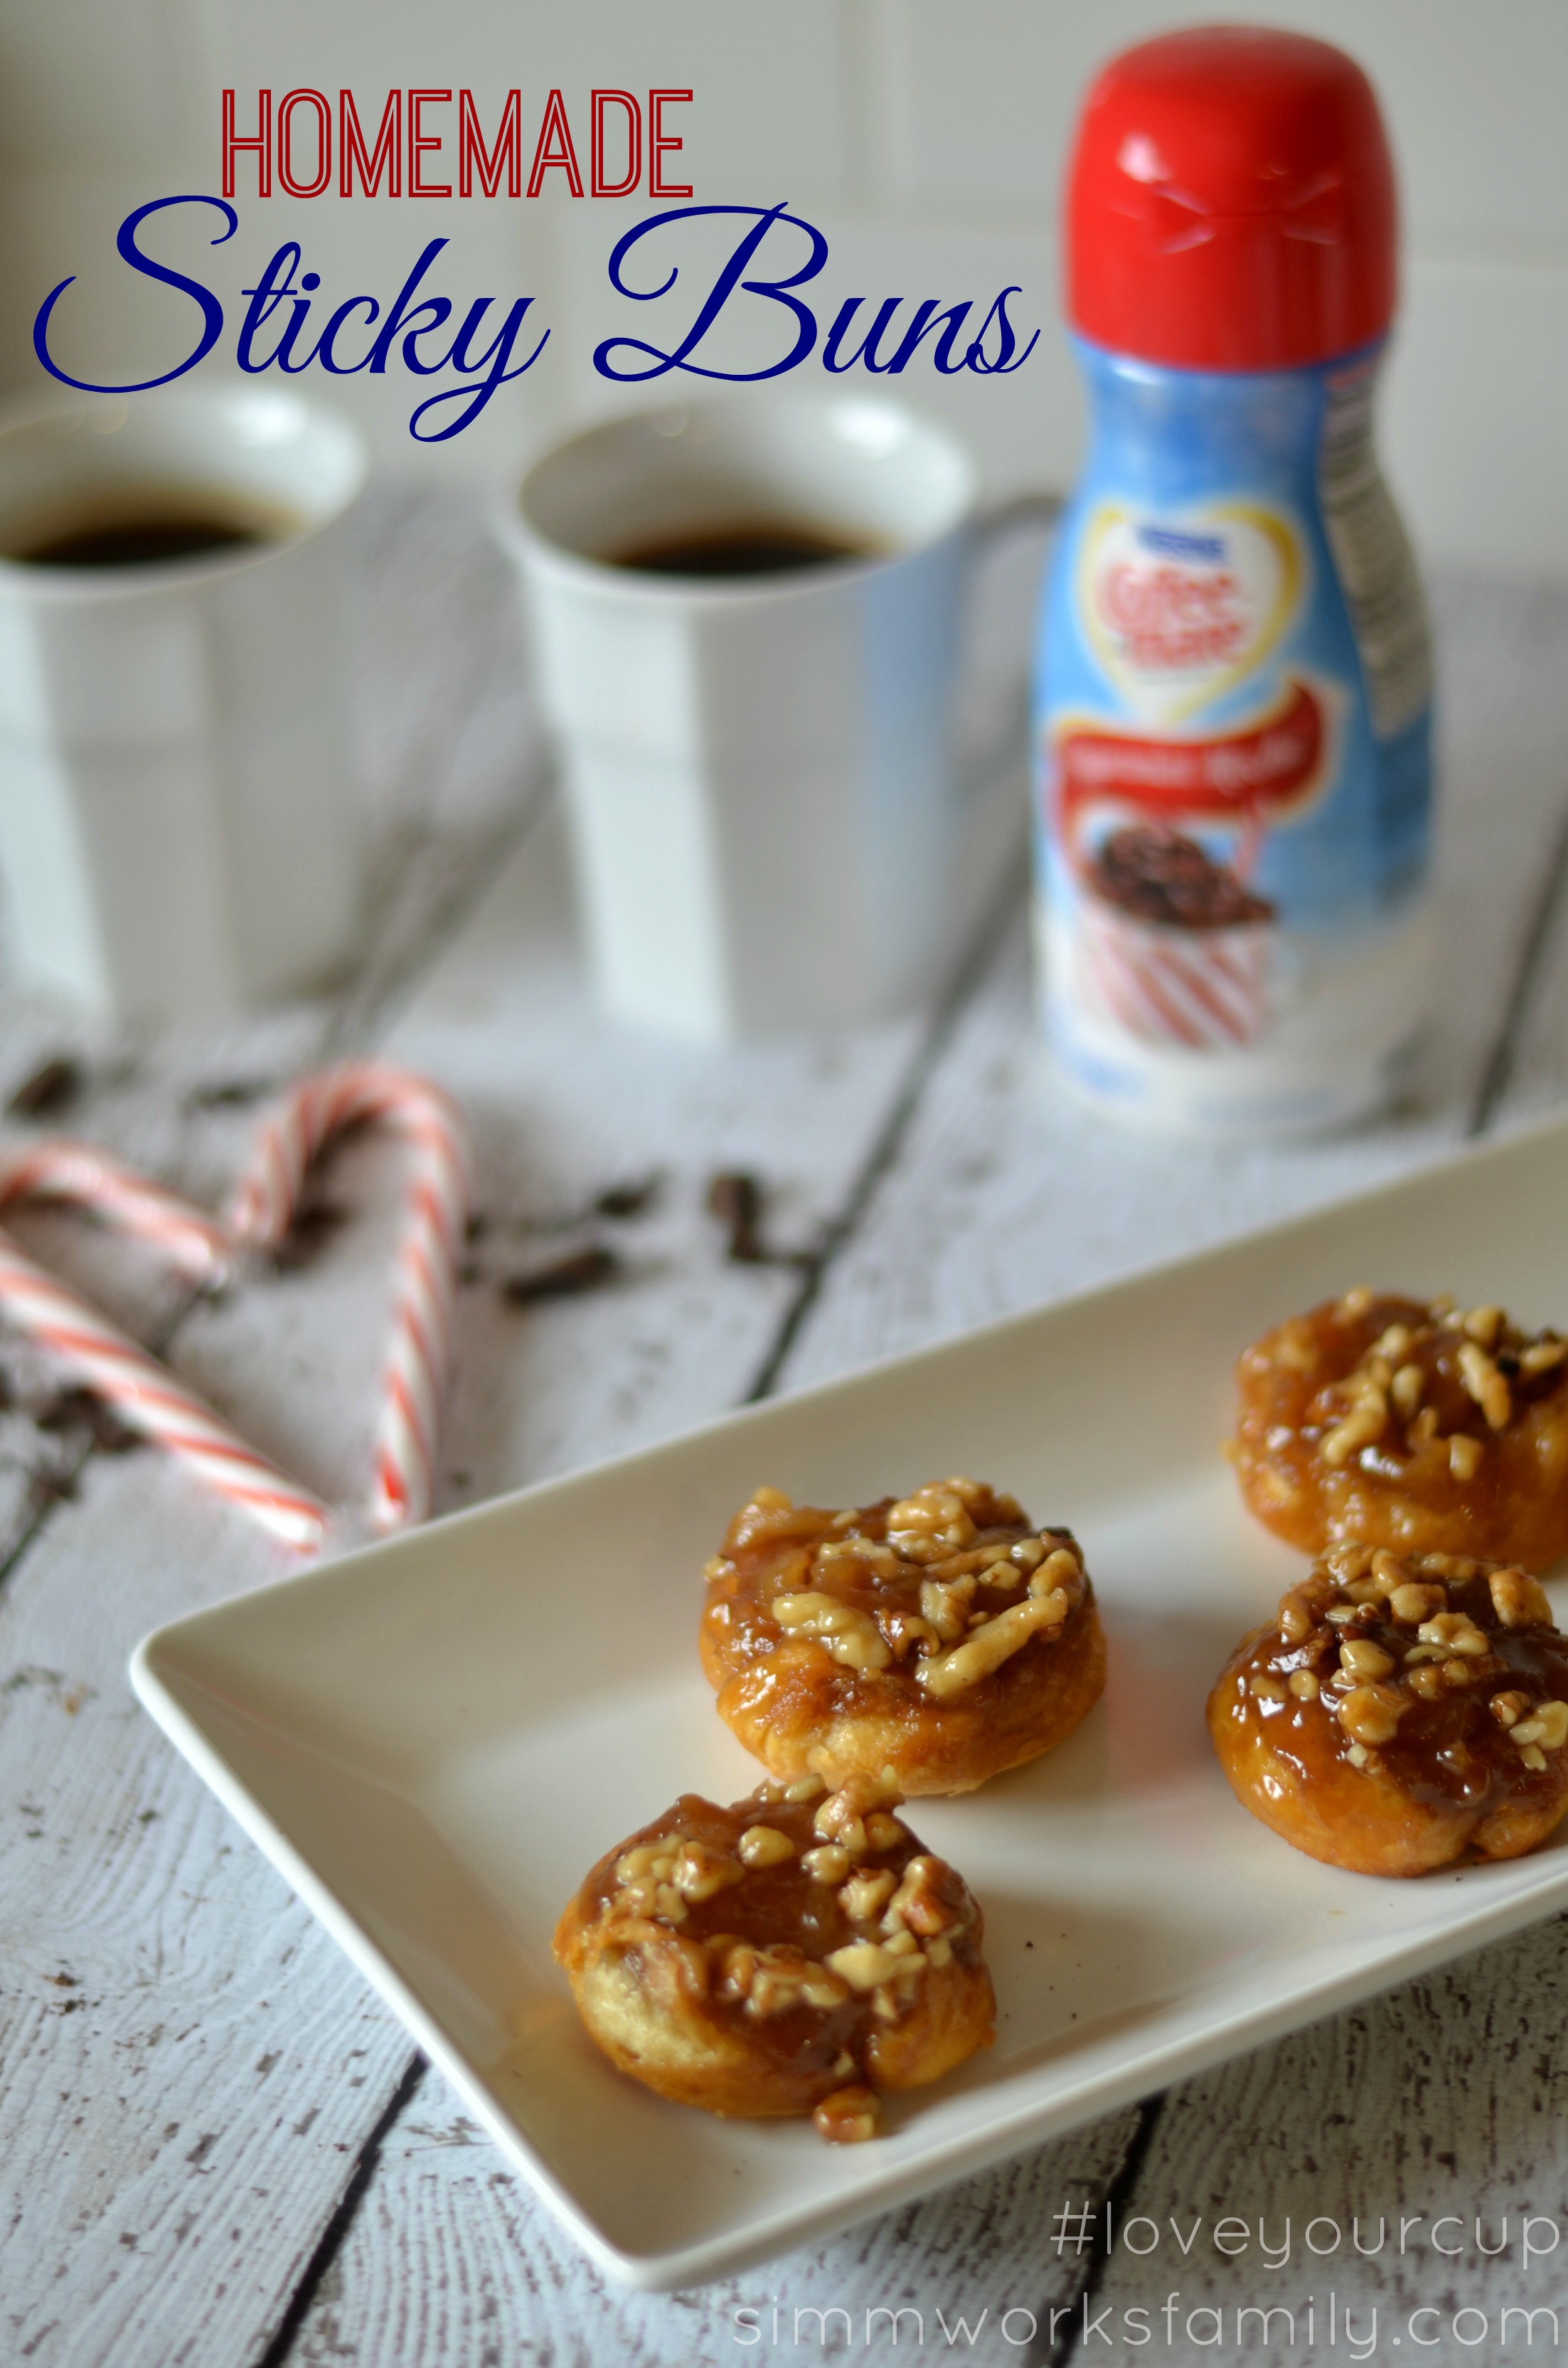
Love this recipe? Check out these delicious bites:
Pin this article for later!
Click the Pin button on the image below to save for later.