How to Make Dinosaur Party Hats

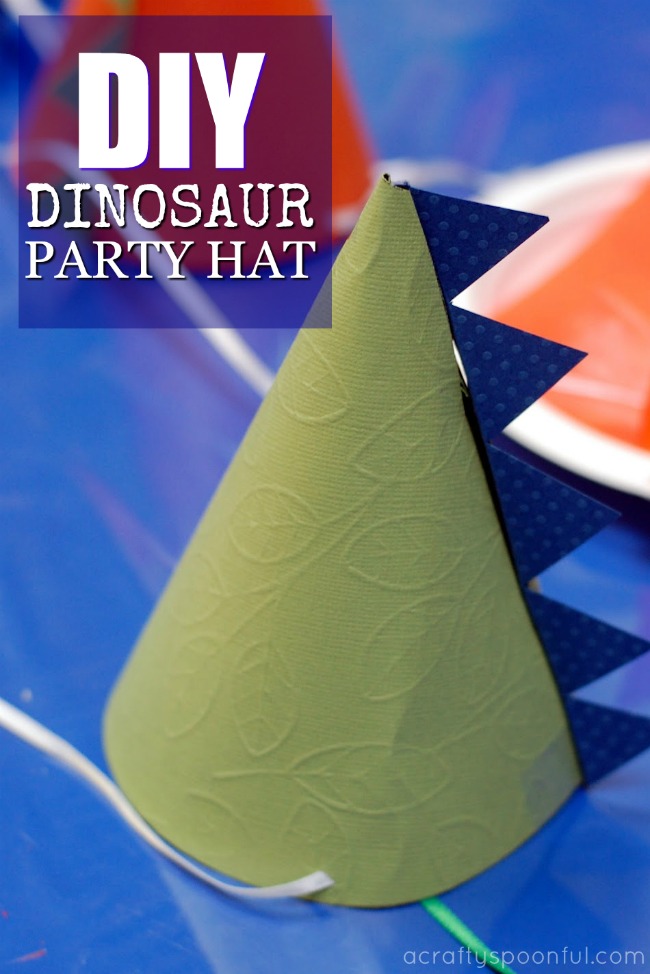
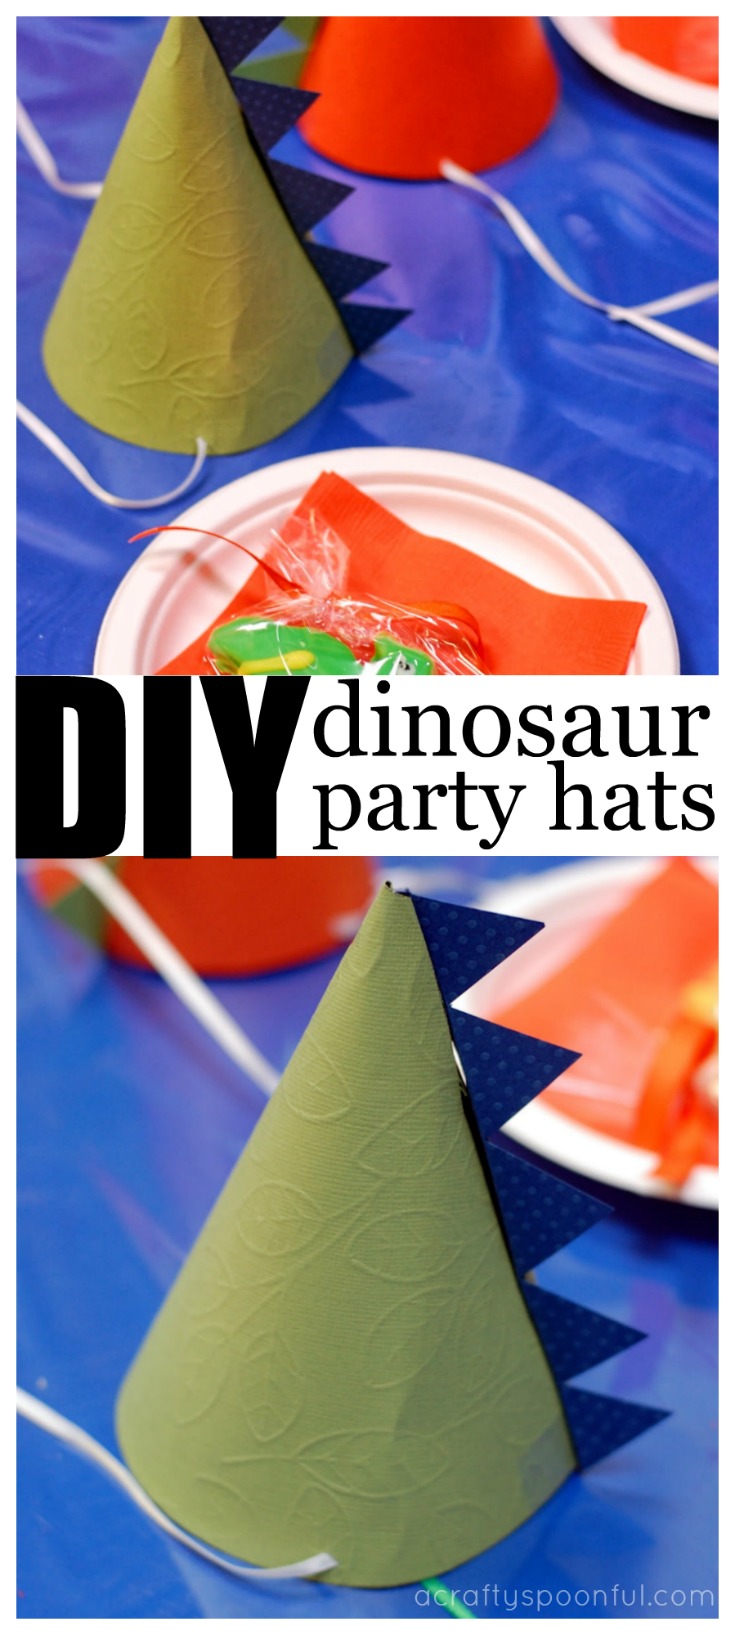
Find out how easy it is to make a dinosaur party hat with this template and some paper.

When planning my son’s Dinosaur Train birthday party I stumbled upon an Etsy store with printables for everything Dinosaur (you can check them out in detail on her blog). One of the things included in the kit was a dinosaur party hat. 

Since I wanted to make my party unique I opted out of purchasing the kit but I did find a way to make those adorable party hats! I used a template I found from Oh Happy Day for the base of the hat, picked up some cute cardstock from Michaels and got cutting and piecing together. 

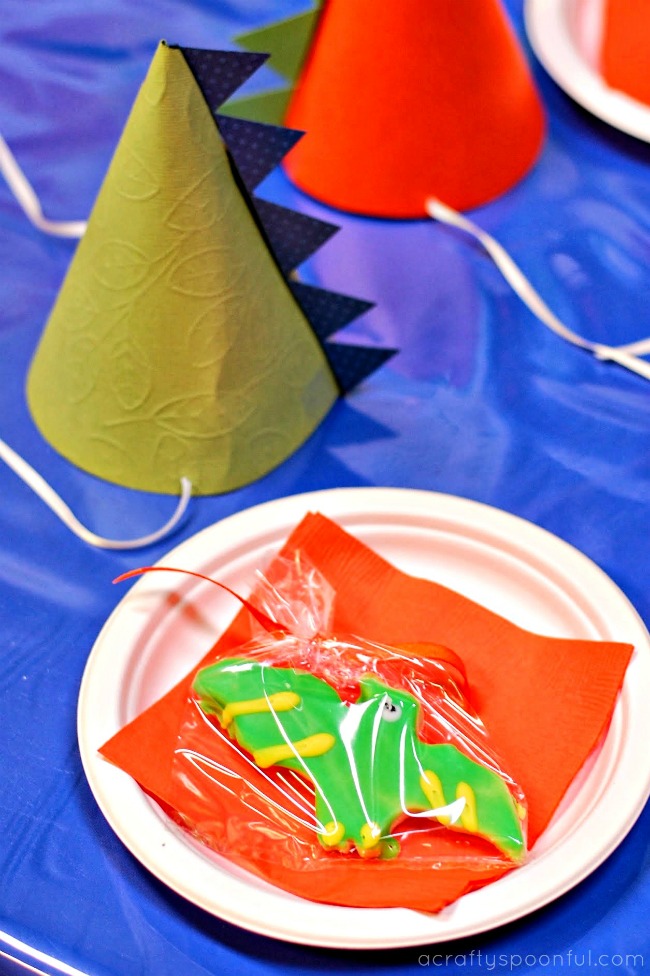
Here’s what I came up with! 

This post contains affiliate links. 

Dinosaur Party Hats

What you’ll need:

What you do:

1. Print template onto cardstock (save 1-2 colors for the spikes).

2. Cut out the template by following the solid black lines.

3. Cut out the slit on the template.

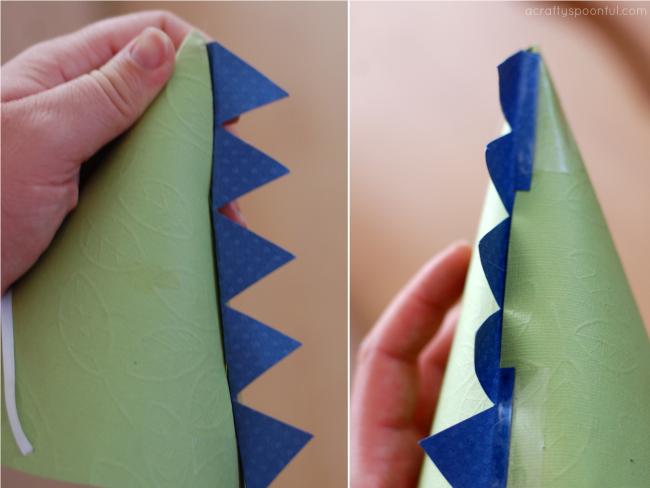
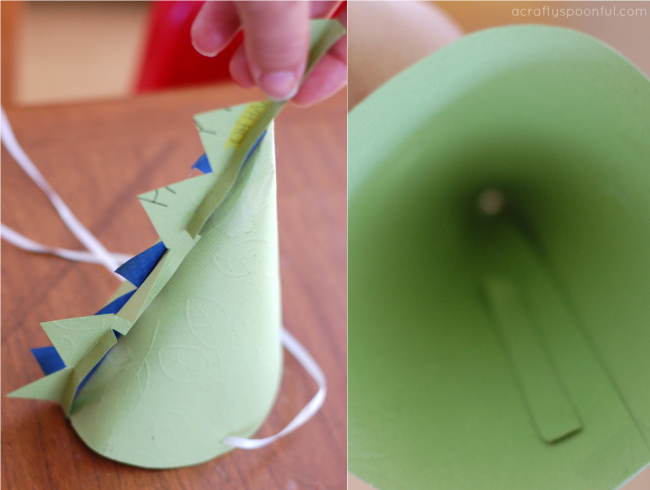
4. Roll hat together and place tab into the slit. You may have to bend the top tab a bit to get it to fit. Once the tab is in, lift the top tab again so it doesn’t slide out. 

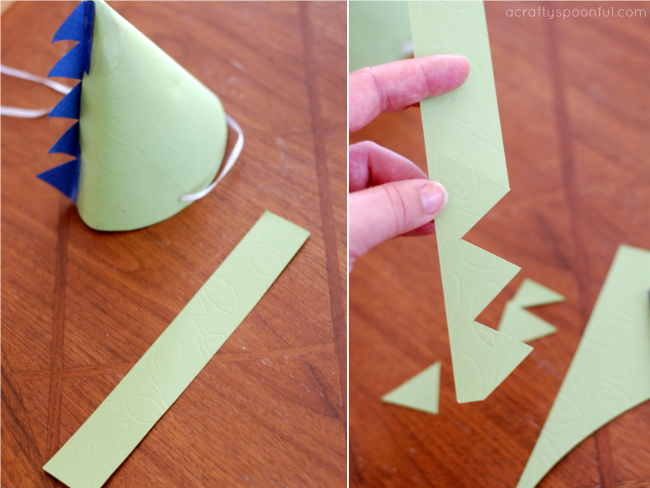
5. Cut out spikes leaving a 1/4″ space at the bottom of each spike row. 

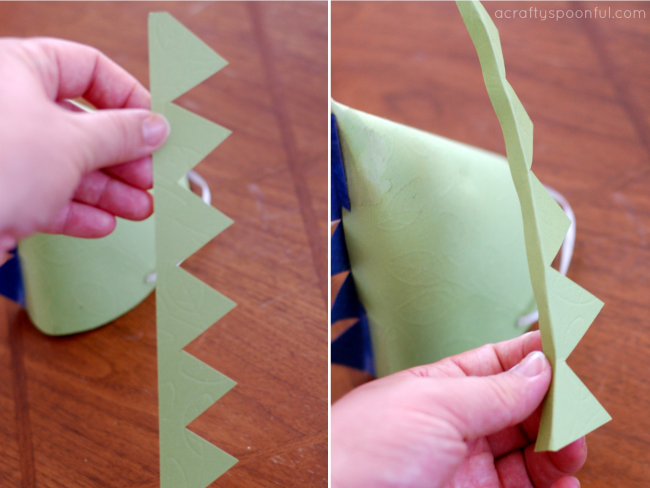
6. Bend spike row on the bottom at the 1/4″ mark and cut the middle of the spikes to slide into the slot.

7. Tape spikes down from the outside and inside of the hat.

8. Using the X-Acto knife, make a small X on either side of the hat.

9. Place the ribbon or string in each hole and knot on the inside.

10. Decorate the hat more from here or leave as is for the perfect Dinosaur Party hat.

Do you have more ideas to make a party hat perfect?

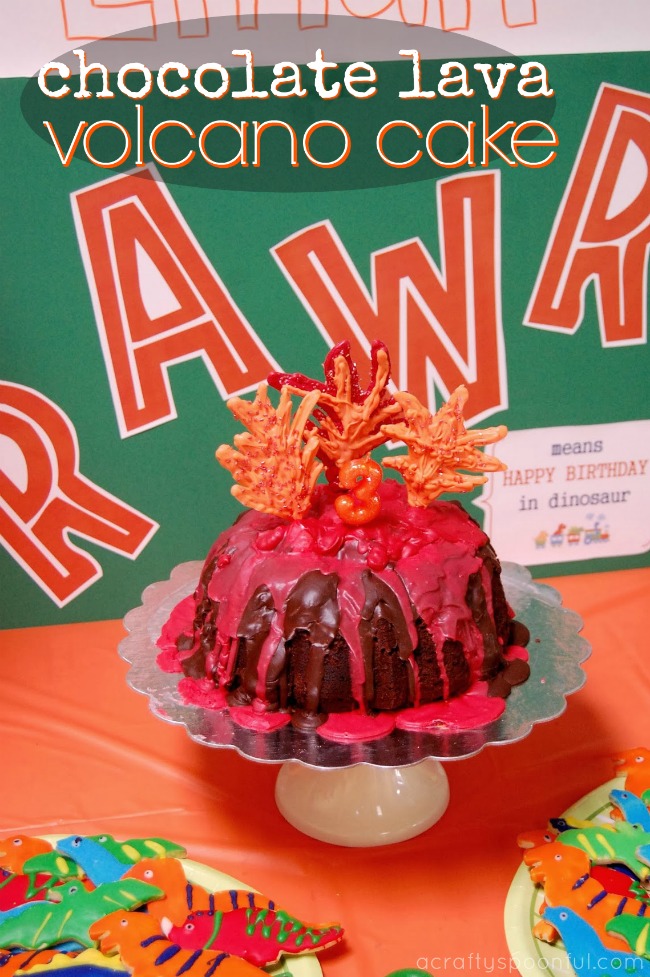
Love this idea? Here’s some more dino party inspiration: 

Pin this article for later! 

Click the Pin button on the image below to save for later. 


How to Make a Chocolate Lava Volcano Cake

This easy tutorial on how to make a chocolate lava volcano cake will help you create the perfect dino-themed cake.


As you know, my son is OBSESSED with Dinosaur Train. It’s pretty much the best TV show ever according to him. So when we were planning his Dinosaur Train party, we knew we had to have a volcano cake. 

Not only does this incorporate some of his favorite things (chocolate and volcanoes), it was the perfect centerpiece for our dessert table! Plus it was so easy to make. Just use our delicious devil’s food cake and bake up in a bundt pan then follow the instructions below. 

You’re a few steps away from your own chocolate lava volcano cake! 

Chocolate Lava Volcano Cake

Devil’s Food Cake

  • 2 1/3 cups all-purpose flour
  • 1 cup unsweetened cocoa powder, sifted
  • 1 1/2 tsp. baking powder
  • 1/2 tsp. baking soda
  • 1/2 tsp. salt
  • 12 tablespoons (1 1/2 sticks) unsalted butter, at room temperature
  • 2 cups firmly packed light brown sugar
  • 2 tsp. vanilla extract
  • 4 eggs, at room temperature 
  • 1 1/2 cups buttermilk, at room temperature

Preheat an oven to 350°F. Butter and sprinkle the pan with cocoa powder (make sure you get every nook and cranny).

In a large bowl, sift together the flour, cocoa powder, baking powder, baking soda, and salt; set aside.

In another large bowl, using an electric mixer beat the butter on medium speed until smooth. Gradually add the brown sugar and continue beating until fluffy. Beat in the vanilla. Add the eggs one at a time, beating well after each addition.

Reduce the speed to low and add the flour mixture in three additions, alternating with the buttermilk and beginning and ending with the flour, beating after each addition.

Divide the batter between the prepared liners. Bake until a toothpick inserted into the center of a cake comes out clean, 55 to 60 minutes. Transfer the cake and let cool for 15 minutes. Turn the cake out onto a wire rack and let cool completely before frosting and decorating.

Chocolate Glaze

  • 1/4 cup chocolate pieces, semisweet
  • 1 tablespoon butter or margarine
  • 1/2 cup powdered sugar
  • 1 1/2 tablespoons milk

In a small saucepan, melt chocolate with butter. Remove from heat and beat in powdered sugar adding milk gradually until mixture is a pourable consistency. Immediately pour onto cake once it’s done.

To Assemble the Cake

  • 1 cup large marshmallows
  • 1 bag red chocolate candy melts
  • 1 bag orange chocolate candy melts 
  • red and/or orange glitter sprinkles
  • 3 round lollipop sticks
  • piping bags or plastic bag

 Move the bundt cake onto a cake plate and fill the center with marshmallows. Top the marshmallows with chocolate glaze and allow glaze to drizzle over the sides of the cake.

Melt 1/2 of the red chocolates and pour over the chocolate glaze to create the lava. Allow to drizzle over the sides of the cake and make sure to coat the middle where the marshmallows are. Let set.

While the chocolate is setting melt remaining red chocolates. Line your counter with wax paper and tape it down. Set the three lollipop sticks down spaced apart. These will be the flames of your cake. You can either free-hand the flames or print out a template and put the template under your wax paper.

When the chocolate is melted pour or scoop it into a piping bag and cut off the tip. Draw your flames around the lollipop sticks and make sure to coat the stick well. Leave about an inch at the end to stick into your cake. Top chocolate with some sprinkles to make them pop while the chocolate is still melted. Repeat with the orange candy melts until you get the desired look you want for your flames.

Once the chocolate has set (I waited about 1/2 an hour) you can stick the flames into the middle of your cake. Ta-Da! A chocolate lava volcano cake worthy of any prehistoric party.   

Have you hosted a dino themed party? What was your favorite part? 

Love what you read? Find more great dino-themed ideas below: 

Pin this article for later! 

Click the Pin button on the image below to save for later. 


A Dinosaur Train Celebration {Birthday Party Ideas}

When my son mentioned having a Dinosaur Train themed party a few months back I was happy to start planning out all of the details. I searched through Google and Pinterest and even created a board of inspiration to go off of.

But I was surprised to find very little in the form of ideas and details. Most of the posts I came across linked back to the same two designs and I didn’t quite love them. So I decided to pick and choose design elements from various sources and pieced them together to form my son’s Dinosaur Train birthday.

The Cake

Any dinosaur themed birthday has to have a volcano cake. It’s a must. And my kid is kind of obsessed with any thing that explodes. We recently purchased a mini volcano set from Lakeshore Learning Center that allows you to add baking soda and vinegar to watch the volcano erupt over and over again. It’s one of the only toys that he asks repeatedly for every night when daddy gets home!

I had great visions of multi-tiered, fondant covered cakes with tunnels and trains but just couldn’t come up with the money and lacked the talent to make one myself.

So this easy-to-do volcano cake was my go-to. And boy did it give me trouble! The bundt cake stuck in the pan not once, but twice, the day before the party. But I just went with the flow and pieced the second failed cake together to create my final product.

To read more about the volcano cake check out my post here with recipe and design details.

The Cupcakes

In addition to the volcano cake, I also made cupckaes for the kids. They’re much easier to deal with when feeding 3 year olds and the kids love them for the frosting.

When I searched for ideas for cake toppers I knew my friend, Jeanna, over at the Sweets Fairy Bakeshop would know just what to do. She created these darling toothpick cupcake toppers with dinosaur train images on them and even created some decorative dinos and train fondant pieces to go along with the theme.

We placed the dinos and trains around the cupcakes and sprinkled the tray with the first bundt cake crumbs (way to reuse, right!?) to give the illusion of the cupcakes laying on dirt. Half of the cupcakes had the cute toothpick tags on them and half had whopper eggs on them to make dinosaur nests.

The recipe I used for the cupcakes is from Glorious Treats.

The Place Settings

Yes, I know it seems silly to have place settings for a kids birthday but I thought this added a special touch.

My husband’s aunt surprised my son on the morning of his birthday by dropping off some dinosaur cookies. These cookies were absolutely adorable so I asked if she wouldn’t mind making a few for his party too.

She packaged a few of them up for each kid and put them in a plastic bag with ribbon to make cute favors for the table. I also made some dinosaur and train paper hats for each of the kids as well and set them next to each plate, napkin and cookie.

To read more about how to make your own dinosaur party hats check out my post here.

The Food

In staying with the Dinosaur theme we created fun food names for each of the snacks we offered. Since the party started at 10am we stuck with a brunch menu. Here’s what our menu looked like:


Sweetivore Grub
Rip Apart Raptor Bread – Cinnamon Pull Apart Bread
Ceratops Cookies – sugar cookies
Cephalosaurus Cupcakes – vanilla cupcakes
Chocolate Lava Volcano Cake – devils food cake with chocolate frosting


Herbivore Grub
Brontosaurus Burritos – potato, egg & cheese, and bean, egg & cheese
Herbivore Delight – fresh fruit with fruit dip
Dinosaur Bones – pretzel sticks


Carnivore Grub
Brontosaurus Burritos – ham, egg & cheese, and bacon, egg & cheese

I was amazed at how much the kids (and adults) loved the breakfast burritos. They were seriously the easiest thing I’ve ever done besides ordering pizzas and pleased everyone. And since we live in So Cal everyone loves Mexican food! We also served some hot carrots and had salsa on hand. We also had Jurrasic Juice for the kids and coffee & tea for hte adults. Since the party was held at a place with a cafe there was no lack of caffeine.


Here are some photos of the grub: 

Herbivore Grub
Carnivore Grub

Paper Goods
For the food and drink labels I simply designed a template in Word that included the name of the food and the dinosaur train image. I played around with the fonts and downloaded a Jurrasic Park font from FontSpace.After playing around with the fonts, sizes and picture I decided to add a thick orange line around the wording and picture. After I printed the pages out I cut them to size and layered them with blue cardstock.

I did the same with the favor bag tags but used a different layout and orange and blue cardstock (without the orange line). I absolutely loved how the signs turned out. They were perfect for the party.
 Snacks
Jurassic Juice to drink
My son blowing out his number 3 candle

The Party Favors

We tried to include some fun goodies for the kids to take home in their favor bags. It all started with the wooden train whistles I found in the dollar section of Target. My son and I painted and personalized the whistles for each of his guests.

He had so much fun in the process and was so excited to give each bag to his friends (later at the party when he found out he didn’t get to hand them out he was a little upset but we remedied that by showing him all of the presents he received!).

Here’s what else we included in the favor bag:

All in all I’d consider this party a big success. I loved talking with my son about what he wanted to include and how he wanted to celebrate.

And seeing the joy in his face every time he talked about his “Dinosaur Train party at Kid Ventures” was more than enough reward for us. I’ll be posting more about my experience with KidVentures and their party packages soon!

I hope the guests had as much fun attending the party as we did throwing it!

Disclaimer: This post may contain affiliate links. By using these links you are supporting the Simmworks Family Blog.


© A Crafty Spoonful - All Rights Reserved
It is OK to use one of my photos provided a link back and/or proper credit is given. It is NOT ok to copy and paste a whole post including instructions. Please do not remove watermarks or alter images in any way. Please contact me with any questions at danielle@acraftyspoonful.com

.