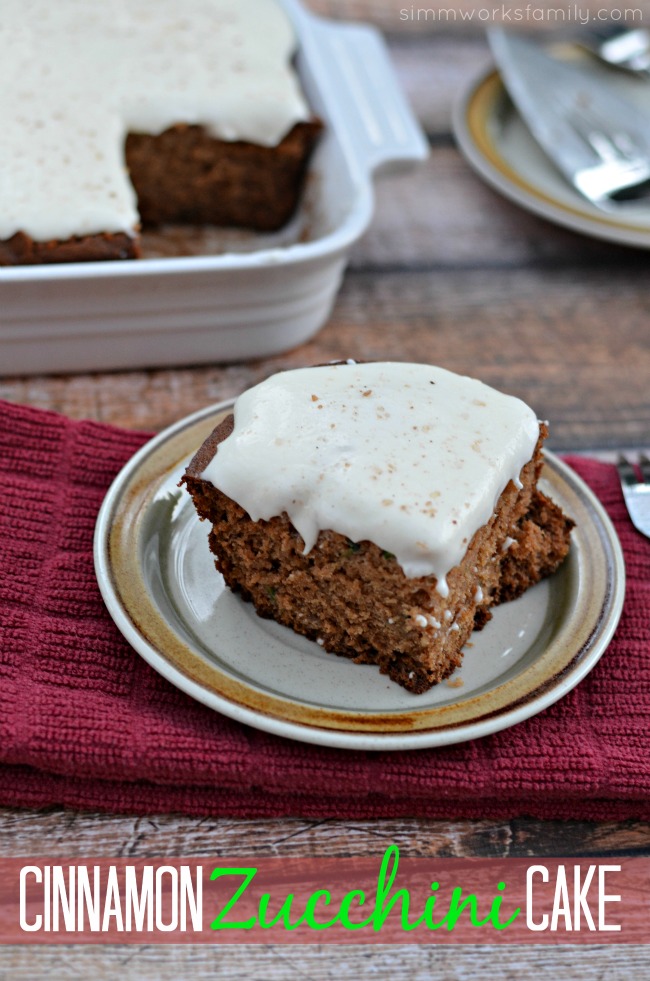
Cinnamon Zucchini Cake

Cinnamon Zucchini Cake
Getting creative with what we harvest from our garden has never been too tough. There are so many ways to make veggies delicious and fun. This time isn’t any different. I had the kids help me cut up the zucchini and shred it in our food processor. They love getting involved in the kitchen and are even more apt to try things that they make. Even when it’s zucchini. 
 
Since it’s almost the end of the summer and I really didn’t think I’d still be growing zucchini out of my ears, we’re making the best of it and even incorporating veggies in our baking. And these zucchini aren’t the little dinky zucchini you find in the grocery store. They’re huge!! So huge that one would probably make enought for 3-4 times this recipe easily. But we don’t need that many baked goods in our home right now.
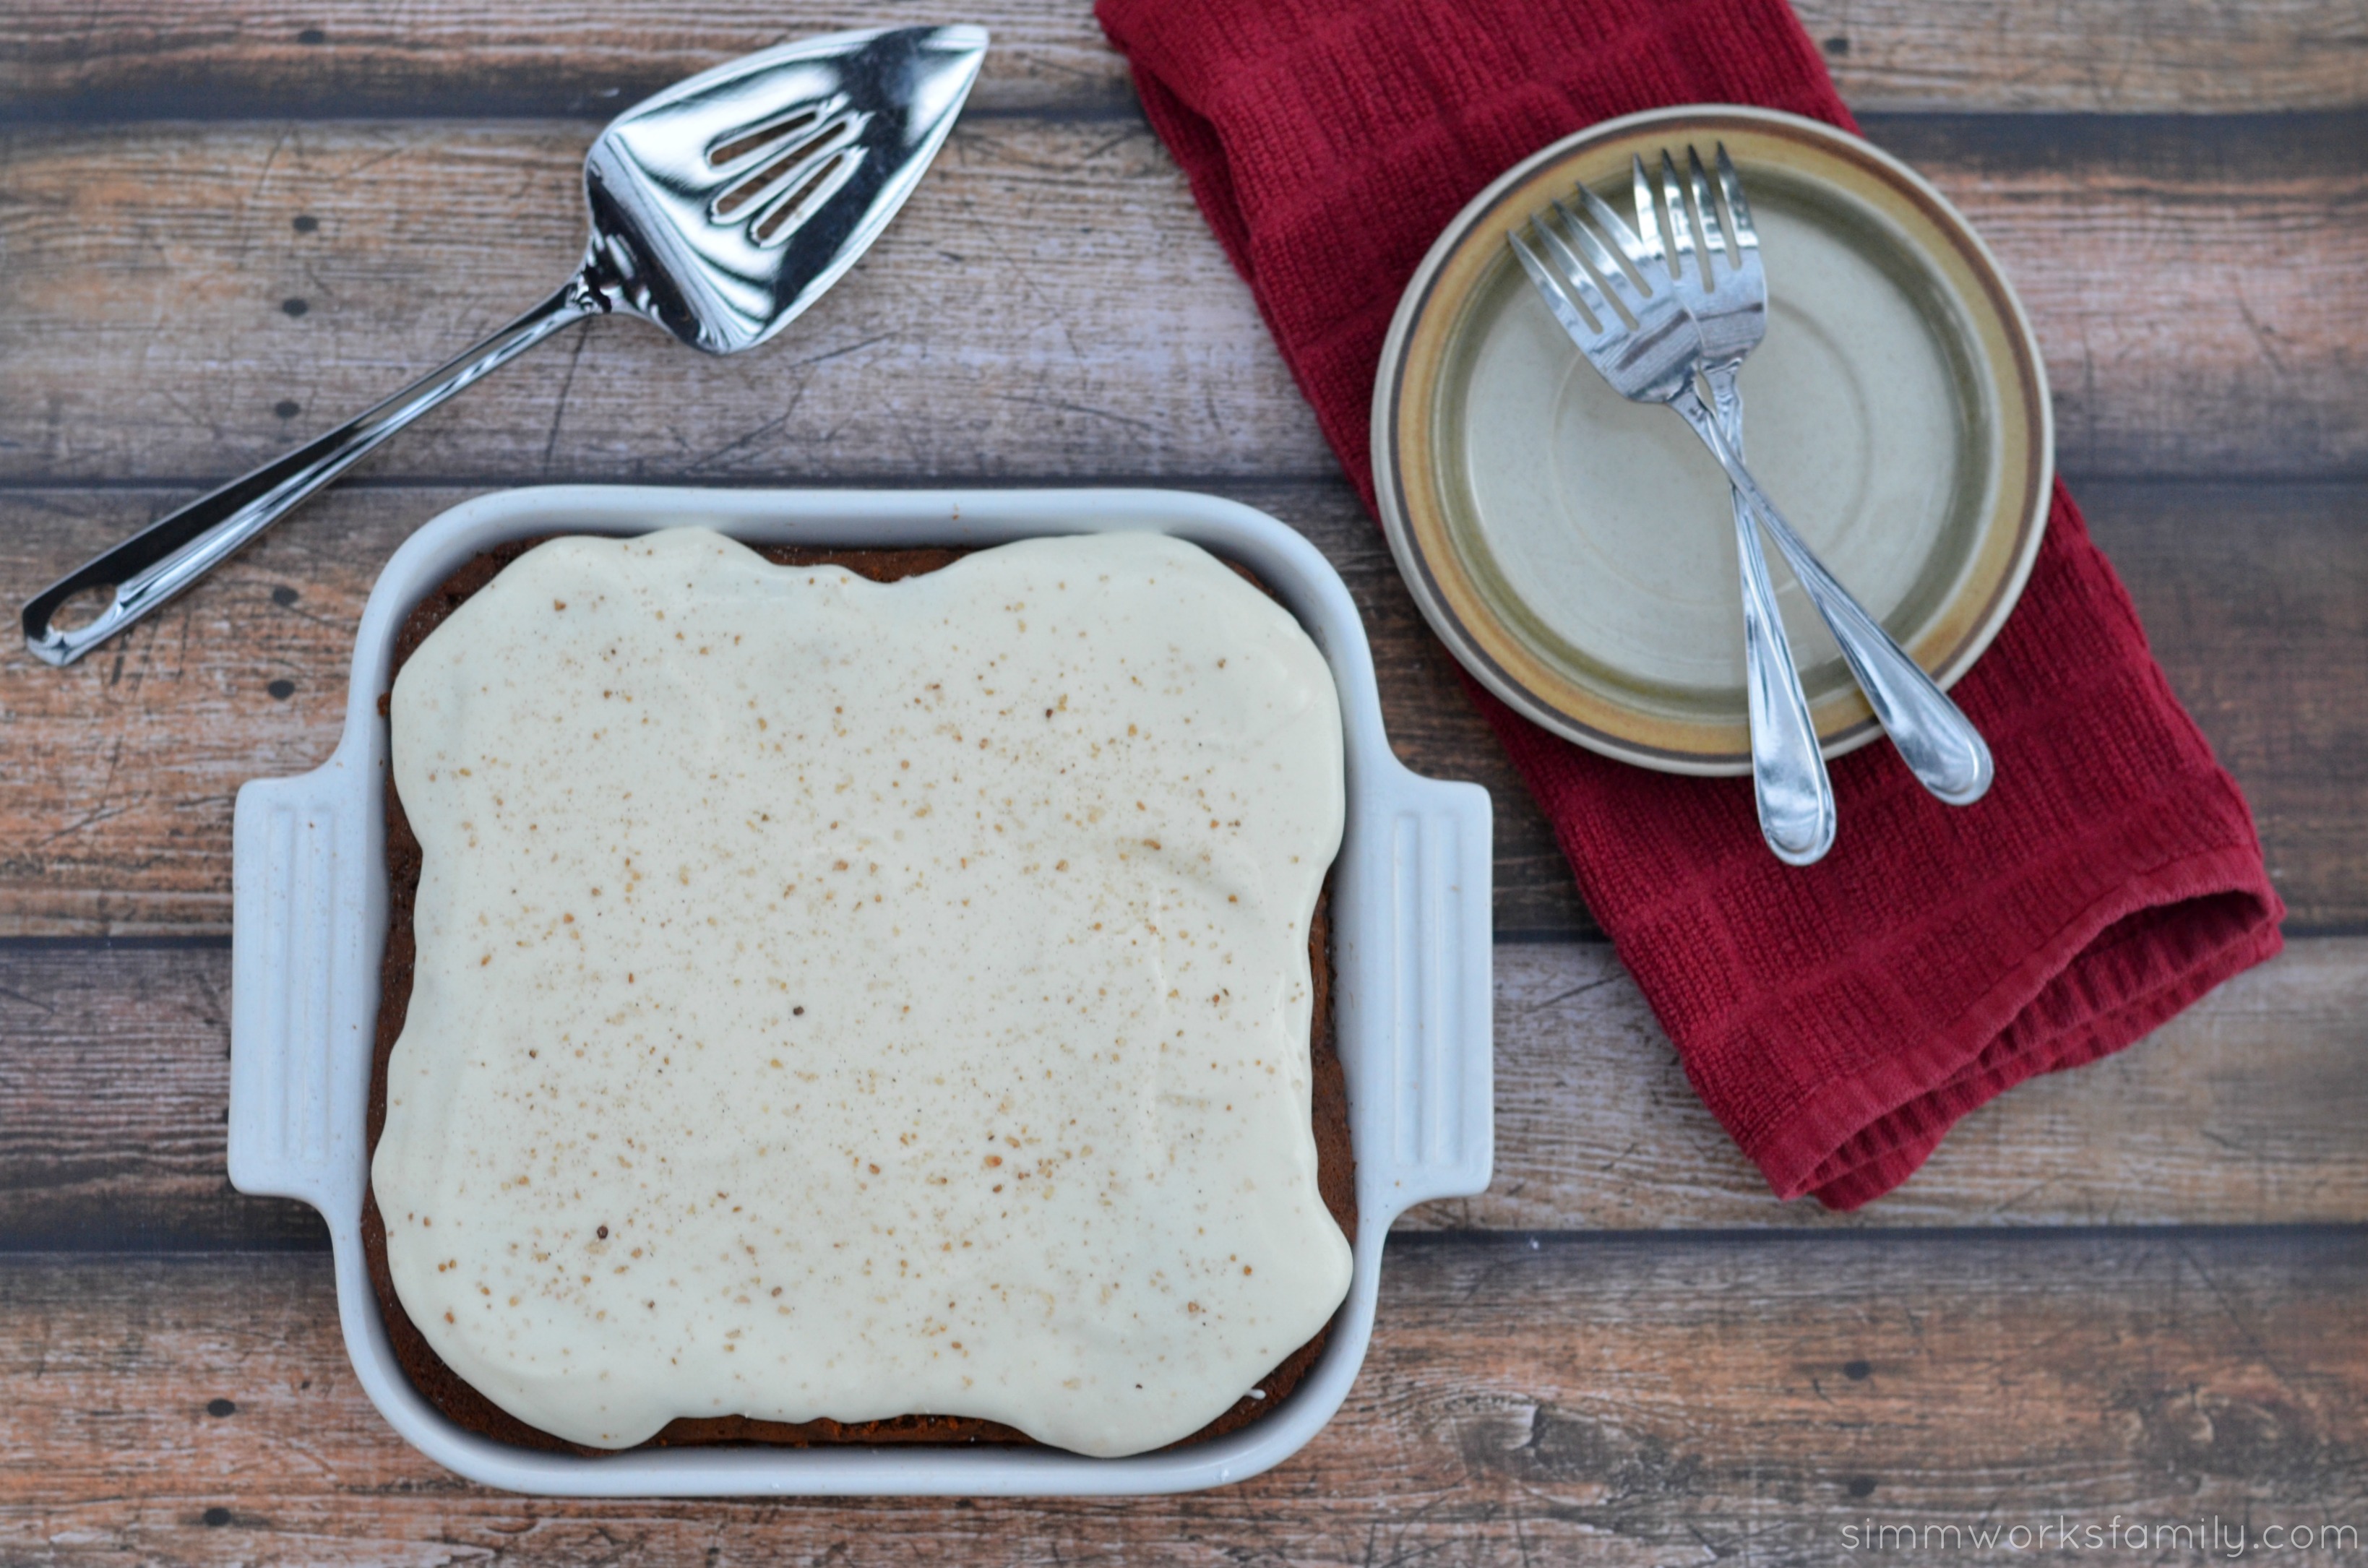
This cake is moist, slightly sweet but not too sweet, and amazingly delicious. It’s perfect for an afternoon snack without the icing but adding the icing takes it to dessert level. And it pairs perfectly with a scoop of vanilla ice cream.
Cinnamon Zucchini Cake with Frosting

Cinnamon Zucchini Cake

Cake
  • 3 eggs
  • ½ cup coconut oil
  • ½ cup cinnamon applesauce
  • ¾ cup white sugar
  • ¾ cup brown sugar
  • 2 teaspoons vanilla
  • 2½ cups all-purpose flour
  • ¼ teaspoon baking powder
  • 2 teaspoons baking soda
  • 1½ teaspoons cinnamon
  • ½ teaspoon nutmeg
  • 1 teaspoon salt
  • 2 cups shredded zucchini
Frosting:
  • 1/2 cup butter, softened
  • 3 cups powdered sugar
  • 1 teaspoon vanilla

Preheat oven to 350 degrees. Spray a 9×9″ baking pan* with non-stick cooking spray (we like coconut cooking spray).

Beat eggs, coconut oil, cinnamon applesauce, white sugar, brown sugar, and vanilla together in a large mixing bowl.

In a medium bowl, mix flour, baking powder, baking soda, cinnamon, salt, and nutmeg. Mix 1 cup flour mixture into egg mixture until combined. Repeat using one cup at a time until all of the flour mixture is used.

Fold in zucchini and stir until completely mixed in. Pour batter into prepared 9×9″ pan. Bake for 55-60 minutes or until toothpick inserted into the center comes out clean.

While the cake cools, mix together frosting ingredients and spread over the top of the cake. If desired, sprinkle the top of the cake with cinnamon and sugar. I love the cinnamon sugar grinder from Trader Joe’s for this!

*If using a 9″x13″ pan, bake for 35-40 minutes. If making into 24 cupcakes, bake for 25-30 minutes or until golden brown and toothpick comes out clean.
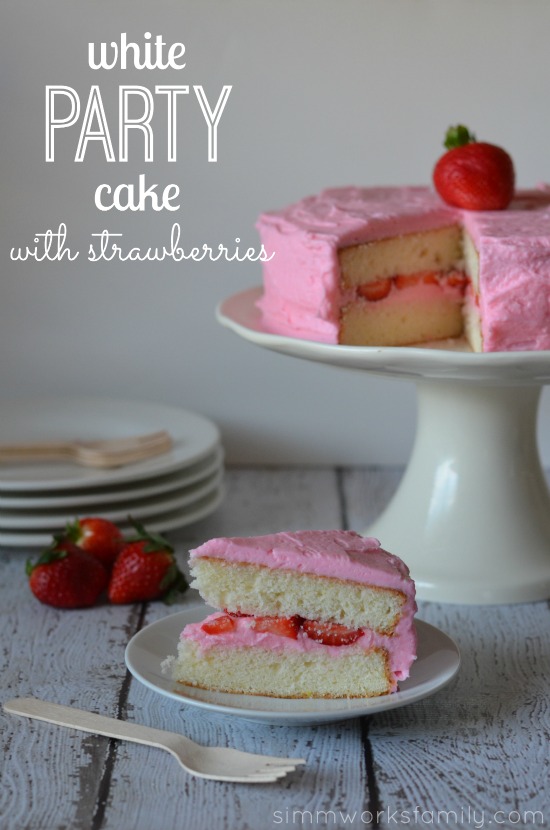
White Party Cake with Strawberries Recipe + Baking Tips

Tracking Pixel

This is a sponsored post written by me on behalf of PAM Cooking Spray.

white party cake with strawberries

My baby is turning 3 tomorrow. 3 years old! How did that happen? In celebration of her birthday we baked together and made her a delicious white party cake with pink strawberry frosting. It’s a trial run for the cake I’m making for her party on Sunday and I think it’s a winner!

Every year I bake my kids a cake or cupcakes for their birthday party. We end up having both cake and cupcakes but I try and make one of them. And without fail I’m baking the night before the party and always have to re-do everything because my cakes stuck to the pan. Well not this year. I busted out my secret weapon: Baking PAM Cooking Spray. Not only is it the perfect non-stick spray, it also has flour in it so my baked goods come out perfectly every time.

The kids are slightly disappointed because they don’t get to eat up all of the cake crumbles from the broken cakes that I’ve just about ruined. But I’m happy because a cake that slides right out of the pan means less work and stress for me!

[Read more…]

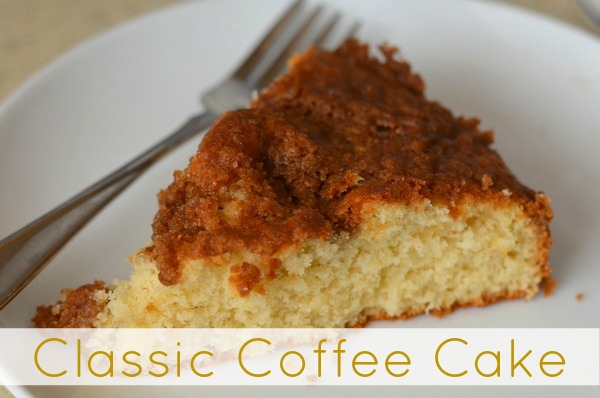
Classic Coffee Cake Recipe

Classic Coffee Cake Recipe

Classic Coffee Cake Recipe

Sometimes I just have a hankering for something sweet. But not too sweet. This classic coffee cake is the perfect solution! And it’s wonderful for any time of the day.

I love pairing it with my new International Delight Light Iced Coffee in the afternoon for a tasty treat. I’ve also subbed the vanilla light iced coffee in the recipe! But it also tastes wonderful in the morning with a nice hot cup of coffee or tea. The best part? It takes very little time to make.

If you need a great dish to bring in for a potluck, to surprise a friend, or to simply have on hand as a quick breakfast option, I highly suggest trying this classic coffee cake recipe!

Classic Coffee Cake Recipe

Recipe Type: Breakfast
Ingredients
  • 1 cup sifted all-purpose flour (sift before measuring)
  • 1/2 cup sifted whole wheat flour
  • 2 1/2 teaspoons baking powder
  • 1/2 teaspoon salt
  • 1 egg, beaten
  • 3/4 cup sugar
  • 1/3 cup melted butter
  • 1/2 cup milk or International Delight Vanilla Light Iced Coffee
  • 1 teaspoon vanilla extract
  • For the Topping:
  • 1/2 cup brown sugar
  • 1/4 cup sifted all-purpose flour (sift before measuring)
  • 1/4 cup butter, room temperature
  • 1 teaspoon cinnamon
  • 1/2 teaspoon nutmeg
Instructions
  1. In small mixing bowl, combine topping ingredients. Blend with fork until crumbly. Set aside.
  2. Sift sifted flour with baking powder and salt into a bowl. In a medium bowl, beat together beaten egg and 3/4 cup sugar and 1/3 cup melted butter. Add milk and vanilla. Stir in flour mixture and mix well.
  3. Pour batter into a greased and floured 8-inch square or 9-inch layer-cake pan. Sprinkle topping crumb mixture evenly over batter.
  4. Bake at 375° for 25 to 30 minutes, or until cake tests done. Partially cool in pan on wire rack. Cut coffee cake into squares or wedges while still warm.


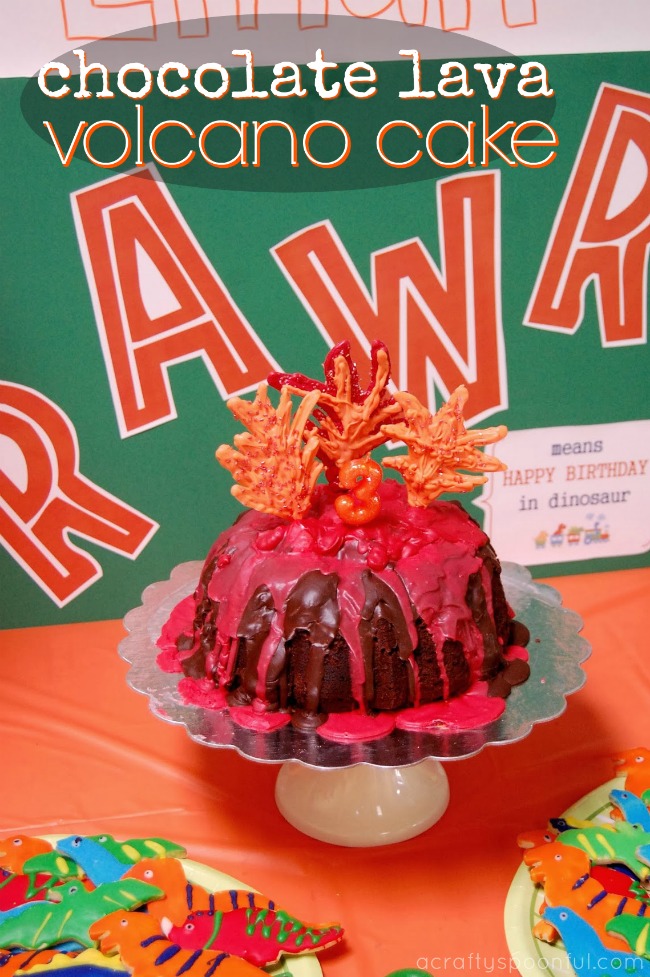
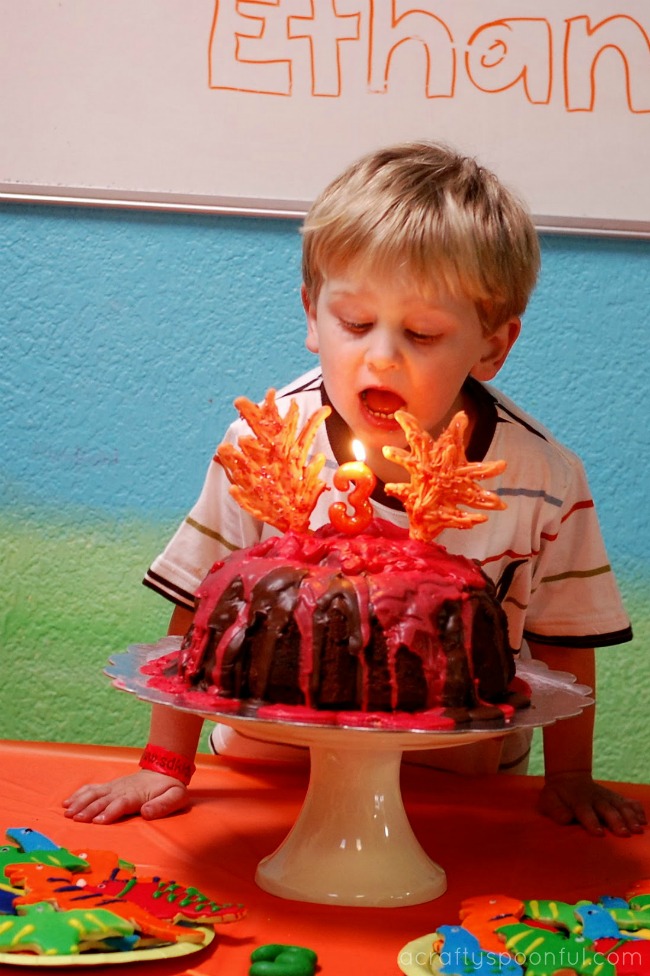
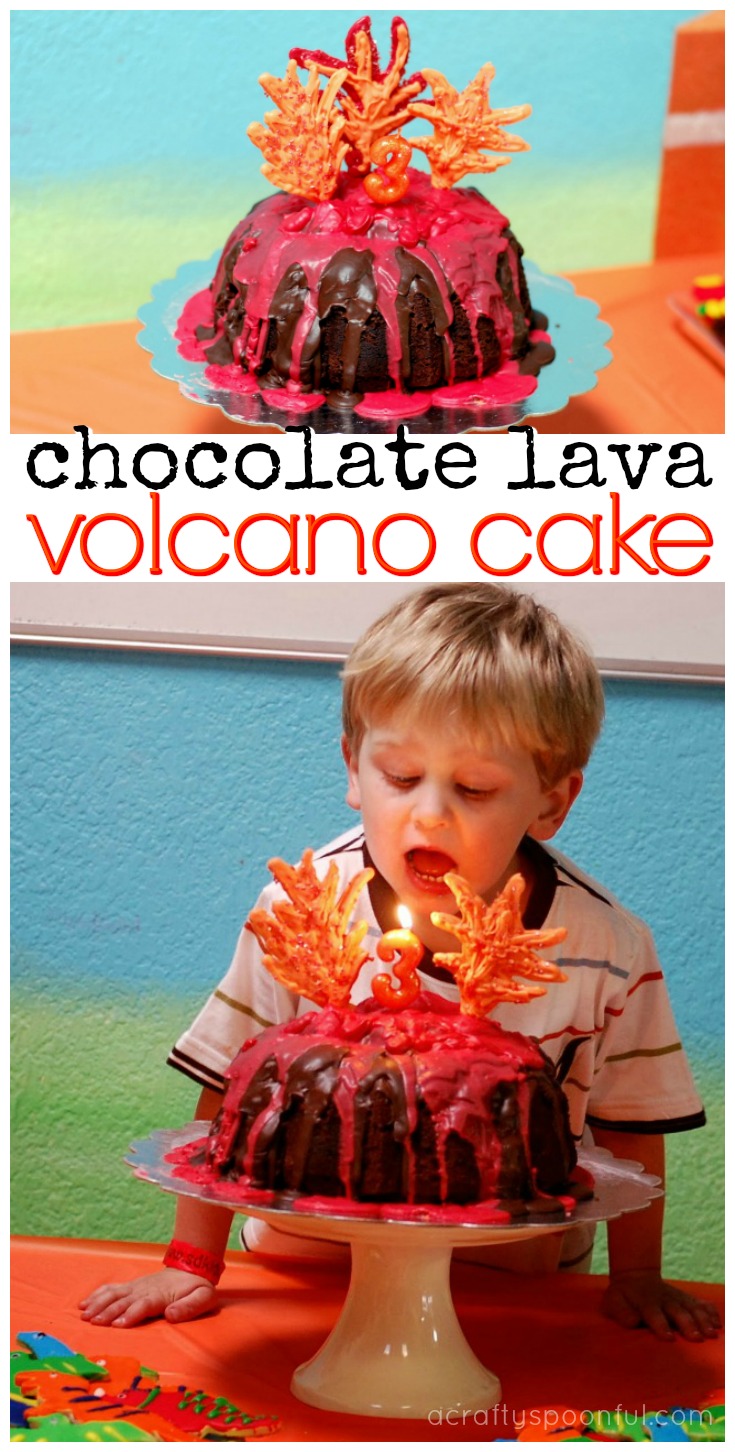
How to Make a Chocolate Lava Volcano Cake

This easy tutorial on how to make a chocolate lava volcano cake will help you create the perfect dino-themed cake.


As you know, my son is OBSESSED with Dinosaur Train. It’s pretty much the best TV show ever according to him. So when we were planning his Dinosaur Train party, we knew we had to have a volcano cake. 

Not only does this incorporate some of his favorite things (chocolate and volcanoes), it was the perfect centerpiece for our dessert table! Plus it was so easy to make. Just use our delicious devil’s food cake and bake up in a bundt pan then follow the instructions below. 

You’re a few steps away from your own chocolate lava volcano cake! 

Chocolate Lava Volcano Cake

Devil’s Food Cake

  • 2 1/3 cups all-purpose flour
  • 1 cup unsweetened cocoa powder, sifted
  • 1 1/2 tsp. baking powder
  • 1/2 tsp. baking soda
  • 1/2 tsp. salt
  • 12 tablespoons (1 1/2 sticks) unsalted butter, at room temperature
  • 2 cups firmly packed light brown sugar
  • 2 tsp. vanilla extract
  • 4 eggs, at room temperature 
  • 1 1/2 cups buttermilk, at room temperature

Preheat an oven to 350°F. Butter and sprinkle the pan with cocoa powder (make sure you get every nook and cranny).

In a large bowl, sift together the flour, cocoa powder, baking powder, baking soda, and salt; set aside.

In another large bowl, using an electric mixer beat the butter on medium speed until smooth. Gradually add the brown sugar and continue beating until fluffy. Beat in the vanilla. Add the eggs one at a time, beating well after each addition.

Reduce the speed to low and add the flour mixture in three additions, alternating with the buttermilk and beginning and ending with the flour, beating after each addition.

Divide the batter between the prepared liners. Bake until a toothpick inserted into the center of a cake comes out clean, 55 to 60 minutes. Transfer the cake and let cool for 15 minutes. Turn the cake out onto a wire rack and let cool completely before frosting and decorating.

Chocolate Glaze

  • 1/4 cup chocolate pieces, semisweet
  • 1 tablespoon butter or margarine
  • 1/2 cup powdered sugar
  • 1 1/2 tablespoons milk

In a small saucepan, melt chocolate with butter. Remove from heat and beat in powdered sugar adding milk gradually until mixture is a pourable consistency. Immediately pour onto cake once it’s done.

To Assemble the Cake

  • 1 cup large marshmallows
  • 1 bag red chocolate candy melts
  • 1 bag orange chocolate candy melts 
  • red and/or orange glitter sprinkles
  • 3 round lollipop sticks
  • piping bags or plastic bag

 Move the bundt cake onto a cake plate and fill the center with marshmallows. Top the marshmallows with chocolate glaze and allow glaze to drizzle over the sides of the cake.

Melt 1/2 of the red chocolates and pour over the chocolate glaze to create the lava. Allow to drizzle over the sides of the cake and make sure to coat the middle where the marshmallows are. Let set.

While the chocolate is setting melt remaining red chocolates. Line your counter with wax paper and tape it down. Set the three lollipop sticks down spaced apart. These will be the flames of your cake. You can either free-hand the flames or print out a template and put the template under your wax paper.

When the chocolate is melted pour or scoop it into a piping bag and cut off the tip. Draw your flames around the lollipop sticks and make sure to coat the stick well. Leave about an inch at the end to stick into your cake. Top chocolate with some sprinkles to make them pop while the chocolate is still melted. Repeat with the orange candy melts until you get the desired look you want for your flames.

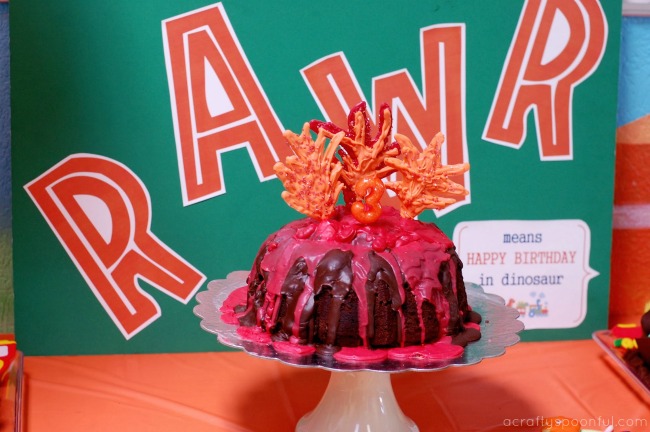
Once the chocolate has set (I waited about 1/2 an hour) you can stick the flames into the middle of your cake. Ta-Da! A chocolate lava volcano cake worthy of any prehistoric party.   

Have you hosted a dino themed party? What was your favorite part? 

Love what you read? Find more great dino-themed ideas below: 

Pin this article for later! 

Click the Pin button on the image below to save for later. 


© A Crafty Spoonful - All Rights Reserved
It is OK to use one of my photos provided a link back and/or proper credit is given. It is NOT ok to copy and paste a whole post including instructions. Please do not remove watermarks or alter images in any way. Please contact me with any questions at danielle@acraftyspoonful.com

.