The first day of school can be brimming with anticipation and excitement. Both for our kids and ourselves. With a new school year here, we want to capture as many back to school memories as possible. Especially when we can highlight these milestones through photos and traditions.
There are a few ways to create and preserve the memories of the first day of school.
Here are a few of our favorites:
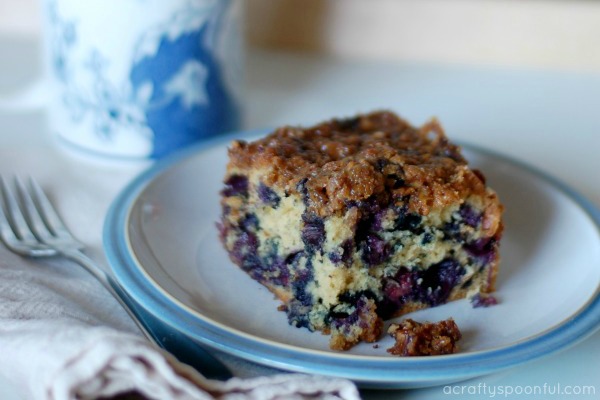
Special First Day of School Breakfast
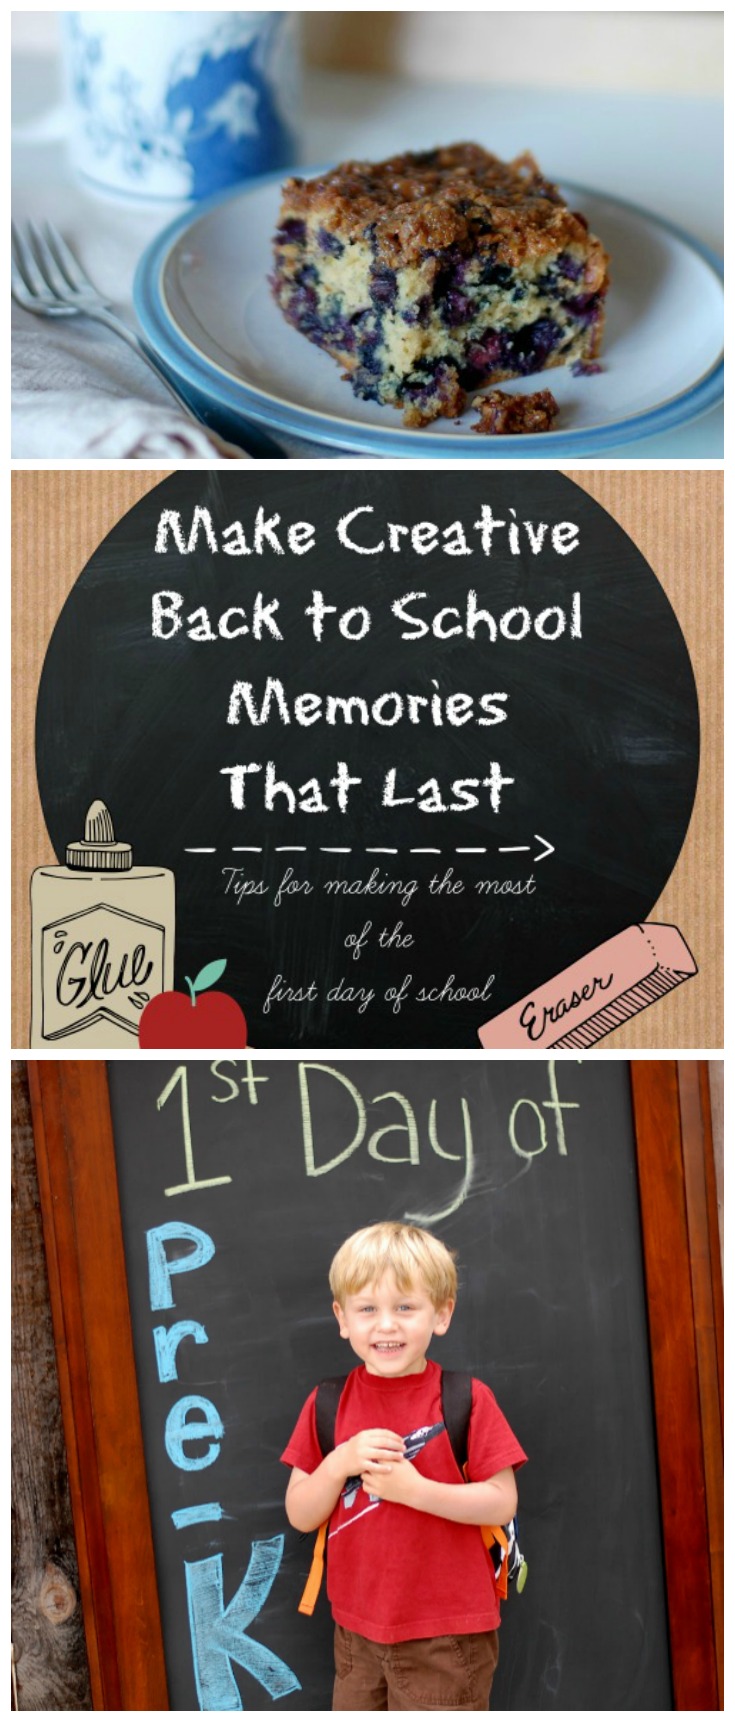
Fix a special breakfast of your child’s favorite pancakes or some delicious french toast. Try making a batch of delicious homemade cinnamon rolls lfrom the Frugal Greenish Mama or a delicious blueberry coffee cake. Or let them decide what they want to have the night before. No matter what, don’t send them off without a full tummy.
While they’re chowing down, leave a note or two for your child in their backpack or jacket pocket to let them know that they’re awesome and you’re thinking of them on their first day.
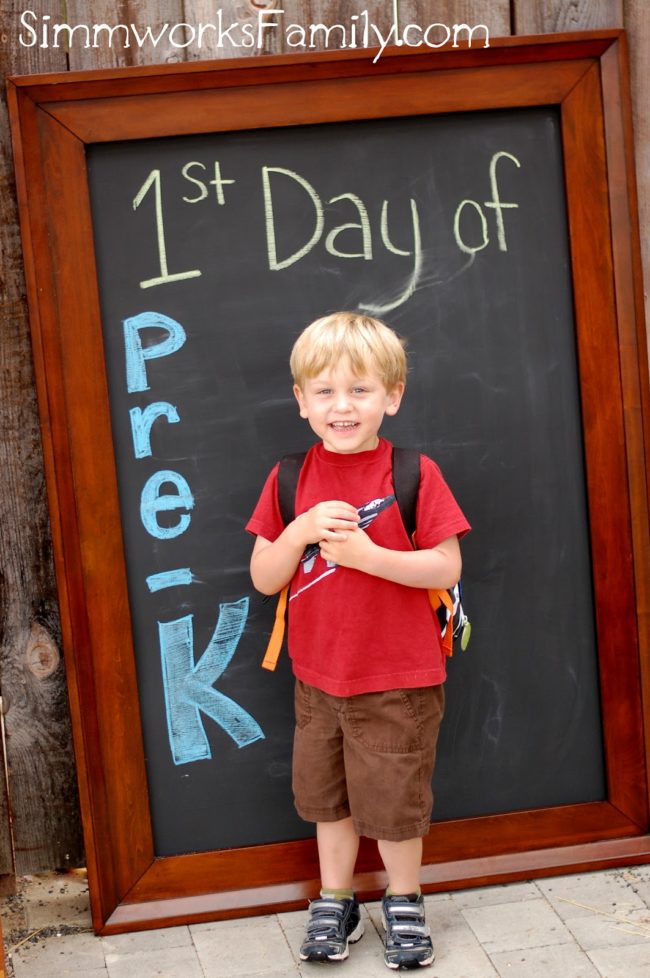
Back to School Photo Shoot
Before you leave for school snap a few photos. You can be creative and use a chalkboard to write what grade your child is going to.
I’ve turned my large chalkboard (tutorial can be found here) into a first day of school tradition. Every year I can take a photo of my children on the first day of school, and then a photo on the last day of school to store these perfect memories forever.
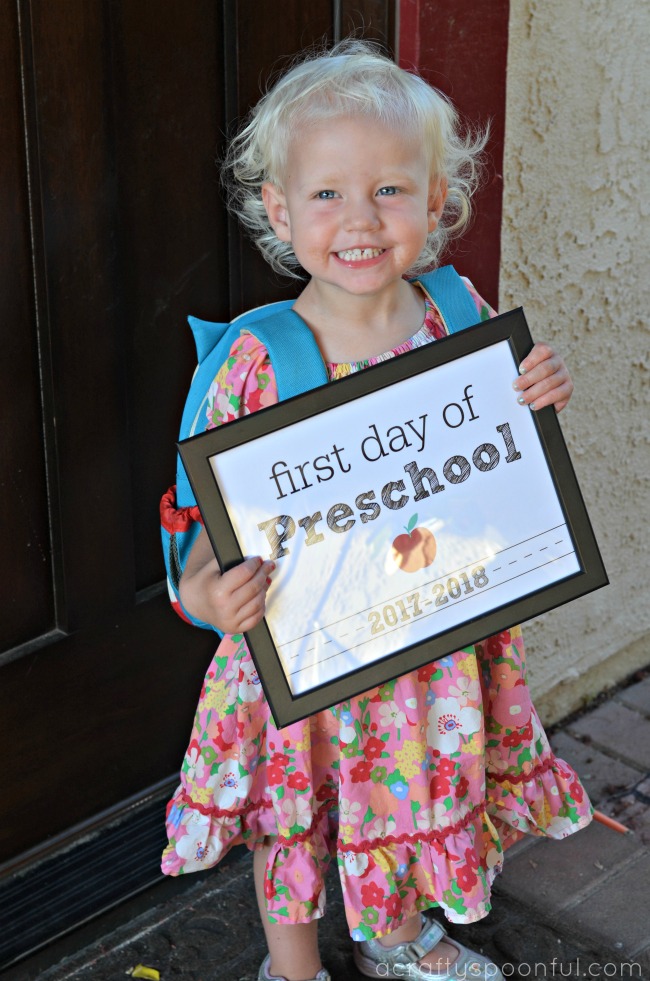
Or simply print out a piece of paper with the grade and date on it. There are a few great templates out there to download including this one we use every year – we’ve even included a PicMonkey tutorial in case you would like to make your own)
Make sure to have a repeat photo session on the last day of school as well so that you can look back on how much your child has grown over the school year.
First Day of School Questionnaire
Ask your child a series of the same questions every year when they get home from their first day. Add a photo and look back on the answers with your children at the end of the school year.
Some questions to ask:
- When I grow up I want to be a ______________.
- My favorite color is ______________.
- My teacher’s name is ______________.
- I learned about ______________ on my first day.
- My favorite part about my first day was ______________.
- My friends are ______________.
- I’m looking forward to doing ______________ tomorrow.
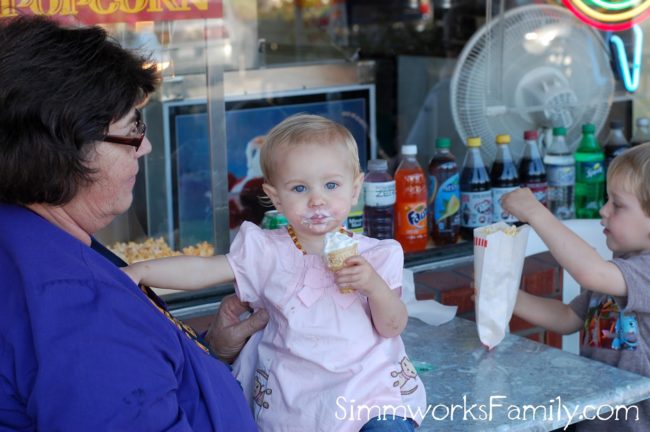
After the First Day of School Treat
When you pick the kids up from school on their first day, make it special by taking them to the local ice cream parlor or fro-yo shop for a special treat.
You can talk about their first day, fill out your questionnaire, and talk about what the rest of the year (or maybe just the week) has in store for them. Be involved, be excited for them, and make sure they know you’re there to share in the excitement of the new year.
How do you celebrate the first day of school?
This post was originally published on August 29th, 2012
Like this post? Read more!
- 5 Back to School Tips for Kindergarten
- Top Tips for Back to School Prep
- Back to School Teacher Appreciation Gifts
Pin this article for later!
Click the Pin button on the image below to save for later.


