Tissue Paper Jack-O-Lantern Preschool Craft

Tissue Paper Jack-O-Lantern

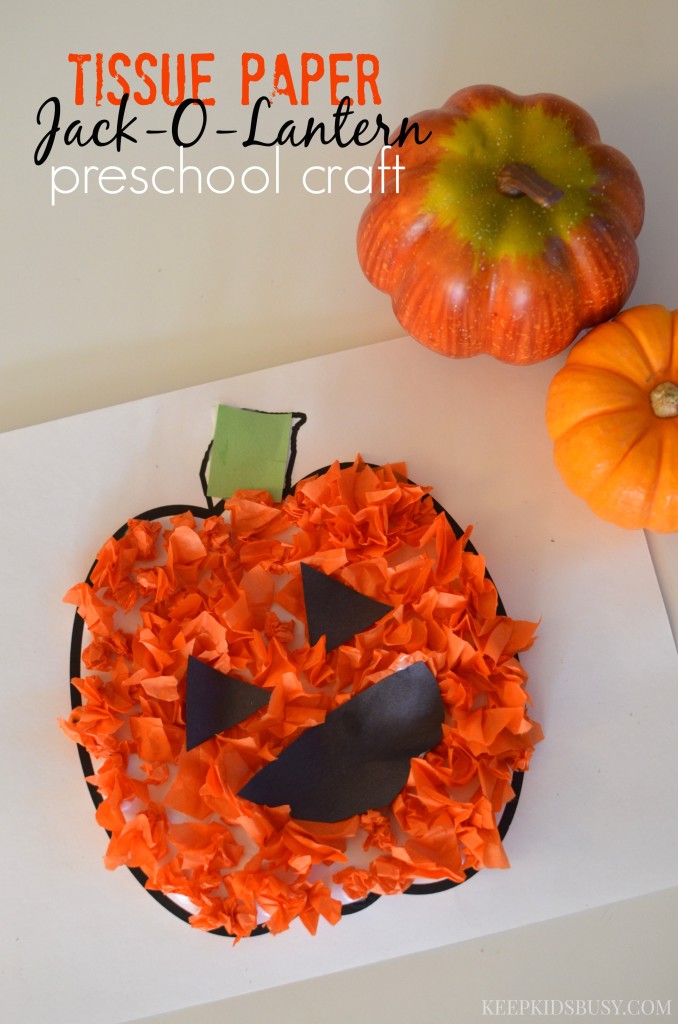
With Halloween right around the corner, these tissue paper jack-o-lanterns are a fun and easy project to do with any preschooler. It combines quite a few different skills including cutting, staying in the lines, and gluing the paper down.

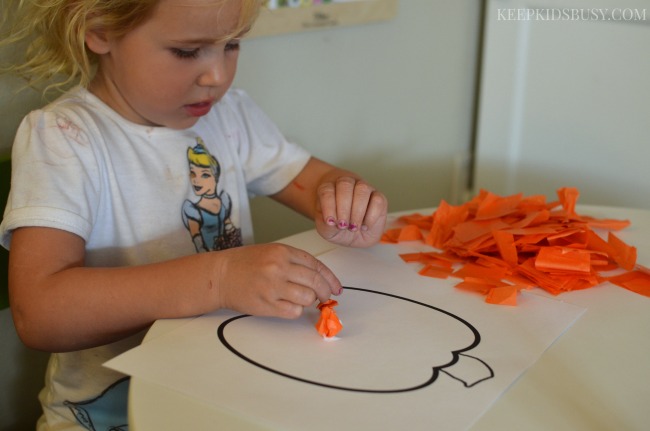
This craft is very similar to the paper plate pumpkin we made. We’ve been working on fine motor skills and the steps taken to make this craft definitely helped her practice those skills. Plus, the kids love crafting with glue!
 

TISSUE PAPER JACK-O-LANTERN

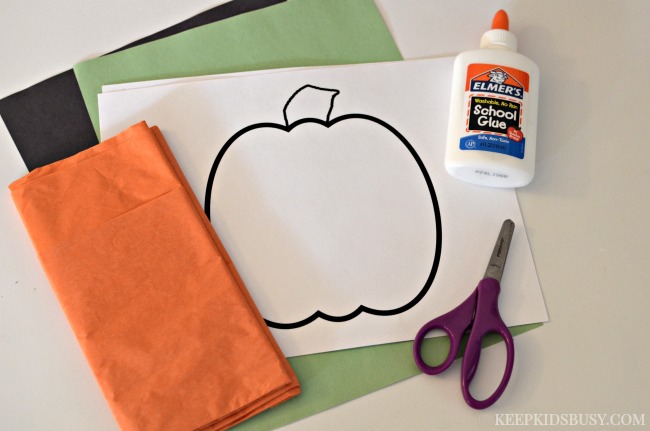
What you’ll need: 

  • Pumpkin template
  • orange tissue paper
  • 1 sheet black paper
  • 1 sheet green paper (or a scrap)
  • scissors
  • glue

WHAT YOU DO:

1. Cut one piece of tissue paper into 1″ squares. Set aside.

2. Grab the glue and squeeze little dots a few at a time in clusters.

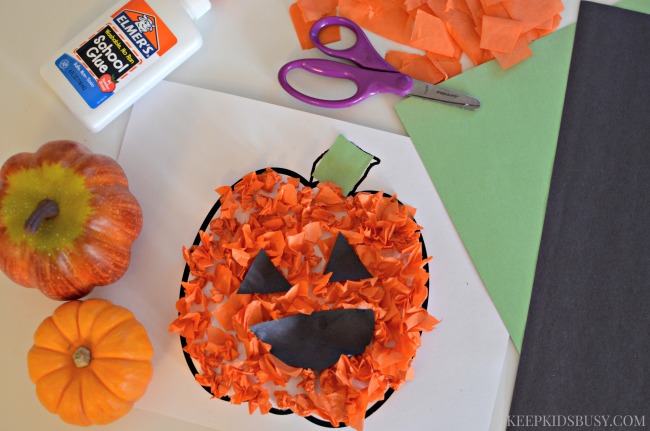
3. Ball up tissue paper and place on a glue dot. Repeat steps 2 and 3 until whole pumpkin is covered with orange tissue paper.

4. Cut out eyes and a mouth for the jack-o-lantern out of black paper and glue to top of pumpkin to create your jack-o-lantern.

5. Cut out a stem for the jack-o-lantern out of the green paper and glue on.
Tissue Paper Jack-O-Lantern Preschool Craft

My daughter had a blast with this craft and loved practicing her cutting skills, gluing the paper in the lines, and learning what the difference between a pumpkin and a jack-o-lantern are.

She’s already asking what her next craft will be. I guess I better start brainstorming!
HOW DO YOU WORK ON FINE MOTOR SKILLS?

Getting Crafty in the Garden: Painting Rocks for Garden Markers

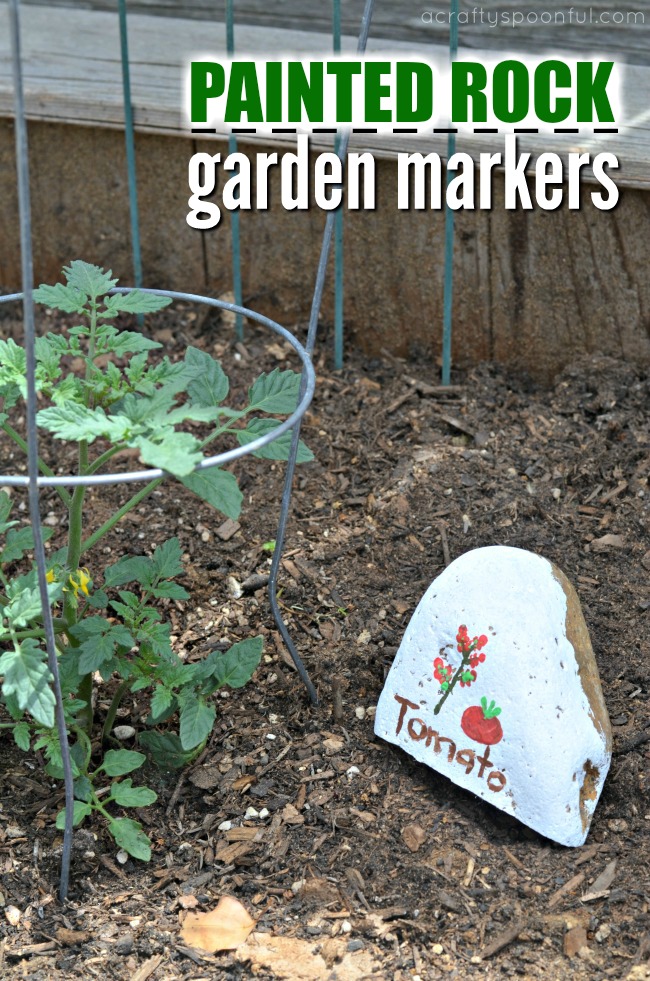
Kids helping in the garden this Spring? Why not use these painted rocks for garden markers! This craft is super easy to make and you can just use supplies you have around the house.


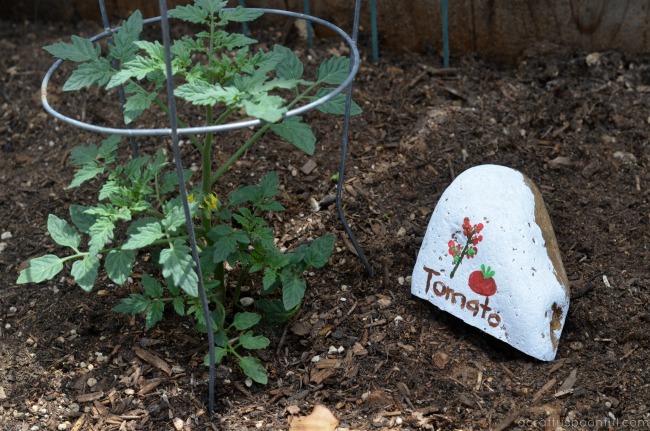
One thing I love about this time of year is all of the green and new growth sprouting about everywhere! And that means that our garden goes from sad and lackluster to full of life within a few short weeks. With that new life comes a bit of confusion for the kids with what plant is growing what type of fruit, herb, or vegetable. So we had a little fun and used painted rocks for garden markers to distinguish each plant from one another. 

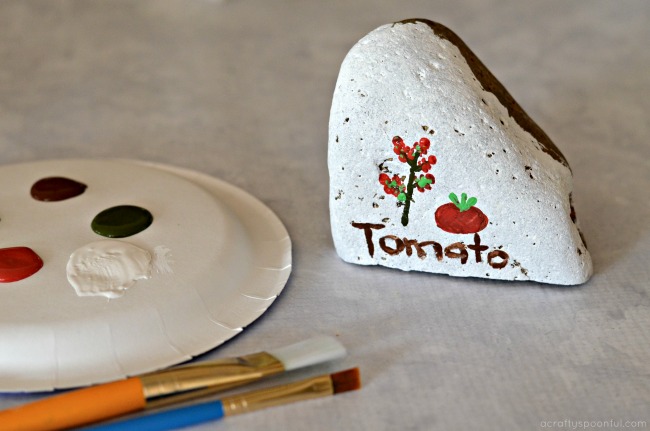
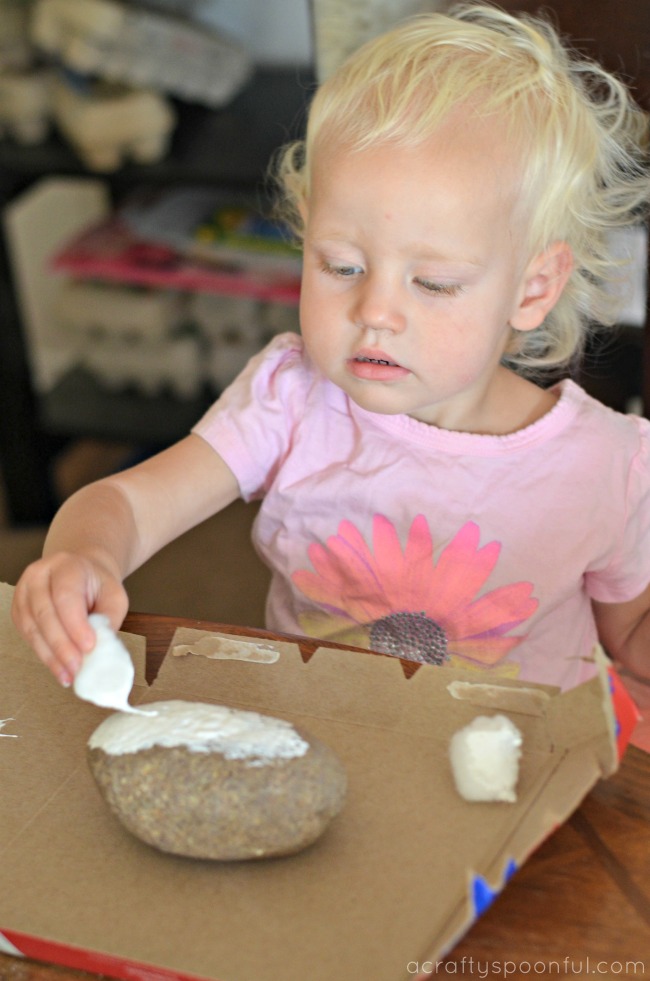
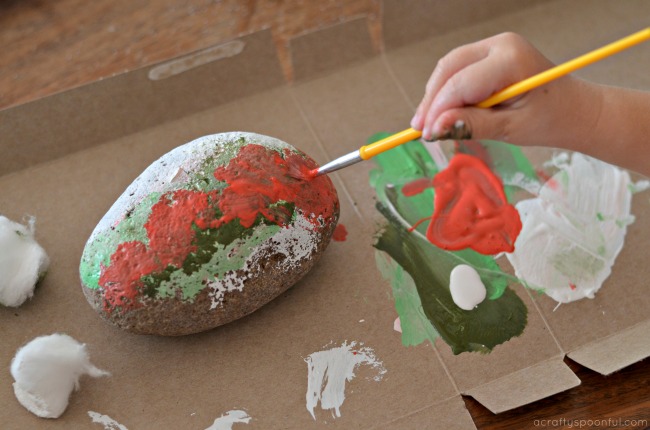
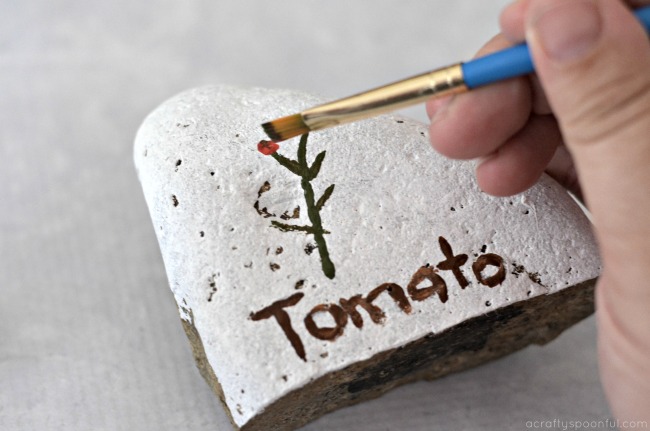
Now there’s no real huge planning that goes into these painted rock garden markers. We simply used a base color that would make our illustrations stand out, and I let the kids paint each of the plants that we were growing. They had fun choosing the colors and making different types of veggies and herbs on their rocks. 

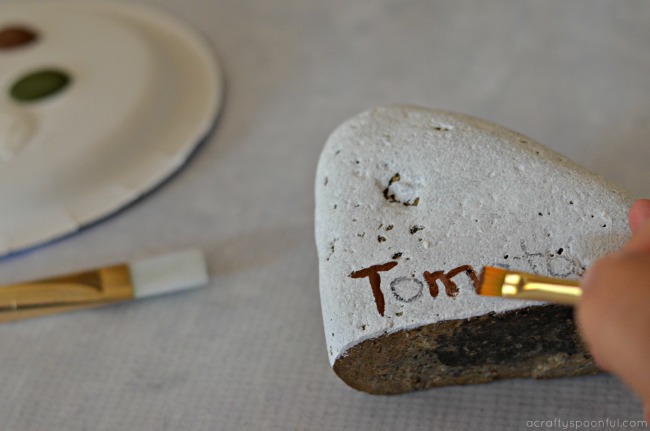
I think the most fun was when they tried to trace my penciled in names with paint to make each name stand out a bit more. The concentration my littlest had in her eyes (and brow) was quite humorous. 

If you’re planning out your spring garden, or are already growing, these are a great addition to share with kids and guests alike what you’re growing this season. Here’s how to make these painted rocks for garden markers: 

Painted Rocks for Garden Markers

What you’ll need: 

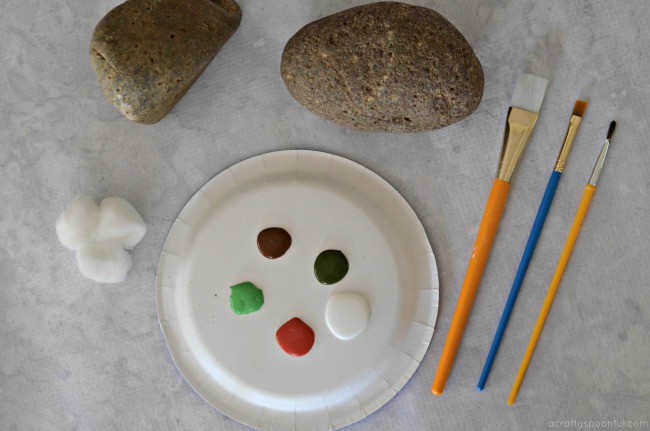
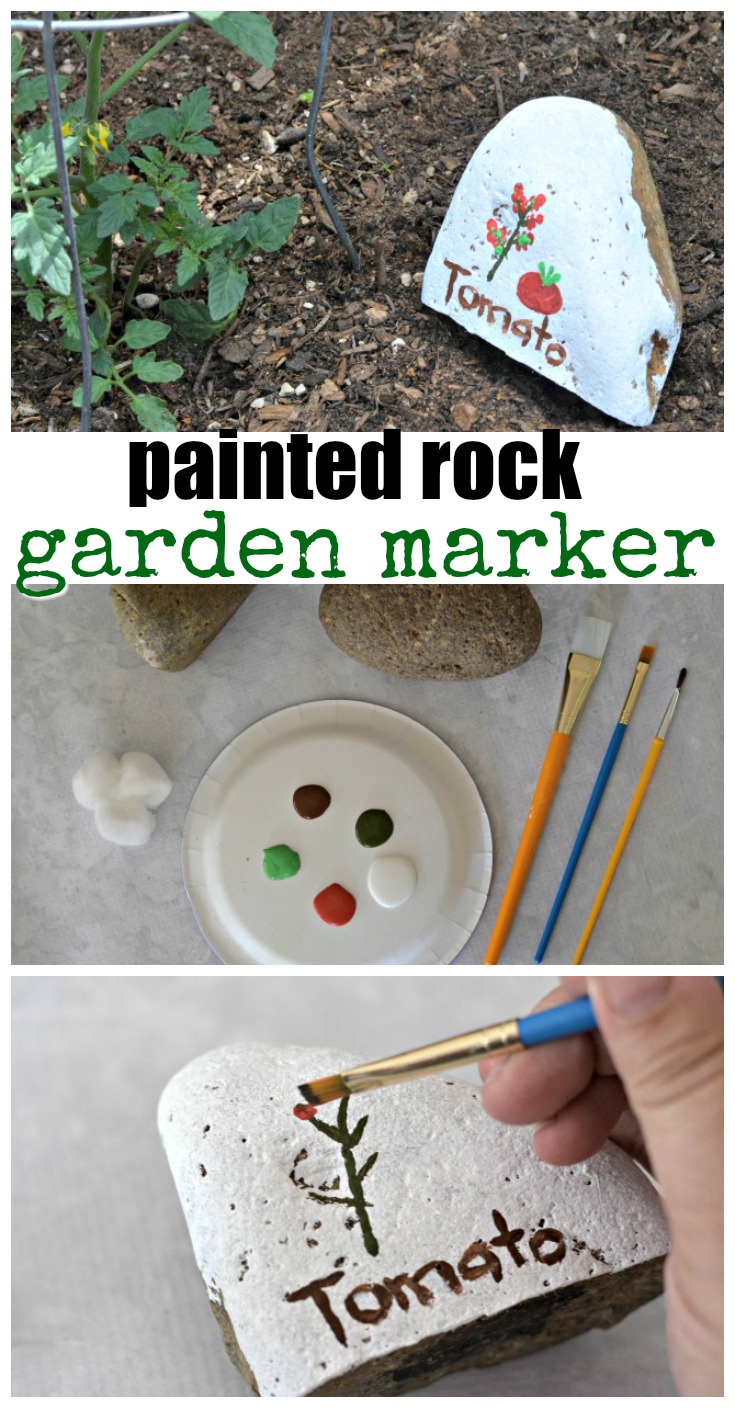
  • good sized rocks
  • paint in a variety of colors based on what you’re growing
  • a variety of brush types, cotton balls, and/or cotton swabs

What you do: 

1. Using either a brush or cotton ball, layer the base color on the rock so that the illustrations you paint will stand out. We used a white base but any light color will due. 

2. Once the base coat is dry, now it’s time to paint the objects you’re growing. As you can obviously see from the rock above, my daughter was painting strawberries. Remember, it’s ok if the artwork is a bit… abstract… in the next step we’ll make things a bit clear. 

3. With a pencil, write out the names of each of the plants onto the rock. Then let your child trace the written names with their paint brush to make the name of the plant stand out. 

4. Once your painted rock is completely dry, set it outside next to your plant and enjoy! 

With Spring upon us, we’ve planted a variety of different seeds and plants in our garden. Here’s what my preschooler helped plant: 

  • Cherry Tomatoes
  • Bell Peppers
  • Radishes (from seed)
  • Carrots (from seed)
  • Cucumber (from seed)
  • Snap Peas (from seed)
  • Mint
  • Sage
  • Basil
  • Parsley
  • Thyme

And the big kids help by watering, weeding, and keeping an eye on the bugs that are in our garden beds

Looking to get your kids more involved in the garden? You’ll love these tips! 

DIY Indoor Herb Garden Ideas

Using Ladybugs in the Garden

Tips for Gardening with Kids

Kid Friendly Ideas to Get Your Kids In The Garden

Pin this article for later! 

Click the Pin button on the image below to save for later. 

Why Crafting Breaks Are Necessary plus a Mother’s Day Gift Idea for Grandma

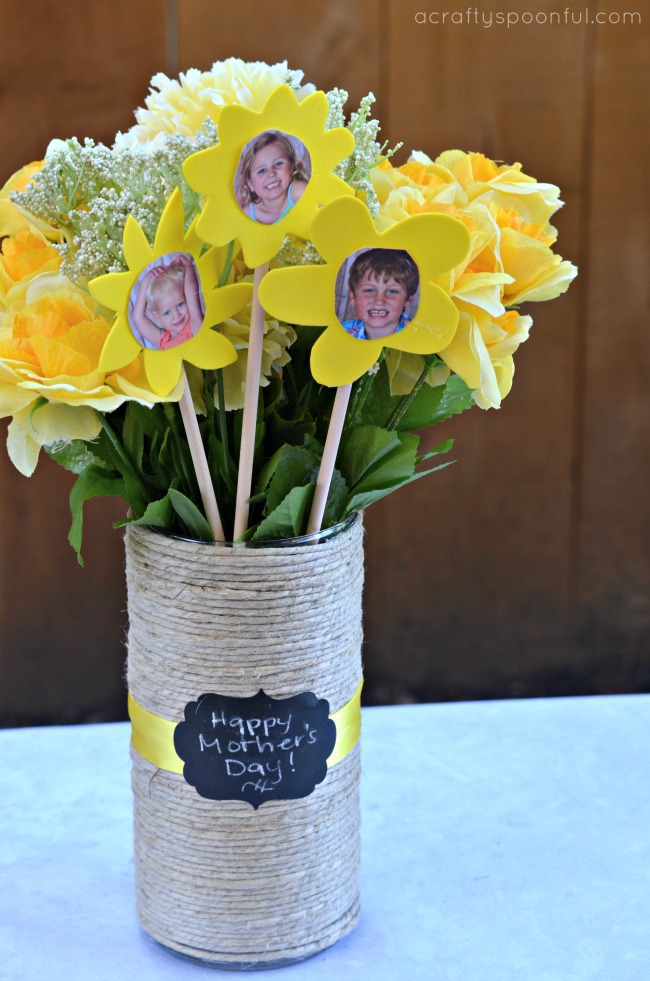
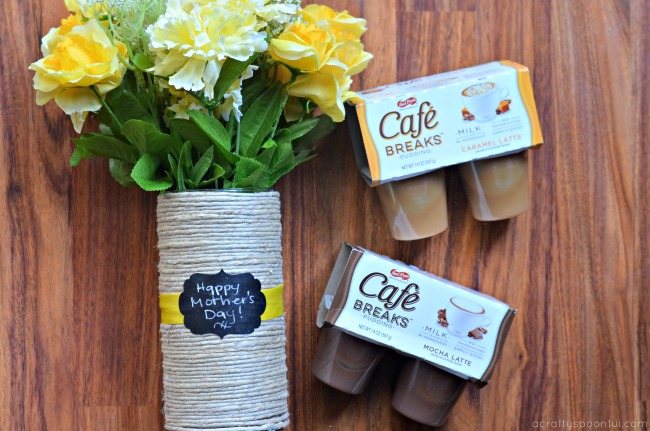
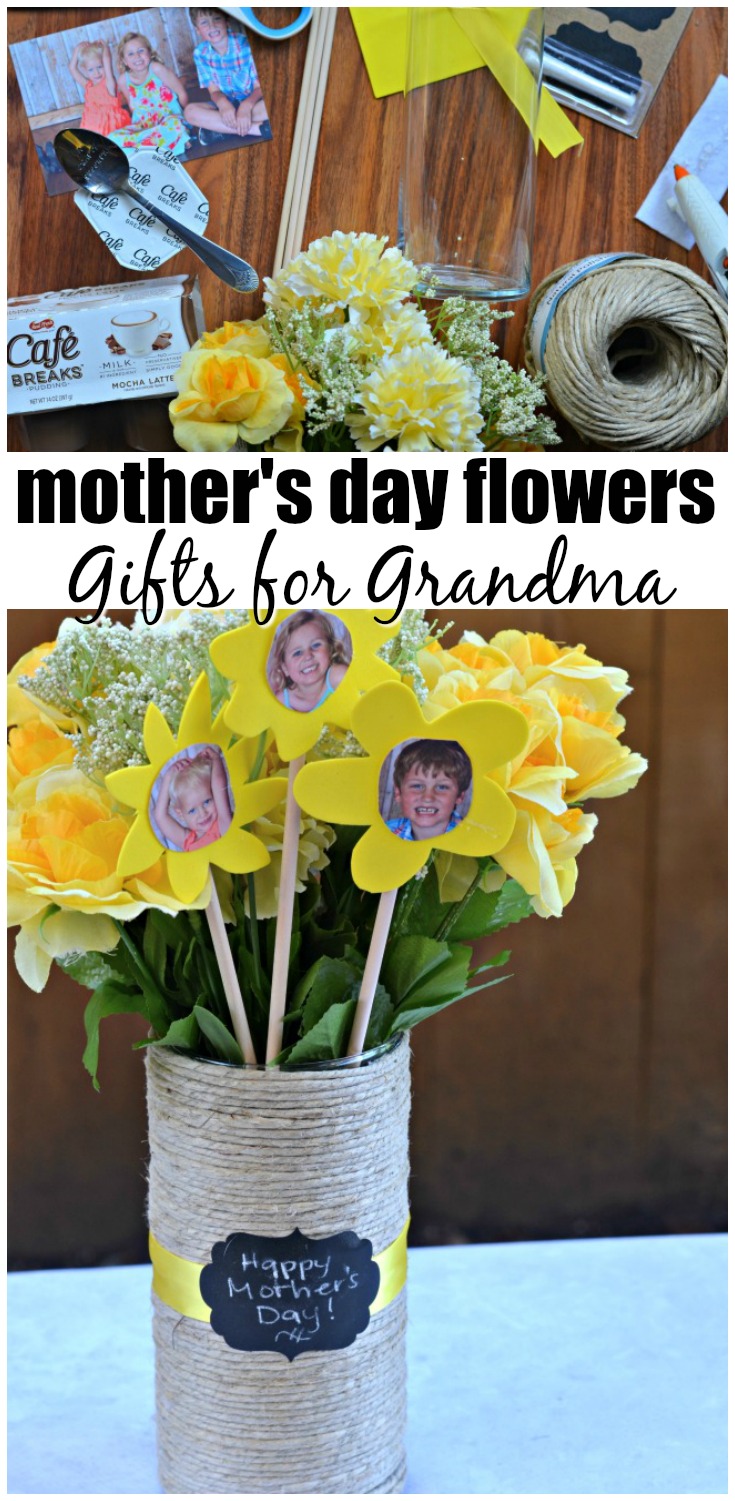
Need a Mother’s Day gift idea for Grandma? Look no further! These adorable bouquets are sure to put a smile on her face just as finding the time to craft alone will put a smile on yours. 

Last week I took some time for myself to get my hair done. Not only did I get my hair cut, I gave in and got it colored, too. At first, I wanted to go a bit crazy. It was the first time I’ve ever colored my hair so I wanted to have some fun with a dusty rose or lavender color. But then after talking with my hairdresser, I decided on a more subtle change for the first time. 

I got to thinking why I wanted to change things up. Change of pace? Wanting a break from the same old, same old? Or was it something else? 

Finally, after much thinking, I came to a conclusion. I needed to do something for me. While I love being a wife, a mother, an employee, most of the decisions I make are based on thinking of others first. So, in partnership with Cafe Breaks, I decided to take a bit more time for myself  (and think of myself first) to take a craft break.

Most of the time while I craft, I’m doing it with the kids. Something fun and exciting for them to create with me. Now, sure I get enjoyment from crafting with them, but I forgot how much I love crafting for myself. Or, in this case, crafting for my MIL. I was able to create a fun gift for her out of a few simple supplies we had in the craft room. And I now want to make a few more with the 

While I enjoyed my crafting break, I also took the time to indulge a bit in a Cafe Breaks pudding. The mocha latte is so delicious! Crafting AND a snack all for myself? Yes, please! 

If you haven’t taken a moment or two for yourself lately, take a step back and think about what would bring you joy or happiness! It doesn’t have to be something expensive. It could be as simple as heading to Walmart and picking up a pack of Cafe Breaks pudding packs from the pudding aisle to enjoy without someone else asking for a bite. 

Mother’s Day Gift Idea for Grandma

DIY Photo Flower Bouquet

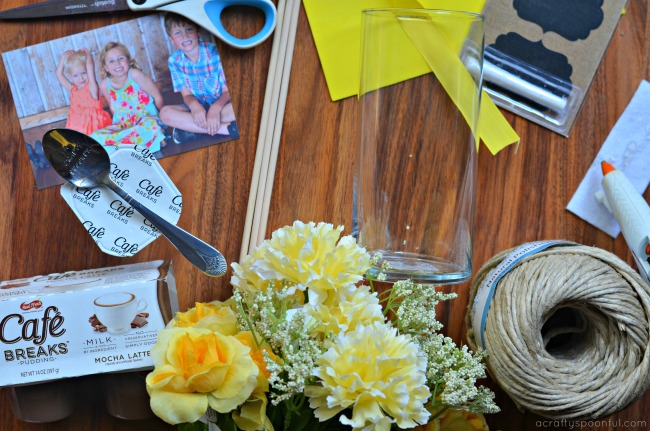
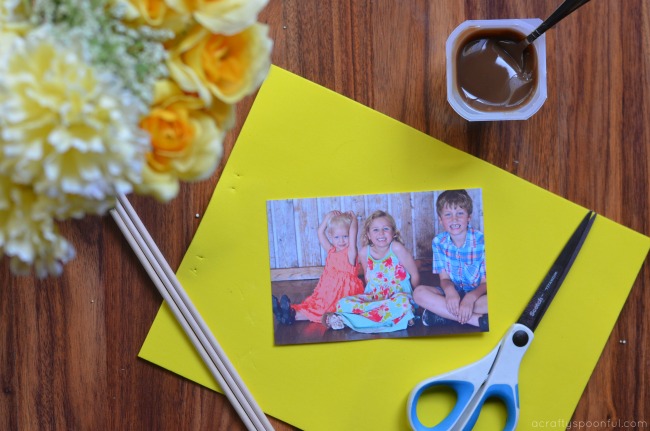
What you’ll need:

  • flower vase
  • twine
  • silk flowers
  • 1 piece of foam (similar shade to flowers)
  • wooden dowel
  • ribbon
  • chalkboard sticker with message
  • scissors
  • glue gun
  • photos of kids

What you do: 

1. Wrap twine around vase and secure in place with glue gun. Repeat, securing the twine every few rows, until the vase is completely covered. 

2. Add ribbon to the vase with glue gun. Cover seam with chalkboard sticker. 

3. Arrange flowers in vase, set aside. 

4. Cut kids photo around their faces in a circle. 

5. Using the photos as a template, cut a flower out of the foam sheet with the photo in the center. 

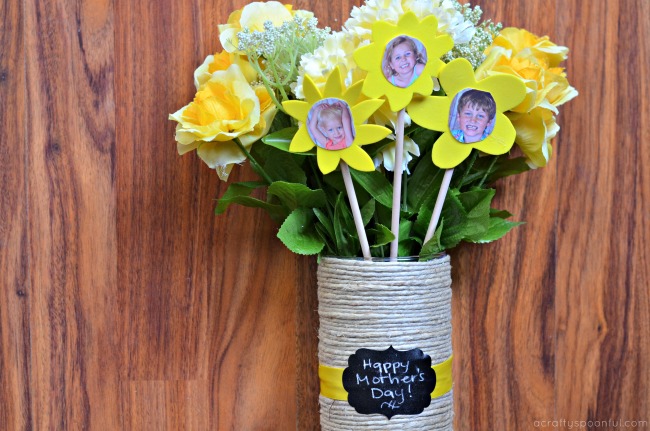
6. Glue photo to center of flower then glue flower onto wooden dowel. 

7. Add flower photos to the silk flowers in the vase and gift away! 

Check out the video we put together for this project: 

Need a break? Enter to win one of 3 Mother’s Day Sweepstakes prizes including a $500 Spafinder gift card + a case of Café Breaks or a $100 Visa gift cards + a case of Café Breaks! 

Details are below:

Café Breaks Spa Weekend with Mom

What are the kids making Grandma for Mother’s Day? 

Love this project? Read more! 

Pin this article for later! 

Click the Pin button on the image below to save for later. 

DIY Bouncing Ball

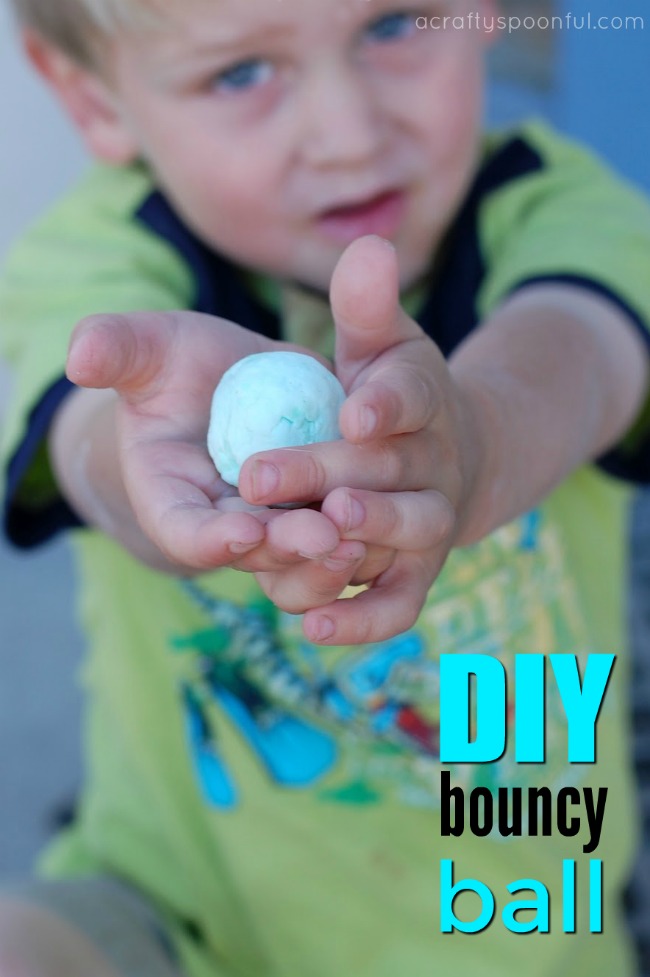
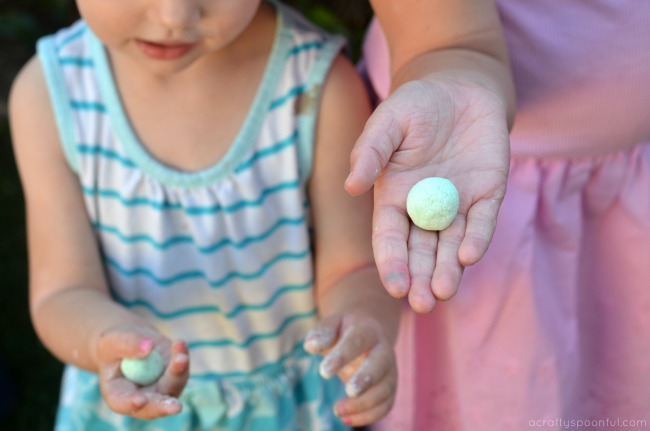
Make DIY bouncing balls with your kids and share the fun of science in the process!

Have you ever wanted to make your own toys? See your creation unfold from idea to reality? My kids absolutely love balls. They always ask to buy more and our front yard is filled with them. So when I saw this tutorial on About.com on how to make polymer balls I had to give it a try.

Result? A pretty fun experiment and toy all in one! And while the ball doesn’t bounce quite as high as the ones you buy from the machine outside of the grocery store it still provides hours of entertainment for children and adults alike. Whether you are looking to teach your kids about a little chemistry or just ready to make a fun toy, this is the perfect craft for a lazy afternoon. 

This post contains affiliate links.


DIY Bouncing Balls

What You’ll Need:

  • borax (found in the laundry section of the store)
  • cornstarch (found in the baking section of the store)
  • white glue (makes an opaque ball) or blue or clear school glue (makes a translucent ball)
  • warm water
  • food coloring (optional)
  • measuring spoons
  • spoon or craft stick to stir the mixture
  • 2 small plastic cups or other containers for mixing
  • marking pen
  • watch with a second hand
  • ruler
  • ziploc bag

[Read more…]


© A Crafty Spoonful - All Rights Reserved
It is OK to use one of my photos provided a link back and/or proper credit is given. It is NOT ok to copy and paste a whole post including instructions. Please do not remove watermarks or alter images in any way. Please contact me with any questions at danielle@acraftyspoonful.com

.