Looking for a great Valentine’s Day treat? How cute is this robot valentine snack idea! And so easy to make!
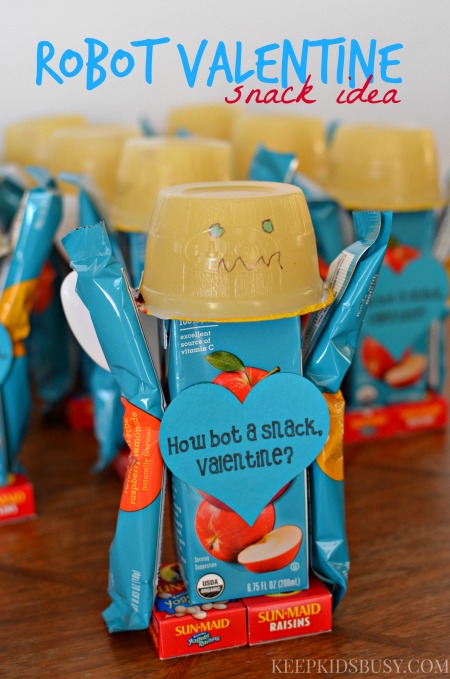
Today I’m sharing how to make a cute robot valentine snack that’s perfect for a classroom Valentine’s Day party! Not only is it candy-free but it’s also something fun for the kids.
With a few simple supplies you can pick up from the store, and 30 minutes to assemble, these snacks are sure to be a hit. We’ll be pairing them with chocolate covered strawberries and fruit for my son’s class party on Valentine’s Day.
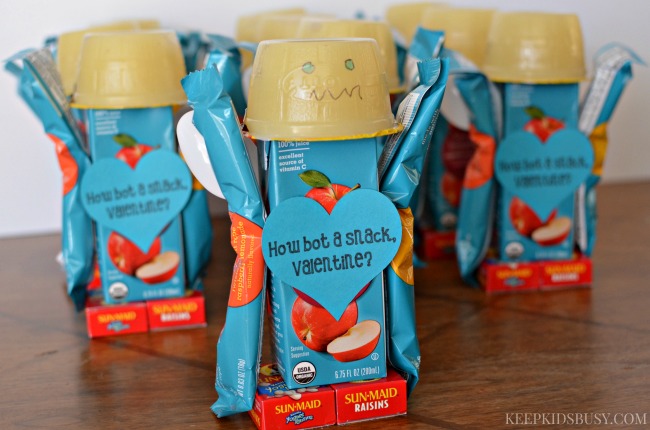
I was able to pick up just about everything at Target and assembled them all within 1/2 an hour. I printed out a simple valentine message and punched out a heart around the message. If you’re passing these out as valentines you can simply add your child’s name to the bottom of the message. The kids are sure to love these treats on Valentine’s Day.
Robot Valentine Snack
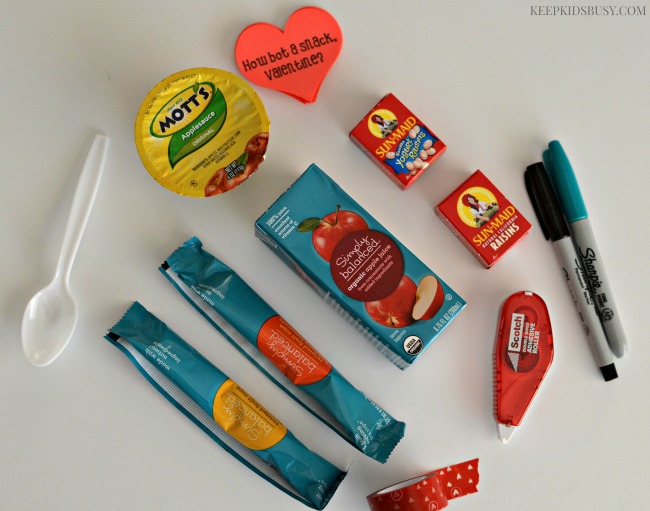
What you need:
- juice boxes
- mini raisins (I opted for the yogurt covered raisins and regular)
- fruit rope
- applesauce
- glue dots or adhesive roller
- plastic spoons
- washi tape
- sharpie
- valentines (optional)
What you’ll do:
1. Using the glue dots, secure two raisin boxes to the bottom of the juice box. The raisins will be the feet and the juice box is the body.
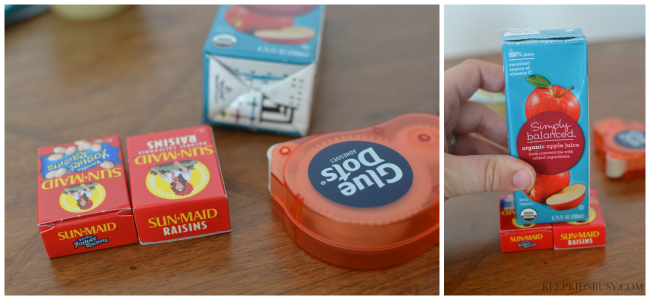
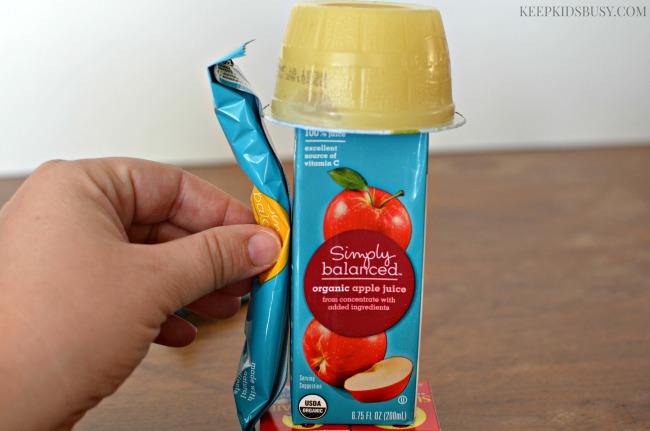
2. Place the applesauce cup upside down onto the top of the juice box and secure with glue dots and/or washi tape (whatever allows it to stay on top). This will be the robot’s head.
3. Add a fruit rope to either side to create the arms
3. Add a fruit rope to either side with glue dots to create the arms.
4. Tape a plastic spoon to the back of the robot body with washi tape.
5. Draw a face on the applesauce to add a little character to your robot valentine snack. Or glue on googly eyes and draw on a mouth.
Enjoy!
What’s your favorite Valentine’s Day treat?
This post was originally featured on Keep Kids Busy on February 2, 2015.
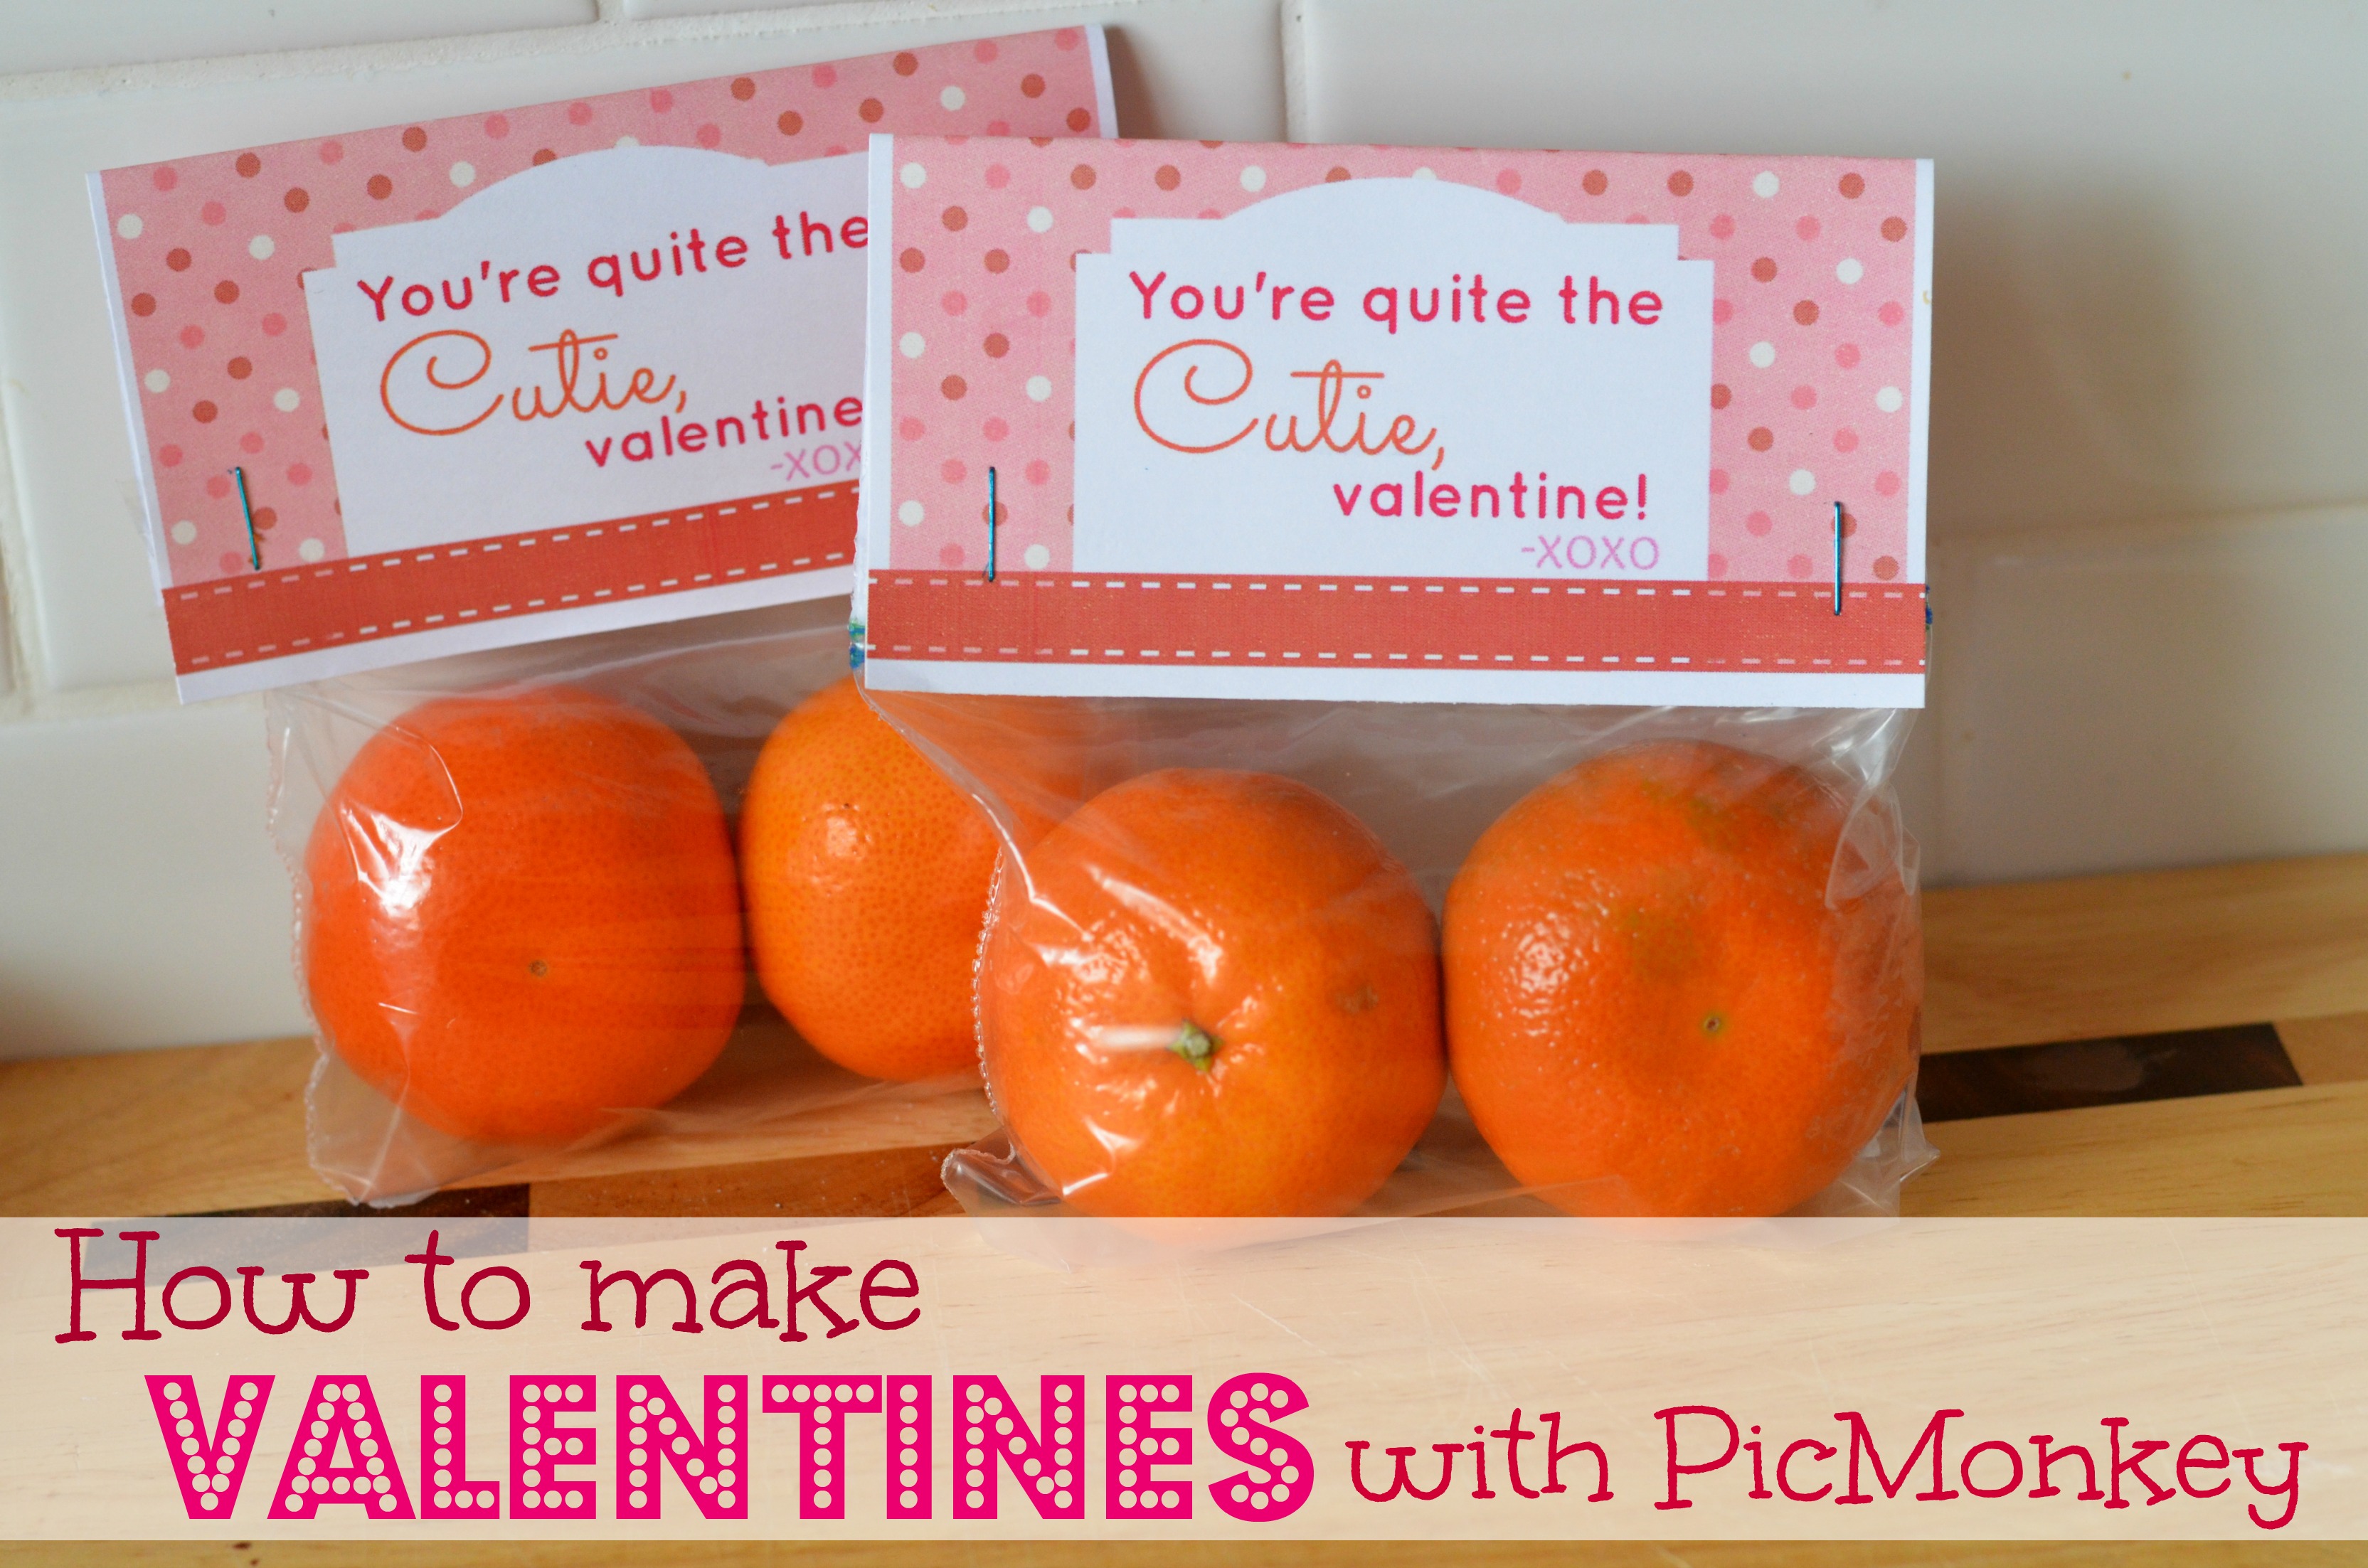
Want to make your own valentines? Design them in PicMonkey by using this tutorial!