Candy Apple Dump Cake {Fall Recipe}

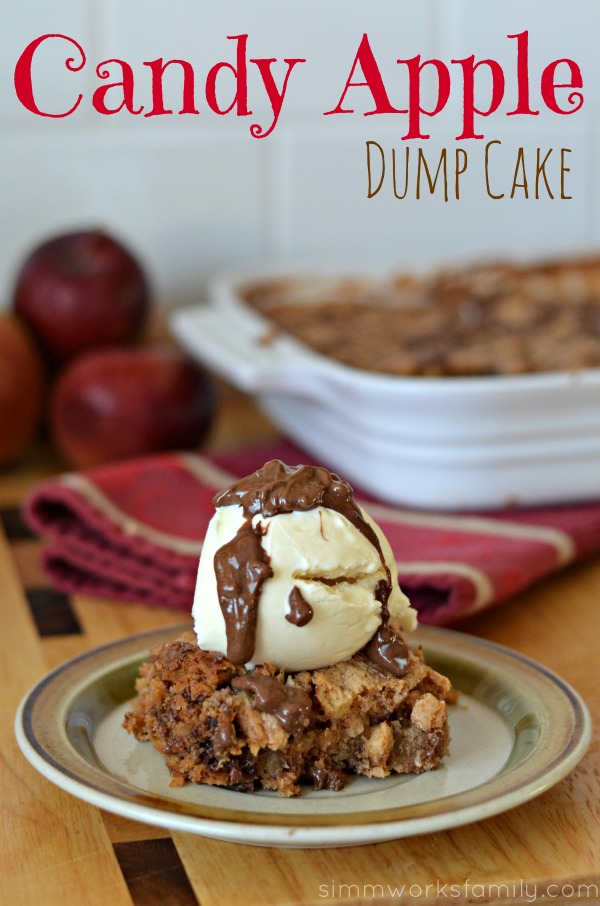
This candy apple dump cake is perfect for last-minute desserts that bake while you’re eating dinner or for potlucks with friends and family.

Candy Apple Dump Cake

One of my favorite fall pastimes to do before Halloween is apple picking with the family. Something about the cool crisp air, the delicious juicy apples right off the tree, and the smiles on my kids faces when they pick that first apple off.

But it doesn’t end at the orchard! Then you get to go home and bake yummy goodies with all the apples you managed not to eat on the drive back home.

When deciding what to bake with the apples we picked in Boston on our trip back a few years ago I knew I wanted to incorporate Halloween and the fun of the season. Since I had just recently stopped by Smart and Final for our Halloween candy stash I decided to incorporate the delicious Nestle goodies I picked up in this Candy Apple Dump Cake.

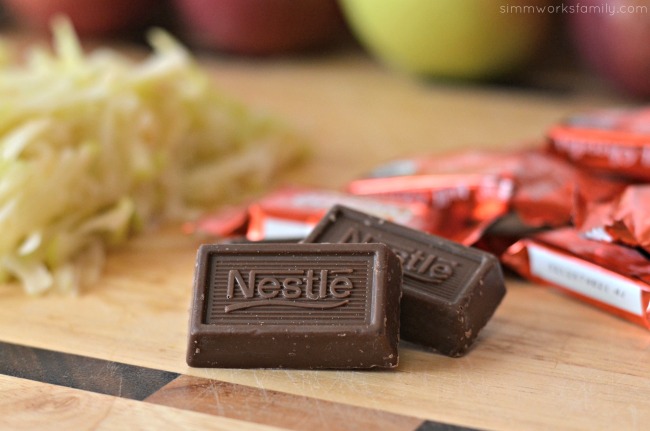
Candy Apple Dump Cake Nestle Candy

Once I got home it was time to start baking. Now, this candy apple dump cake is literally what the name alludes to. Chopped up candy, apples, cake, and butter all dumped into the pan, stirred up, and baked! So simple yet so delicious.

Since I purchased a few extra bags of candy to bake with I decided to chop up my favorite Nestle crunch bars and Nestle chocolate bars to add to the mix. The combo of the apples and chocolate reminded me of our favorite candy apples.

And the kids had a great time unwrapping the chocolate (one for you, one for me…).

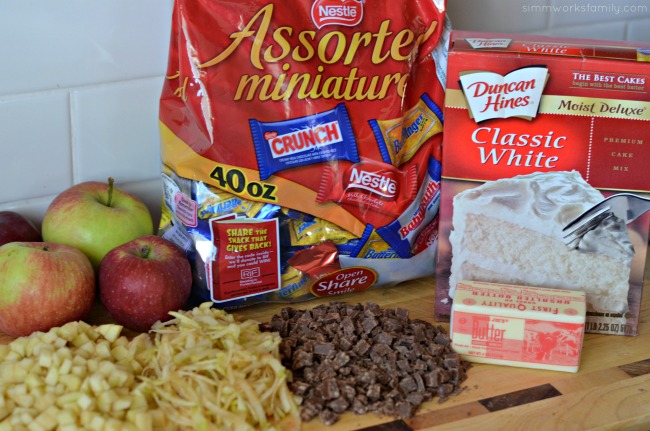
Candy Apple Dump Cake ingredients

Candy Apple Dump Cake

  • 3 apples, 2 diced & 1 grated
  • 1 cup Nestle chocolate, diced (I used Nestle Crunch and Nestle chocolate bars)
  • 1 tablespoon pumpkin pie spice
  • 1 package cake mix
  • 1 stick (1/2 cup) butter, melted

Preheat the oven to 350 degrees.

Add apples and chocolate to a 9×9 pan. Sprinkle with pumpkin pie spice. Pour cake mix over apples. Drizzle melted butter over mixture.

Stir ingredients in the pan and smooth top.

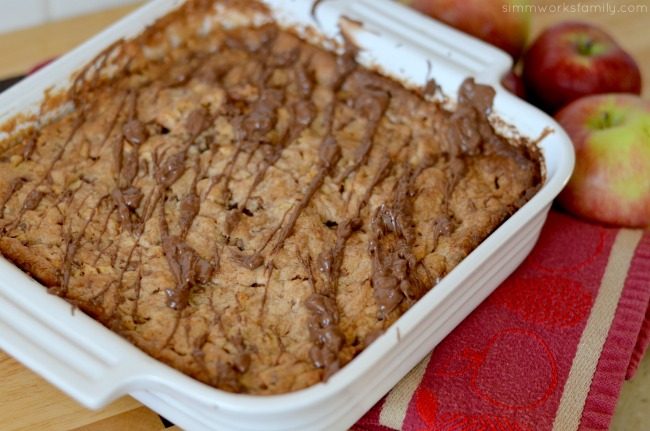
Bake in the oven for 35-40 minutes or until top is golden brown and toothpick comes out clean.

Let cool 5-10 minutes before serving.

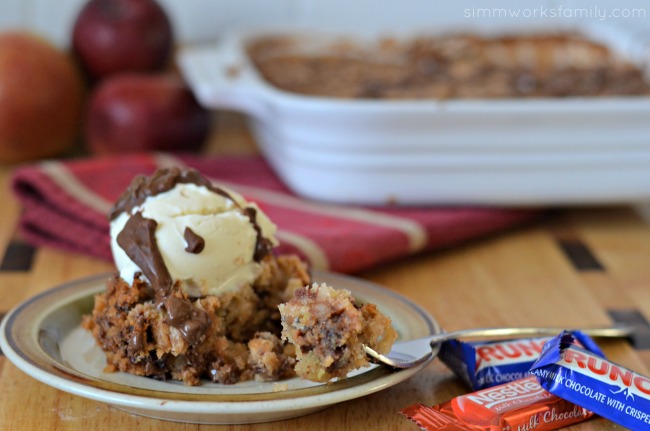
Candy Apple Dump Cake baked

Add a big scoop of vanilla ice cream and a drizzle of melted Nestle Crunch bar for an added bonus!

How easy is that? Perfect for last-minute desserts that bake while you’re eating dinner or for potlucks with friends and family. And you can make this with just about any fruit! So depending on the season, pick out your favorite fruit and enjoy.

Candy Apple Dump Cake close up

Love what you read? Check out these great posts! 

Pinterest Inspiration

Pin this article for later! 

Click the Pin button on the image below to save for later. 
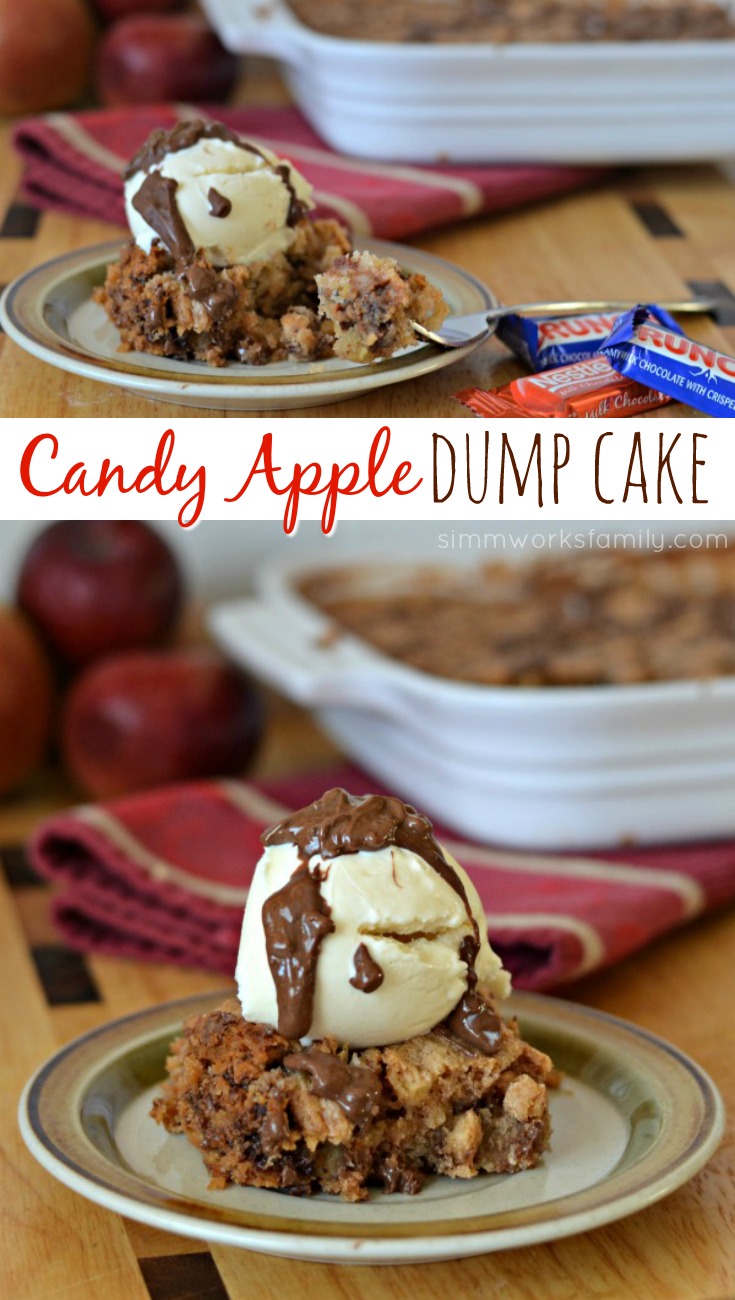
candy-apple-dump-cake

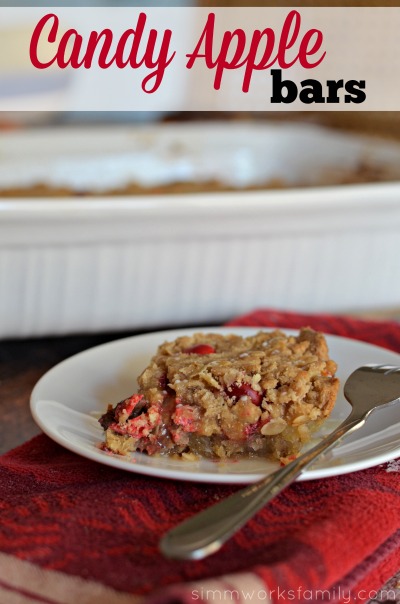
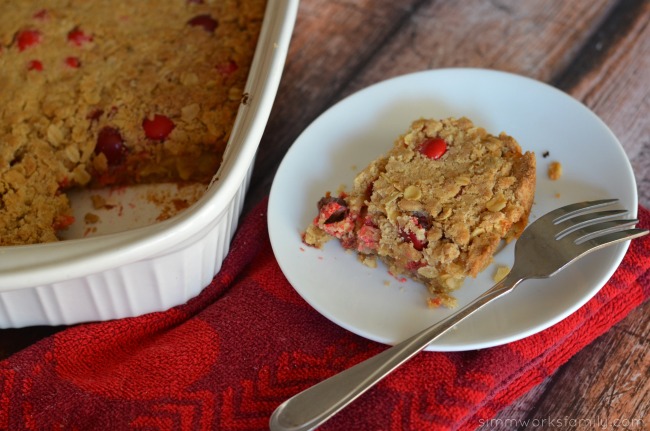
Deliciously Tempting Candy Apple Bars with M&M’s

 These deliciously tempting candy apple bars with M&M’s are the perfect sweet treat to use up all of those apples you picked this season!  

Candy Apple Bars with M&M's - the perfect way to welcome fall and enjoy a delicious dessert

Oh my gosh you guys. I’m seriously melting right now and wondering where the heck fall is. Over 100 degrees today and the forecast does not look good over the next week. Oh, how I yearn for the cool crisp 75-degree air of fall.

With pregnancy cravings that have me wanting apple pie, hearty stews, and other fall recipes I can’t help but give into temptation and bake up a delicious treat for the family even when it’s a sauna inside and outside of the house. Did I mention we have no a/c in the new house? Yeah…

After finding some delicious Candy Apple M&M’s on our most recent trip to Walmart I was inspired to make these delicious candy apple bars that are part apple pie, part candy apple. 

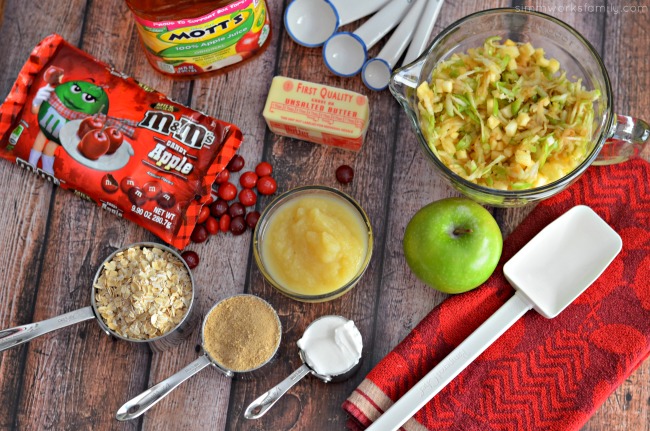
Candy Apple Bars with M&M's ingredients

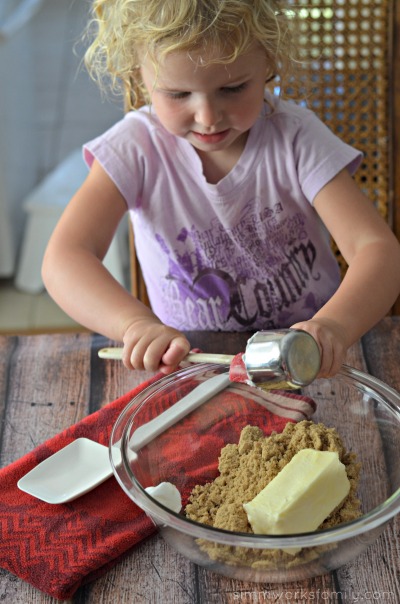
I made sure to gather most of the ingredients we needed and have it all pre-measured because another crazy girl in the house wanted to help mama out even in this heat.

I’ve found that when cooking or baking with kids a little prep work goes a long way. And makes things go a little smoother. And this recipe couldn’t be easier to make with kids. No mixer needed, no special measuring or ingredients. Easy peasy!

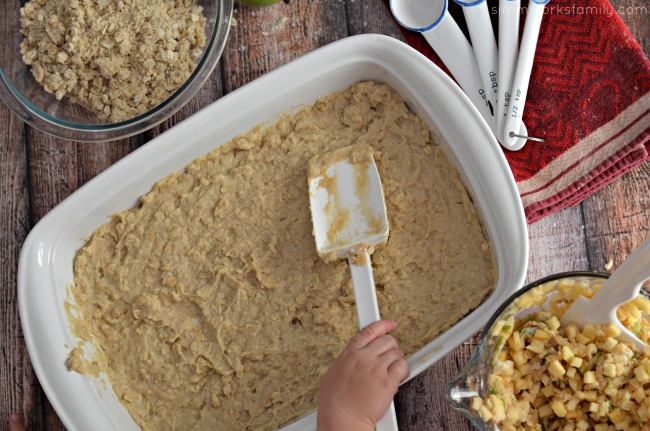
Candy Apple Bars with M&M's mixing

We mixed together the oat mixture and reserved a bit for the topping. The rest we mixed with some delicious applesauce 

Once the applesauce oat mixture was ready I let my daughter spread it on the bottom of our 9×13 pan while I tossed the apples in some flour.

Candy Apple Bars with M&M's spreading applesauce oat mixture

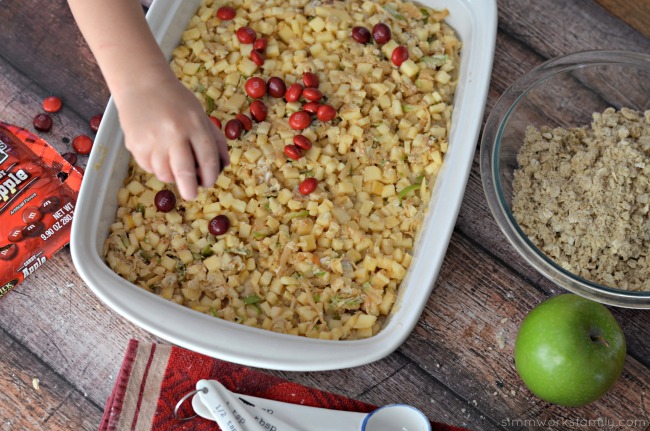
Next was my daughter’s favorite part. After I put a layer of apples down she was in charge of adding the Candy Apple M&M’s on top of the apples. Now normally I use a layer of caramel here for caramel apple bars but we wanted some chocolatey candy goodness.

Candy Apple Bars with M&M's adding apples and M&M's

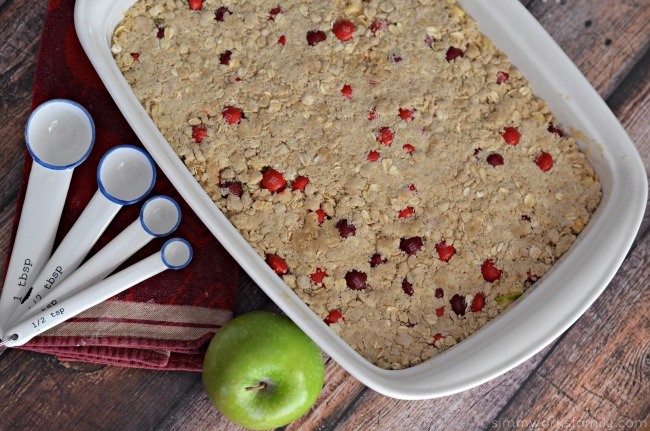
Once she was done I spread the reserved oat mixture over everything and had her help push it down gently. Then we baked up this scrumptious dessert and enjoyed a little kiddy pool fun to cool down.

By dinnertime, these were perfectly cooled and ready to enjoy for our dessert. Boy, was this a good treat to end our hot day. Now let’s bring on some cooler temperatures!

Candy Apple Bars with M&M's ready to bake

Candy Apple Bars with M&M's

For the candy apple bars

  • 1 cup packed brown sugar
  • 1/2 cup butter (softened)
  • 1/4 cup vegetable shortening
  • 1 3/4 cups all-purpose flour
  • 1 1/2 cups old fashioned oats
  • 1 teaspoon salt
  • 1/2 teaspoon baking soda
  • 1 cup applesauce
  • 3 peeled fuji apples (finely diced)
  • 1 granny smith apple (grated)
  • 3 tablespoons all-purpose flour
  • 1 1/2 cup Candy Apple M&M's

For the drizzle

  • 1 cup powdered sugar (sifted)
  • 3 tablespoons apple juice
  1. Heat oven to 400ºF. Mix brown sugar, butter and shortening in large bowl. Stir in 1 3/4 cups flour, the oats, salt and baking soda. Reserve 2 cups oat mixture. Mix remaining oat mixture with applesauce and spread on the bottom of an un-greased 13×9 pan.
  2. Toss apples and 3 tablespoons flour; spread over mixture in pan. Spread Candy Apple M&M’s evenly over apples. Sprinkle with reserved oat mixture; press lightly.
  3. Bake 25 to 30 minutes or until topping is golden brown and apples are tender.
  4. While bars are baking, mix together powdered sugar and apple juice and set aside. Once bars are done, let cool before drizzling with icing and enjoy!


Grab What You Need:


Candy Apple Bars with M&M's

What’s your favorite fall-inspired dish?

*This post was originally featured on September 14t, 2014. 

Fight Hanger In Kids: After School Snack Hacks

Tracking Pixel

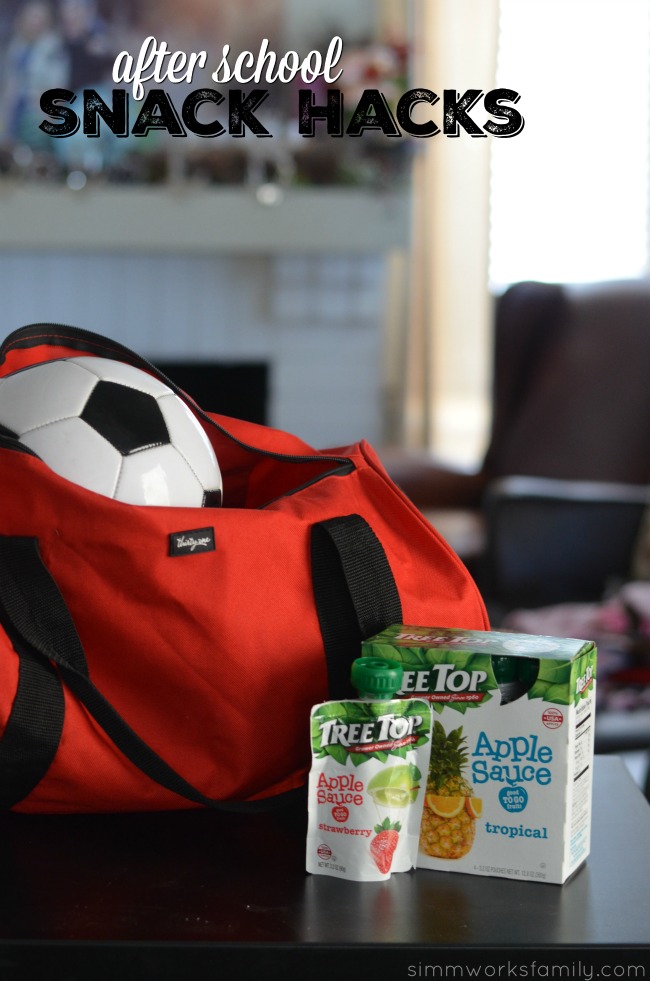
We’re chatting about my favorite after school snack hacks so I don’t have to deal with hangry kids thanks to our sponsor, Tree Top.

Fight Hanger After School Snack Hacks

Life is crazy right now. Work, volunteering, kids, life. It’s all just overwhelming sometimes. But this year I’m focusing on being more organized. I update my Google calendar with everything going on, even if it’s just a quick 5 minute meeting before or after school. And I try to plan ahead and stick with a routine.

We’ve gotten mornings down to a science. Wake up, brew coffee, make lunches and breakfast while stealing sips, get kids dressed and fed, and nurse the baby while checking email before heading out the door to drop off. I even call out a 5 minute warning so the kids know they need to get their shoes on.

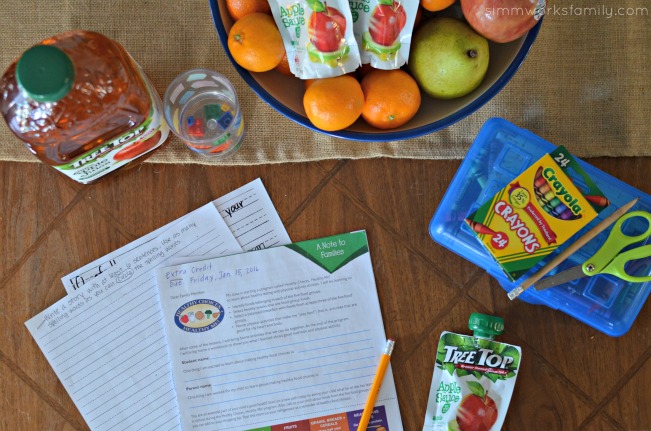
Fight Hanger After School Snack Hacks homework time

But we’re still struggling with afternoons. Between meetings and soccer practice and everything else in between, I try to keep everything written out so that as we’re driving to school I can give the kids a heads up on what to expect after they get out of school. Most days they come straight home but others are spent at after school care or they’re picked up by a relative.

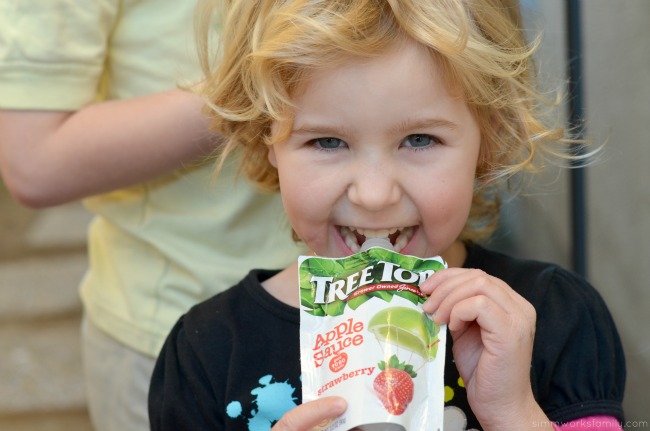
With all of the craziness that our afternoons bring us, I have to remember to pack snacks for the kids and hide them everywhere. Because if I don’t? This is what I have to deal with:

Fight Hanger After School Snack Hacks to fight hanger

Yup. She’s hangry.

Luckily I’ve experienced enough meltdowns that I can sense when they are going to come on and I can whip out a snack so quickly that all of a sudden that frown turns upside down. Want in on how I do it? Check out my after school snack hacks!

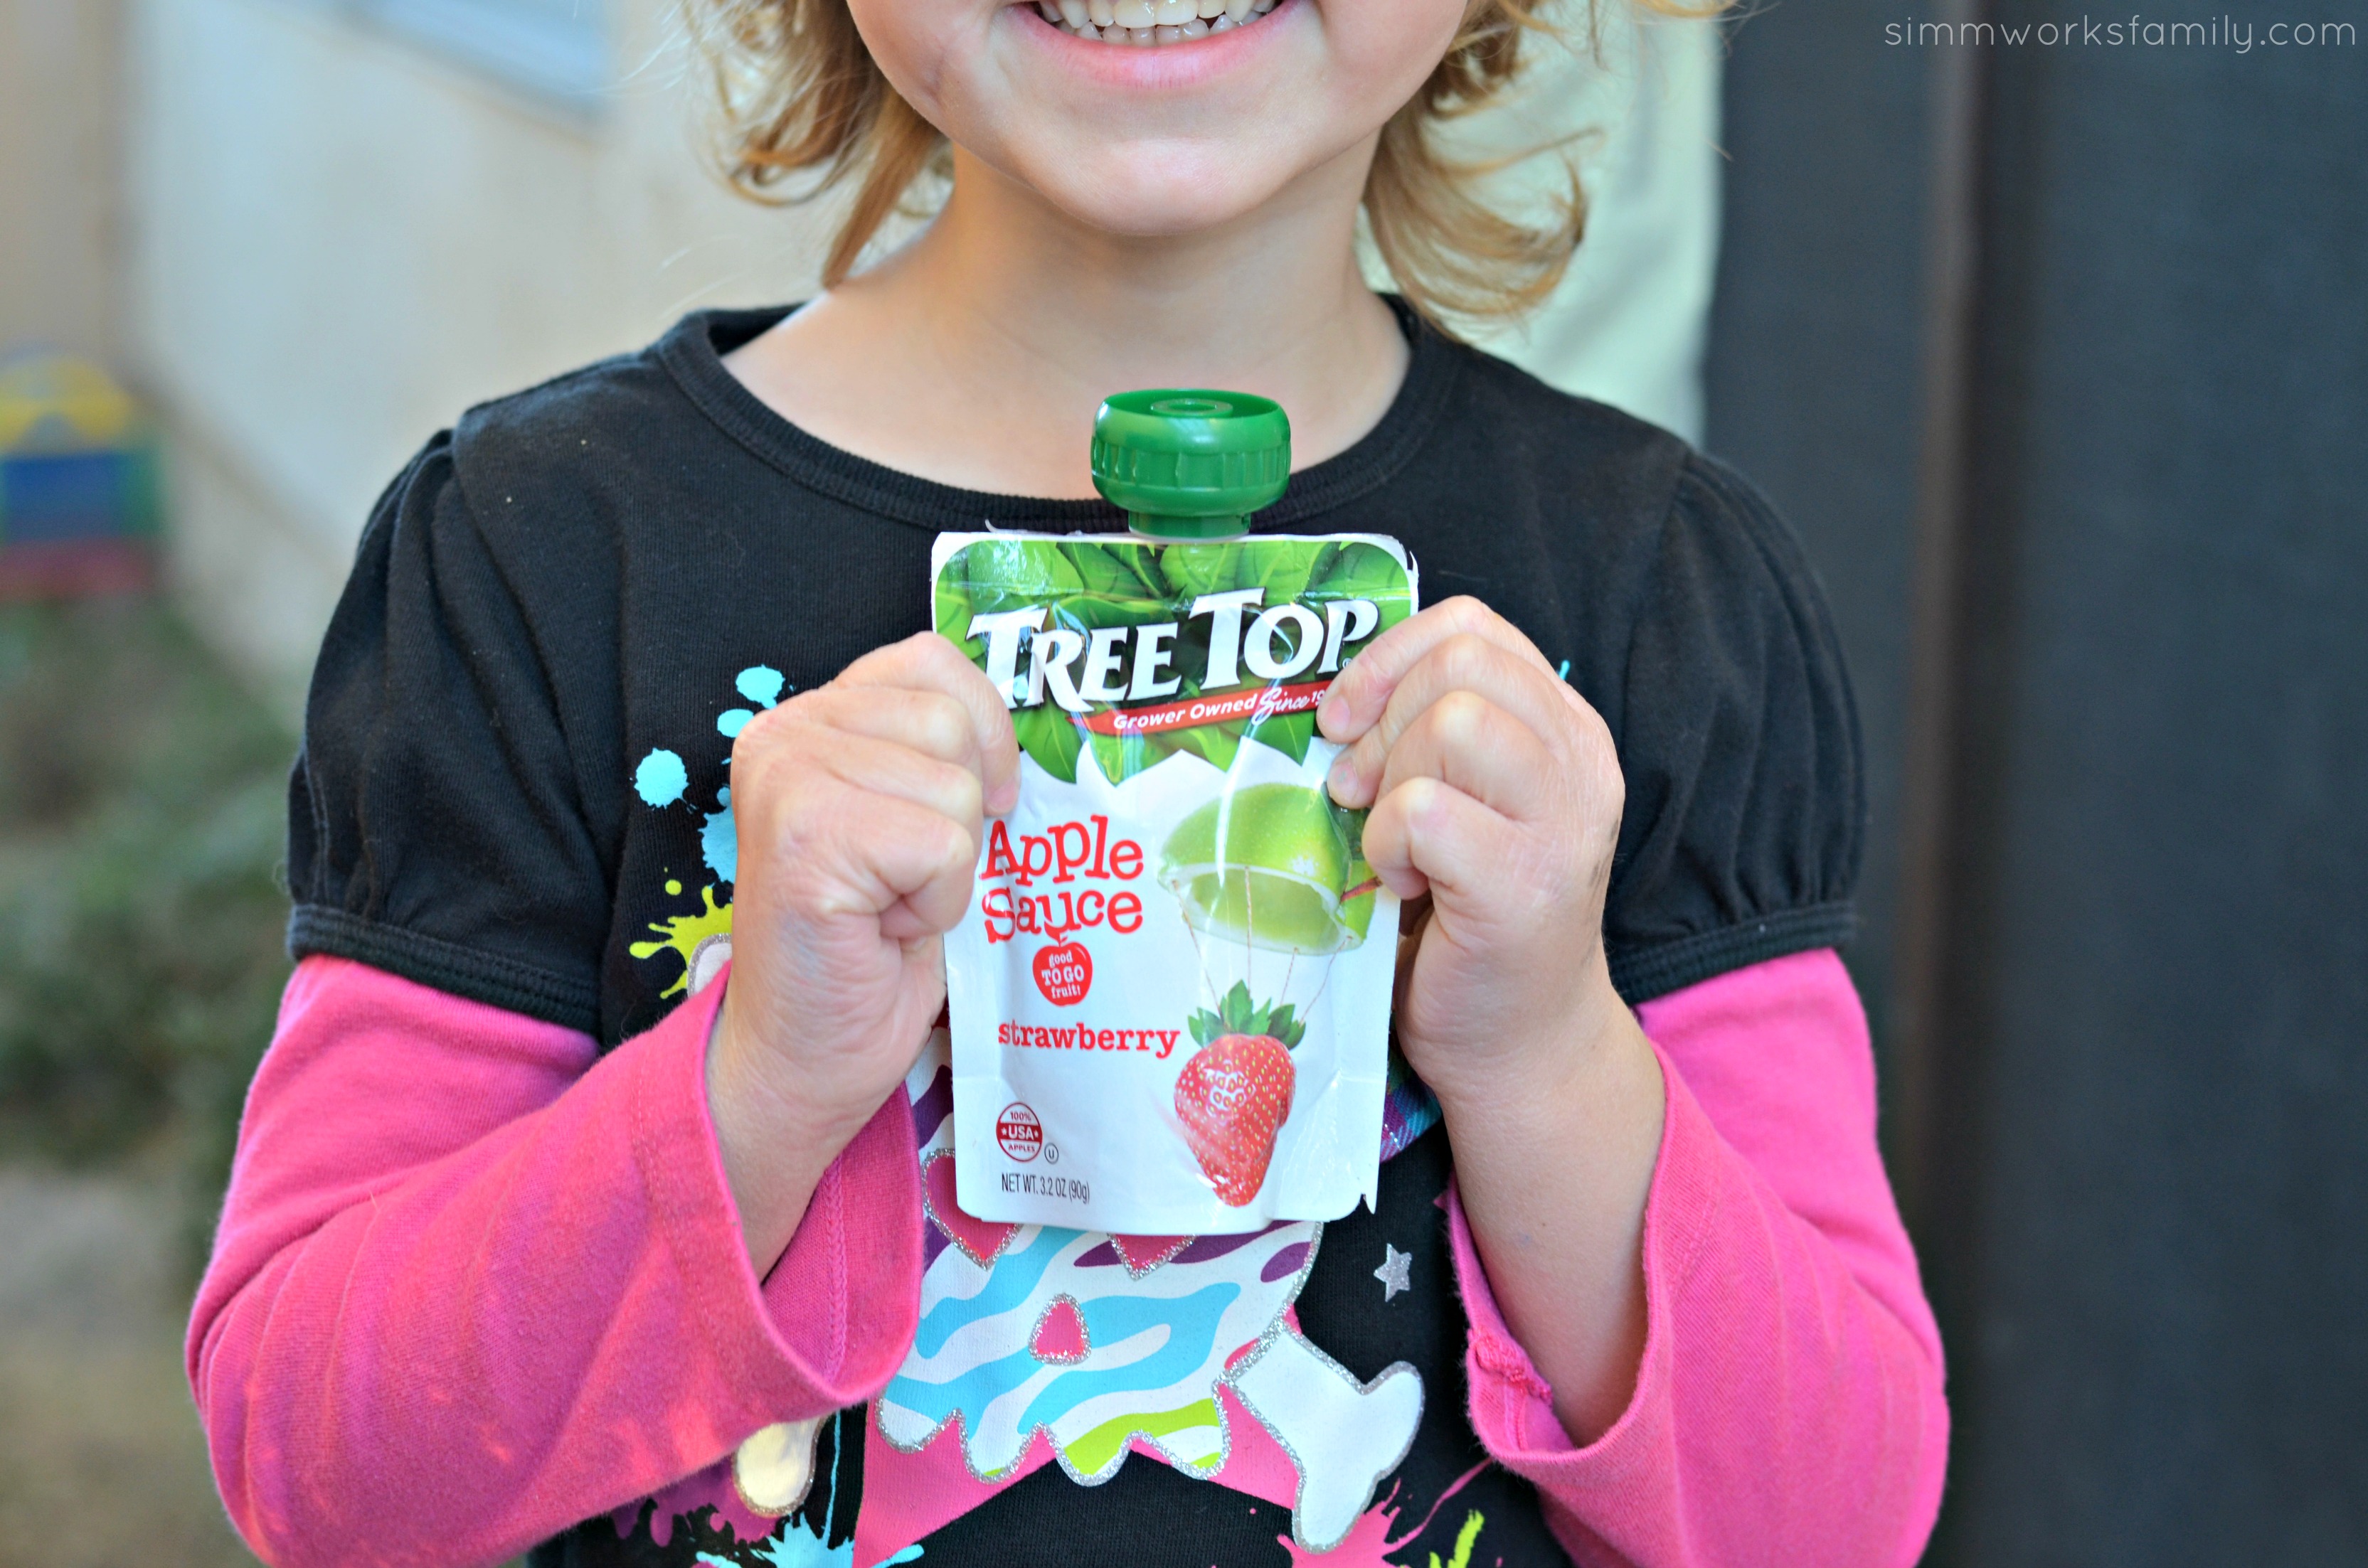
Fight Hanger After School Snack Hacks - Tree Top Apple Sauce Pouches

After School Snack Hacks

1. Bowl Of Fruit –

Now I know this sounds like a duh kind of idea but I’ve found that putting a bowl of fruit out on the table or counter puts the responsibility of eating in my kids hands. They know when they feel hungry that all they have to do is go grab something from the fruit bowl. Plus fruit is portable so I can grab a few pieces before heading over to pick up the kids so they can snack on the drive home.

I keep a variety of fruits on hand to satisfy both of the kids tastes. And if they don’t eat it fast enough,  I turn the fruit into muffins! Another awesome snack choice that doubles as a breakfast food.

2. Snack Drawer or Shelf

In the pantry I have a snack shelf filled with great snacks that the kids can grab on their own as soon as they come home from school. This shelf is also used for my go-to lunch items too so I can quickly go in and grab what I need after I finish making sandwiches and grabbing fruit.

One thing I always have on my snack shelf is Tree Top Apple Sauce Pouches. They’re mess-free, taste great and are made with pure USA-grown fruit and local ingredients. No spoon? No problem! Pouches are squeezable and fun, making them perfect for on-the-go snacking.

We also have a snack drawer in our fridge. We purchased the fridge we have because it had a secondary refridgerated door that would be easily accesible for our kids. I keep yogurts, cheese, and other snacks that I don’t mind the kids eating in there along with some bottled water and juices.

3. Roll Ups

When I know the kids are going to sports practice or I have a meeting after school, I make super quick roll ups out of whatever ingredients I have on hand. Depending on the size, I’ll sometimes cut them into wheels or leave them whole.

Here’s a few great ideas for flavors to get you started:

  • PB&J Roll Up – tortilla, peanut butter, jelly | Add some bananas or apples
  • Ham & Swiss Roll Up – pita, sliced ham, sliced swiss cheese | Add some spinach leaves and a spread of ranch dressing or hummus
  • Tuna Roll Up – bread, tuna, mayo | Add some diced celery and dill pickles

4. Cheese Platter

Now don’t laugh but sometimes I just cut up some cheese and open up a package of crackers and call it a day. We even turn to that as a dinner option on crazy busy nights with the addition of some salame or pepperonis. Cheese platters are very versatile. From delicious brie and gouda with fancy crackers to string cheese and gold fish, the possibilities are endless. And when you’re having a bad day, both pair nicely with a glass of wine. For the parents… not the kids.

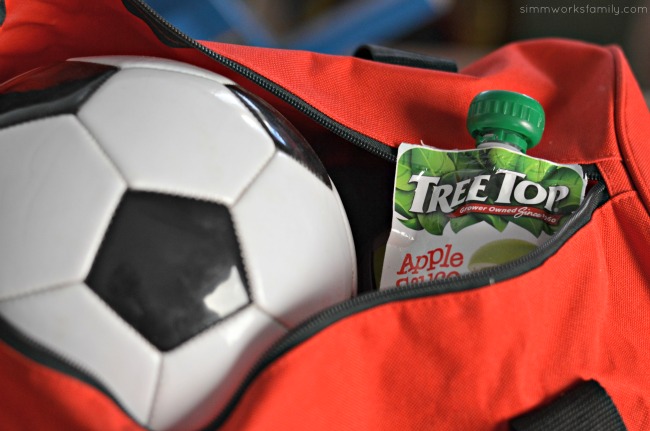
After School Snack Hacks - Tree Top Apple Sauce Pouches

All of these options can easily be put into a bag and taken with us wherever we go. I have an easy way to keep snacks on hand and the kids don’t get hangry. Win win!

Tree Top knows that avoiding those hangry moments require a quick and reliable solution. We want to see how you help your kids overcome those stressful times! Share a photo of your child’s “hangry2happy” moment on Facebook, Twitter or Instagram. Make sure to use the #Hangry2Happy hashtag and tag @TreeTopInc in your post, so we can check it out.

You’ll be entered to win one of eight survival kit backpacks full of Tree Top apple sauce Pouches, so you’ll be ready when your kids reach their limit and desperately need a snack. We’ve all been there, and Tree Top wants to help you take your kids from hangry to happy! Official sweepstakes rules can be found here:on.fb.me/1kTw5b5

Fight Hanger After School Snack Hacks on the go

What are your go-to snack hacks to avoid hangry children?

I will be giving away one kids backpack and filled with Tree Top applesauce pouches. Approximate Retail Value of $50.

View Rafflecopter to see the ways in which to enter and show Tree Top your child’s Hangry2Happy Moments!

a Rafflecopter giveaway

Disclosure: This is a sponsored post written by me on behalf of Tree Top.

How to Make Oatmeal in a Rice Cooker

Disclaimer - Review Posts
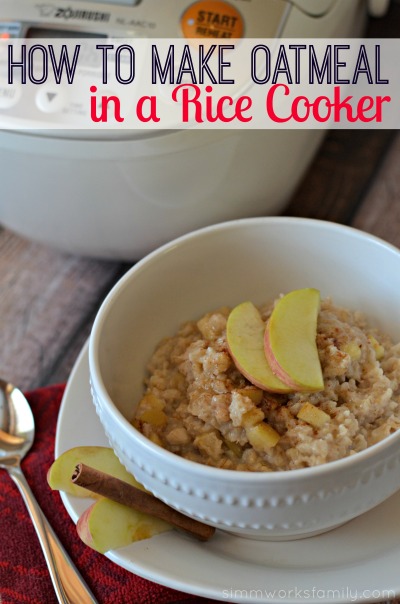
make oatmeal in a rice cooker

I absolutely love multi-purpose kitchen gadgets. If it doesn’t do more than one thing, I don’t want it in my kitchen taking up space! When I was asked to check out the latest Zojirushi rice cooker and see how it fared compared to my smaller rice cooker I knew i wanted to find more ways to test it out than just make rice. So I figured out how to make oatmeal in a rice cooker. And I have to say… I’m pretty impressed!

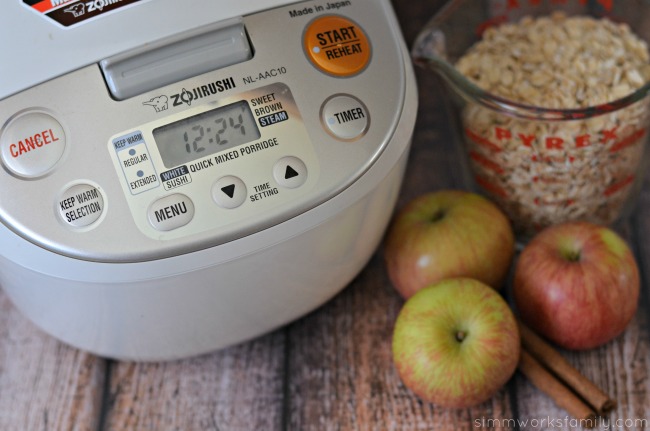
I already loved the Zojirushi brand and own one of their bread machines (all the way back from when my husband and I first got married) and the smaller rice cooker so including this larger capacity rice cooker into our home was perfect. The Zojirushi NL-AAC10 is a great multi-use rice cooker. And I’ve not only made rice and oatmeal in it, but I’ve also used it to steam things as well. Hello delicious dumplings and pot stickers!

make oatmeal in a rice cooker zojirush nl aac10i

Making oatmeal in a rice cooker is a piece of cake! As simple as dumping the ingredients in, adjusting the settings for porridge, and letting it cook. The rice cooker does all of the work. Wait… did I just give that all away in the beginning of the post? Well let me just show you the pretty pictures and talk about this awesome machine.

Aided by microcomputer technology, this category of rice cooker takes having rice on your menu from “occasional” to “serious”. Basically, the microchip does all the thinking for you, as far as adjusting cooking times and temperatures according to the type of rice you are cooking, and timing the pre-soaking of the raw grains and the final “wait” period during steaming.

That means you’re left with perfectly cooked food that every family member will love! No more burnt rice on the bottom. And it also means that you can make a delicious breakfast, lunch, or dinner using the same rice cooker.

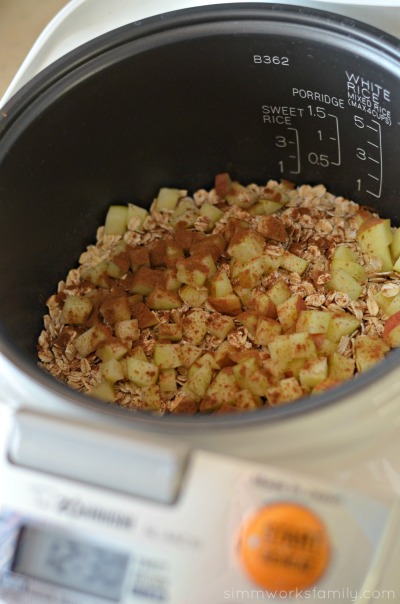
make oatmeal in a rice cooker add ingredients

How to Make Oatmeal in a Rice Cooker

1. Add 2 cups of old fashioned oats into the rice cooker*. Then add in 3 cups of water (or milk if you prefer a creamier oatmeal). Add any mix ins or flavors and stir together to combine. I added 1 diced apple, 1 teaspoon of ground cinnamon, and a tablespoon of brown sugar.

*For this recipe I consulted my rice cooker’s manual to see if there was a minimum amount of oats I needed to use for this rice cooker. I also wanted to make sure I was using the correct amount of liquid. If you’re using steel cut oats, double check the manual to see what the minimum amount is as well as what the liquid level should be.

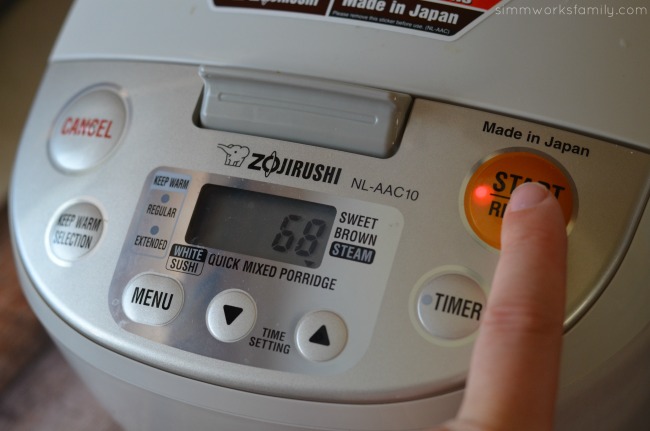
make oatmeal in a rice cooker porridge setting

2. Using the menu button, set rice cooker to porridge setting (bottom right). Once the setting is selected, hit the start button. A melody should play letting you know that the rice cooker has started the cooking process. Sit back and relax as your food cooks.

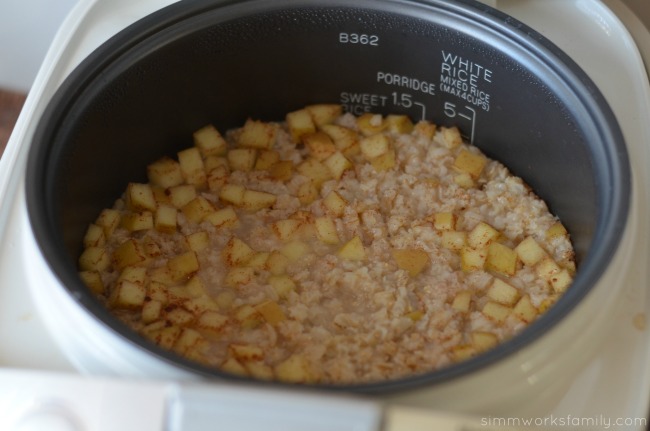
make oatmeal in a rice cooker cooked oatmeal

3. When the rice cooker is done cooking the oatmeal it will play a melody again. Don’t worry if you aren’t immediately available – the rice cooker will go to the warm setting after it’s done cooking. When you’re ready to eat, open the lid carefully and scoop out your oatmeal.

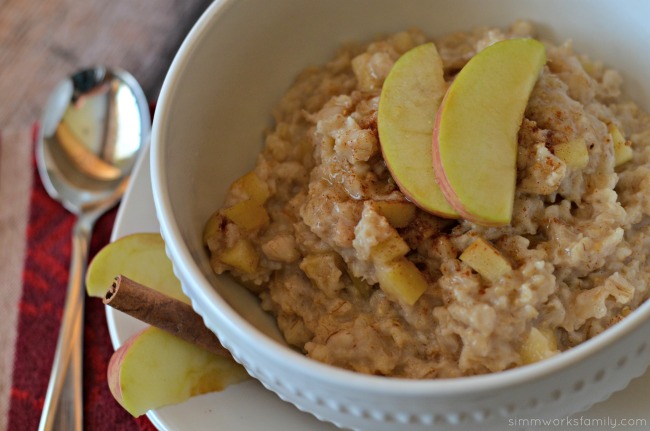
make oatmeal in a rice cooker close up

This 5-1/2-cup rice cooker and warmer makes 10 cups of cooked rice and includes a variety of cooking functions including white rice/sushi, mixed rice, porridge, sweet, brown, steam, and quick cooking.

If you’re looking for a great rice cooker to add to your kitchen definitely check out the great line of Zojirushi rice cookers.

What would you love to make in a rice cooker?

Love what you see? Try these recipes! 

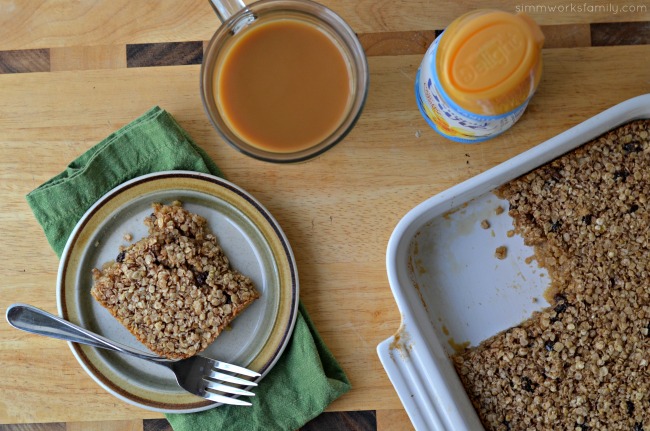
Vanilla Raisin Oatmeal Squares with coffee

Vanilla Raisin Oatmeal Squares

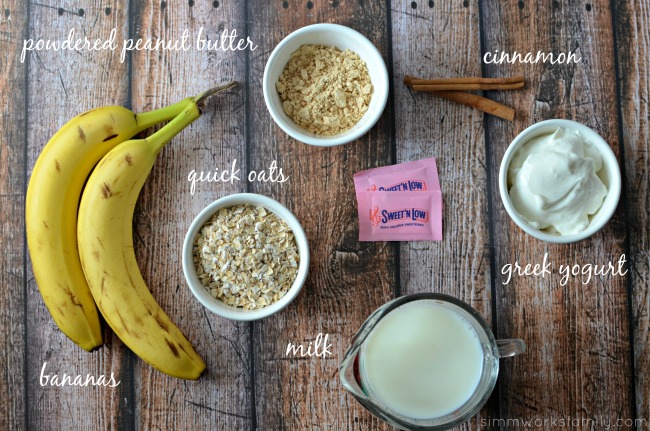
Peanut Butter Banana Oatmeal Smoothie ingredients

Peanut Butter Banana Oatmeal Smoothies

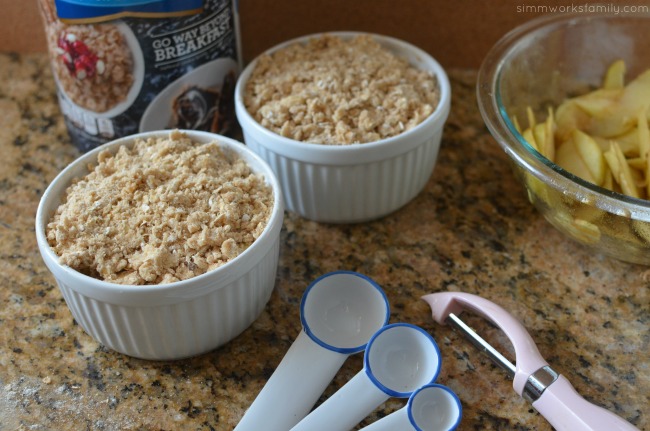
Oatmeal Recipes Quick and Delicious Apple Crisp - ready for the oven

Oatmeal Apple Crisps


© A Crafty Spoonful - All Rights Reserved
It is OK to use one of my photos provided a link back and/or proper credit is given. It is NOT ok to copy and paste a whole post including instructions. Please do not remove watermarks or alter images in any way. Please contact me with any questions at danielle@acraftyspoonful.com

.