Displaying Your Child’s Artwork

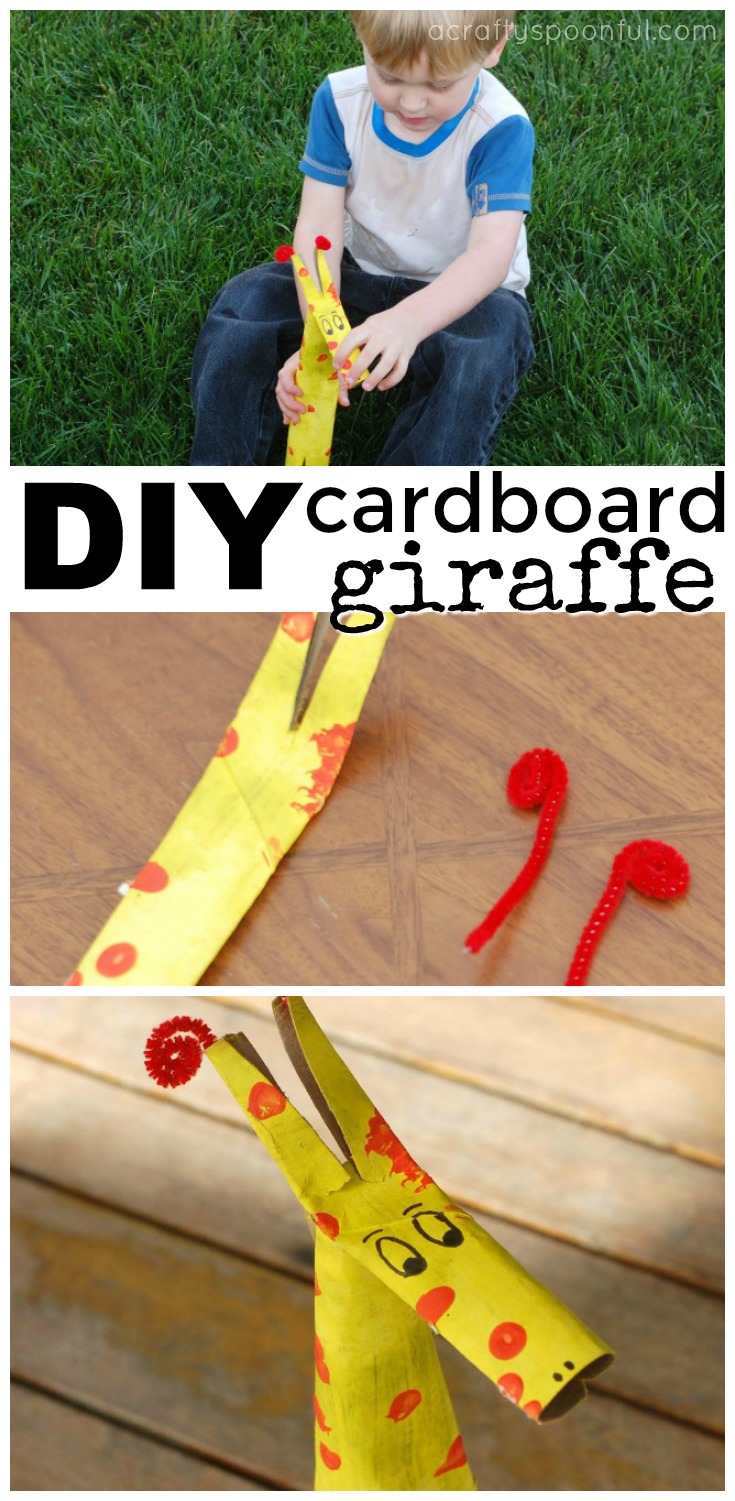
Lets face it, our kids love to create. Crafts, art, glitter, paint. It’s all exciting when you’re small.

And sometimes those pieces of artwork, no matter how small, need a place in the home to be displayed. But because of how MUCH artwork can be created, taken home, and demanded to be up, we’ve come up with a few solutions for displaying artwork in a way that isn’t permanent.

So here are a few tips and tricks to displaying your child’s masterpiece.

Framed and Clipped

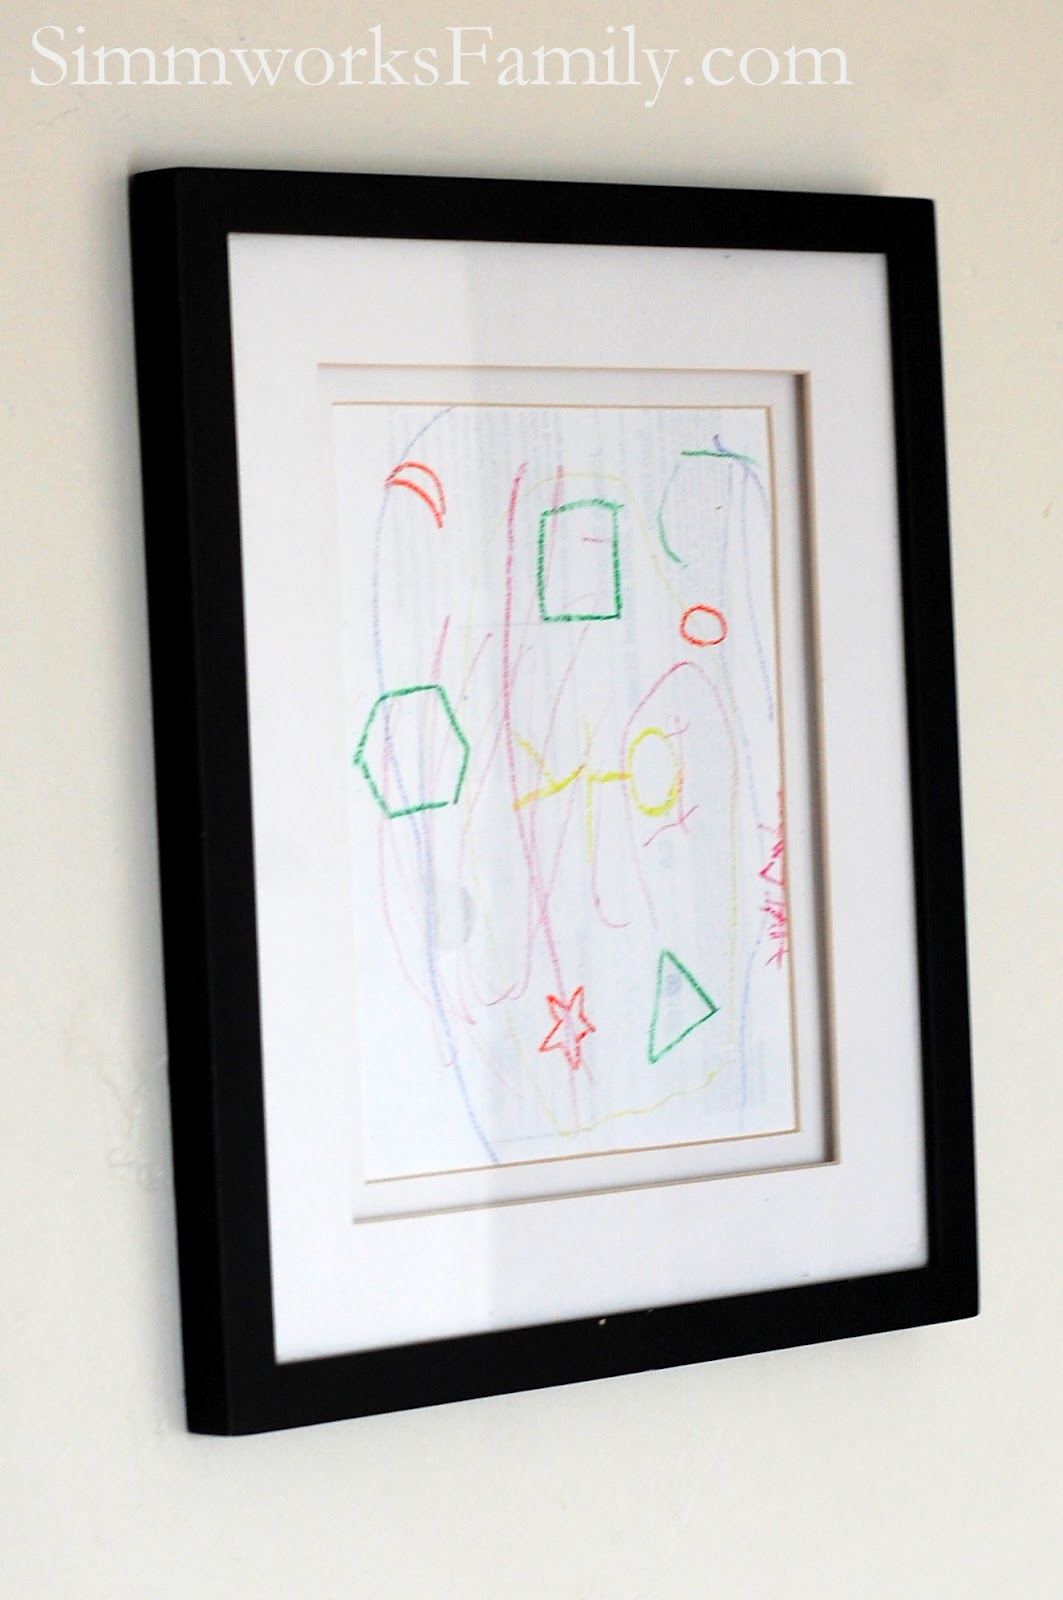
This is one of my favorite ways to display my kids stuff. All it takes is an empty frame, a butterfly clip and a nail or two. 

Simply hang the empty frame (garage sales are an excellent place to find these on the cheap), add the butterfly clip, and hang whatever artwork your child wants to display. You can easily swap out pictures as frequently as you’d like! And you can even personalize each frame by adding your child’s name inside (or outside) in vinyl letters to create their own space. 


Framed and Matted

We love to make crafts that are specifically for gift giving. One of the first craft projects my son and I made was this adorable footprint heart for Valentine’s Day. To make it extra special and display it in Daddy’s office we framed it in a matted frame to give it more depth. 

We also frame our children’s drawing as well on an “art wall” in our hallway. It helps to use simple frames that we can easily change out the pictures in. Each child gets to choose one piece of art to display all month. It can be a seasonal piece or something they’re proud of.


Framed and Pinned

This frame used to be a mirror. A mirror with a LARGE crack in it. We snagged it at our local furniture store for $7. Such a steal!

Simply put up a few letters to spell out ART and I have a customized large frame to thumb tack any artwork the kids might want to have showcased. Easy peasy!

And if you aren’t lucky enough to score such an awesome deal you can easily put up a large cork board and achieve the same effect.

How do you display your child’s artwork?


How to Make Dinosaur Party Hats

Find out how easy it is to make a dinosaur party hat with this template and some paper.

When planning my son’s Dinosaur Train birthday party I stumbled upon an Etsy store with printables for everything Dinosaur (you can check them out in detail on her blog). One of the things included in the kit was a dinosaur party hat. 

Since I wanted to make my party unique I opted out of purchasing the kit but I did find a way to make those adorable party hats! I used a template I found from Oh Happy Day for the base of the hat, picked up some cute cardstock from Michaels and got cutting and piecing together. 

Here’s what I came up with! 

This post contains affiliate links. 

Dinosaur Party Hats

What you’ll need:

What you do:

1. Print template onto cardstock (save 1-2 colors for the spikes).

2. Cut out the template by following the solid black lines.

3. Cut out the slit on the template.

4. Roll hat together and place tab into the slit. You may have to bend the top tab a bit to get it to fit. Once the tab is in, lift the top tab again so it doesn’t slide out. 

5. Cut out spikes leaving a 1/4″ space at the bottom of each spike row. 

6. Bend spike row on the bottom at the 1/4″ mark and cut the middle of the spikes to slide into the slot.

7. Tape spikes down from the outside and inside of the hat.

8. Using the X-Acto knife, make a small X on either side of the hat.

9. Place the ribbon or string in each hole and knot on the inside.

10. Decorate the hat more from here or leave as is for the perfect Dinosaur Party hat.

Do you have more ideas to make a party hat perfect?

Love this idea? Here’s some more dino party inspiration: 

Pin this article for later! 

Click the Pin button on the image below to save for later. 


Make DIY Dinosaur Fossils for Your Dinosaur Party

Find out how easy it is to make DIY dinosaur fossils for your next dinosaur birthday party or activity!

When I started planning activities to do at my son’s dinosaur themed 3rd birthday party I knew I had to have something fun that both the boys and girls would like. Since his party was a dinosaur train theme I started scouring the internet for great ideas on crafts my son and I could create together for the party.

After searching around a bit we found a great recipe for do-it-yourself dinosaur fossils! As soon as I showed my son the fossils he was all aboard. And then when I told him he’d have to help make them he quickly ran to grab the measuring cups and flour.

The fossils were a big hit at the party and the kids took turns finding them all over the indoor play place we were at. Then they took all of the fossils to two buckets we had set out and started opening their fossils to reveal tiny plastic dinos inside.

DIY Dinosaur Fossils

What You’ll Need:

  • 1 cup flour
  • 1 cup dirt
  • 1/2 cup sand (play sand works the best)
  • 1 cup water
  • 12 tiny plastic dinosaurs
  • Plastic wrap-lined cookie tray

What you do:

1. Dump the flour, dirt, and sand into a bowl.

2. Pour the water over the dirt mixture.

3. Stir the mixture together until it’s a thick muddy batter-like consistency.

4. Add more dirt, sand, and flour as needed if too liquidy.

5. Let your kids dip in the dinos and coat them well.

5. Place on plastic wrap-lined cookie tray and cover with a little more of the mixture to make sure it’s coated very well. Cover up any parts that may be sticking out.

6. Let the mixture sit out in the sun for a few hours to dry. Once the top side is dry flip each fossil over and let the other side dry completely.

7. Let the kids have fun breaking the fossils apart!

Have you made DIY dinosaur fossils you can break open before? 

Love this idea? Here are some more dino-fun crafts: 

Pin this article for later! 

Click the Pin button on the image below to save for later. 

DIY Cardboard Giraffe Tutorial for Preschoolers

When life gives you toilet paper rolls, make a cardboard giraffe! This simple tutorial shares how you can make your own DIY cardboard giraffe using only a few supplies.

Since I started incorporating Tot School lessons into our weekly schedule I’ve been on the hunt for more and more fun crafts for my kids. I’ve been using Pinterest to keep track of what crafts to make and love being able to choose crafts that pair well with the week’s theme. This week we learned about mammals so I thought this adorable cardboard giraffe would be the perfect craft to make.

My three year old LOVES to paint so whenever I ask him if he wants to do a craft where painting is involved he quickly agrees. I love that this craft not only includes a paint brush to paint but also q-tips to make circles on the cardboard. My son has never used q-tips in his painting and I think this is one fun tool we’ll start incorporating more often! We also used the circles as a counting tool as well. we were able to count each circle we made after we assembled the giraffe. We also got a lot of fun imaginative play out of this craft turned toy.

DIY Cardboard Giraffe

What you’ll need:

  • cardboard tube, paper towel size (about 1′)
  • paint brush
  • yellow paint
  • orange or brown paint
  • q-tips 
  • scissors
  • pipe cleaners (any color)
  • tape or glue
  • stapler
  • black marker

What you do:
1. Have your child paint the cardboard tube with the yellow paint. Make sure it’s completely coated. Let dry. 

2. Once the yellow paint has dried grab the orange paint and some q-tips.

3. Let your child dip the q-tips into the paint and start to dot the yellow cardboard. Don’t be alarmed if they start drawing lines instead of dotting. It’s all fun!

4. Let the orange dots dry. Once the paint is dried cut out four lines on one side of the cardboard. Then shape those four sections into the giraffe’s legs.

5. On the opposite side cut out a large U. The leftover portion of this side of the cardboard will be the neck of the giraffe. Take each open side and curl them into one another. Glue or tape closed.

6. Take the leftover cardboard from the U and roll it into a cylinder.

7. Glue or tape the cylinder closed. Flatten the cylinder and cut a V into one side.

8. Take the pipe cleaners and roll up one side to create the horns of the giraffe. Slide the horns into the cardboard slots and close with glue or tape. Let dry if glued. Bend cylinder at the base of the horns to get them to stick up.

9. Attach the head and horns onto the neck with tape or a stapler. Draw eyes and nose slits on the cylinder to personalize your giraffe.

10. Give your giraffe a name (or allow your child to name it) and start playing. Have fun!

The first thing my son did when we finished his giraffe was to take it out to play in the grass. The giraffe loved eating all of the grass he offered it. If you make your own DIY cardboard giraffe, please make sure to share a photo with us on our Facebook page

Have you made any cardboard animals? Which is your favorite? 

Love this idea? Here are a few more: 

Pin this article for later! 

Click the Pin button on the image below to save for later. 


© A Crafty Spoonful - All Rights Reserved
It is OK to use one of my photos provided a link back and/or proper credit is given. It is NOT ok to copy and paste a whole post including instructions. Please do not remove watermarks or alter images in any way. Please contact me with any questions at danielle@acraftyspoonful.com

.