Today we’re sharing how Plant Tape can change farming in California. This sponsored post is in partnership with the California Farm Water Coalition.
When I was growing up most of the produce I ate came from cans. And the only lettuce we ate was iceberg. As I got older and started to expand my palate, I realized how many fruits and veggies were out there to enjoy. I have to wonder if the lack of veggies in my life were due to the availability or my family.
Last month I was able to get an inside peek into the world of farming and produce in California thanks to the California Farm and Water Coalition. I was able to walk through and see for myself how hard the owners and laborers on our California farms work. And was able to hear first hand what challenges they’re facing in today’s world of farming.
Innovation and Technology in Agriculture
At each of the farms we toured there was one thing in common. Lack of laborers. With today’s political climate and the difficulty of getting enough H-2A visas (not to mention the cost) farms are seeing less and fewer workers show up each day to pick the crops. And unpicked crops means wasted food. Laborers don’t just pick the crops, they also help plant the crops as well.
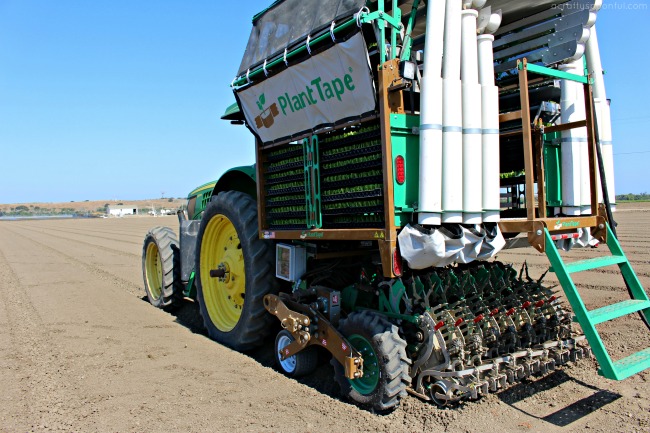
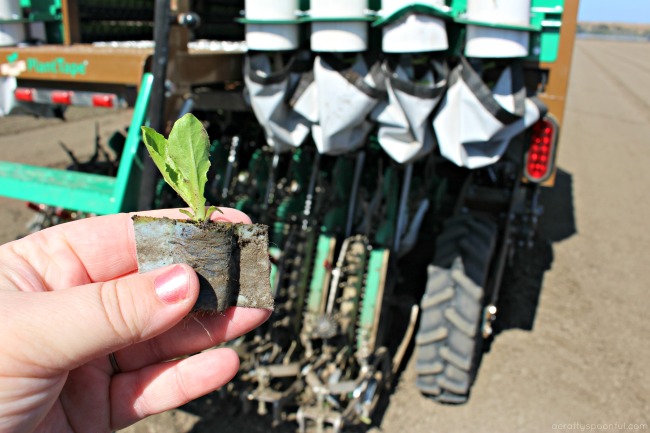
In an effort to come up with a solution to the labor shortage, Tanimura & Antle turned to innovation and technology in the agricultural world to help aid in their crop planting. Did you know that seedlings need to be placed in the right direction or else they won’t grow? With most technology today, the one underlying problem was the inconsistency of the placement of the seedlings. Enter Plant Tape and Tanimura & Antle have seemingly found the solution they were looking for.
The Power of Plant Tape
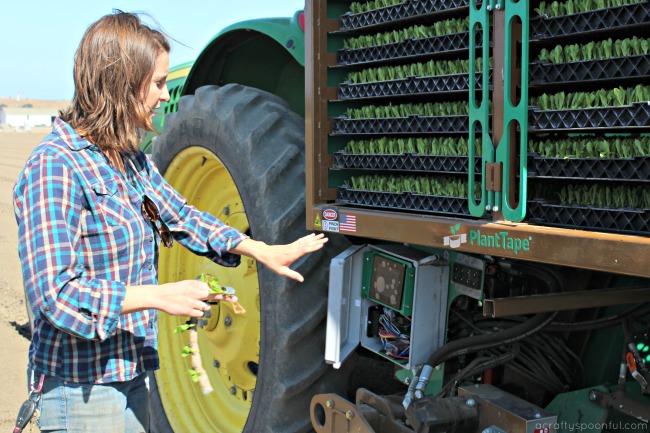
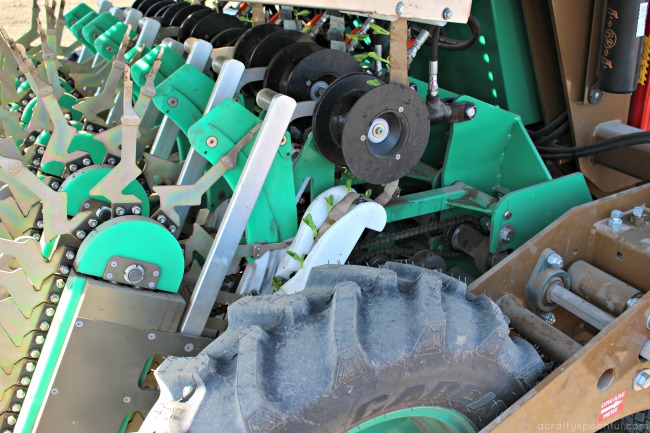
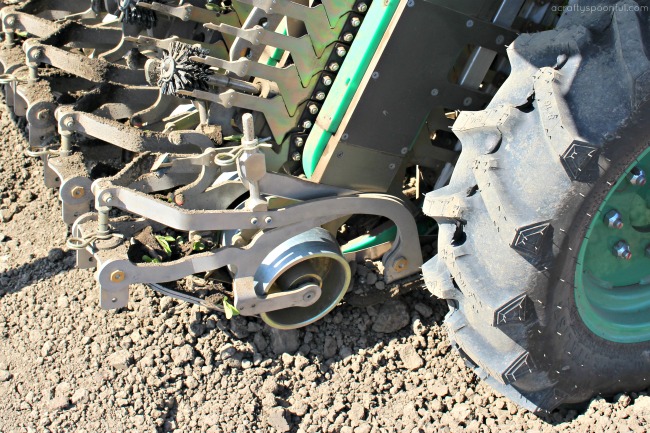
Originally developed in Spain, PlantTape was acquired by Tanimura & Antle in 2014 for technical development and commercialization in the United States. The PlantTape automated transplanting system is ideal for farmers wh are looking to increase efficiency and productivity for their crops. This system is more efficient than conventional transplanting methods.
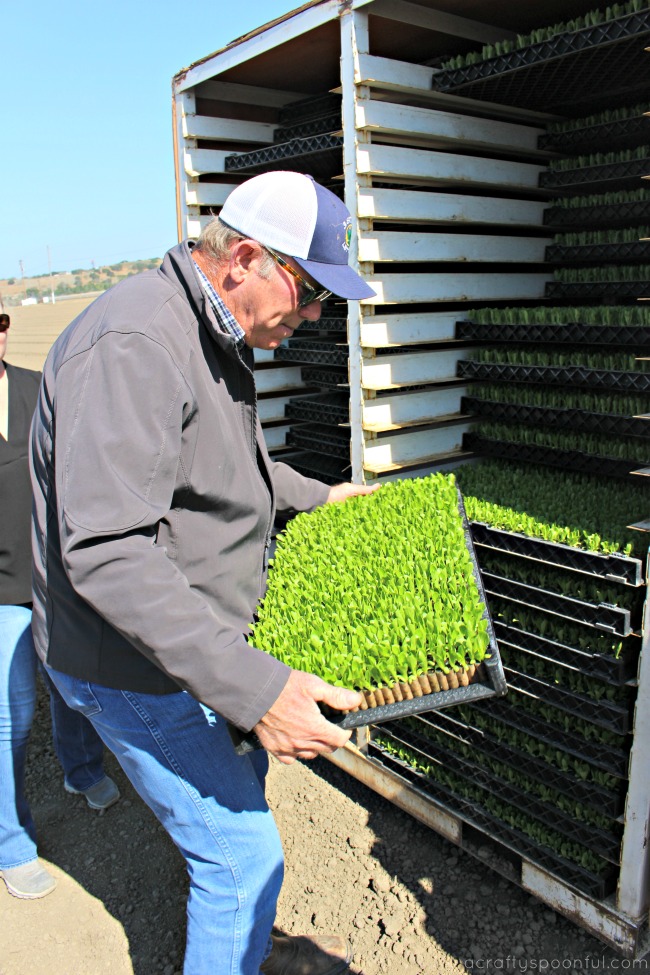
PlantTape offers a fully integrated system from sowing the tape, to germination and nursery care, to transplanting in the field. PlantTape is commercially used to plant lettuces, broccoli, cauliflower, celery, onions, tomatoes, cabbage. Other crops are currently on trial.
8 Reasons Why Plant Tape Is Changing the Agricultural Future
1. Less Plant Stress
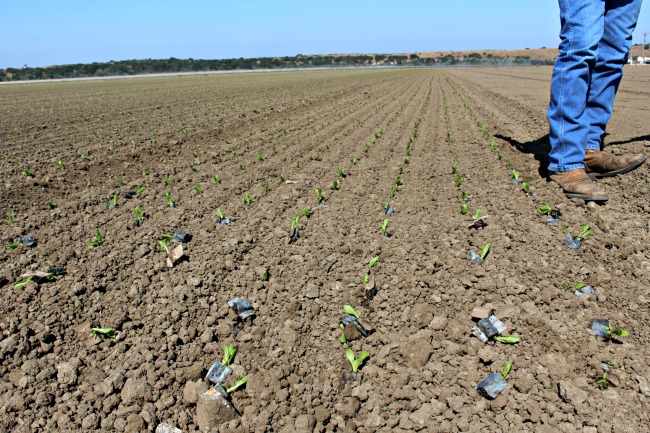
Plants are germinated in the nursery under ideal conditions and then transplanted in the field at optimal spacing without causing stress or damage to the plants or the planting beds.
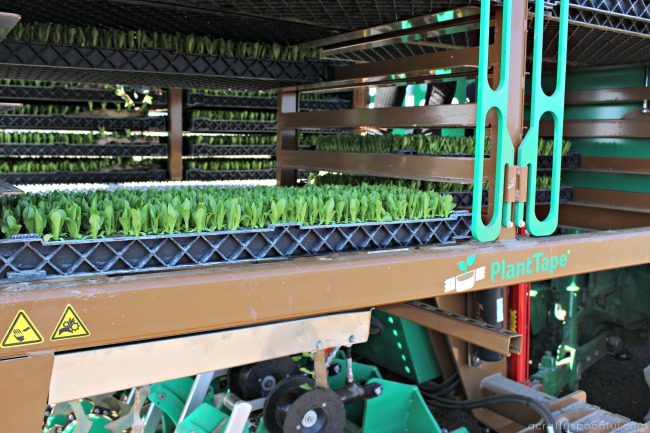
2. Greater Plant Density
PlantTape provides a greater density of plants per tray than the standard plug system to maximize efficiencies.
3. Reduced Seed Cost
Due to the controlled nature of this process, fewer seeds are wasted through misplanting, blowing away, etc. This lowers the cost of seeds per crop.
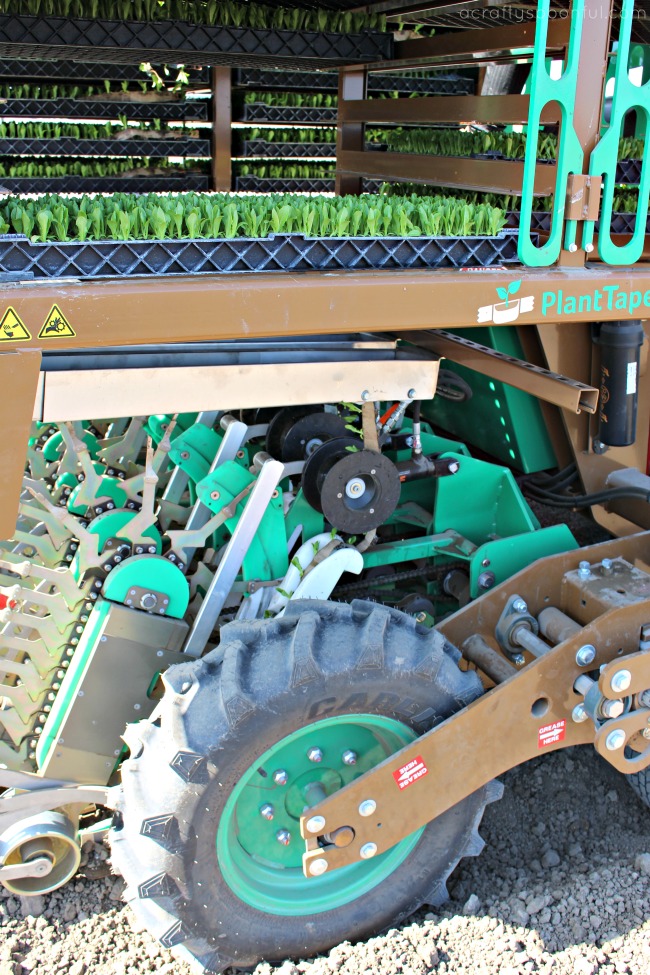
4. Reduced Labor
The automated transplanter minimizes the need for additional labor in the field and allows farms to focus on utilizing their workers in other aspects of farming.
5. Transplant Flexibility
PlantTape seedlings can be transplanted at nearly any stage of maturity, from a few days after germination to fully developed seedling plants. This provides tremendous flexibility with logistics and planting schedules.
6. Sustainability
PlantTape uses less peat than conventional transplanting plugs and all of the PlantTape materials are biodegradable. There are also water conservation advantages with less irrigation needed in the field.
7. High Quality Crops
Plants are germinated in the nursery under ideal conditions and then transplanted in the field at optimal spacing without causing stress or damage to the plants or the planting beds. The result? A uniform and high quality crop.
Want a peek at the process? Check out more here.
In addition to innovation and technology in the agricultural world, we also learned quite a bit about the farming process, the packaging process, and the challenges our farmers face in the world today. We’ll be sharing more of our experience with California farms soon to continue the conversation.
But for now, check out these posts from my influencer friends who joined me on this trip to learn more:
13 Things You Didn’t Know About Your Produce
Have you toured a farm? What did you learn?
Love this post? Check out these articles!