10 Tips To Teach Children The Basics of Organization

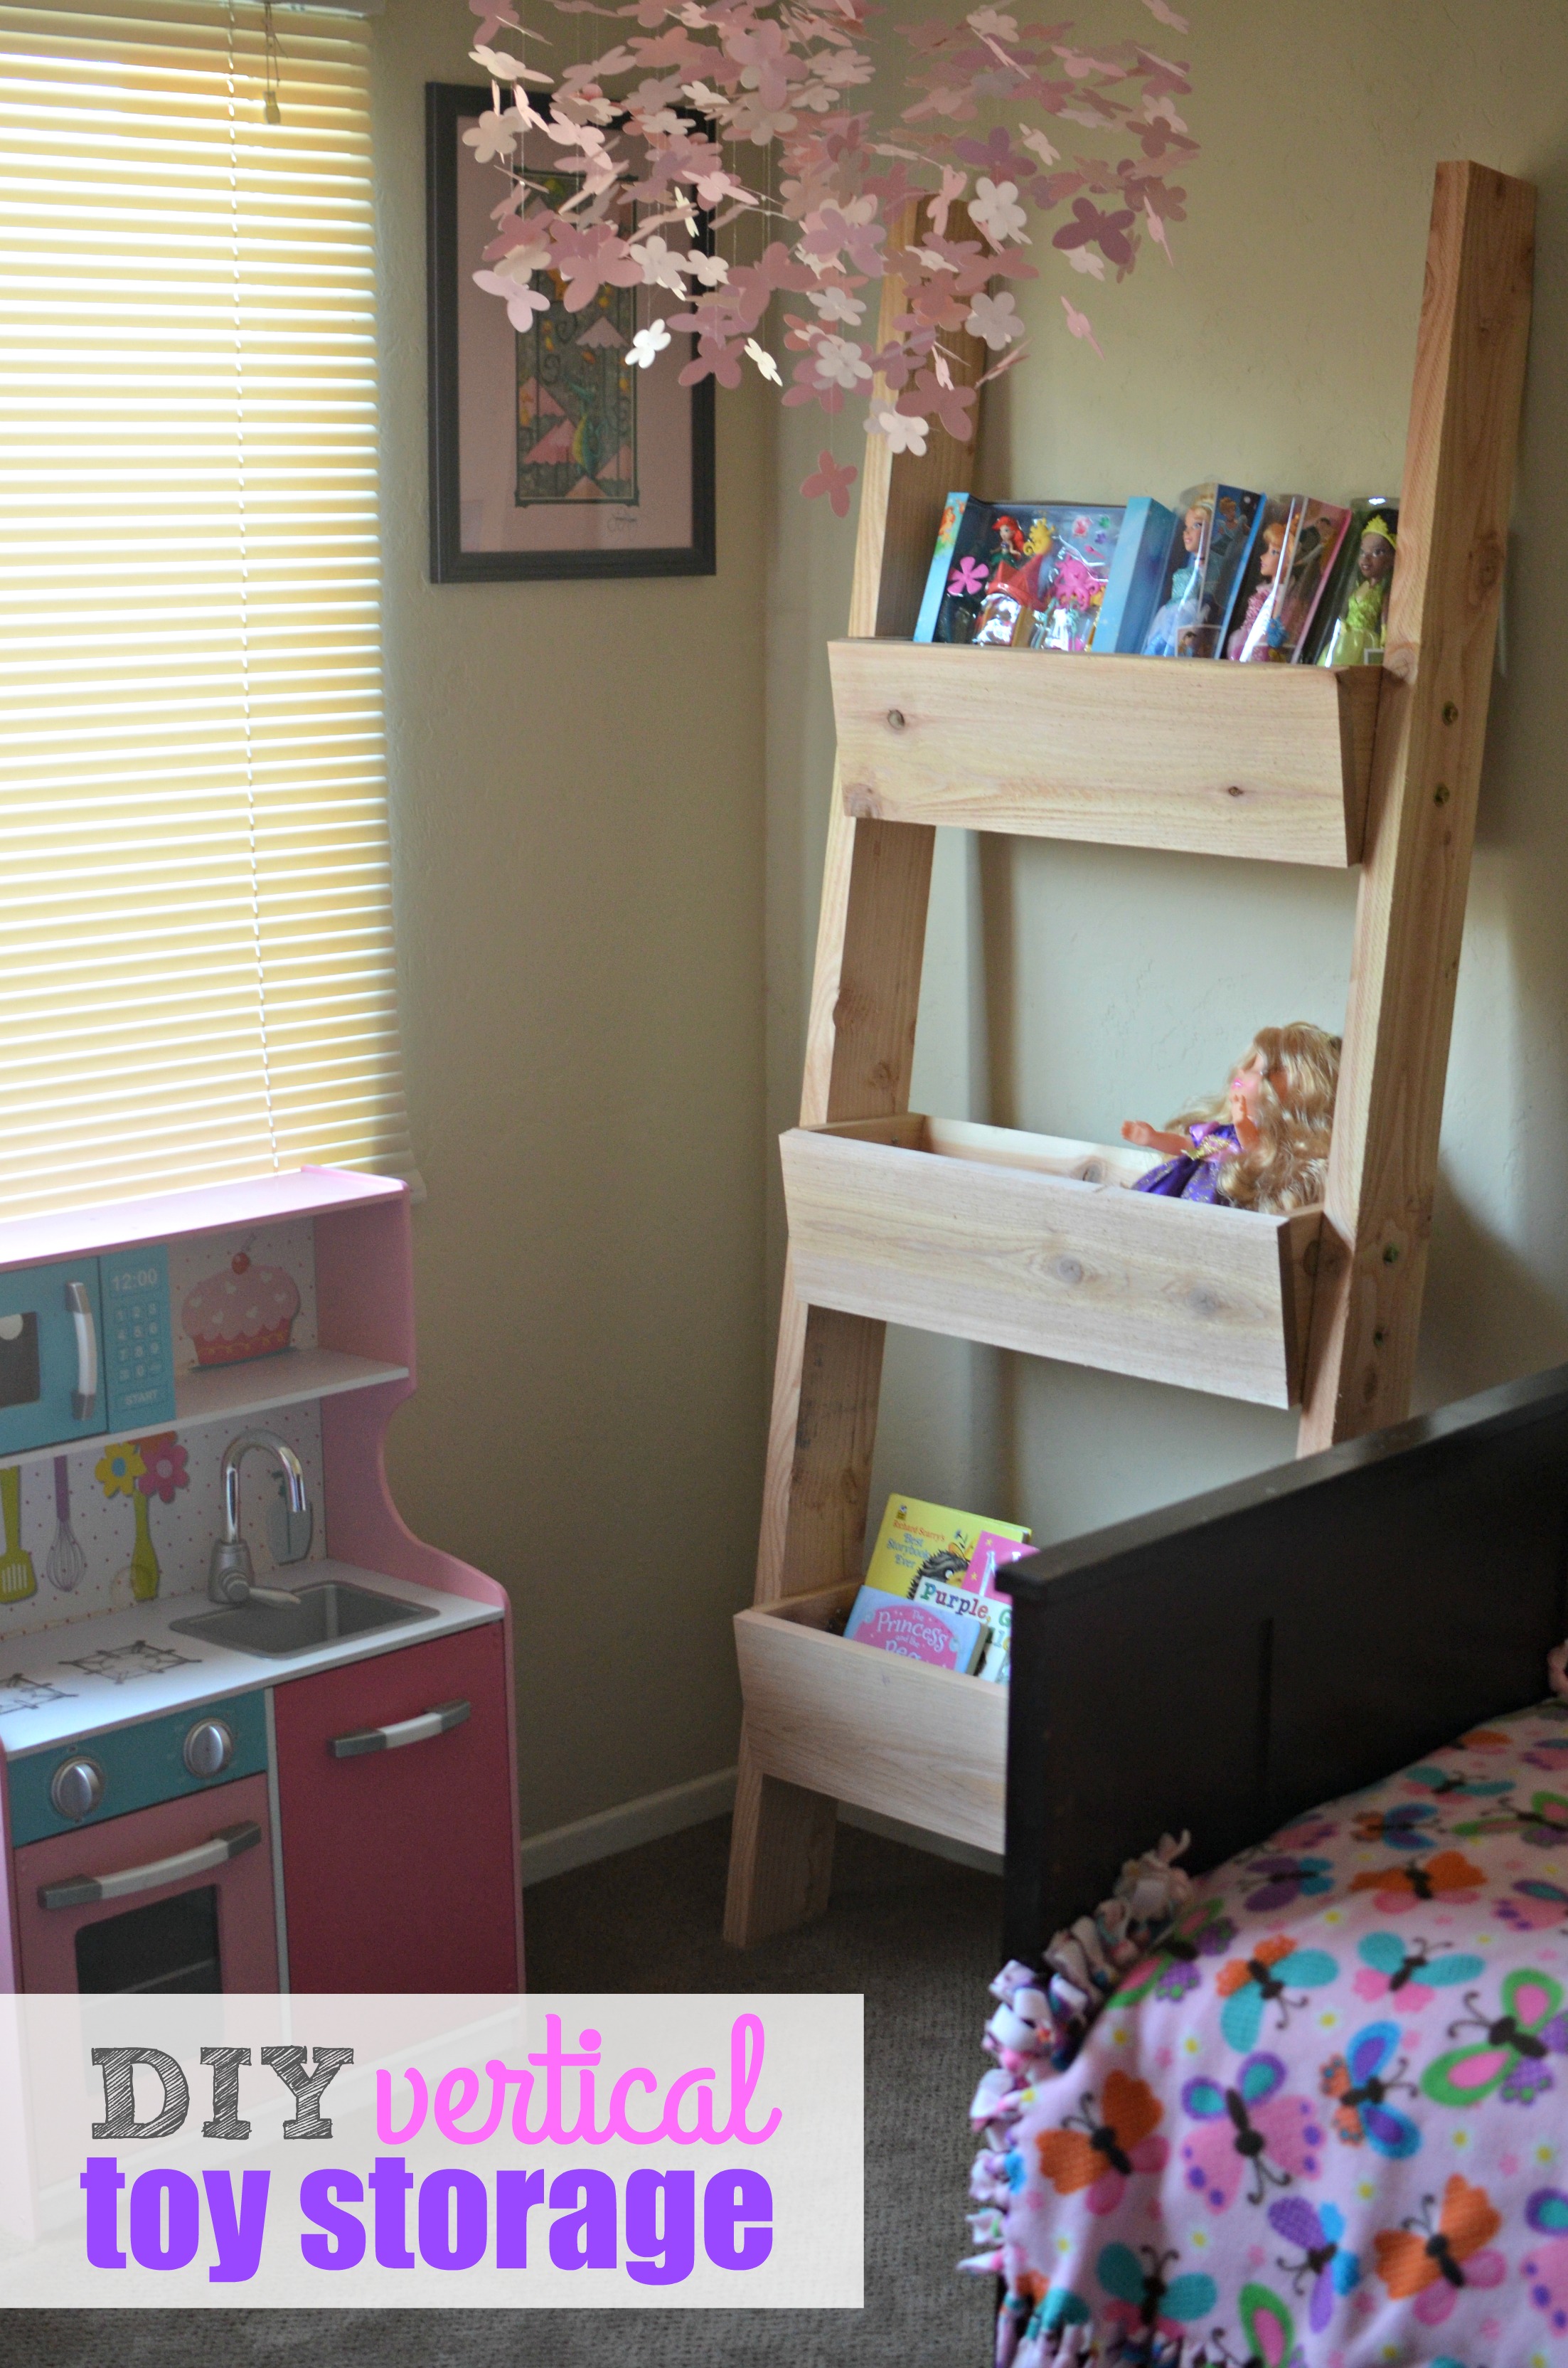
These 10 tips to teach children the basics of organization can help get your kids to start picking up after themselves and stop leaving messes all over the house. 

10-tips-to-teach-children-the-basics-of-organization

Teaching your child how to organize can be comparable to brushing your teeth while eating Oreos. As much as parents like to do things themselves, there comes a point where children must learn to do things on their own. And now is about the time that my kids need to start picking up after themselves and learning how to keep their areas organized. 

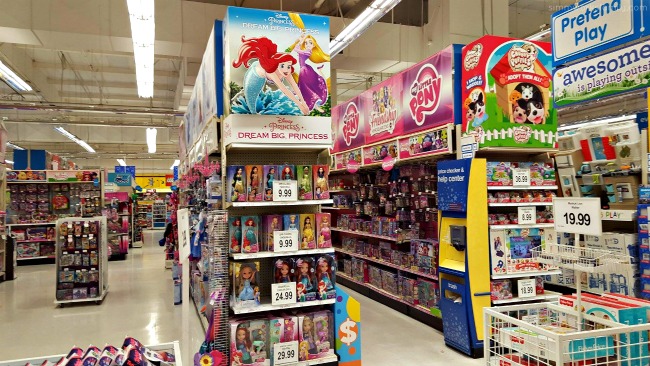
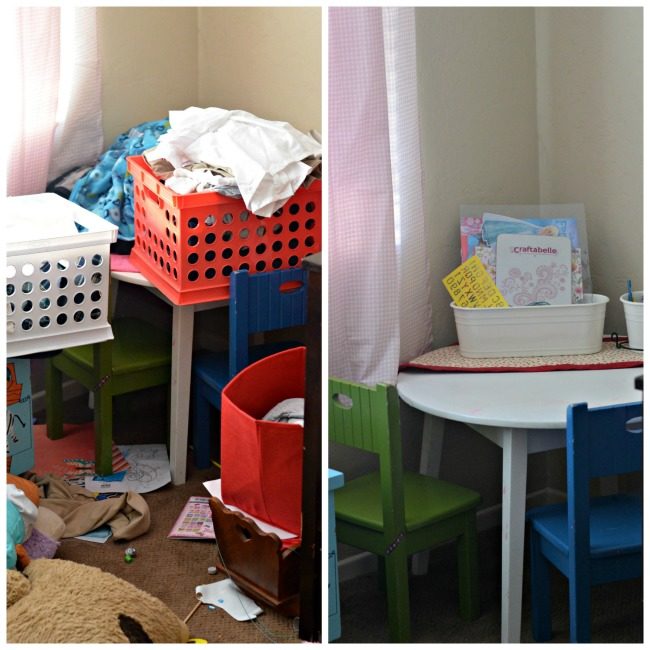
After two weeks home with the kids and little messes made in every.single.room of the house over the holiday break,  I was done. And at one point I’m pretty sure I grabbed a big black trash bag and threatened to pick up everything I see on the ground and give it away. Mama was over it. And the kids picked up on that. 

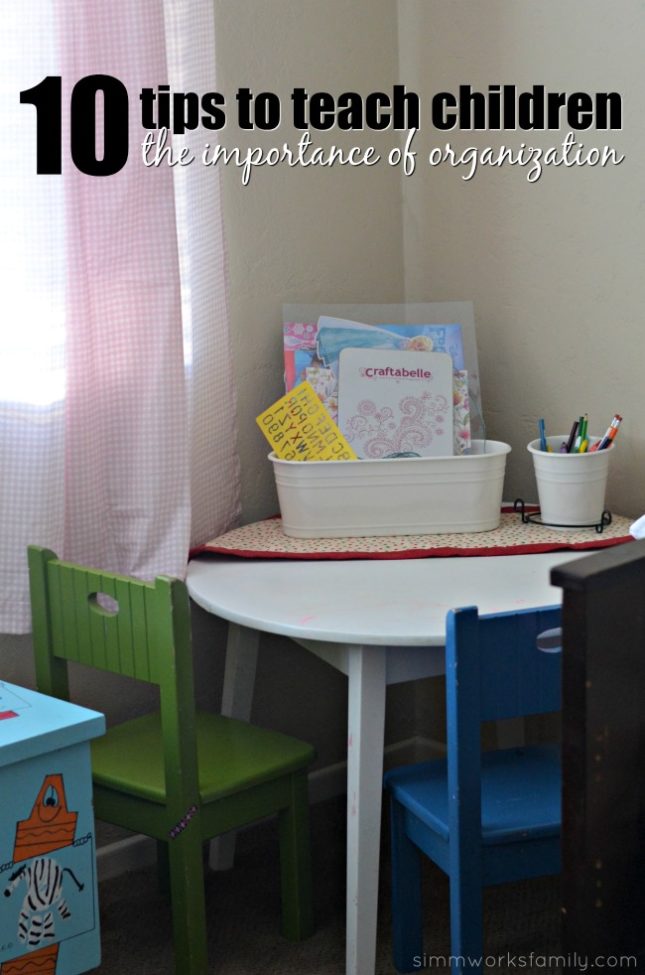
Our house is set up so that our children can let their inner creativity shine. BUT at 6 and 7 years old I think they’re old enough to start learning how to start organizing their things. Putting stuff away once they are done using them so that they’re not in every corner of our home. Or so that they don’t end up in a pile on their bed or bedroom floor. 

Starting with the basics is one way to help your child learn how to organize. And that’s exactly where we’re starting. 

10-tips-to-teach-children-the-basics-of-organization-before-and-after

10 Tips To Teach Children The Basics of Organization

#1. Simplicity

Teach your child that organization doesn’t need to be complicated. Organization should be used as a tool to make everything simpler.

#2. It Takes Time

One thing a child should know about organization is that it takes time. Even the most basic forms of organization will take some time.

#3. Limits

Your child should know that to be successful in organization there has to be limits put on things. You can’t collect every single paper you bring home from preschool.

#4. Donations

It’s amazing how much one person can collect overtime. Teaching your child the basics about donations will help them learn about organization. They should know that when a person has extra of something, it’s okay to donate to someone else less fortunate.

#5. Bring one in Take one Out

One rule a child should know about organization is the value of doing it “as you go.” If you buy something new and bring it home, then the rule is that something else has to leave. Learning to let go of items can be a hard lesson.

#6. Everything Has a Home

I think one of the most valuable lessons a child can learn in organizing is that everything has a home. You don’t need to leave everything out on the floor, simply put it away. When everything has a home the basics of organization seem pretty simple.

#7. Teamwork

Teach your child that it’s okay to ask for help when they need it. Sometimes organizing can be incredibly overwhelming. Teaching your child to ask for help is a tip they’ll need to carry with them for a long time.

#8. Know Their Limits

A child should be taught the basics of organization, but there is no need to be incredibly pushy about it. There should be a happy medium between proper organization and overzealous organization. 

Your child doesn’t need to spend every waking moment organizing their room. Have your child set a 15 minute timer for their organizing time. When that time is over, they get to take a break.

#9. Prioritize

Organizing can be overwhelming because sometimes there’s too much to do and not enough time. Teach your child how to prioritize one task over another. For example—The floor needs cleaned up before you can sweep.

#10. Get Creative

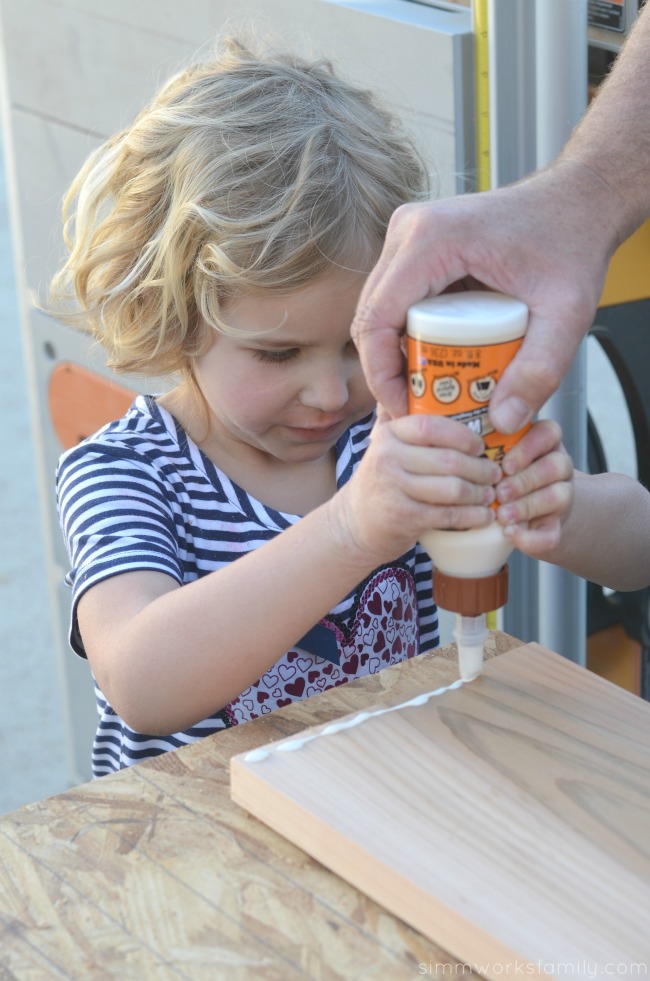
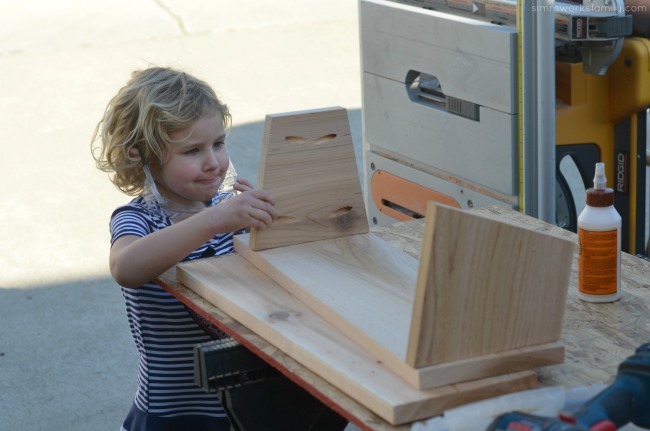
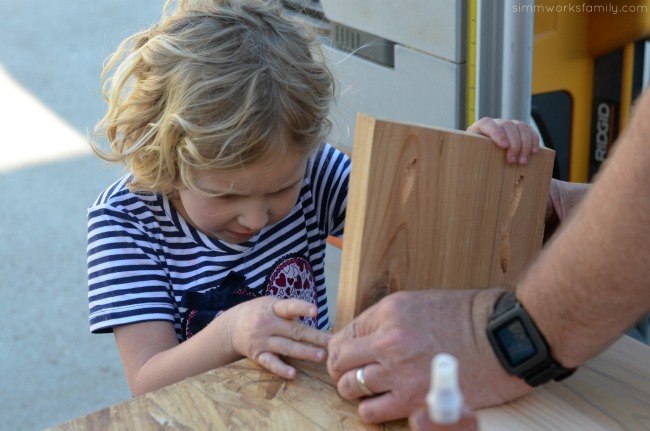
There are no rules to organizing. One family’s idea of organizing is different than another. Teach your child the basics behind organizing and they should be good to go. Also teach them that getting creative with the resources is a smart move. For example—You don’t need to go out and buy organizing items, you can use what you have at home. Use a milk crate for a toy box and etc. 

10-tips-to-teach-children-the-basics-of-organization-folding-clothes

Try to refrain from getting frustrated or yelling when you’re teaching your child about organizing. Children should grow up to love this sort of exercise, not grow to hate it.

How do you get your kids involved in the organization process? 

Teaching My Daughter To Find Her Dreams + a DIY Vertical Toy Storage Tutorial

This shop featuring a tutorial on DIY Vertical Toy Storage has been compensated by Collective Bias, Inc. and its advertiser. All opinions are mine alone. #InspireBigDreams #DreamBigPrincess #CollectiveBias

DIY Vertical Toy Storage Tutorial

My daughter. She is so strong. She’s always known what she wanted since she was a small child. I’m sure many of my family members remembered how she’d refuse a bottle because she knew she only wanted to nurse. She’d make my husband drive her all the way to my work to nurse her at lunch time. And then would wait until I got home to eat again. She still, to this day, knows exactly what she wants. And for the most part she knows how to get it.

From finishing fun projects she’s set out to start, to learning new things and going on fun exploratory journeys to do so. She is so brave. And so generous. And just the kindest girl I know. Sometimes I look at her and wonder how I got so lucky to have a daughter like her. She’s a lot like some of her favorite Disney Princesses. Inquisitive like Ariel, adventurous like Rapunzel, and smart like Tiana.

The other day she came to me asking if she could help kids who might not have as much as her. We had talked about how blessed we are as a family a few nights prior and how much we have after one of the kids had a meltdown after not getting a toy at a store. We went over how not everyone was blessed enough to have a huge birthday party every year, or is able to go to theme parks with their family, or even get new toys at Christmas and on birthdays. So my sweet girl asked how she could help make sure other kids got the gifts and toys they deserved. How could I not help her with this?

Building a DIY Vertical Toy Storage needs precise measurementsDIY Vertical Toy Storage - glue pieces before screwing together

So we set out to make a list of all of the places we could ask for donations. We also thought about how we could also chip in a bit to purchase new toys. And we came up with a game plan. Any time we head over to Toys ‘R Us to window shop or pick out a gift, we’re going to grab one extra. Guess what Molly’s doing to help? She’s saving up her dollars to use on the extras we purchase. Yup! She thought of that all by herself too. That kid. She makes me proud. 

And then she asked if we could make a toy chest for her room so she could put all of the extra toys we collect somewhere as we collect them. Since I’m not one to squash her ideas and dreams, we set fourth to make a great DIY vertical toy storage with her help, of course.  Why not build up her dreams literally and figuratively? 

DIY Vertical Toy Storage - measure twice cut onceDIY Vertical Toy Storage takes focus to build

With the help of a few princesses, some tiny field mice, a dad’s guiding hand, and a mother’s encouragement our project came together quite nicely. I think it’s absolutely amazing that both of our older kids love helping my husband and me with our projects. Whether it’s sanding, glueing, hammering, and even using a drill, they’re up for the challenge. It doesn’t hurt to have a super handy husband who can make just about anything. So when I drew out my vision he was 100% on board with creating a plan. 

Now her new dolls have a home, and we have designated to top box for new toys we’ve collected to donate. At the end of every quarter we’ll collect up our toys and find a local charity in need to donate them to. 

The best part about all of this? Now my youngest will have her own person to look up to and learn from. And I know her sister is going to teach her every thing she knows about following her dreams. Sure she’s only 1, but it’s never too early to encourage them to be strong and think for themselves even if it is a bit difficult at times. I’m up for the challenge! 

DIY Vertical Toy Storage Tutorial top tiers

DIY Vertical Toy Storage Tutorial and twirling with princessesDIY Vertical Toy Storage disney princess royal shimmer dolls

DIY Vertical Toy Storage

What you need:

  • 2 2’x6’x8′ doug fir boards
  • 3 1’x8’x8′ western red cedar boards
  • wood glue
  • miter saw
  • 3/8ths inch drill bit + drill
  • pocket screw jig
  • 12 1 1/2″ pocket screws
  • 12 2 1/2″ 5/16ths bolts
  • 12 5/16ths T nuts
  • 12 5/16ths washers

What you do:

Build 3 Boxes

  1. For the first box, cut one 1 x 8 x 8′ board into the following:
    – 2 – 24″ sections (front and back of boxes),
    – 1 – 22 1/2″ section (bottom),
    – 2 – 7 1/2″ section (sides)
  2. Screw and glue the pieces together. 
  3. Repeat again to make 3 boxes total

Build Side Box Supports

  1. Cut 2 x 6 x 8″ boards to 74″ long. These will become the side supports of your vertical storage.
  2. Lean one of the sides against a wall. Put a straight edge on ground against 2 x 6. Trace angle on 2×6. We used a 50 degree angle. Cut along line you have drawn. Transfer angle to other 2 X 6 and cut to match.
  3. Now put straight edge against wall and trace line on 2 X 6. Cut along line. Repeat for other 2 X 6. Both pieces should be identical.

Attach Boxes

  1. Lay one of the 2 x 6’s flat on the ground. Position one of the boxes in the lowest spot (bottom of box should be about 8-12 inches up from bottom of the board). Make sure to adjust box so that it’s level once it is resting on the wall. Next, lay out the second box. Finally position the third.
  2. When happy with the spacing, use screws to attach box to 2 x 6 side. Now put other 2 x 6 side flat on the ground. Flip partially assembled side to rest on 2 x 6. Attach with screws once lined up.
  3. Reinforce with bolts once unit is assembled with screws.

DIY Vertical Toy Storage close up of boxes DIY Vertical Toy Storage inside of box

DIY Vertical Toy Storage also good for books

If your daughter is interested in following her dreams and ideas, check out this great video from Disney on how she can be a champion too. You can find the full line of Disney Princesses at Toys ‘R Us including my daughter’s favorite Disney Princess Royal Shimmer Dolls and Little Kingdom Ariel’s Sea Castle. They’re easy to find when you look for the dedicated Disney Princesses aisle in store. 

Dream Big Princess Display at Toys R Us

How do you support your daughter’s dreams?

Spring Cleaning Tips With A Little Help

Spring Cleaning Tips

Being a mom of three has proven one thing… we have too much stuff. No, seriously. Between the baby’s items, the toys, and the clutter everywhere else I feel as if our house is just bursting at the seams. And we already moved to accomodate our expanding family!

So what can we do besides move? Organize. [Read more…]

Tips to Clear Out The Clutter with Close5

This post featuring tips to clear out the clutter is sponsored by Close5. All opinions are my own.

Tips to Clear Out The Clutter with Close5

If your house is anything like mine after the holidays then you’ll know why I’m at my wits end trying to get rid of the bomb that exploded Christmas day. While we didn’t go overboard for Christmas, the few things we did bring into the house are just enough to leave our house in a constant state of clutter.

So what’s a 36 week pregnant mom to do? Purge, purge, purge!! 

And with the help of a few tips I have, I’ve been able to do just that. Just in time to try and find out where we’re going to put all of this new baby stuff… [Read more…]

How to Create a DIY Homework Station for Less

Creating a DIY homework station isn’t hard. In fact, you don’t have to spend a lot of money to do it! This post featuring a DIY homework station is brought to you by Dollar Tree.

How to Create a DIY Homework Station for Less

With my son starting kindergarten in September and the horror stories I’ve heard of the piles of homework that now get sent home with kindergartners I thought it’d be a good idea to create an easy DIY homework station for him to do his work and projects.

Since we now have an office in the new house I made sure to include a desk space in there for him to share with me and his father. Then we got to organizing and finding storage. [Read more…]

Tips for Organizing Holiday Decorations

I participated in an Ambassador Program on behalf of Mom Central Consulting for Brother P-touch. I received a product samples to facilitate my review and promotional item as a thank you for participating.

tips for organizing holiday decor
I’m a crazy person when it comes to holiday decorations. I love being able ot fill the house with fun reminders of the holidays coming up and enjoy making and purchasing holiday decor. The one thing I don’t like? Organizing holiday decorations.

So when I received my Brother P-touch PT-H100 label maker a few months ago I knew the one project I needed to tackle after the holidays was to organize my holiday decor. And that includes big and little holidays.

Because when I head out to the garage to grab the next holiday’s bin, I don’t want to see Christmas in the Valentine’s & Easter box. Because next Christmas I’ll be wondering where the tree skirt went. [Read more…]

Organization Ideas: How to Organize Your Christmas Presents

 I participated in an Ambassador Program on behalf of Mom Central Consulting for Brother P-touch. I received a product samples to facilitate my review and promotional item as a thank you for participating.

How to Organize Your Christmas PresentsAbout two weeks before Christmas I start to panic. Wondering if I’ve purchased for everyone on my list, if I’ve picked the right things. And if the things I purchased for both of my kids were “fair” in that the number of presents opened seem to be the same. So I decided this year that I’d figure out out. And I’ve come up with a solution on how to organize your Christmas presents.

I followed a few simple steps, made sure to stick with my plan, and successfully kept track of all of my purchases. I surprised myself and my husband with my organization.

Lucky for my I also just received a Brother P-Touch label maker and worked on organizing my office. So using the label maker to help organize my purchases for Christmas just made sense. Below are a few tips on how you, too, can help organize your holiday purchases. [Read more…]

Craft Room Organization Ideas with the Brother P-Touch

I participated in an Ambassador Program on behalf of Mom Central Consulting for Brother P-touch. I received a product sample to facilitate my review and promotional item as a thank you for participating.

Craft Room Organization IdeasThe holidays are upon us! And for me that means busy season. Not only are we crafting up a storm this time of the year but I’m also working a lot as well. So that means organization is key.

Since my craft room and office are the same workspace (shared with the kids playroom) I really need to stay on top of the organizing so that nothing goes missing. Because it has before.

My secret weapon for tackling my craft room organization is the Brother P-touch PT-H100 label maker. With it’s ease of use, multiple options, and quick printing, I can have everything I need to get my craft on right in front of me and easily identifiable. [Read more…]

Planning for the Future: Retirement Planning

While I am far from retirement I have started planning for it from an early age. The one thing my dad always talked about as soon as I was old enough to get a job was to start saving early so I would have enough put away when I was ready to retire. Yes, at age 16 I was already well aware of retirement planning.

And I did what I’m sure other teens did not do. I listened to my dad. And at the age of 17, when I was eligible per my company’s regulations, I opened up a 401K. At first I simply put in a certain percentage, not quite sure what matching was and how it would benefit me.

Then my dad taught me the benefit of being aware of how company matching could do for my savings and I increased the percentage I was putting away each week. Lucky for me my husband also felt the same way about early retirement planning and had already started his 401K as well.

But I’m sure many aren’t lucky enough to have a dad like mine who pushed me to save at such an early age. So I’ve come across some great tips while researching ways to continue my retirement planning now that I’m a work-at-home mom.

Retirement Planning at an Early Age

1. Set up an automatic retirement savings plan –

Whether you contribute to a 401K through your work or set up a savings account on your own, start putting away a percentage of each paycheck starting now. The sooner you start saving – and investing – the sooner you’ll be able to retire.

2. Take advantage of employer contributions –

As I mentioned before, the company I worked with would match our 401K contributions up to a certain percentage. If your company offers this then you should definitely be taking advantage of this. Who can say no to free money? Usually there is a cap on what they’ll match to so make sure you know all of your company’s guidelines and regulations.

3. Leave your money where it is –

While it may be tempting to cash out on your 401K for that new car or a down payment on a house, you aren’t doing yourself any favors! Consider sitting down with a financial planner to plan out how to save for large purchases or investments without touching your savings. You’ll be thankful in the long run.

4. Sit down with a professional –

Still lost with all of this talk of savings? Consider sitting down with a professional and going over your finances. From there you can determine just how much you can be putting aside for retirement and how long you’ll continue to do so. There are so many great resources and apps out there for us to use. Take advantage of the knowledge at your fingertips!

Have you started planning for retirement?

With our financial planning laid out and a plan for retirement always in the works I feel a lot better about our future. I definitely don’t want to be working past 65 if I don’t have to. And if my husband and I are still lucky to have our health by then we want to be able to use that time to enjoy ourselves.

Planning to retire a little sooner than I am? Consider reading this article on 7 Tips for People Planning to Retire in 2013 to find out if you’re ready to retire sooner!

Disclaimer: Information for this post is sourced from Genworth Financial in partnership with the SheHeard Influencer Network. All opinions are my own.

Money Management Tips: How to Prepare For an Emergency

Since taking over the family’s finances when I became a work at home mom and attempting to reign in on our spending and pay off our debt I’ve come to realize just how important it is to prepare for the unexpected.

As important as it is to recognize the day-to-day expenses, it’s also very important to set aside funds for things that just happen. A few months ago my daughter was bit by the family dog. All is fine with her now but at the time I had no idea what our bills were going to look like after our ambulance trip and ER visit.

Lucky for us we put aside funds for emergencies like this and are prepared. And while it was a very scary thing to go through, not having to worry about paying the bills afterwards was a relief.

money management tips emergency

[Read more…]


© A Crafty Spoonful - All Rights Reserved
It is OK to use one of my photos provided a link back and/or proper credit is given. It is NOT ok to copy and paste a whole post including instructions. Please do not remove watermarks or alter images in any way. Please contact me with any questions at danielle@acraftyspoonful.com

.