Updating Our Home: How To Decide On Flooring

Today we’re sharing how we decided on the flooring for our home. With help from Mohawk Flooring, this sponsored post features tips on what to consider when making flooring decisions.
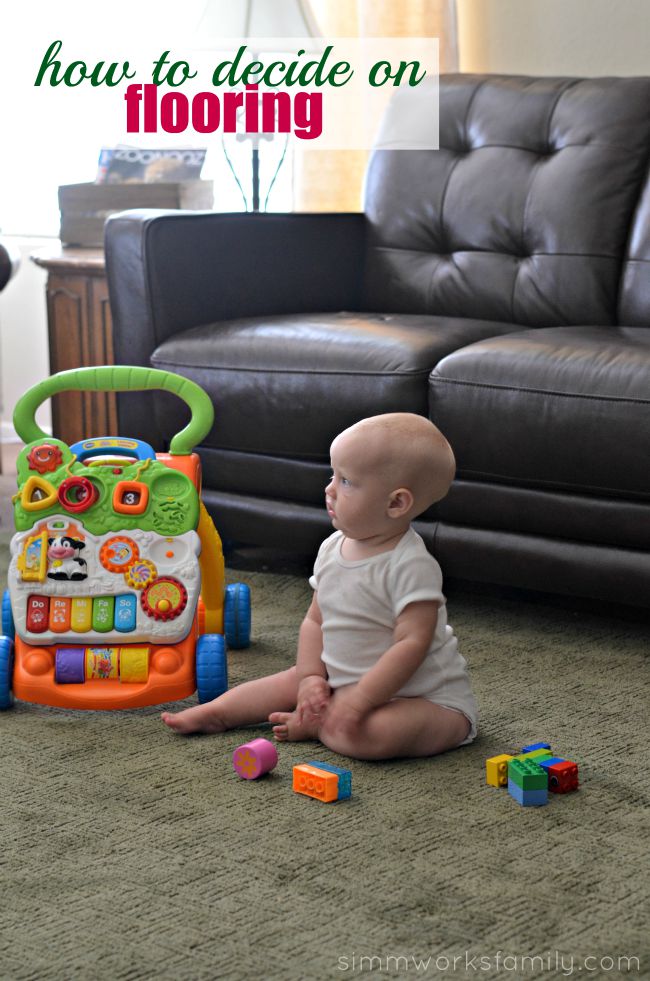
Updating Our Home How To Decide On Flooring

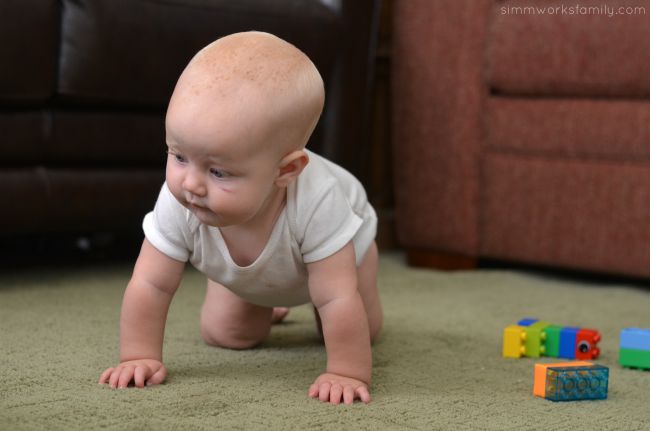
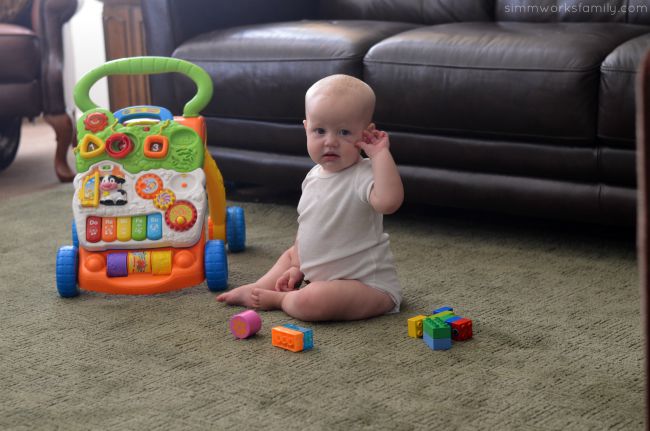
As the little miss gets closer and closer to crawling, one thing is on our minds: flooring. When we moved into our new home a year ago we knew we wanted to change things up and update the existing flooring but we wanted to wait a bit to get a feel for exactly what we wanted. Now that we’ve lived in the home for a while we know exactly what we want and are saving up to create the home of our dreams, flooring and all.

We’ve gone to check out flooring quite a few times and have finally decided on what we’ll be doing. Since we have to do this in stages, we’ll focus on the downstairs first.My big change will be to take out the carpet in the living and family rooms as well as the hallway to the bedrooms. Then I want to update the carpeting in the downstairs bedrooms, the stairs, and the upstairs rooms to SmartStrand Forever Clean carpet. After our experience with our SmartStrand bound carpets, we know that this product is perfect for our family. Luckily, Mohawk is having a sale!

Updating Our Home How To Decide On Flooring - consider pets and children

How To Decide On Flooring

  1. What Room Are You Updating? – Consider the room the flooring will be in and what you’re using it for. Also consider who will be walking on it. Since we have a dog and small kids, that factors into our decision making. In high traffic areas like our hallways and living/family rooms, we need something that’s durable and easy to clean. In the bedrooms we prefer to have the soft, plush feel of carpet to step on when we wake up. 
  2. What Type Of Flooring Is Best? – Now that you’ve decided what type of flooring you want in your room (carpet, hardwood, etc) you can now narrow down what’s best for that room. Just like the factors you took into consideration when choosing what would go best in the room, you’ll also consider those same things when deciding the specific flooring you get. Also consider the warrenty on the flooring you choose as well as the expected life of the flooring so you know when you’ll need to replace it. 
  3. What Other Colors Are In The Room? – Once you have the type of flooring picked out, now it’s the fun part! Deciding on color/pattern. The biggest deciding factor for me with color is looking at the color palette of the room it’s going in and determining what color would look best. But don’t just go by a small sample square. Most flooring stores will have someone come out with a few large samples so you can see what the color will look like better than those small squares. 

Updating Our Home How To Decide On Flooring - consider colorscape of the room

You can follow Mohawk on Pinterest, Facebook, Twitter, Instagram and Google+ for more flooring inspiration.
Where will you install your new flooring if you win?

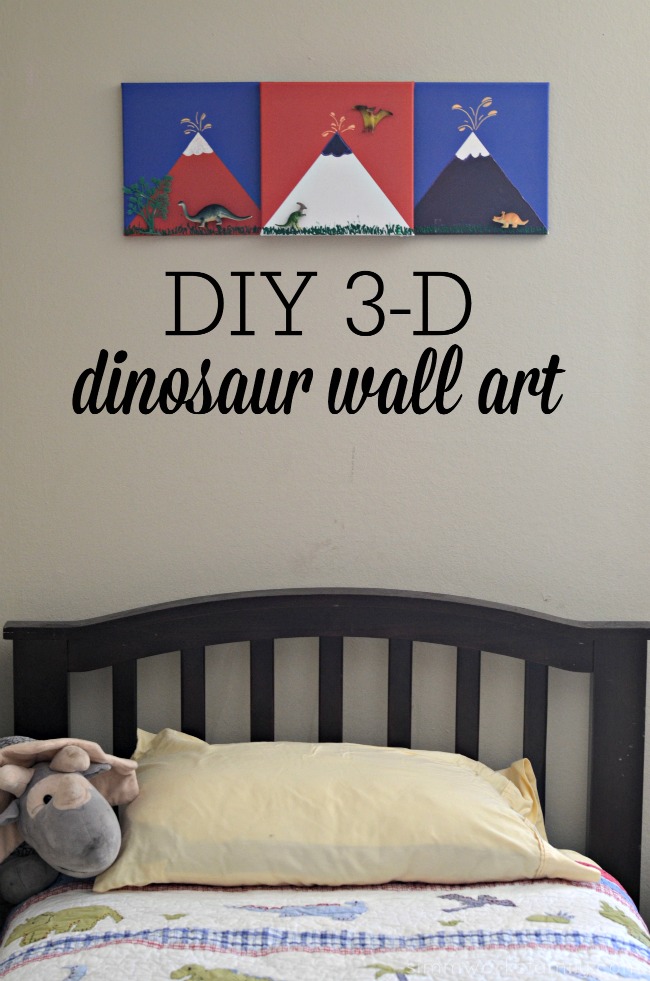
DIY 3-D Dinosaur Wall Art

This shop featuring a DIY 3-D Dinosaur Wall Art tutorial has been compensated by Collective Bias, Inc. and its advertiser. All opinions are mine alone. #ProjectAmazing #CollectiveBias

DIY 3-D Dinosaur Wall Art

A few weeks ago we were perusing IKEA in search of… honestly I completely forget what. But I’m sure it was something we needed. While we were there we also found a nice duvet, a rug for right by our sliding glass door, and a set of 3 geometric canvases that my son desperately wanted. Turns out the canvases were on clearance so all we had to do was figure out what we wanted to do with them.

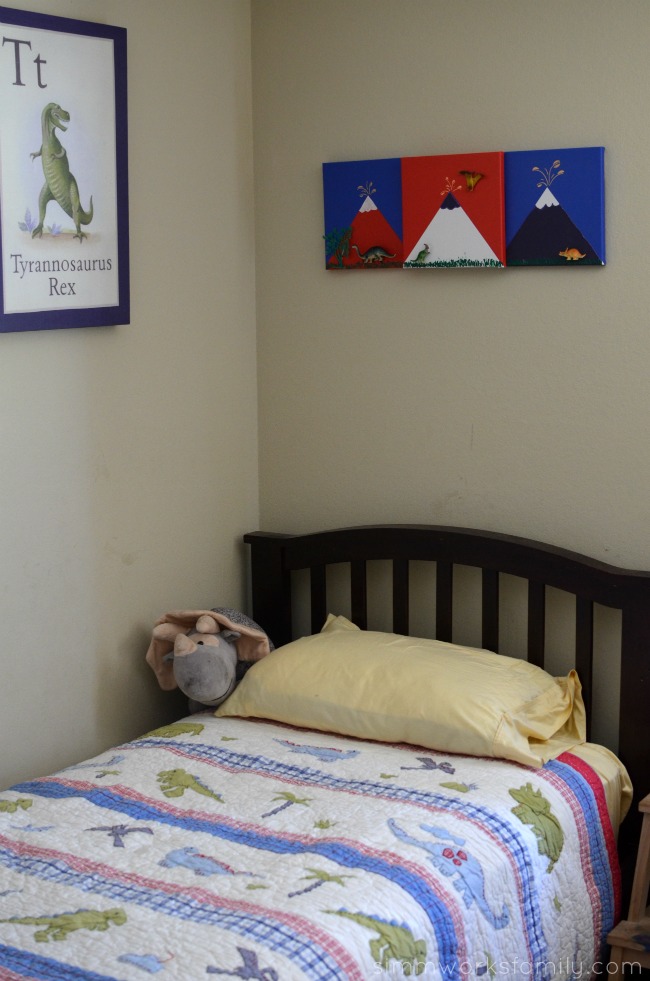
My son didn’t want to paint over them. He loved the triangles and the colors. So we had to think of some way to incorporate the triangles into our idea. I went with him into his room and looked at what we already had going on. Some large canvas pieces from Pottery Barn Kids (clearance, of course) with a rocket on one and a t-rex on the other, his 1 year cake smash photo, and the cross stitch his great aunt made him with his birth date and stats on it.

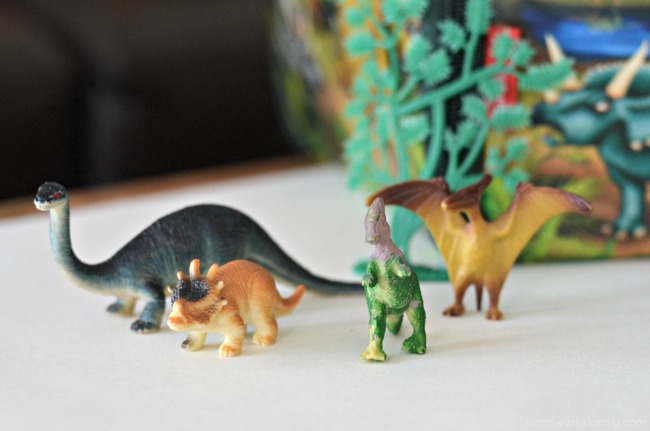
Then I looked down and saw what he had on the floor. Dinos spread out everywhere…

DIY 3-D Dinosaur Wall Art - dinosaur toys

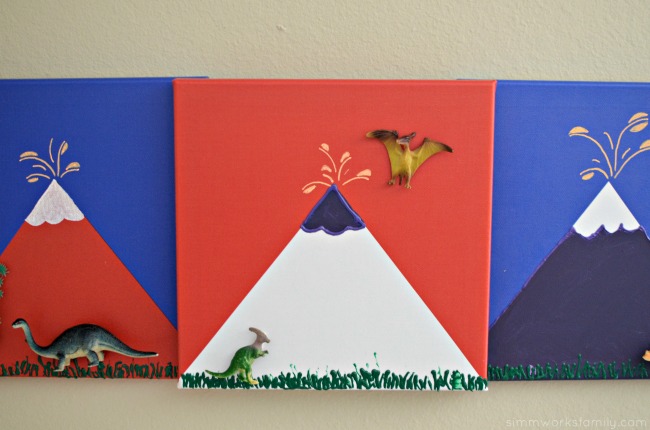
And the idea popped in my head! Those triangles were going to turn into volcanoes and a few extra dinos from the dinosaur box would add to the scenery. But how to attach everything together? Do I cut open the dinos? Use glue?

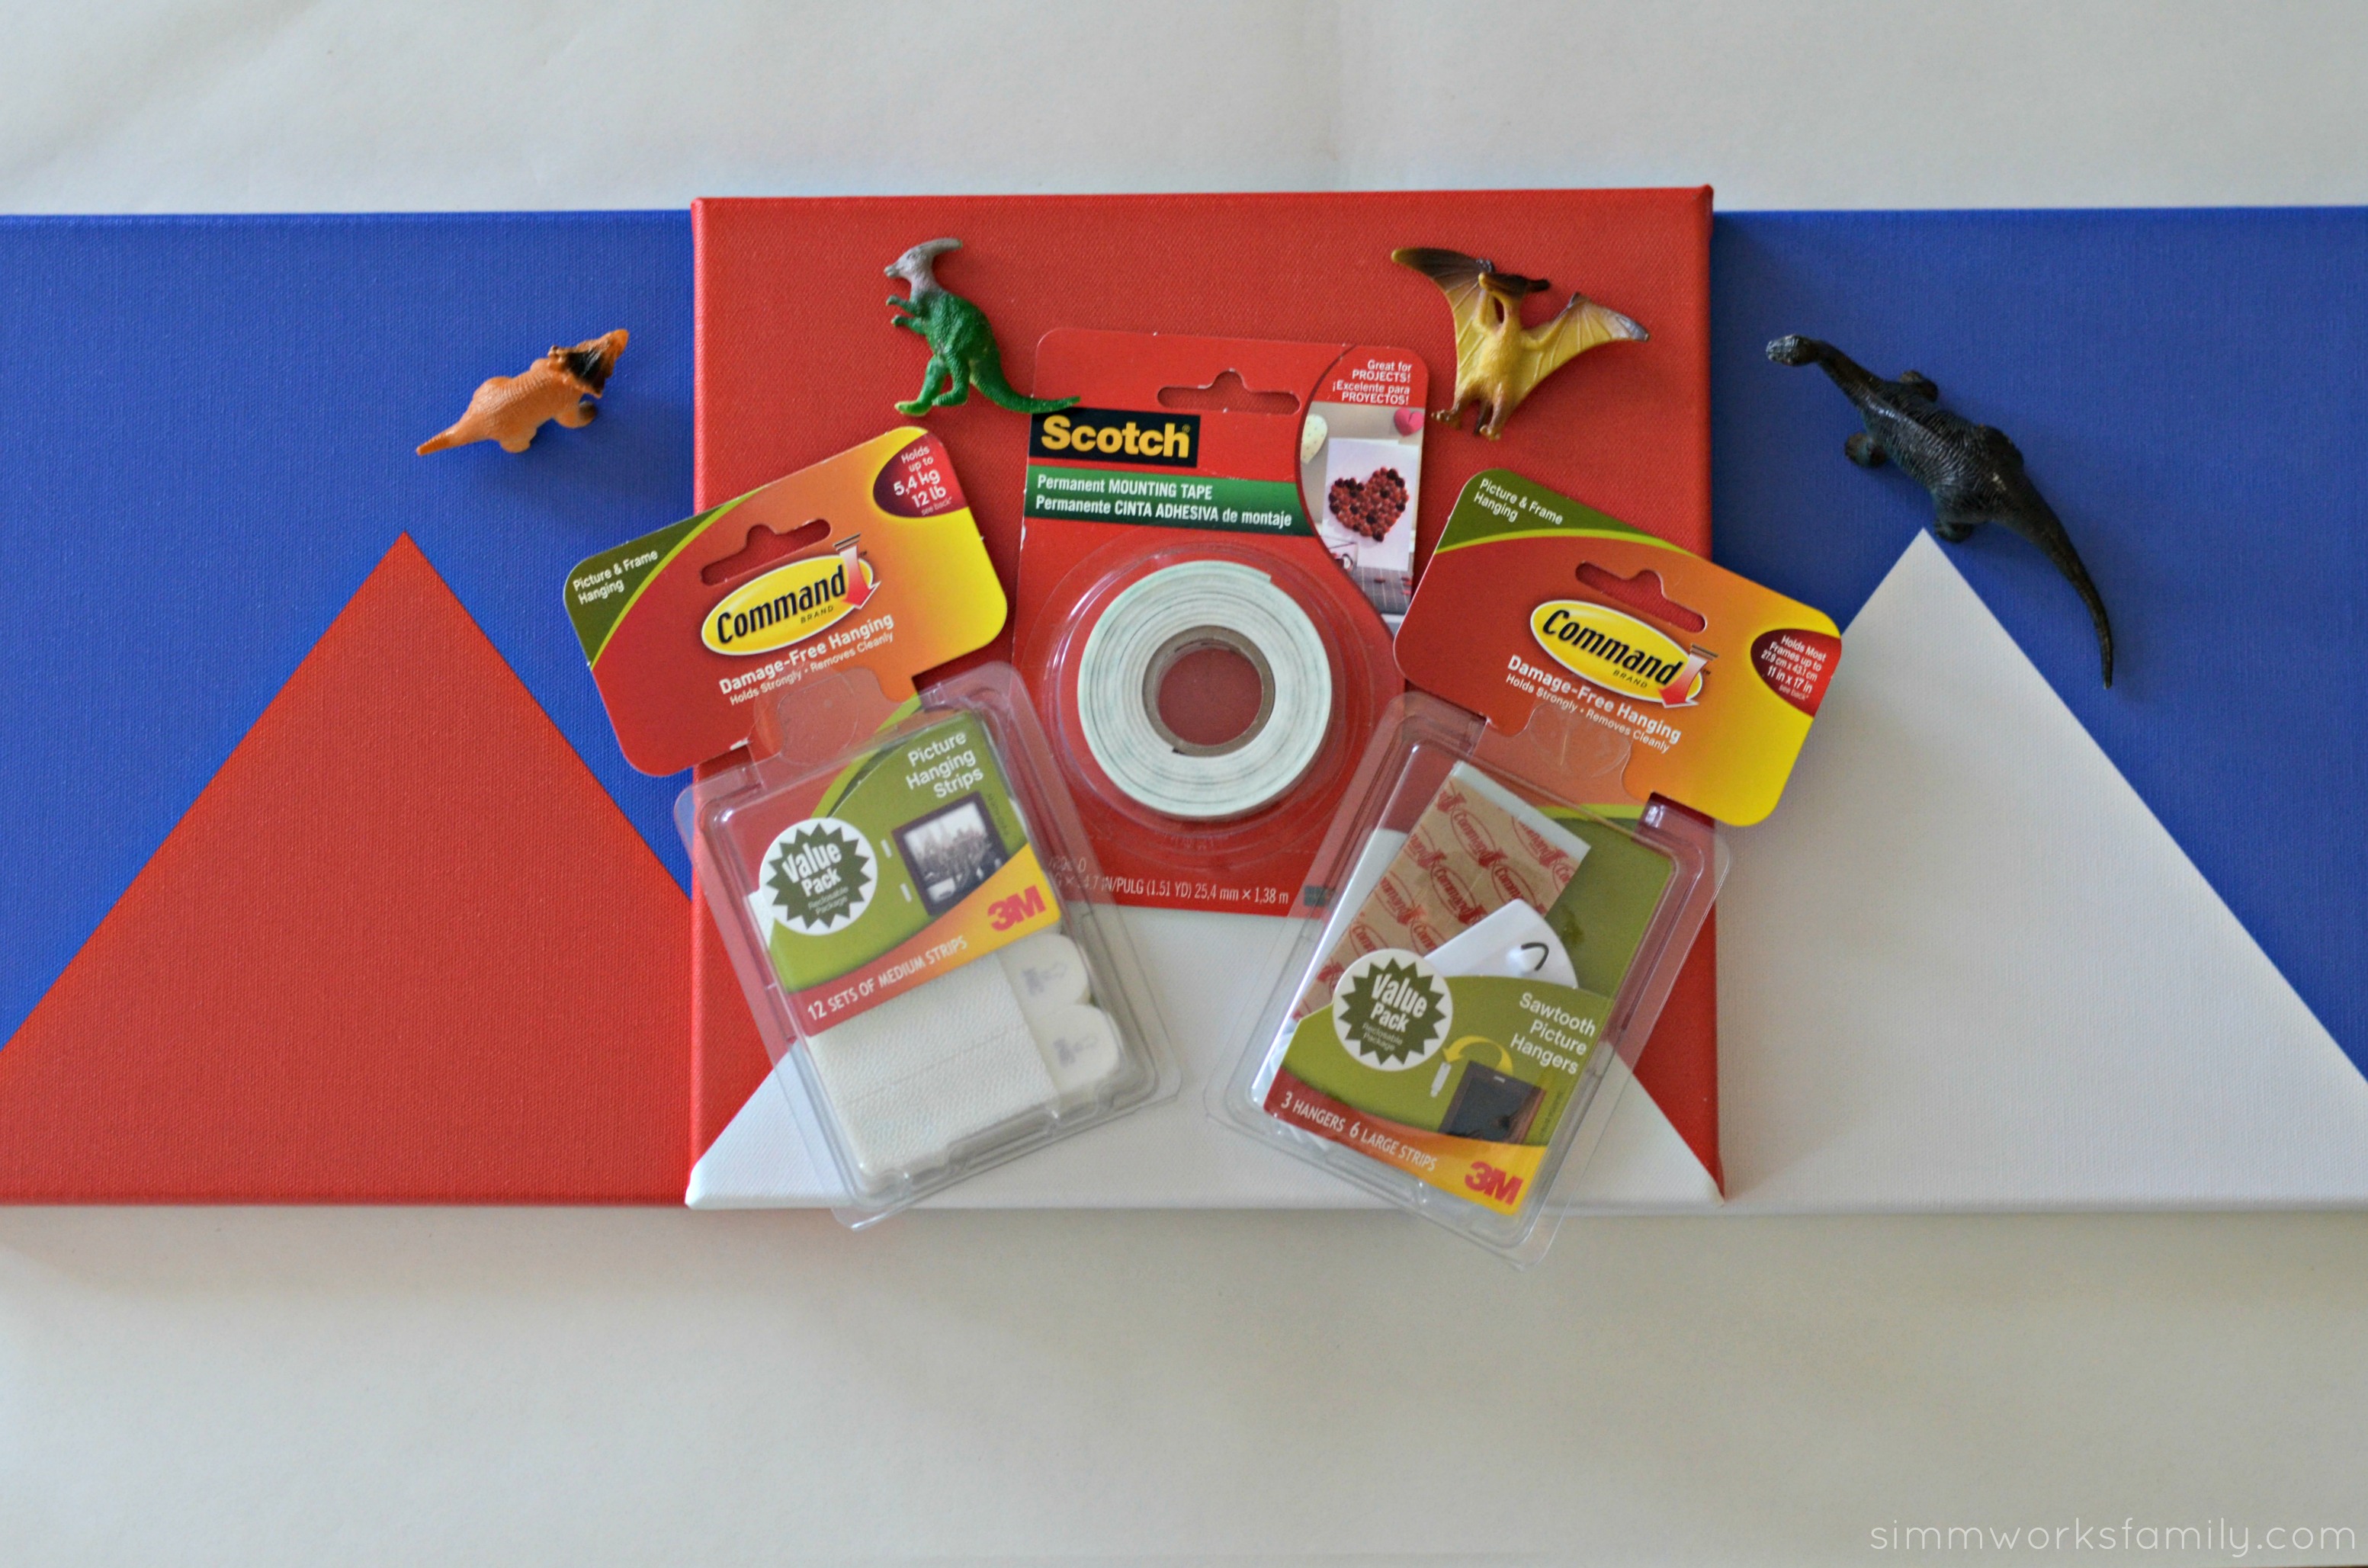
I really didn’t want to make a mess everywhere. Especially since the kids wanted to help out. So I kept it simple. I grabbed some Command™ picture hanging strips and Command™ Clear Hooks as well as some Scotch® Permanent Double Sided Tape to adhere the dinos onto the canvas.

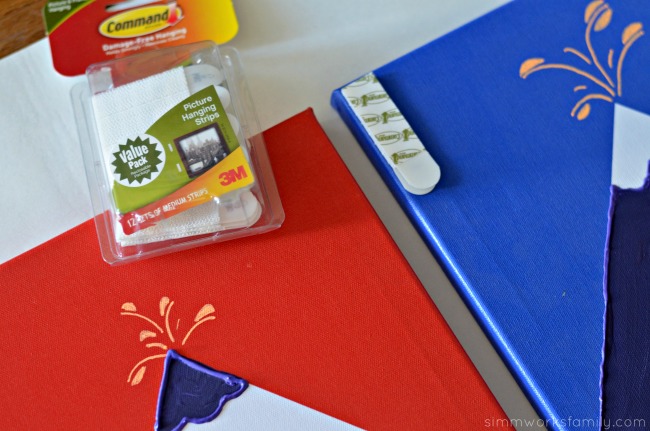
The Command™ picture hanging strips would be the perfect way to layer the canvases on top of one another to create a 3-D effect. Plus, if we ever wanted to display the 3 canvases seperate, there’s no worry about ruining the canvas underneath.

Here’s how I did the rest:  

DIY 3-D Dinosaur Wall Art - supplies needed

DIY 3-D Dinosaur Wall Art

What you’ll need:

  • 3 square canvases with sawtooth mounting
  • a handful of small dinos and greenery
  • paint or paint markers
  • green puffy paint
  • Scotch® Permanent Double Sided Tape
  • Command™ picture hanging strips
  • Command™ saw tooth picture hangers

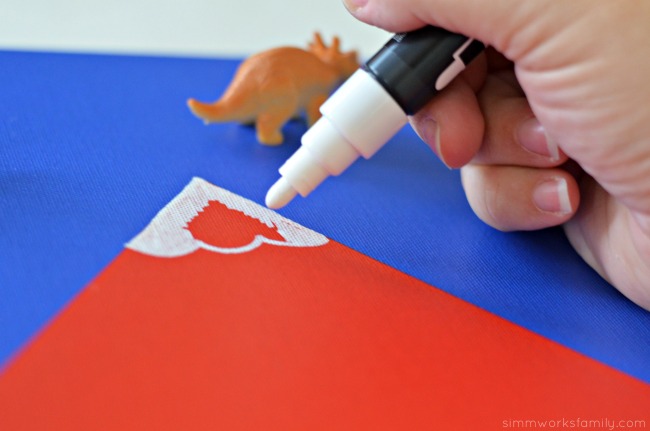
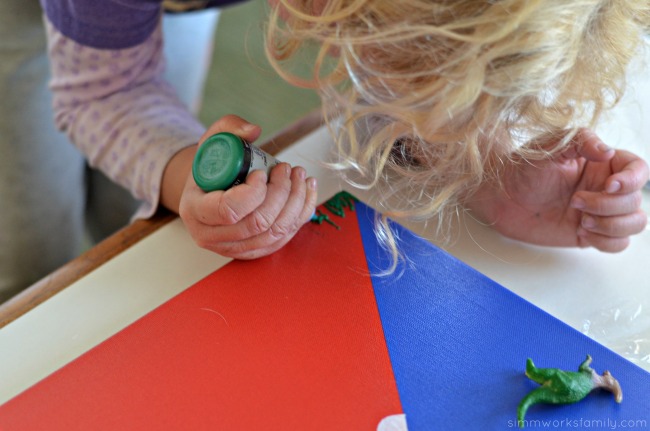
DIY 3-D Dinosaur Wall Art - painting canvasesDIY 3-D Dinosaur Wall Art - paint grass

What you do:

  1. On the canvas, paint out the scenery you want for your dinos. As I mentioned before, we turned our triangles into volcanoes by adding tops to each volcano and some lava spurting out with an orange paint pen. I outlined one of the triangles I painted in with puffy paint to make it stand out.
  2. Once the mountain scenery is dry, add grass by using the puffy paint. You could also use regular green paint to do this but since everything else is 3-D I think the puffy paint gives it a nice touch.
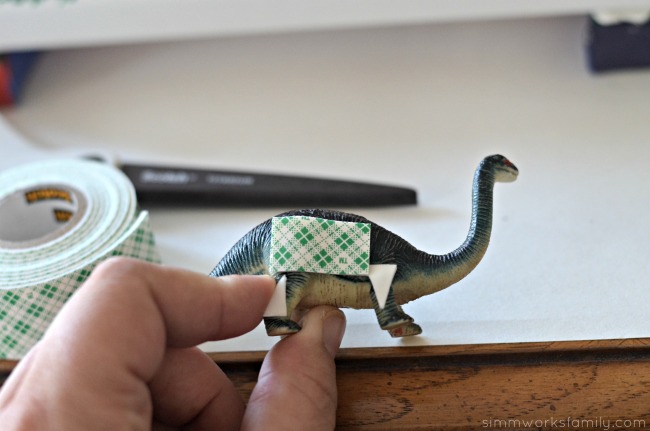
  3. After the grass is dry, figure out where you want to mount the dinos. Then add pieces of the Scotch® Permanent Double Sided Tape to each dino and mount onto the canvas. 
  4. Next up, grab 4 sets of Command™ picture hanging strips (8 strips total) and put each set together. You’ll hear them connect together with a satisfying click. Once each set has been clicked together, remove the backing on one side and add two to the left edge of one canvas (the one you want to be on the right hand side), and add the other two to the right edge of one of the other canvases (the one you wnt to be on the left side). 
  5. Now remove the backing from all 4 sets and set the third canvas on top of the other two overlapping the edges by the width of the Command™ picture hanging strips.
  6. Using the Command™ saw tooth picture hangers, mount the canvases to the wall where you’d like to hang them. 

Tada! Now you have fantastic 3-D Dinosaur Wall Art to display for all to see. 

DIY 3-D Dinosaur Wall Art - command stripsDIY 3-D Dinosaur Wall Art - add tapeDIY 3-D Dinosaur Wall Art - attach dinos to canvas

Command™ Brand provides damage-free hanging solutions for a wide variety of uses for your craft projects. Their products hold on strongly, remove cleanly. That way I don’t worry about damage to my walls, holes left in random places, or a mess left in it’s place. Find more inspiration for amazing summer project ideas here.

Now shoppers no longer have to search Walmart for these 3M products, as they are now available in the crafting aisle. Both Scotch® Brand and Command™ products are available in this aisle at Walmart. I found mine near the adhesives!

Command and Scotch products at Walmart

DIY 3-D Dinosaur Wall Art - simple and easy to make

Where do you find inspiration when crafting?

How To Make A Simple Succulent Terrarium

How To Make A Simple Succulent Terrarium

This past Tuesday was my 8 year wedding anniversary. So much has happened in the past 8 years and I couldn’t be more in love with my husband or more excited about the years to come. Our family has expanded, we’ve moved to a great home in the perfect area of town, we’ve become involved in our community and have expanded our friendships. Life is good.

In celebration of our anniversary I wanted to make something for my husband. I remember him seeing a succulent terrarium at a restaurant or a business somewhere and mentioning that he’d like one for his desk. I had filed it away in my head as a project to make for his birthday or another special occasion. So when this anniversary snuck up on me, I thought that a homemade gift would be perfect.

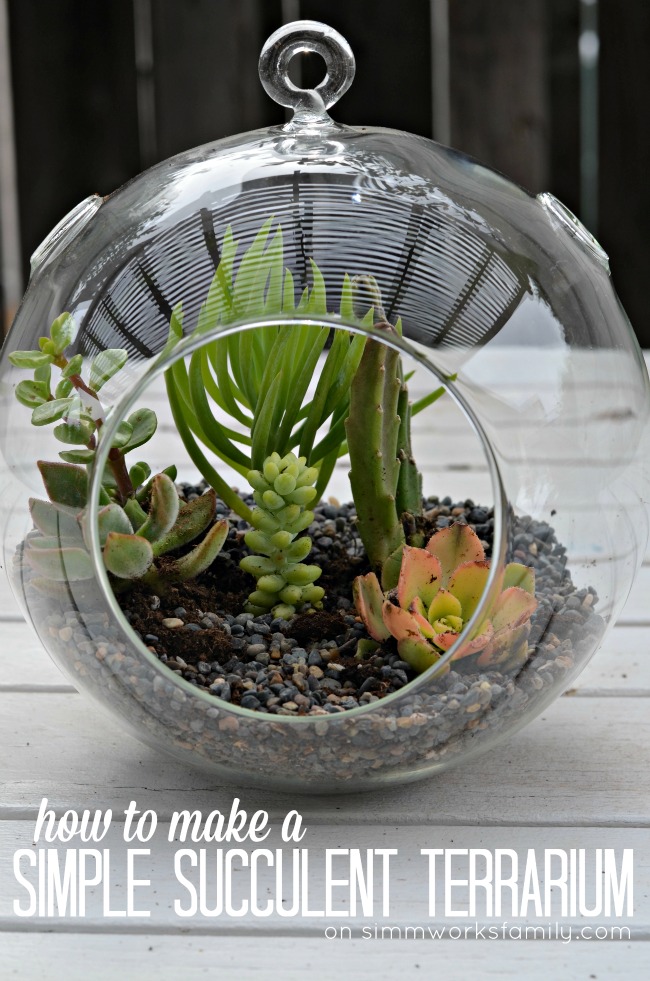
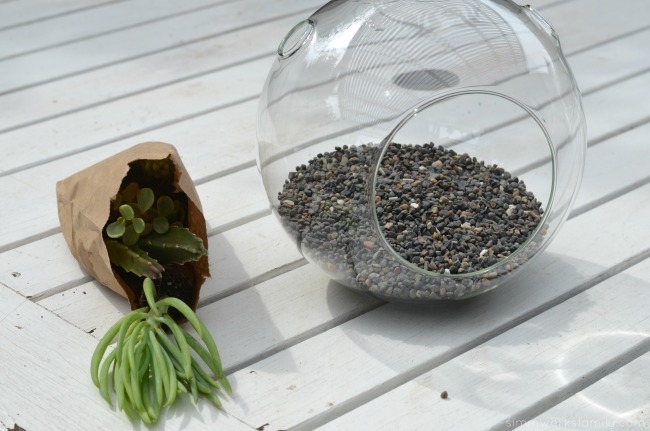
After visiting City Farmers Nursery with the kids one day to pick up some chicken feed, I saw that they sold all of the components to make your own succulent terrarium. And the options were perfect for creating my own vision and design. Plus? This gift cost less than $20 AND took less than 15 minutes to put together. I’d call that an awesome win! And my husband? He LOVED it. It’s already on his desk at work.

How To Make A Simple Succulent Terrarium - 3 simple things

How To Make A Simple Succulent Terrarium

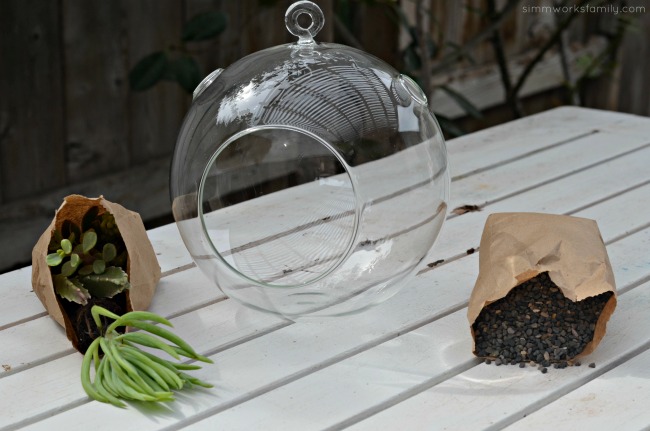
What you’ll need:

What you do:

1. Place a layer of rocks/sand/dirt of choice in terrarium.

How To Make A Simple Succulent Terrarium - add rocks

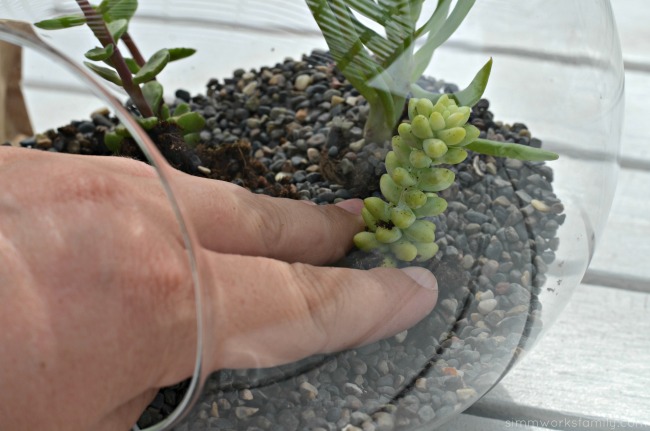
2. Plan out where you want your succulent plugs to go. Try and look at the height of each succulent when mapping out your design. Have fun with mixing different types of succulents together.

How To Make A Simple Succulent Terrarium - place succulents in terrarium

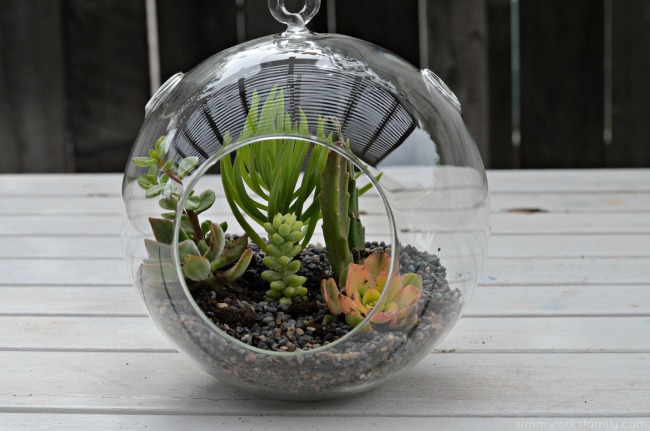
3. Add additional rocks around the succulents and include any trinkets you may wish to include as decoration in your terrarium. Sea shells, star fish, pottery pieces, signs, etc. are all great ways to spruce up your succulent terrarium.

How To Make A Simple Succulent Terrarium - perfect for your desk or patioHow To Make A Simple Succulent Terrarium - an easy and quick gift idea

Where will you put your new succulent terrarium? What will you add to it?

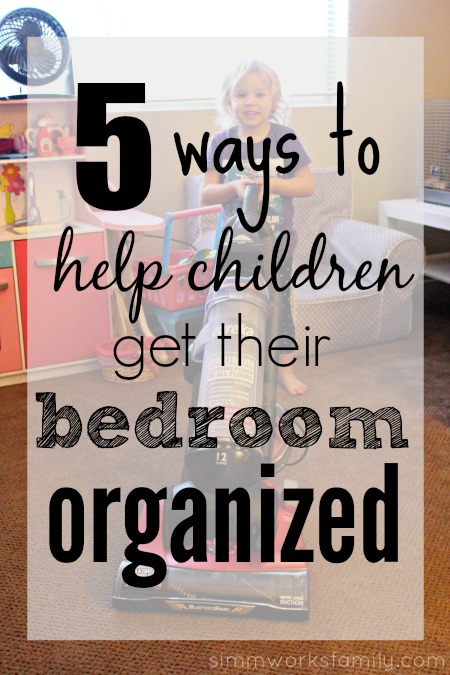
5 Ways To Help Children Get Their Bedroom Organized

5 Ways To Help Children Get Their Bedroom Organized

Is your child’s bedroom an unorganized mess every time you walk in? Well, if your children are old enough, it may be time to help them learn how to organize their bedroom.

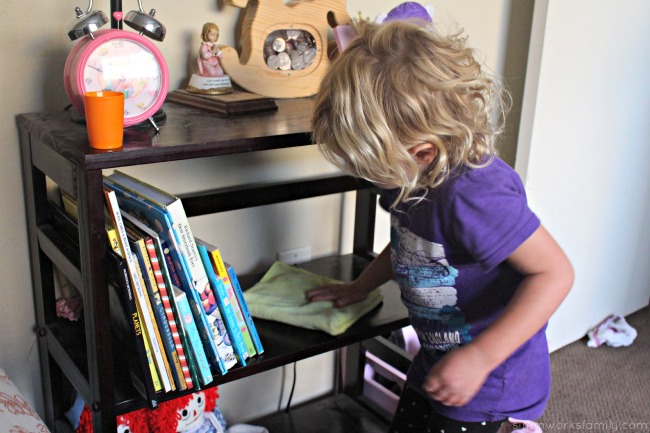
Last year I shared how we get the kids involved in cleaning. And organizing isn’t that much different. Once your kids have mastered cleaning their rooms, learning how to organize will make keeping their rooms clean much easier.

Check out these five ways in which you can help your children get their bedroom structured and under control.

Kids Cleaning Tips - finding easy tasks

5 Ways To Help Children Get Their Bedroom Organized

#1. Bins & Baskets

In my opinion, you can never have too many bins or baskets in a room. As long as there is a place to store these bins and baskets, you are good to go. These contraptions can be stored under beds, in closets, and even on dressers. You can label each bin and basket, so your child knows exactly where everything goes.

#2. Get Rid of Excess

I believe that children learn how to part with things, if their parents teach them well. You can help your child get their bedroom a little more organized by helping them to learn to part with toys that they’re no longer using. Teach your children to always be in the process of getting rid of items that are no longer needed.

#3. Hands & Knees

You may never truly see what your child sees unless you are on your hands and knees. Don’t be afraid to get a child’s eye view of their bedroom this way. You may understand why their room is dirty or unorganized, if you see it from their point of view. Plus, this will help you come up with ideas to help them get a little more organized. Maybe their shelves are too high for them to reach or their drawers are hard to open. If we expect our kids to be a little more organized, then we have to make it a little easier for them.

#4. Always Involve the Child

Making your child leave, while you clean their room teaches them nothing. You must always involve your child in the organizational process, if you want them to learn how to get their bedroom organized. Although this process might take a lot longer, you’re teaching your child a lot during the organizational process. Plus, they are going to appreciate your hard work a lot more if they see what you’ve put into it.

#5. Organize from Top to Bottom

What does this mean? Well, to keep things organized in your child’s bedroom the organizational layout needs to make a little more sense. All toys and things they need to reach should be on the bottom and other items (they don’t need) should be higher up. For example—if you still pick out your child’s clothing, then hanging them up on the highest rack is okay. You can also place items that are not as frequently used on the top shelves, to help eliminate clutter and the temptation to drag out unneeded items.

Organizing your child’s bedroom doesn’t need to be a complete nightmare. Just remember to keep up with the clutter and to always keep things simple. The more items you have in your child’s room, then the harder it will be to organize it.

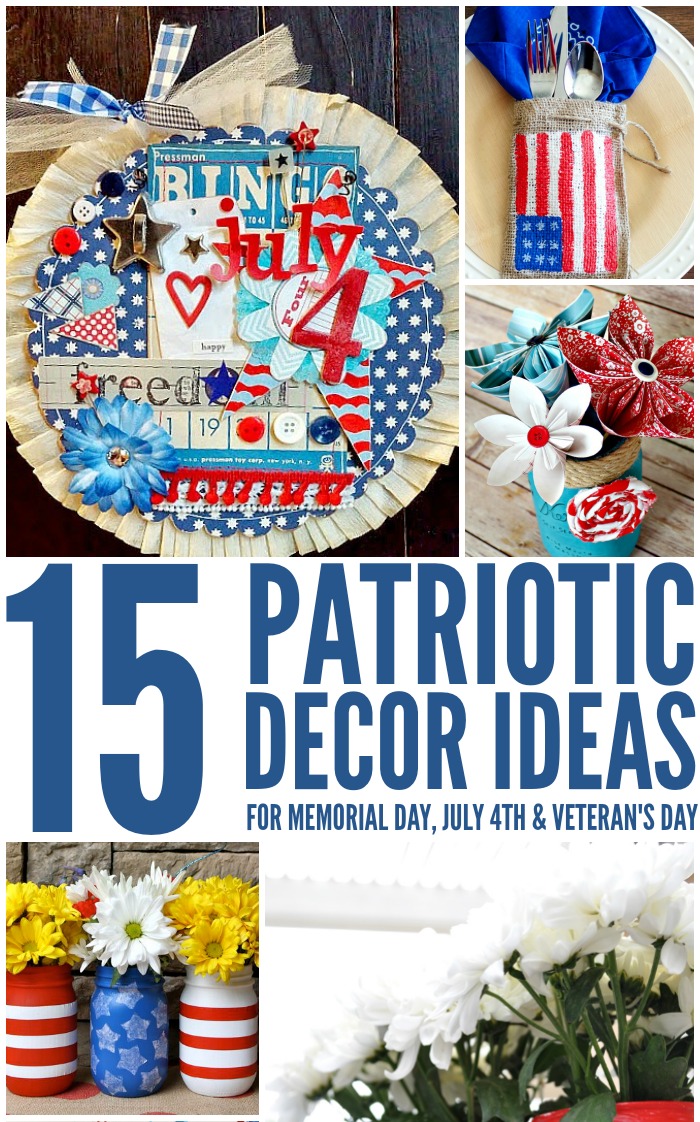
15 Patriotic Decor Ideas


Patriotic Decor Ideas for Summer

Memorial Day is approaching. This holiday is usually the day most consider the unofficial start of Summer. And for us that means decorating for the Summer holidays to not only remember our troops but to remember our country and show our patriotic pride.

I love changing up my mantel and home decor depending on the holiday or season and Summer is the perfect season to decorate with American flags and red, white, and blue decor.

Here are a few patriotic decor ideas to spruce up your home for the summer holidays!

1. Painted Burlap Patriotic Place Settings | Source: A Night Owl

2. Patriotic Wand Centerpiece | Source: The Country Chic Cottage

3. Patriotic Hanging | Source: DIY Beautify

4. Patriotic Paper Flowers Tutorial | Source: View From the Fridge

5. Quickie Memorial Day Garland | Source: Happiness is Homemade

6. Patriotic Mason Jars | Source: Yesterday on Tuesday

7. Patriotic Upcycled Can Flower Pots | Source: Club Chica Circle

8. Pledge Printable | Source: Seven Thirty Three

9. Patriotic Initial Wreath | Source: We Three Smiths

10. Rustic Americana Scrap Fabric Banner | Source: Catch My Party

11. Easy Red, White and Blue Party Decor | Source: She Wears Many Hats

12. Pringles Can Firecrackers | Source: I Gotta Create

13. Patriotic Luminaries | Source: My Blessed Life

14. Vintage-Inspired Patriotic Printables | Source: Live Laugh Rowe

15. Patriotic Clothespin Wreath Tutorial | Source: Everything Etsy

Adding Desert Plants to Your Garden

Adding Desert Plants to Your Garden

Desert plants include a huge variety that include succulents and cacti, but also include plants like yucca and agave, which most gardeners are not as familiar with. All of these desert plants are beautiful, sculptural and cold hardy, making them able to be added to your garden.

You might have noticed that a lot of desert plants have flowers, and while you are not familiar with their care, it is relatively easy to find out more and add a little boldness to the garden.

If you have never thought about adding desert plants to your garden, but are looking for something a little different and unique, try these low maintenance, drought resistant options. The perfect way to stay water wise in So Cal!

Gardens to Consider

Most people think that cactus and other desert plants only belong in the desert or where it is very hot, but the truth is these plants can grow in areas where the temperature rises and drops with the time of day. Some desert plants are hardy from zone 4 to 9, which includes most of the continental US. We mainly see them in the desert because of the face that they are able to survive the harsh conditions, can grow in very poor soil and are drought resistant, so where everything else has died, they survive.

Providing for Desert Plants

While they can survive in harsh conditions and poor soil, cactus actually love growing in rich soil and flourish when they have had some water. The water has to be well drained for their roots to survive, but as long as they are given plenty of space to grow out, watered regularly, planted in organically rich soil where the sun shines, the only thing you need to consider is the specific hardiness zone for each plant type. Some types of desert plants do well in landscape that is similar to where you would find them in their native area, so do not be afraid to add them to hilly areas, slopes or rock gardens.

Desert Plants to Try

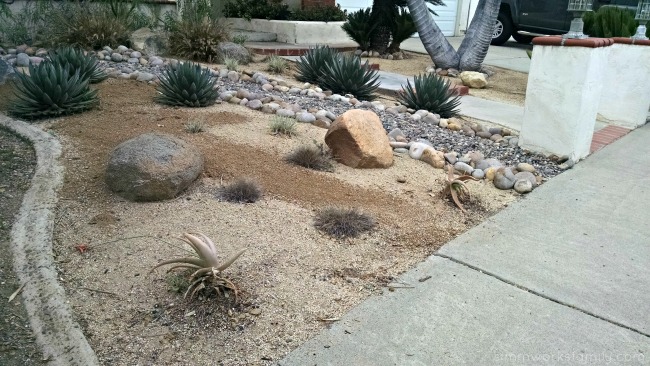
Cactus and aloe plants are relatively easy to find at a local nursery, sold as indoor or tabletop plants. Look for plants that are not miniature or dwarf versions to add to your garden for their height or shape, you want something that will gain attention. Agave plants are another option, and great for first timers. They grow very large in size, and they do so very quickly when they are grow in good soil with a steady supply of water. Add these to rock beds or gentle, sloping ground.

Yucca plants are also easier to find in nurseries, and are one of the only yuccas that a lot of northern gardeners are familiar with. These plants resemble yucca when they first begin to grow, but then let out huge flowering spike that is very dramatic and beautiful. Finally, sotols are another desert variety that looks great in any garden. They are like the ornamental grasses of the desert, with their spiky foliage and frilly edges. Use them to add drama to the front of the garden bed.

Adding Desert Plants to Your Garden xeriscaping

How are you lessening your water bill in the garden?

Recycle Reduce Reuse with K-Cup Seed Starters

We’ve come up with a clever solution to a problem we had: K-Cup seed starters! Take those used k-cups and turn them into something useful. 

K-Cup Seed Starters - recycling in the garden

Over the years we’ve become more and more conscious of our environment and the impact we have on it. We cloth diaper, grow our own veggies, compost, and make an overall effort to reduce waste and excess.

Since we’ve upgraded from our Keurig Vue to the Keurig 2.0, the one thing I hate is that I can’t recycle the k-cups I use every day. And since I’m a big coffee drinker, I don’t have any way to reuse the k-cups. Until now! I’ve started getting creative with my k-cups and have come up with a list to reuse them in a useful way.

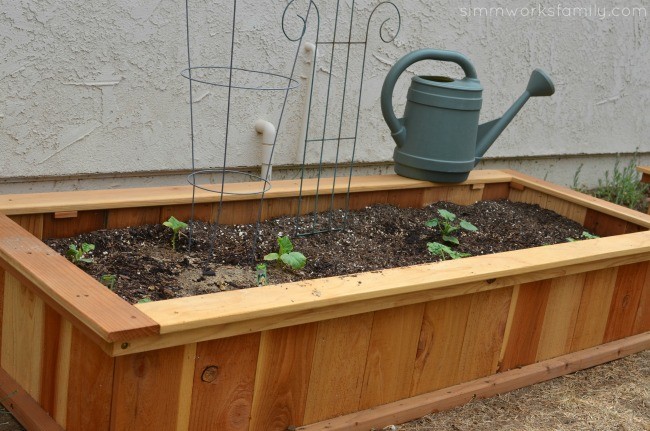
First up is in the garden. Now our garden has always been my pride and joy. I consider it a work of art that is ever changing. And since we just started up our new garden at the new house, I needed an excuse to show it off.

Green Work of Art in the Garden

How pretty are those little starter plants? Well, they started in our k-cups from seed! Truly a green work of art.

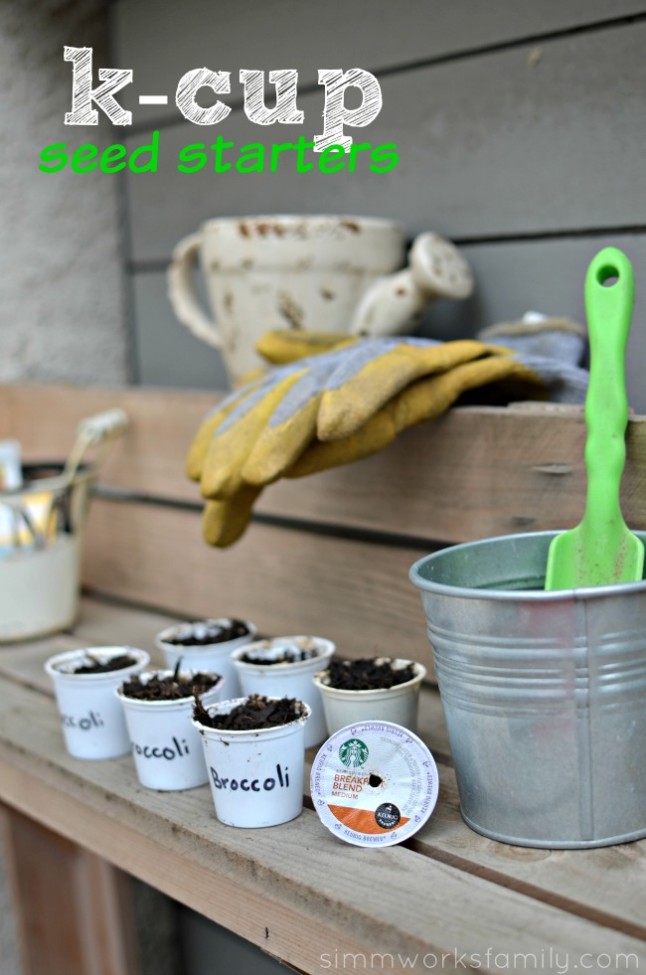
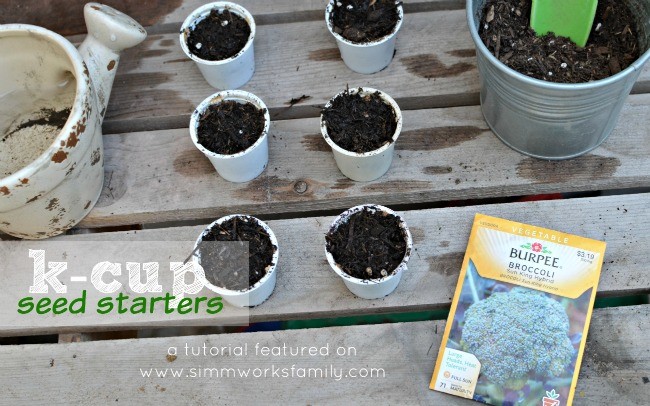
That’s right. K-cups are the perfect way to start seeds for the garden. Not only are they plentiful around here, but they have a built in drainage hole that doesn’t need to be added. How cool is that?

Here’s how you use them!

K-Cup Seed Starters Tutorial

K-Cup Seed Starters

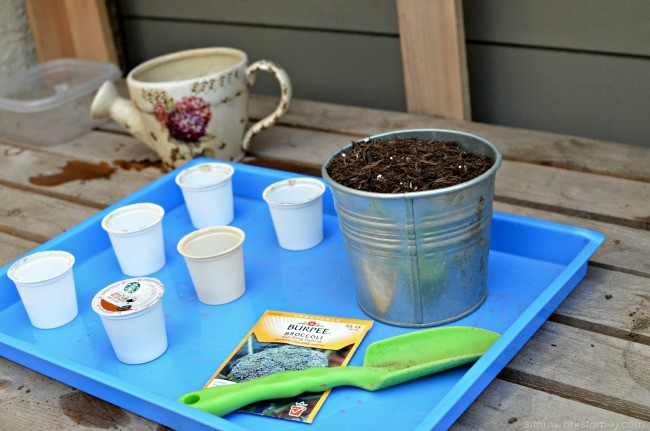
What you’ll need: 

  • k-cup
  • seeds
  • trowel
  • soil (any good vegetable planting soil)
  • water

K-Cup Seed Starters - what you need

What you do: 

1. Remove the foil from the top of the k-cup.

2. Discard the coffee grounds to be used later in the garden or your compost bin.

3. Remove the filter from the k-cup and discard the plastic filter – you can compost the k-cup paper filter if you’d like.

4. Fill with soil about 3/4 of the way up.

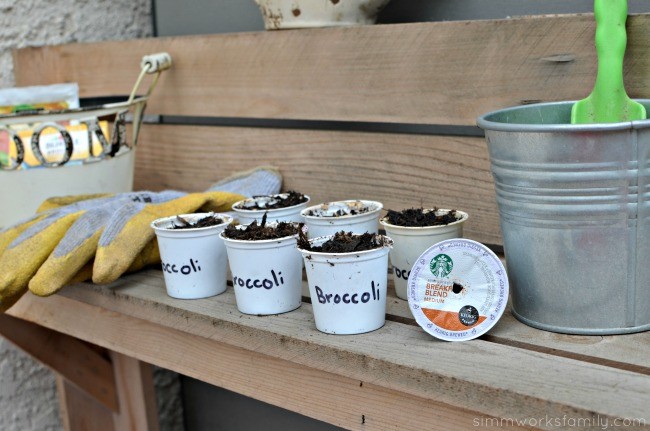
5. Add 2-3 seeds and top with more dirt until filled.

6. Water daily and watch sprout!

Once your seedlings are big enough to transfer just pull out gently and move to a bigger pot or straight in your garden bed!

For a full in-depth tutorial, check out our video:


K-Cup Seed Starters - broccoli

How do you recycle, reduce, and reuse around your home?

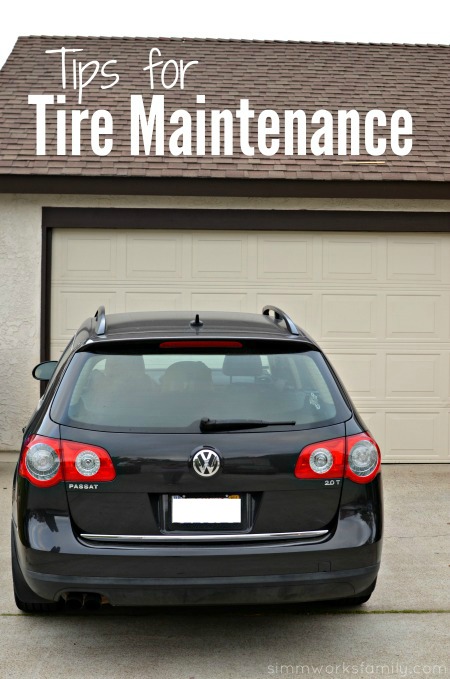
Tips for Tire Maintenance: Taking Care Of The Family Car

This is a sponsored post written by me on behalf of Cooper Tires. All opinions are 100% mine.

Tips-for-Tire-Maintenance

One thing we love to make sure we do come spring is make sure our cars are all in great working order. That means oil changes, fluid checks, and tire inspections. With the wear and tear we put on our cars, we need to make sure our family is safe when we’re on the road. And our tires are something we keep up with regularly.

With our spring cleaning routines inside already in place, we’ve started to move outside to our three vehicles. Each has had their regular maintenance check but we noticed that our commuter car needs new tires. Regularly checking a car’s tires each month only takes 5 minutes but can alleviate any concern about the tire. [Read more…]

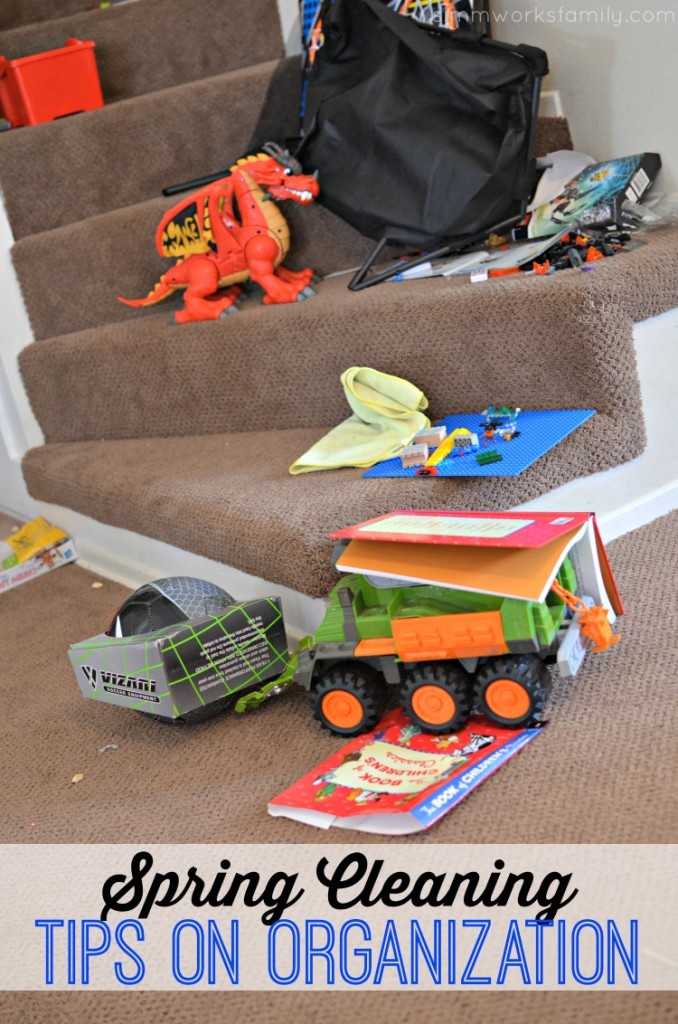
Spring Cleaning Tips With A Little Help

Spring Cleaning Tips

Being a mom of three has proven one thing… we have too much stuff. No, seriously. Between the baby’s items, the toys, and the clutter everywhere else I feel as if our house is just bursting at the seams. And we already moved to accomodate our expanding family!

So what can we do besides move? Organize. [Read more…]

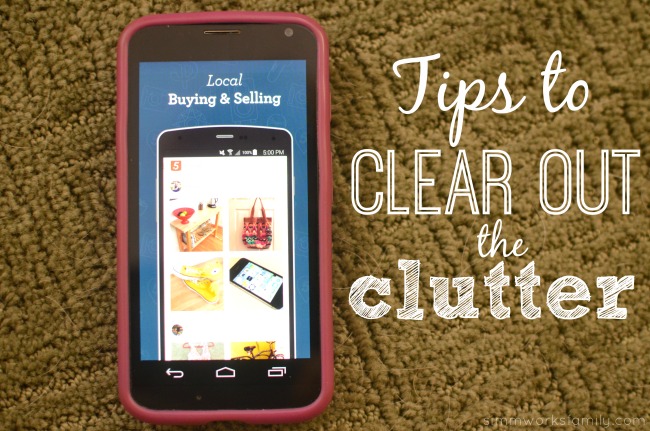
Tips to Clear Out The Clutter with Close5

This post featuring tips to clear out the clutter is sponsored by Close5. All opinions are my own.

Tips to Clear Out The Clutter with Close5

If your house is anything like mine after the holidays then you’ll know why I’m at my wits end trying to get rid of the bomb that exploded Christmas day. While we didn’t go overboard for Christmas, the few things we did bring into the house are just enough to leave our house in a constant state of clutter.

So what’s a 36 week pregnant mom to do? Purge, purge, purge!! 

And with the help of a few tips I have, I’ve been able to do just that. Just in time to try and find out where we’re going to put all of this new baby stuff… [Read more…]


© A Crafty Spoonful - All Rights Reserved
It is OK to use one of my photos provided a link back and/or proper credit is given. It is NOT ok to copy and paste a whole post including instructions. Please do not remove watermarks or alter images in any way. Please contact me with any questions at danielle@acraftyspoonful.com

.