Upcycled Container Gardens: Housing Your Herbs

Upcycled Container Gardens Housing Your Herbs

Around this house, we try to repurpose and upcycle as many things as we can. If it can’t be composted or turned into something else, we try to donate. So very rarely do we end up with things that go in the trash. This makes for a great assortment of containers to be used in the garden.

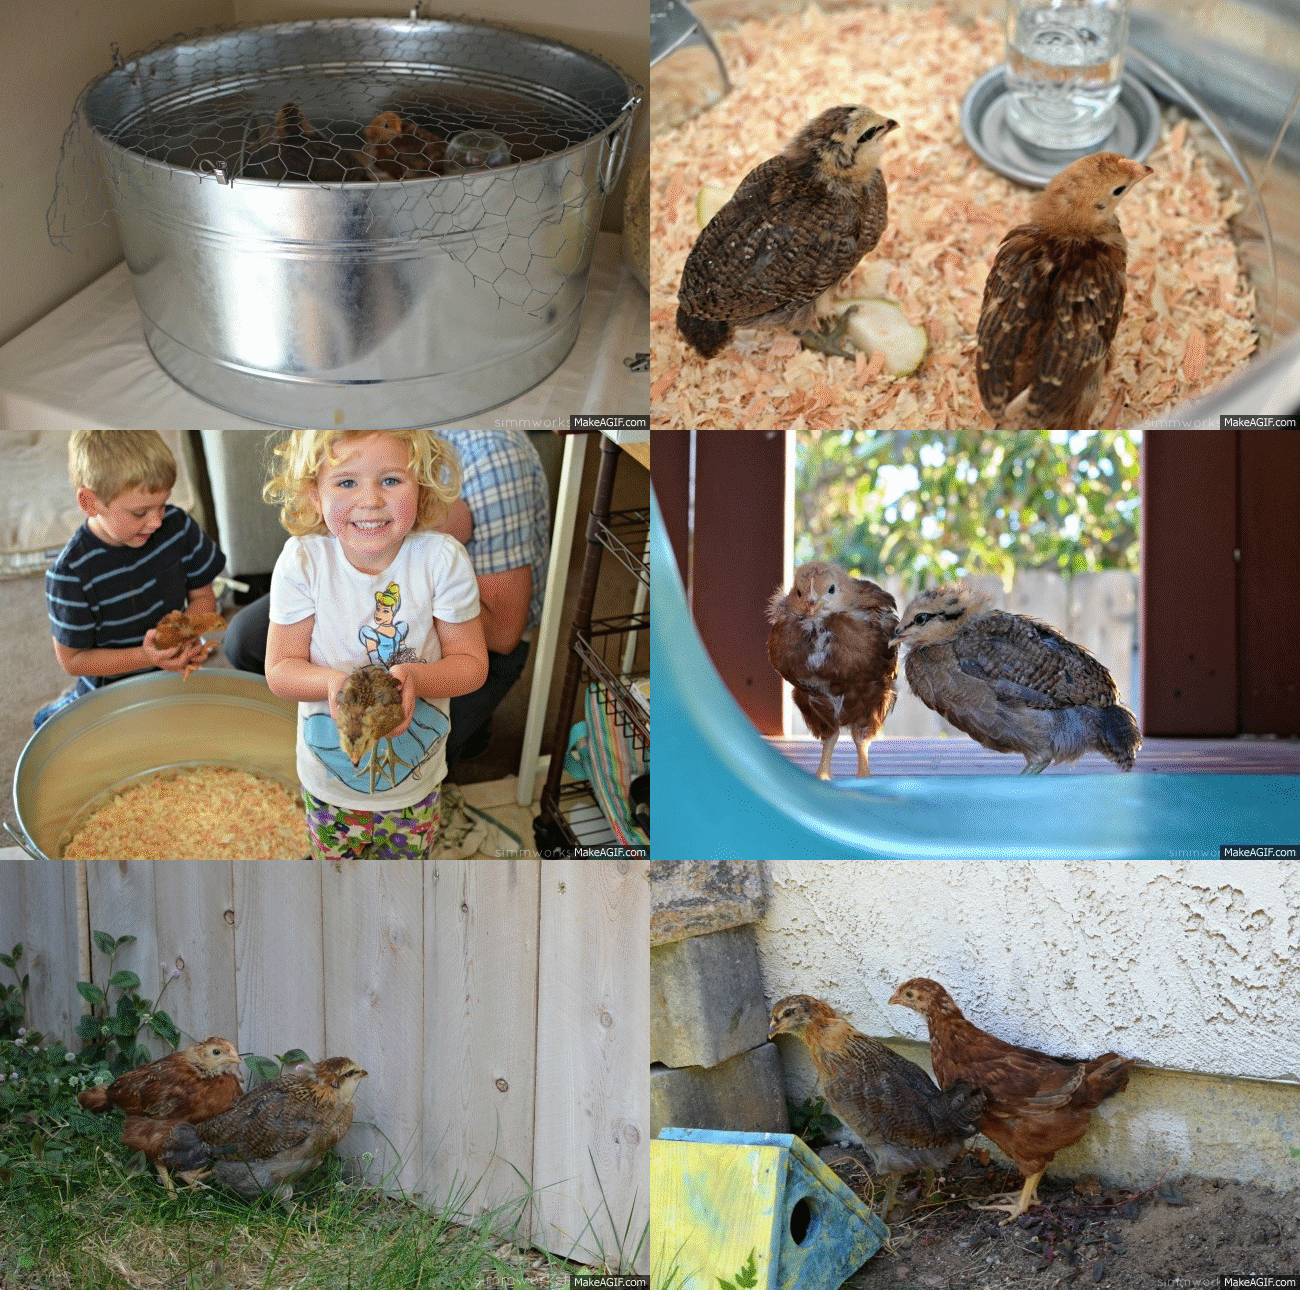
When we picked up our chicks I knew we’d need a little home for them until they were big enough to go straight into our coop. At 3 weeks old they’d need to stay warm indoors so I picked up a metal bucket at our local hardware store.

Since I knew I would only be using the bucket for a short period of time I already had it earmarked for a project I’d wanted to do for quite a while… a stand alone herb garden!
Growing Chicks
I’m not sure if you know this but chicks, like children, grow like weeds! Seriously.

I turned around for a second and these cute little baby chicks are almost chickens at 2 months! But we still have 4 more months until they’re actually laying eggs (so I’m told).
Upcycled Container Gardens - growing seedlings

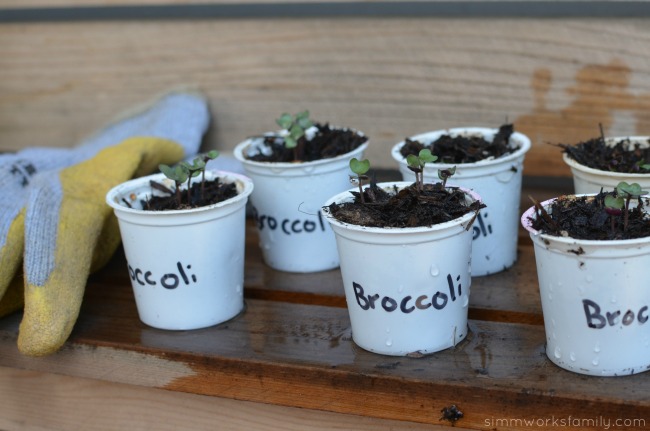
With so many things growing in our raised beds (like the broccoli that’s sprouting from our DIY K-Cup Seed Starters) we didn’t have any more room for the herbs I love to have on hand for cooking.

So it just made sense to have a container garden on the patio. What’s a better green work of art than a container garden?

Our next step will be to build a stacked container garden to house the strawberries we’ll be planting soon! How awesome does that sound? It’s as simple as taking this idea and stacking a few smaller containers on top of one another. Then planting in each tier.

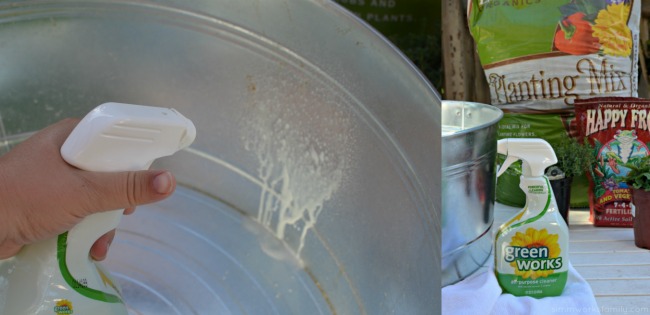
Upcycled Container Gardens - cleaning out the container


Because our tub housed the chicks, I wanted to make sure that I cleaned the container very well before putting the soil and plants inside.

While some might question why I would clean out the container first – don’t people buy chicken manure? – the chicken poo that may be on the container hasn’t been composted yet. And I don’t want any bacteria that may have been left in the container to contaminate my plants.

But more on composting chicken poo later! Let’s get to this herb garden. First up – the chalkboard label.

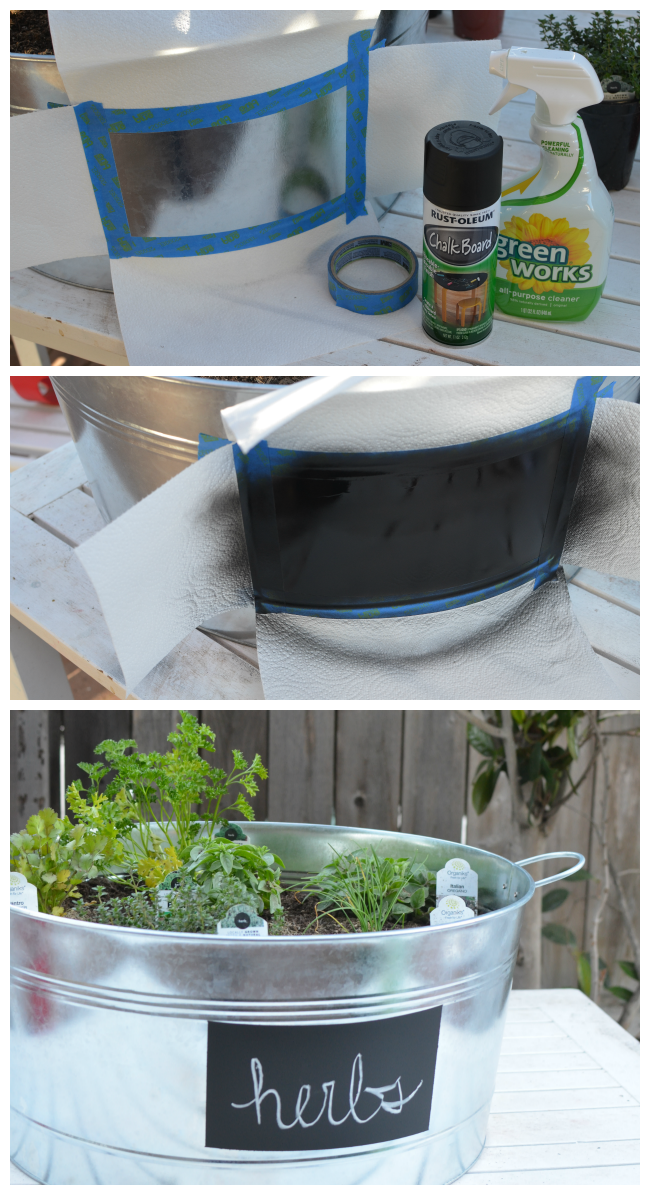
Upcycled Container Gardens - DIY Chalkboard Label

 Upcycled Container Garden Chalkboard Label

What you’ll need:

  • 2 paper towels (can also use newspaper)
  • painters tape
  • chalkboard spray paint
  • metal container

What You Do:

1. Wipe down the area you wish to put the chalkboard paint on with an all-purpose cleaner. Then rinse the container out with water and let dry.

2. Grab two paper towels and cut each in half (4 half sheets). Then cut one-half sheet in half again. You’ll have 3 half sheets and 2 quarter sheets.

3. Using the painter’s tape and the paper towel pieces, create a square or rectangle space to spray paint the chalk onto.

4. Put extra paper towels under the container to protect the table underneath from paint.

5. Using the chalkboard spray paint, spray on two coats of chalkboard paint onto the container. Wait about 20 minutes in between each coat to allow them to dry.

6. Remove the paper towels and tape to reveal your chalkboard label. Write on it with chalk and display for all to see!

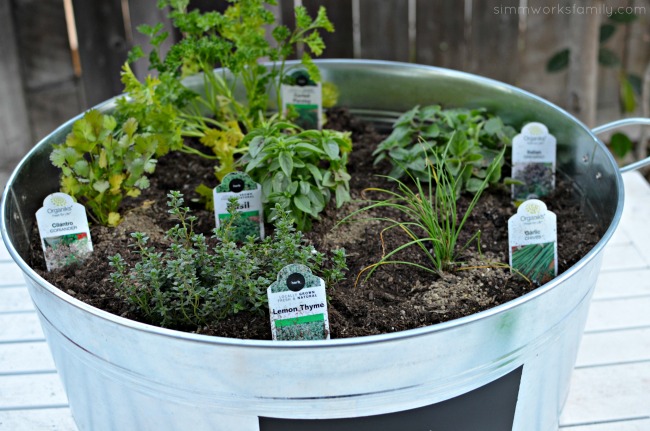
Upcycled Container Gardens - variety of herbs

Tips for Planting Herbs in a Container Garden

  1. Use good soil – find a soil that’s good for growing vegetables or use a good blend of soil and compost
  2. Depending on where you’re putting your container garden, consider the height each herb/plant gets and plant taller herbs in the back
  3. Plant what you know you already use now in the kitchen
  4. Make sure you are also giving your herbs vegetable food (found at any garden center)
  5. Place the container garden in a spot that will receive direct sunlight and make sure to water!
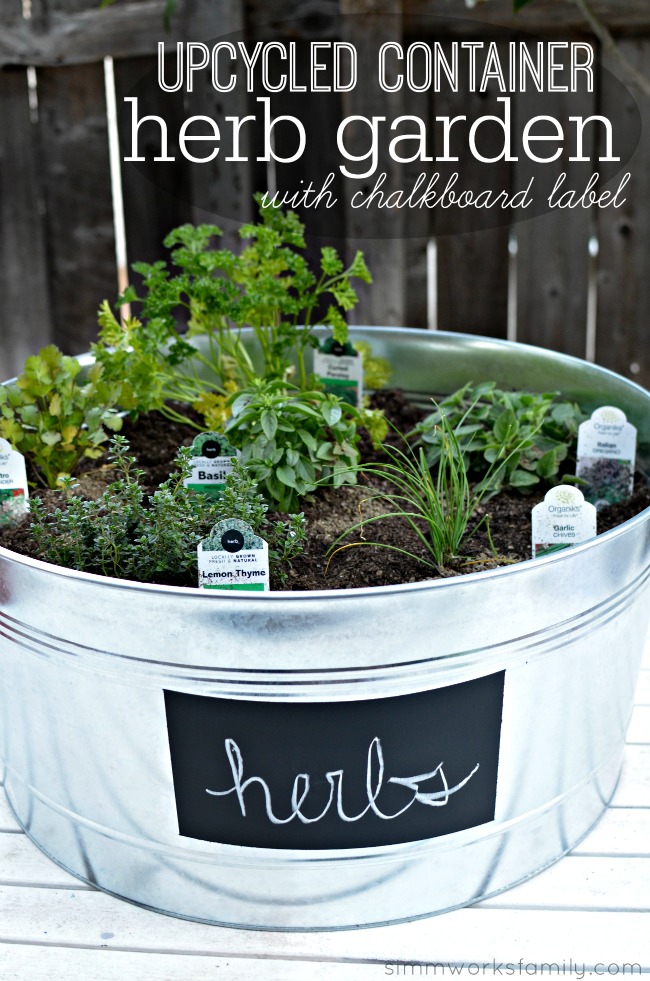
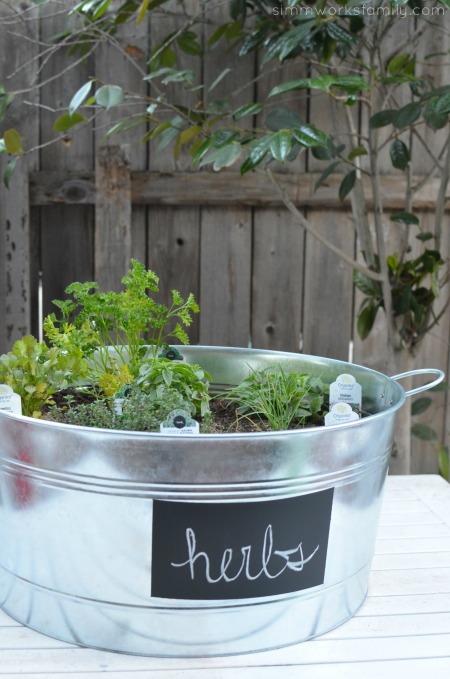
Upcycled Container Gardens with Chalkboard Label

What’s your favorite way to upcycle old containers?

Getting Crafty in the Garden: Painting Rocks for Garden Markers

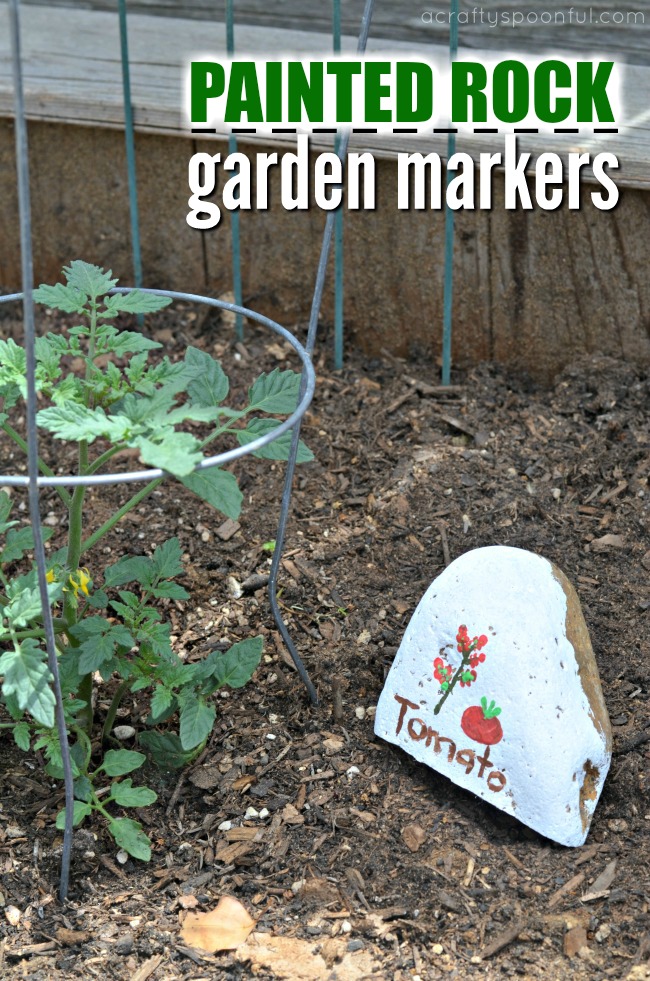
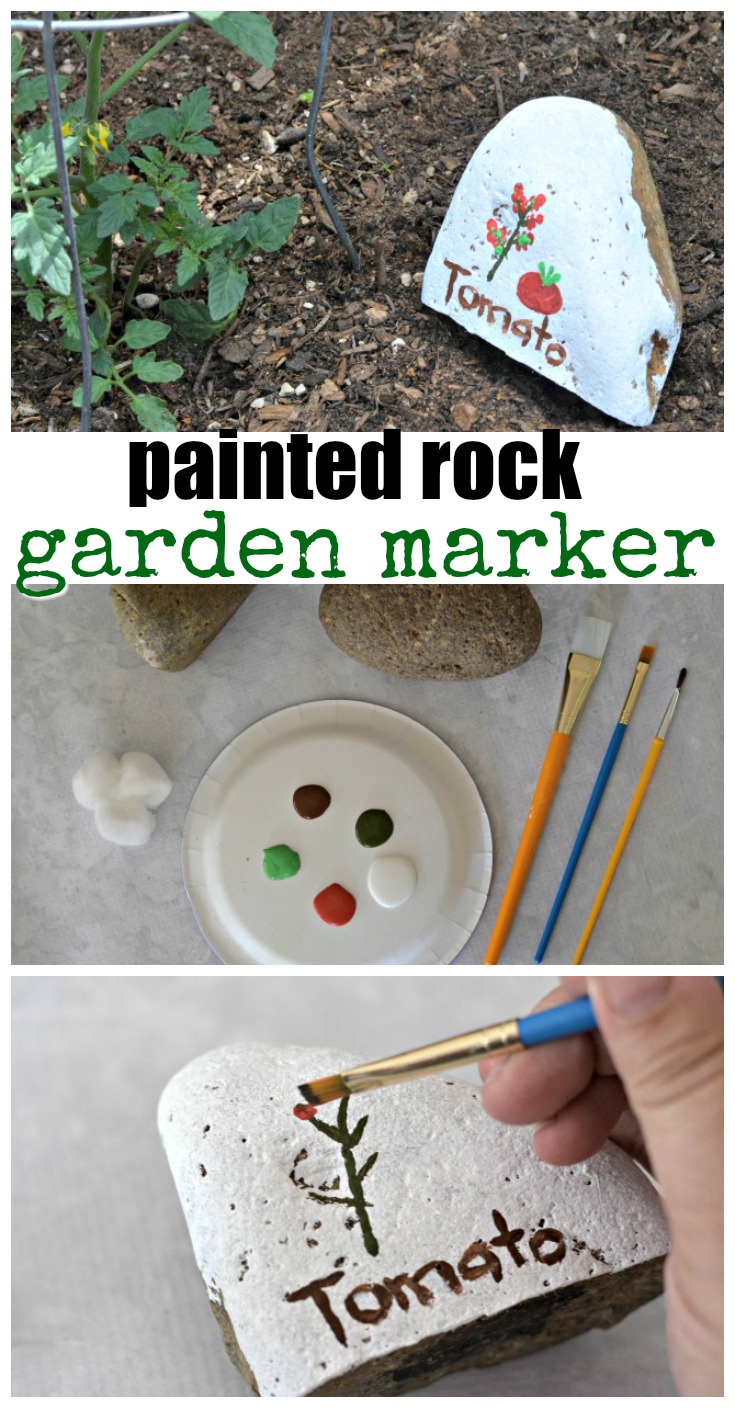
Kids helping in the garden this Spring? Why not use these painted rocks for garden markers! This craft is super easy to make and you can just use supplies you have around the house.


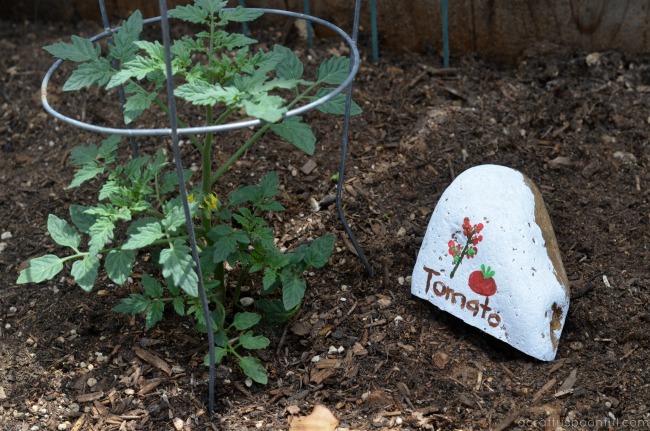
One thing I love about this time of year is all of the green and new growth sprouting about everywhere! And that means that our garden goes from sad and lackluster to full of life within a few short weeks. With that new life comes a bit of confusion for the kids with what plant is growing what type of fruit, herb, or vegetable. So we had a little fun and used painted rocks for garden markers to distinguish each plant from one another. 

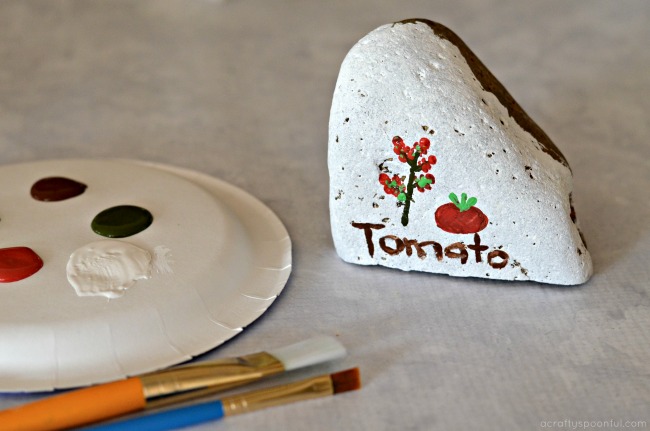
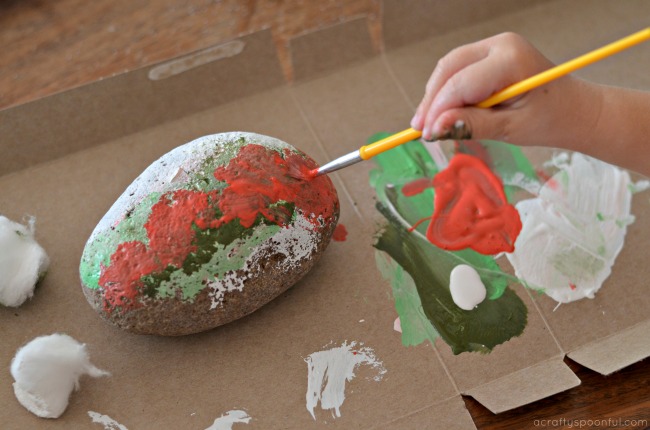
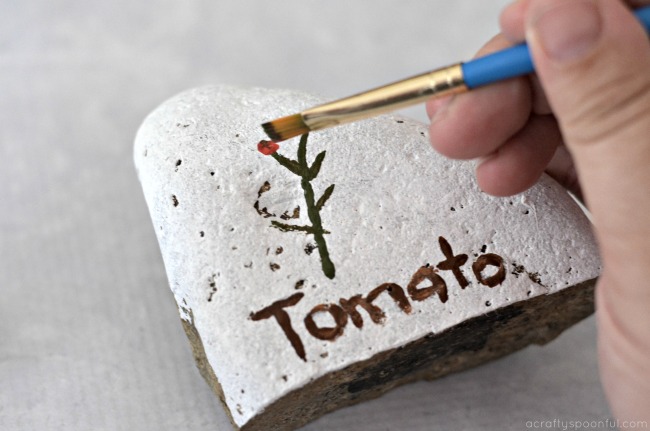
Now there’s no real huge planning that goes into these painted rock garden markers. We simply used a base color that would make our illustrations stand out, and I let the kids paint each of the plants that we were growing. They had fun choosing the colors and making different types of veggies and herbs on their rocks. 

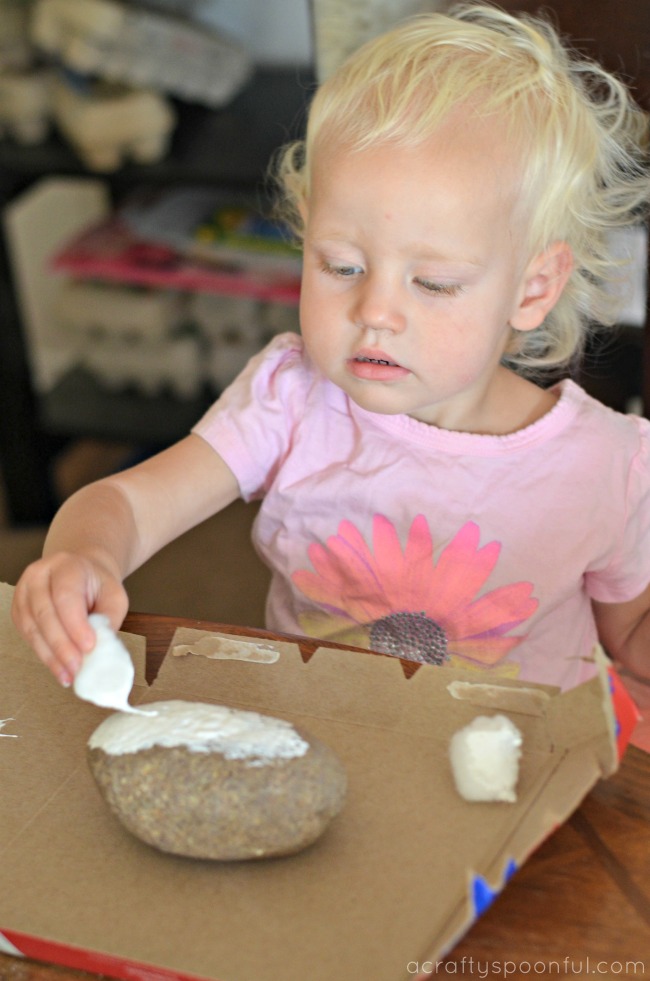
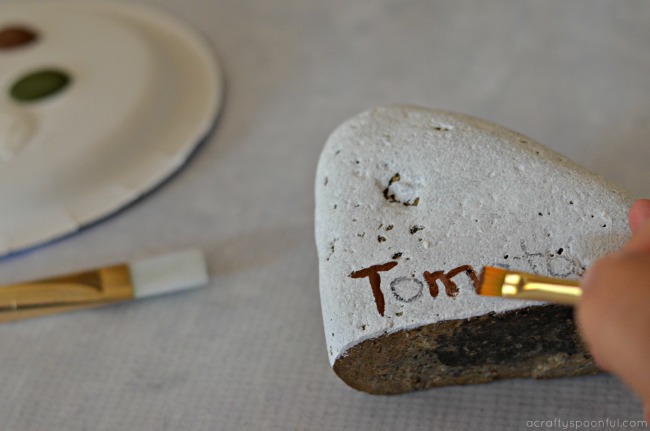
I think the most fun was when they tried to trace my penciled in names with paint to make each name stand out a bit more. The concentration my littlest had in her eyes (and brow) was quite humorous. 

If you’re planning out your spring garden, or are already growing, these are a great addition to share with kids and guests alike what you’re growing this season. Here’s how to make these painted rocks for garden markers: 

Painted Rocks for Garden Markers

What you’ll need: 

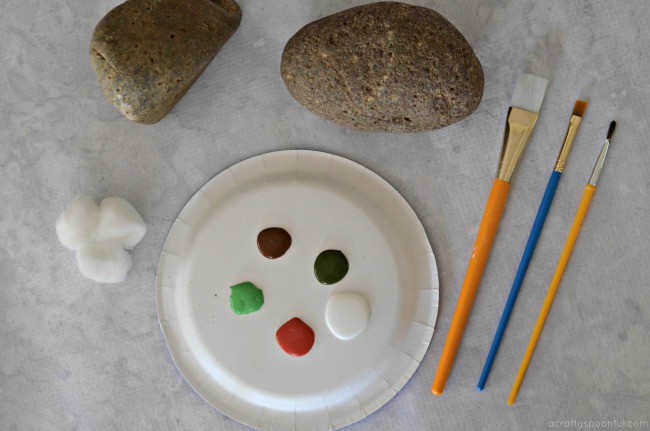
  • good sized rocks
  • paint in a variety of colors based on what you’re growing
  • a variety of brush types, cotton balls, and/or cotton swabs

What you do: 

1. Using either a brush or cotton ball, layer the base color on the rock so that the illustrations you paint will stand out. We used a white base but any light color will due. 

2. Once the base coat is dry, now it’s time to paint the objects you’re growing. As you can obviously see from the rock above, my daughter was painting strawberries. Remember, it’s ok if the artwork is a bit… abstract… in the next step we’ll make things a bit clear. 

3. With a pencil, write out the names of each of the plants onto the rock. Then let your child trace the written names with their paint brush to make the name of the plant stand out. 

4. Once your painted rock is completely dry, set it outside next to your plant and enjoy! 

With Spring upon us, we’ve planted a variety of different seeds and plants in our garden. Here’s what my preschooler helped plant: 

  • Cherry Tomatoes
  • Bell Peppers
  • Radishes (from seed)
  • Carrots (from seed)
  • Cucumber (from seed)
  • Snap Peas (from seed)
  • Mint
  • Sage
  • Basil
  • Parsley
  • Thyme

And the big kids help by watering, weeding, and keeping an eye on the bugs that are in our garden beds

Looking to get your kids more involved in the garden? You’ll love these tips! 

DIY Indoor Herb Garden Ideas

Using Ladybugs in the Garden

Tips for Gardening with Kids

Kid Friendly Ideas to Get Your Kids In The Garden

Pin this article for later! 
Click the Pin button on the image below to save for later. 

How to Build a Vertical Garden Using Pallets

 This post contains affiliate links. 

How to Build a Vertical Garden Using Pallets

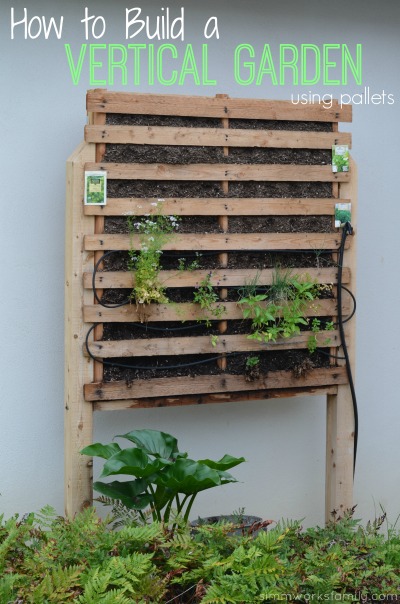
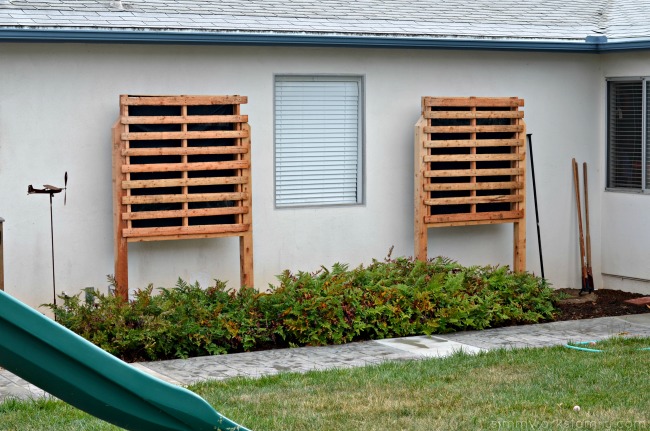
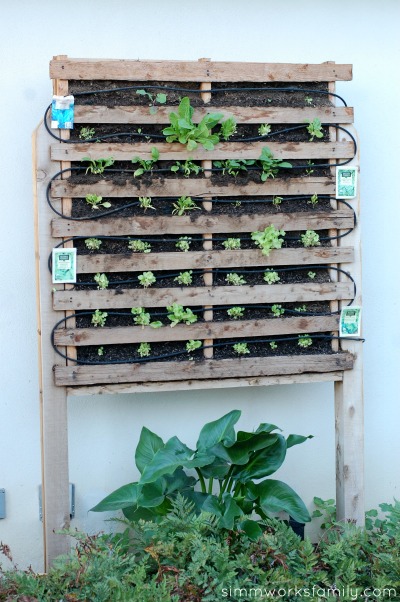
Ever wonder what else you can do with pallets? I mean besides the thousands of other ideas you find all over the interwebs? Well, my husband and I figured out how to build a vertical garden using pallets. And they’re quite fun!

Now, I want to tell you right now that we’ve had some interesting finds when building these. The first? It’s really difficult to get dirt to stay IN the pallets once you start watering them. Especially if you don’t use a soaker hose line and just spray them with the garden hose.

My son had fun with the muddy clumps that came with that! But once the dirt is settled into the pallets it’s actually quite a good way to grow fun things and makes an awesome display for your yard.

build a vertical garden using pallets - before

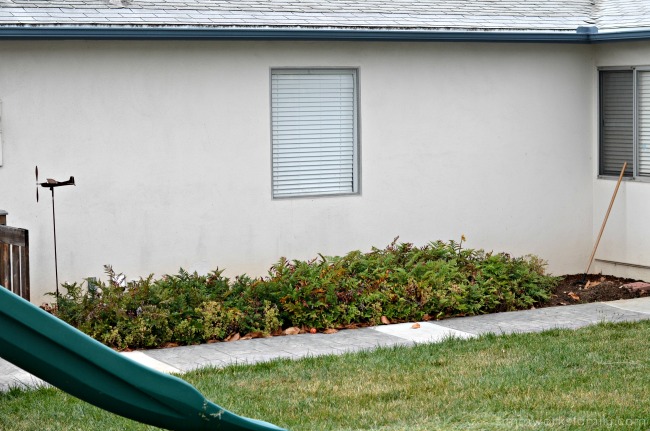
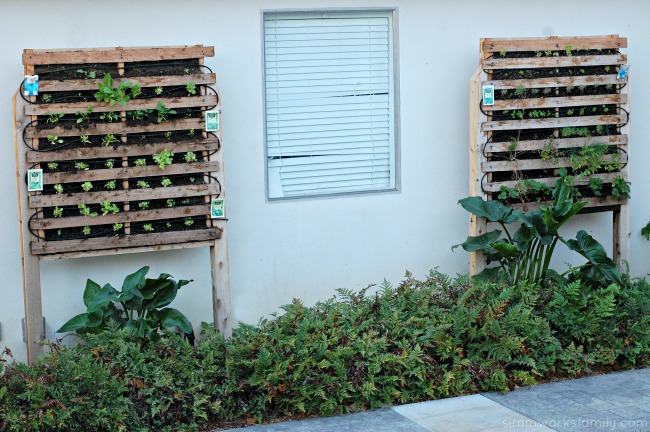
This above was the side of our house in the front yard before we put the pallets in. I hated how empty and plain the space was and wanted to use the vertical garden to spruce it up and bring life to this part of the yard.

I don’t think my husband quite understood exactly what I was envisioning in my head but with some team work, a few dirty looks and rolling eyes, and some muddy kids, we got it done.

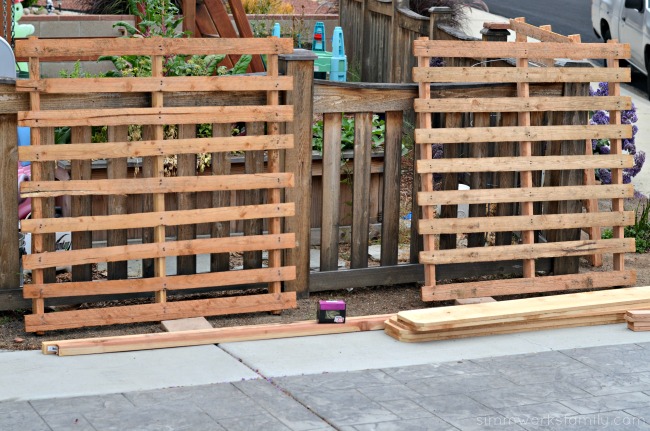
Oh… and if you’re having trouble finding pallets because everyone and their mom is grabbing them up to make things like this, go to Home Depot or whatever other hardware stores you have around and ask for their sod pallets. They’re more flimsy/rickety (hence the support added) but are perfect for this type of project!

Here’s how!

build a vertical garden using pallets - pallets

How to Build a Vertical Garden Using Pallets

Supplies:

Wood

  • wooden pallet
  • 2×2 doug fir
  • 2×4 doug fir
  • 1×8 cedar fence board
  • 2 4×4 cedar posts

Materials

What you do:

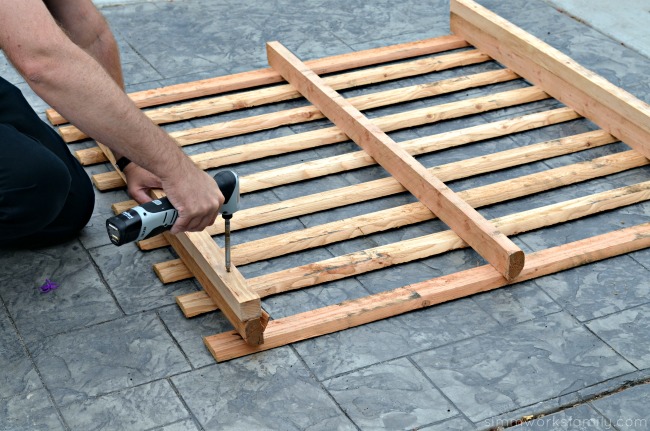
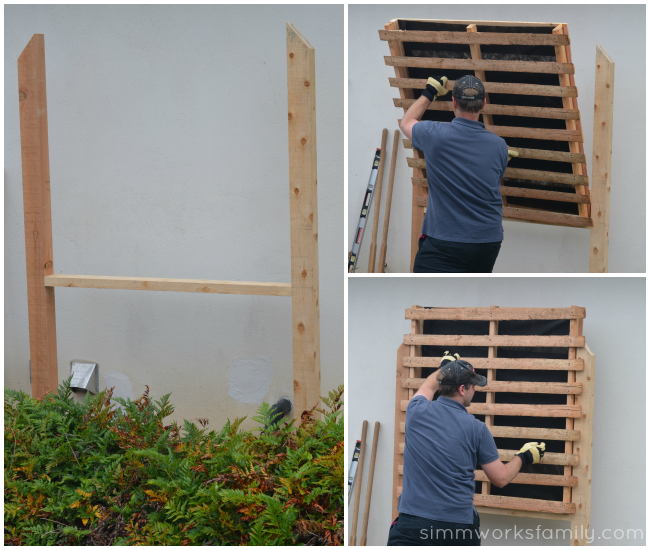
build a vertical garden using pallets - drilling on support beams1. Measure length of pallet and cut 2x2s to that length. These will give extra support to the pallet.

build a vertical garden using pallets - staple black garden cloth

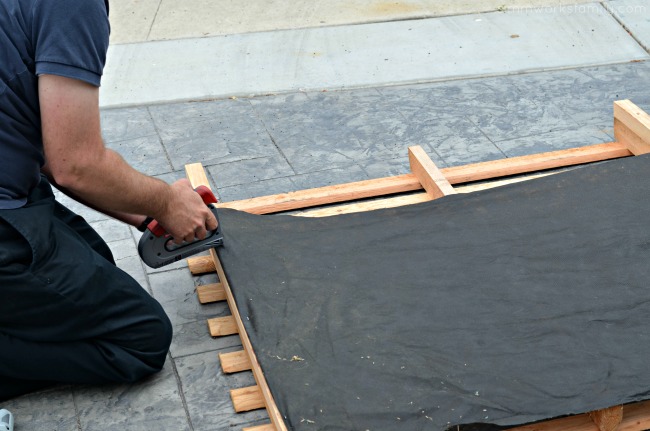
2. Staple weed block fabric to the back of the pallet, pulling taut to make sure it’s stretched all the way across. Layer if needed to cover the full back.

build a vertical garden using pallets - add support panels

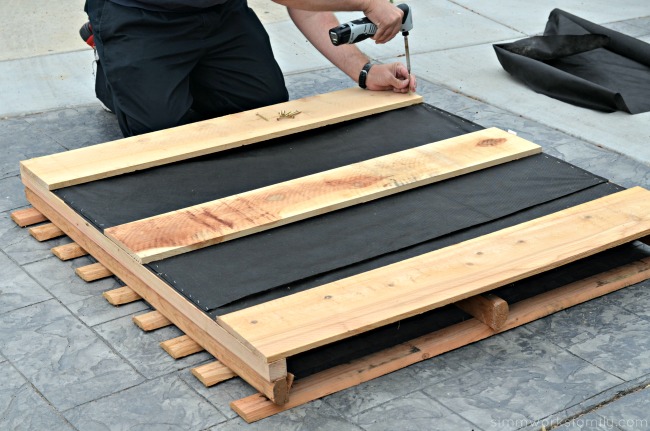
3. Measure the width of the pallet from 2×2 to 2×2 and cut 1×8 fence boards to that length. Screw in place over the weed block fabric.

build a vertical garden using pallets - dig post holes and level post

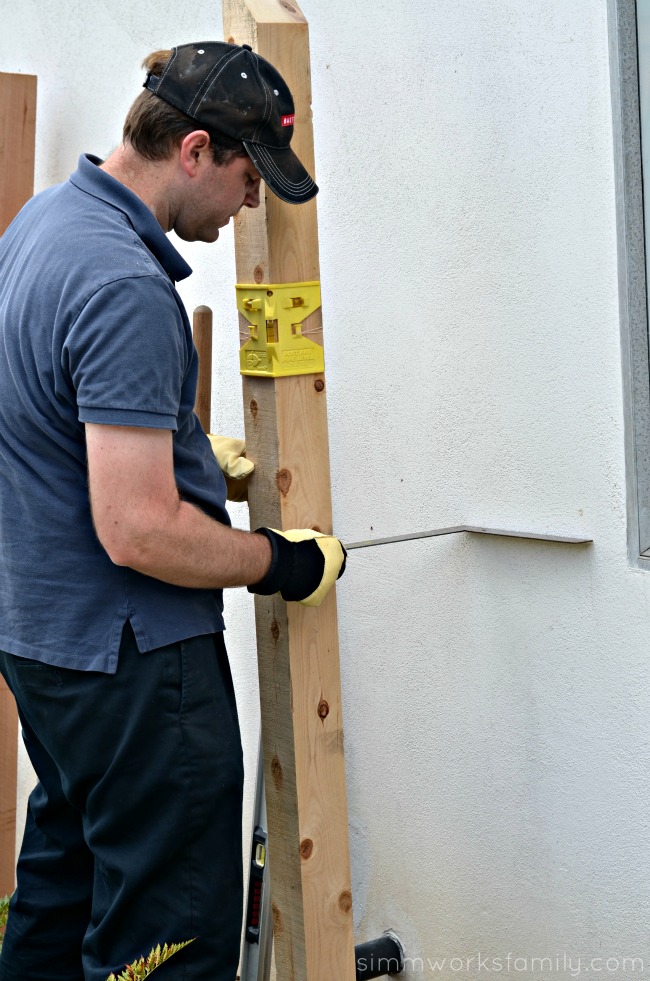
4. Measure the distance you need your posts to be installed on the ground and dig holes for posts. Cut posts to size depending on how far above the ground you want the pallets to be. Make sure to bury them about 1-2′ in the ground to provide a sturdy base.

5. Set posts in the ground by covering with dirt and using a level to determine if you need to move or shift the posts. Measure the back dimensions of the pallet to determine exactly how far apart the posts should be. This will vary with every pallet.

build a vertical garden using pallets - attaching pallet to posts

6. Measure where you want the bottom of hte pallet to be and mark off that height on each post with a pencil. Then cut the 2×4 to the width between the posts. This board will act as a frame for the pallet to sit on. Screw the 2×4 into position directly underneath the line you’ve drawn.

7. Lift pallet into place on the frame and screw to secure.

build a vertical garden using pallets - fill with dirtHow pretty are they??

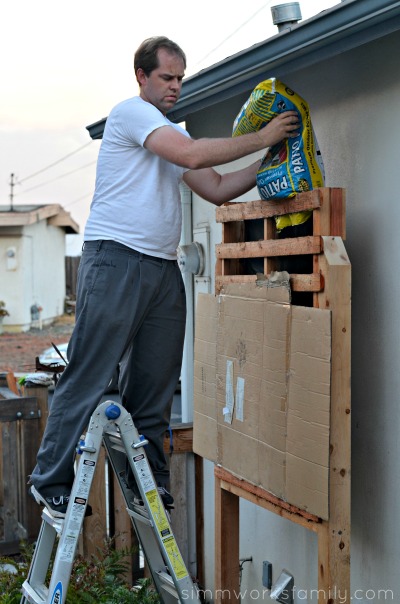
Next up is the hard part… this is where we had the most trouble… trying to pack in the soil to make sure it stayed in place and didn’t spill all out.

Now you’re probably asking why we didn’t start our pallet garden on the ground and then lift it into place once the plants were established. Well.. you *could* do that but just think of how heavy those pallet gardens would be. Crazy heavy! So we did it this way.

build a vertical garden using pallets - dirt in pallet

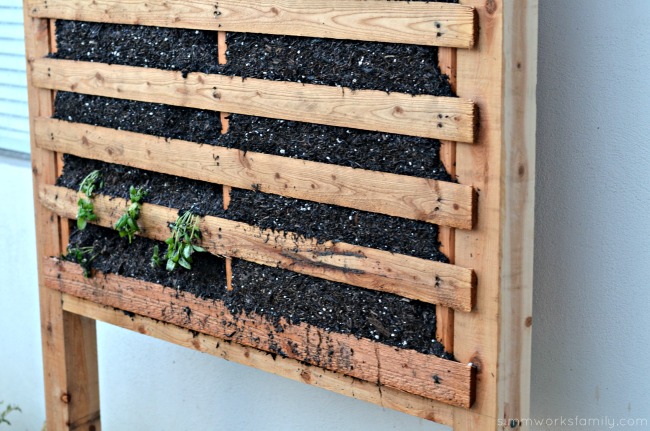
8. Using the cardboard stapled to the front of the pallet, fill the pallet with mulchy garden soil. Pack down each layer as you go to make sure it’s secure. There will be some dirt that falls out, simply fill it back again or leave it as is to settle more and fill later.

9. Plant with whatever seeds you think will grow best! We stick to lettuce in one planter and herbs in another with a few strawberries at the bottom. It’s pretty fun to step out and grab herbs whenever I need them!

build a vertical garden using pallets - planting from startersAnother problem we ran into was using starter plants we purchased instead of seeds. While in theory this would work great, when you put a plant that’s been growing vertically in a horizontal planter into a vertical planter and ask it to grow horizontally it looks like this above… droopy.

It’s also quite messy and hard to get the starter plants IN the planter and you spill a TON of dirt everywhere. Our solution? Seeds… start from seed and install an irrigation system with a soaker hose. You can find everything you need for the soaker hose in the irrigation aisle at your local hardware store.

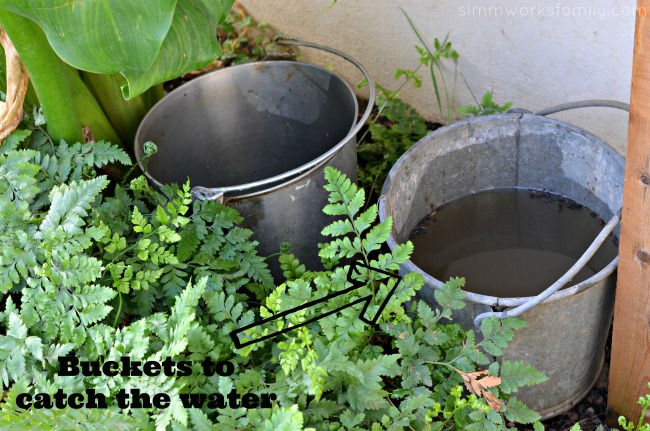
build a vertical garden buckets for run offIf you’re going to use an irrigation system with your garden, know that there will be water that drips down constantly. In order to conserve that water to use on our other plants and in our raised garden beds, we simply put buckets underneath to catch the excess water.

You know what else we found? Bees LOVE to come and drink the water that pools on the last rung of the pallet because they love mineral rich water. That means you’re helping the bees with your vertical garden too! Here’s a close up of a bee drinking. This is a regular sighting.

build a vertical garden using pallets - plant from seed

While it’s been a crazy process, I absolutely love how the vertical gardens make the side of our house look. I consider them more of a decorative piece in our front yard but love that we also get the benefits of growing our own herbs and lettuce.

And since our pallets are in the shade for most of the day, we had to choose plants that would work well in these conditions. I’m sure there are other things one could grow if their vertical garden were directly in full sunlight.

build a vertical garden using pallets - planted

What would you plant in a vertical garden?

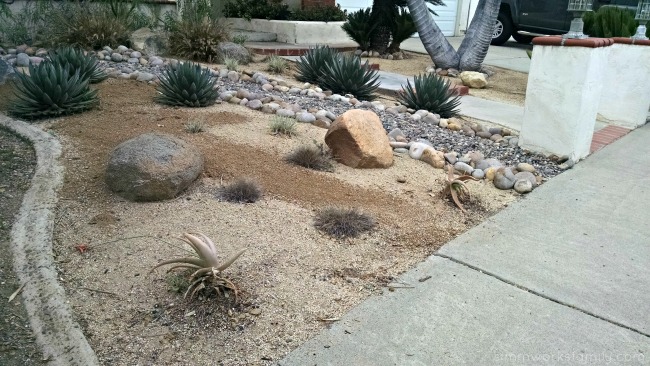
Adding Desert Plants to Your Garden

Adding Desert Plants to Your Garden

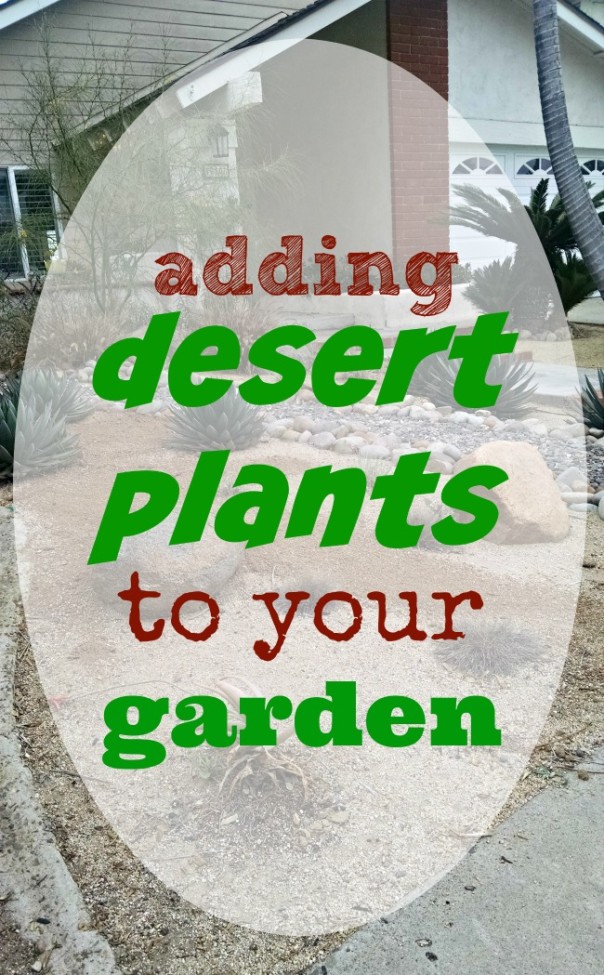
Desert plants include a huge variety that include succulents and cacti, but also include plants like yucca and agave, which most gardeners are not as familiar with. All of these desert plants are beautiful, sculptural and cold hardy, making them able to be added to your garden.

You might have noticed that a lot of desert plants have flowers, and while you are not familiar with their care, it is relatively easy to find out more and add a little boldness to the garden.

If you have never thought about adding desert plants to your garden, but are looking for something a little different and unique, try these low maintenance, drought resistant options. The perfect way to stay water wise in So Cal!

Gardens to Consider

Most people think that cactus and other desert plants only belong in the desert or where it is very hot, but the truth is these plants can grow in areas where the temperature rises and drops with the time of day. Some desert plants are hardy from zone 4 to 9, which includes most of the continental US. We mainly see them in the desert because of the face that they are able to survive the harsh conditions, can grow in very poor soil and are drought resistant, so where everything else has died, they survive.

Providing for Desert Plants

While they can survive in harsh conditions and poor soil, cactus actually love growing in rich soil and flourish when they have had some water. The water has to be well drained for their roots to survive, but as long as they are given plenty of space to grow out, watered regularly, planted in organically rich soil where the sun shines, the only thing you need to consider is the specific hardiness zone for each plant type. Some types of desert plants do well in landscape that is similar to where you would find them in their native area, so do not be afraid to add them to hilly areas, slopes or rock gardens.

Desert Plants to Try

Cactus and aloe plants are relatively easy to find at a local nursery, sold as indoor or tabletop plants. Look for plants that are not miniature or dwarf versions to add to your garden for their height or shape, you want something that will gain attention. Agave plants are another option, and great for first timers. They grow very large in size, and they do so very quickly when they are grow in good soil with a steady supply of water. Add these to rock beds or gentle, sloping ground.

Yucca plants are also easier to find in nurseries, and are one of the only yuccas that a lot of northern gardeners are familiar with. These plants resemble yucca when they first begin to grow, but then let out huge flowering spike that is very dramatic and beautiful. Finally, sotols are another desert variety that looks great in any garden. They are like the ornamental grasses of the desert, with their spiky foliage and frilly edges. Use them to add drama to the front of the garden bed.

Adding Desert Plants to Your Garden xeriscaping

How are you lessening your water bill in the garden?

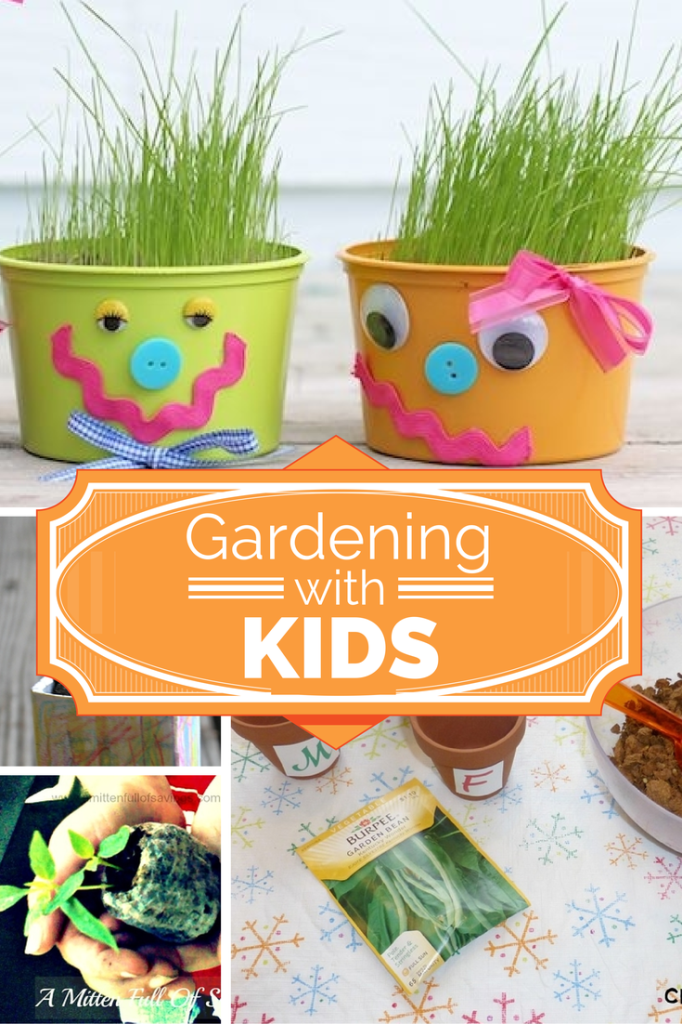
Great Tips for Gardening With Kids

Gardening with Kids

We’re starting to plan what we’re going to plant in our raised bed for spring right now and can’t wait to get our hands dirty. One of the best parts about gardening, for me, is the fact that the kids get involved in every step from planning, planting, and growing.

Over the years of gardening with them I’ve come to find that gardening with kids isn’t as hard as it sounds. In fact, it can be quite fun! The bonding we do over our garden has deepend our relationship and has acted as a teaching tool for life lessons.

Below are some great tips for gardening with kids that you can use if you’re just starting or have been gardening with your kids for a while.  [Read more…]

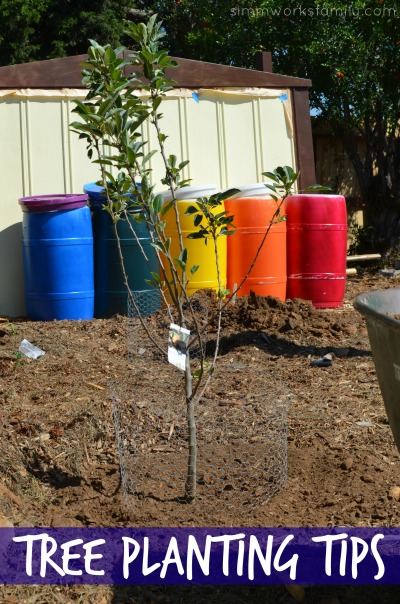
Tree Planting Tips: Planning Your Garden

Tree Planting Tips Planning Your Garden

Anyone that heads out to a nursery to shop for a tree knows that these awkward, spindly bunch of branches has the potential to grow into something great. Adding a tree to your yard is a big commitment because the tree will serve to separate, bring together and stand in place for several years to come.

Tree planting is the first and most important step to adding a tree to your garden, so it is important that it is done right and that every home gardener know about the common mistakes to avoid.

We recently started adding trees to our community garden, including a Valencia orange and Anna apple, and after much research on the types of trees we were going to plant, the next step was planting the trees right!  [Read more…]

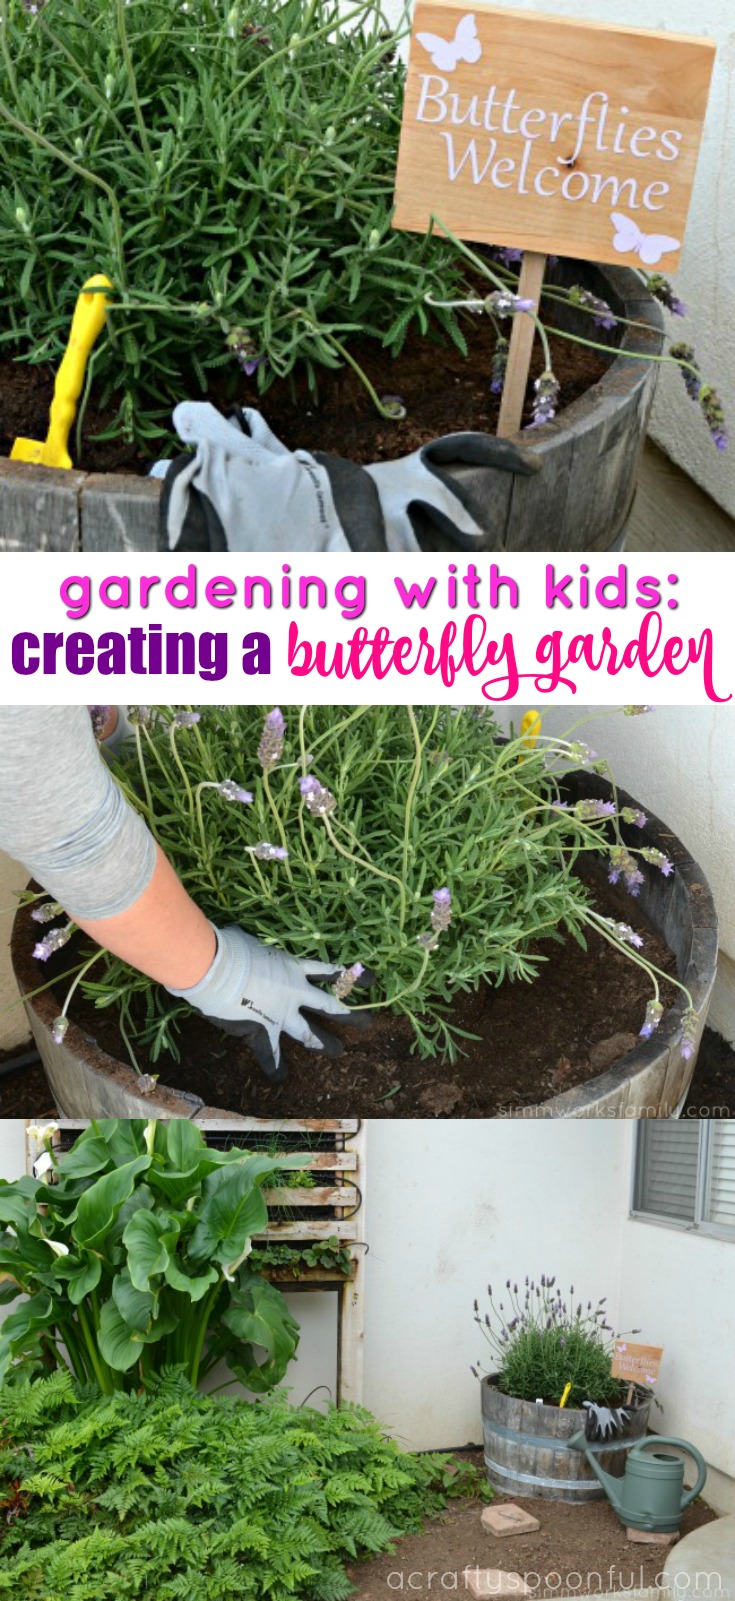
Gardening With Kids: Creating a Beautiful Butterfly Garden

Want to attract more butterflies to your yard? By creating a butterfly garden, you allow the butterflies to have a space to eat, rest, and flutter around so they feel comfortable fluttering about throughout the year! 

Gardening With Kids

Gardening with kids has come to be one of my favorite hobbies these days. Not only does it give me much needed momma time with my two little ones, it also is a great way to teach them new and wonderful things.

I’ve also found that while we spend time gardening, we’re also growing something greater. We’re growing an amazing bond and a safe place for them to come and talk to me about just about everything. 

When the family and I headed to the store last week we saw some awesome 5-gallon lavender plants among a few other plants they were selling.

As soon as I saw them I immediately when to go scout them out and found one I loved. My husband already knew I was on the hunt for a lavender plant to help entice the butterflies to come visit more often.

Gardening with Kids lavender plant

We also have some kangaroo paw and other flowering plants that do so as well. But I love the smell of lavender and had to have a place for it. There are some great plants to bring into your yard to entice the butterflies to visit. Here are a few to check out: 

Butterfly-Friendly Plants For Your Garden

Attracting Caterpillars

  • Borage
  • Cilantro*
  • Fennel*
  • Grasses
  • Hollyhocks
  • Lupine
  • Milkweed
  • Nettle
  • Thistle

Attracting Butterflies

  • Alyssum
  • Aster
  • Bee balm
  • Butterfly bush
  • Calendula
  • Cosmos
  • Daylily
  • Delphinium
  • Dianthus
  • Fennel*
  • Globe thistle
  • Goldenrod
  • Hollyhock
  • Lavender*
  • Liatris
  • Marigold
  • Musk mallow
  • Nasturtium
  • Oregano*
  • Phlox
  • Purple coneflower
  • Queen Anne’s lace
  • Sage*
  • Scabiosa
  • Shasta daisy
  • Stonecrop
  • Verbena*
  • Yarrow
  • Zinnia

*these plants are edible

Gardening with Kids pulling out the lavender plant

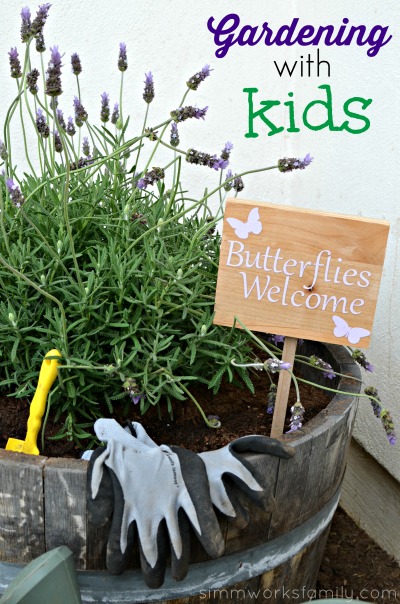
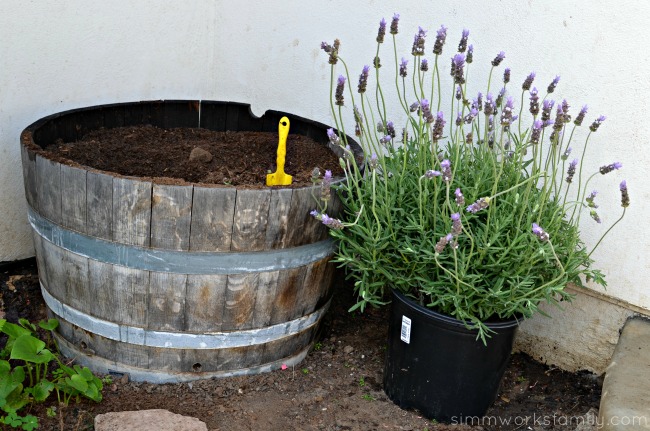
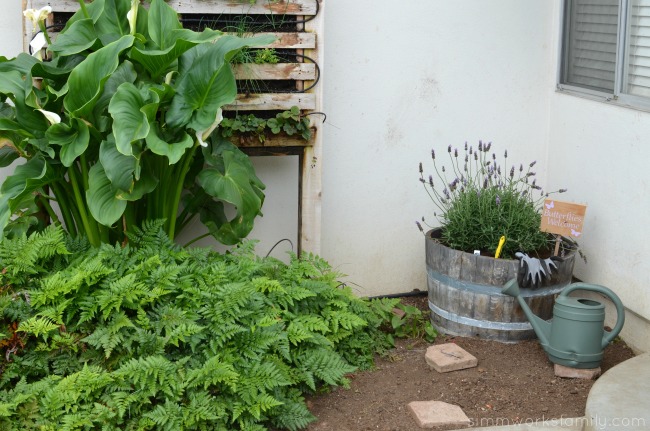
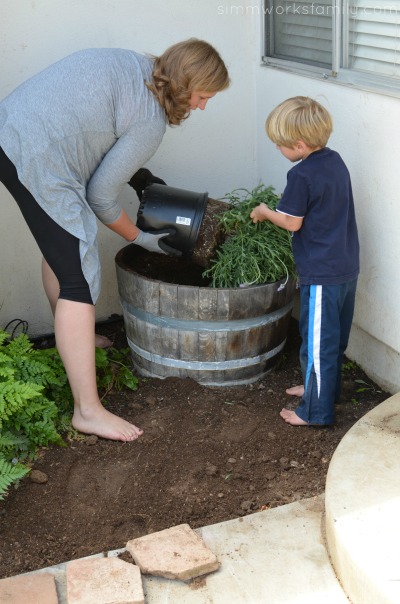
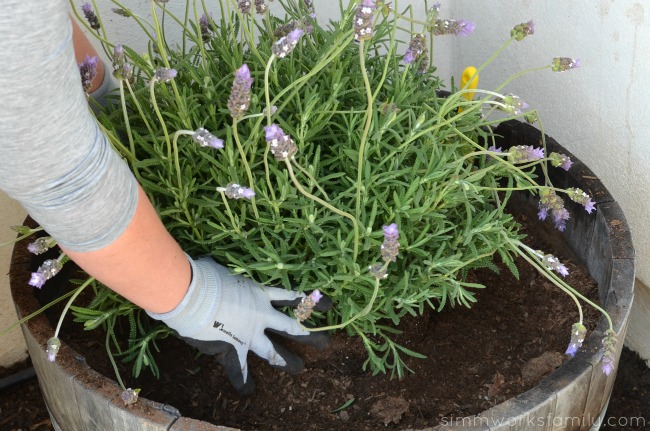
When we got home I asked my son if he wanted to help me plant it. He jumped at the opportunity to get dirty and quickly helped me take the lavender plant out of it’s container and plant it inside a wine barrel we had just filled with dirt.

It was the perfect task for him since it involved digging in dirt, and watering afterwards. Dirt + water = mud and mud makes my son very happy.

Once we were done we stepped back and marveled at what we had just done together. I now have a lavender plant and my son has a new place to look for beautiful butterflies.

Gardening with Kids planting lavender in a wine barrel

Being able to get my hands dirty with my son and grow these memories and experiences are something I’ll treasure forever.

It’s more than just that lavender plant. It’s the bond I’m forming with my son while tending to that lavender plant.

It’s the moments we share watching the butterflies flitter in our yard and land on one of the plants. It’s seeing a caterpillar make a cocoon and watching a butterfly emerge.

Gardening with Kids lavender butterfly garden

Our ferns, kangaroo paw, and other ornamental plants in our yard have bloomed beautifully with a little love from the kids. And I’m sure this lavender plant will as well!

How do you Grow Something Greater?

Love to garden? Read on! 

Pin this article for later! 
Click the Pin button on the image below to save for later. 

5 Easy Herbs to Grow In The Garden and Use In The Kitchen

If you’re looking for a few easy things to grow, whether in a raised bed or container garden, I highly suggest checking out these 5 easy herbs to grow in the garden. Best part? They’re perfect to use in the kitchen! 
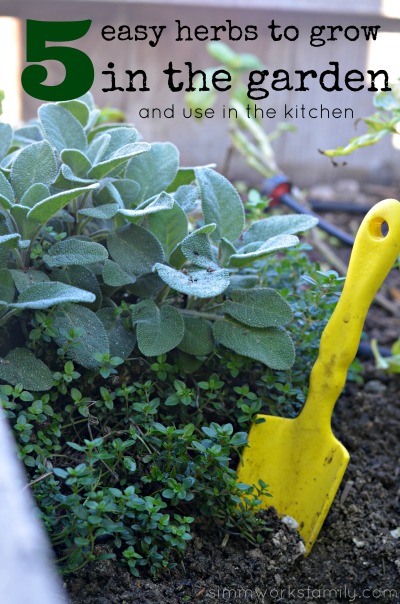
5 Easy Herbs to Grow In The Garden

When I’m considering what to put in my raised beds and vertical gardens there’s one thing I always think about. How will I incorporate these plants into my everyday cooking? So I’ve tried to stick with easy herbs to grow in the garden.

The 5 herbs listed below are the easiest ones I’ve worked with here in San Diego and have required little more than regular watering and a little pruning every now and then (my basil). Some of these herbs even create great flowers when you let them attract bees over to help pollinate and do their thing.

If you’re looking for a few easy things to grow, whether in a raised bed or container garden, I highly suggest checking out these herbs.

[Read more…]

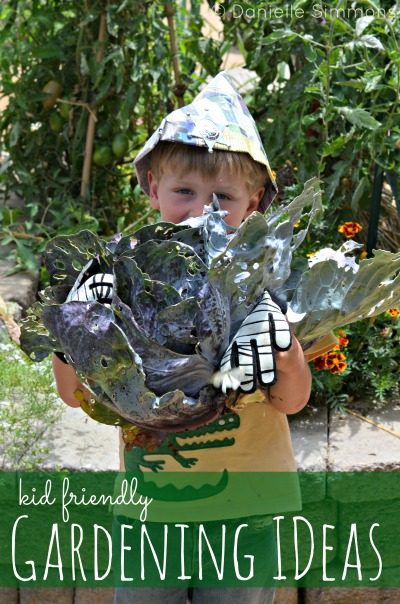
Someday I’ll Learn: Kid Friendly Gardening Ideas

The sun is shining, spring is almost here, and the kids are aching to get in the dirt! For us that means one thing… planning out our spring garden beds.

kid friendly gardening ideas

Are you planning your garden yet?

Why not get the kids involved with these great tips featured on Someday I’ll Learn.

Pinterest Inspiration


© A Crafty Spoonful - All Rights Reserved
It is OK to use one of my photos provided a link back and/or proper credit is given. It is NOT ok to copy and paste a whole post including instructions. Please do not remove watermarks or alter images in any way. Please contact me with any questions at danielle@acraftyspoonful.com

.