So the time has come. Your child is showing potty training readiness signs, so you think you and your child are ready to start. But where do you start? What do you need? And just how difficult is this going to be? These potty training tips below, sponsored by Pull-Ups, will help outline a few things I’ve come to pick up after seeing my two kids learn to use the potty.
They might work for you, they might not! But I can tell you one thing. Potty training varies from child to child and can be a drastically different experience from one to the next.
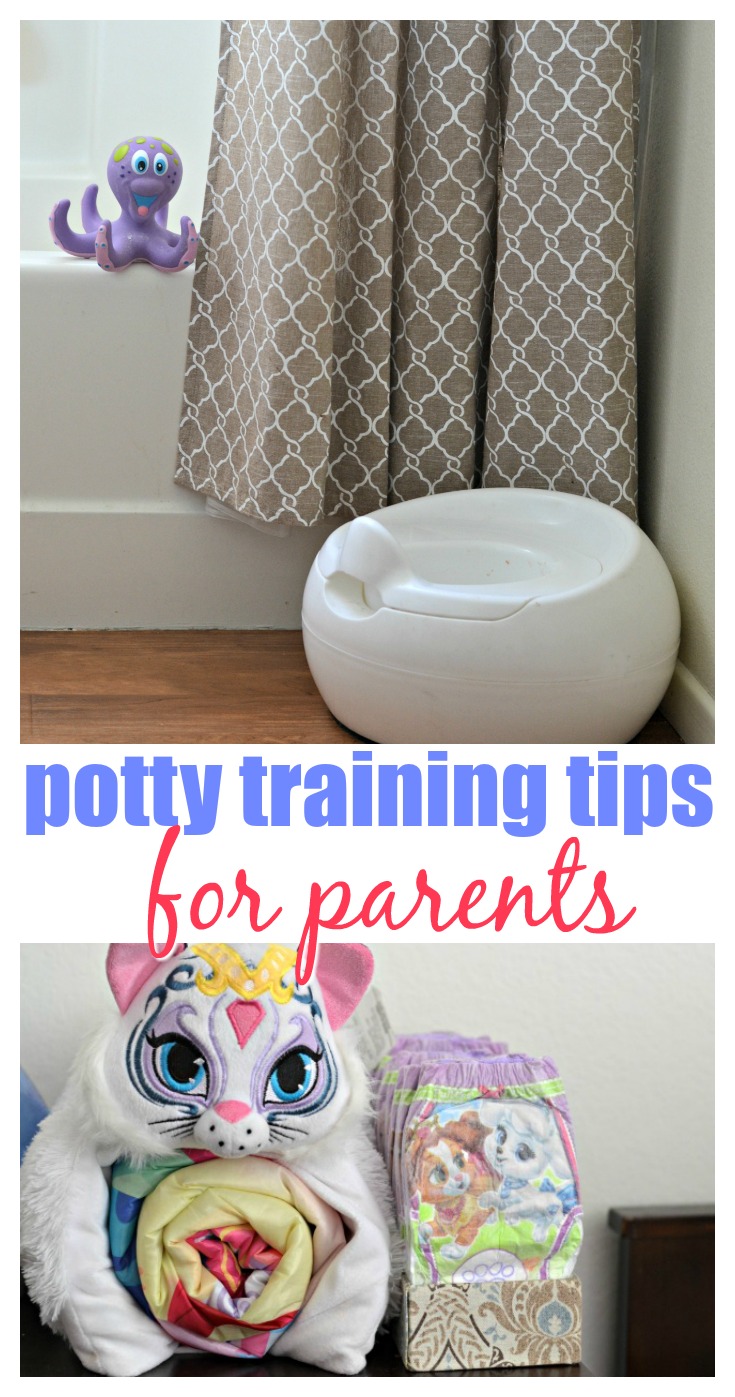
Potty Training Tips for Parents
1. Wait until your child is ready
There is no magic number for the perfect time to start potty training. Some kids are ready as early as 18 months and others will be closer to 4 years old. Don’t try and force your child to potty train too early or else it can become more difficult than it needs to be.
My son started showing all of the signs of being ready to potty train at around 18-20 months. He told us when he went pee and poo, loved to sit and play on the potty, and had a great attitude about the potty. Since I was pregnant with my daughter I decided to wait until after she was born to start the potty training process with him.
At age 2 we decided to try potty training but quickly realized after my son regressed that this would only be accomplished if we followed his terms. We tried again to re-attempt potty training with him, but it wasn’t until he was ready at 3 1/2 that we actually had success.
We do still have times where he has accidents on occasion while my second daughter has none. But guess what? It’s all normal. We just deal with it in a calm and caring way and move on.
Want to check and see if your child is ready for this potty training journey (because it’s not a race)? Visit Pull-Ups.com to check out the Readiness Check List and see if your little one might be ready.
And that brings me to my next tip…
2. Don’t get frustrated
I know, easier said than done right? But it’s true. Your child will feed off of your energy throughout the journey and they’ll take your frustration as a leveraging tool against you. They know they have control over you when you react negatively.
I let my emotions get the best of me with my son and sometimes I was not happy with the way I reacted to accidents. I just wanted him to go on the potty and be over it, but it’s not that easy.
Potty training is an incredibly important milestone for toddlers, and it’s also an opportunity for parents to work together with their children. It sounds daunting to so many parents, but why not make it fun?
It’s important to partner with your child every step of the way instead of trying to run the show. But it’s also important to listen and watch for their cues. My first daughter surprised us all when she decided she was ready for the potty at 25 months. She simply asked for big girl underwear and in a few short days was having no accidents at all.
I didn’t get upset or frustrated when she would only go on the little potties, refused to potty in public, and held herself until she got home, or made me run from one side of the zoo to the other to use the small potties in the Children’s Zoo. We went along with it and learned not to question her if she said she didn’t have to go.
Now that my second daughter is starting to show signs of readiness (dry when she wakes up, verbally lets us know when she’s gone potty, shows signs of interest in sitting on the potty), we’ve started slowly introducing the potty to her.
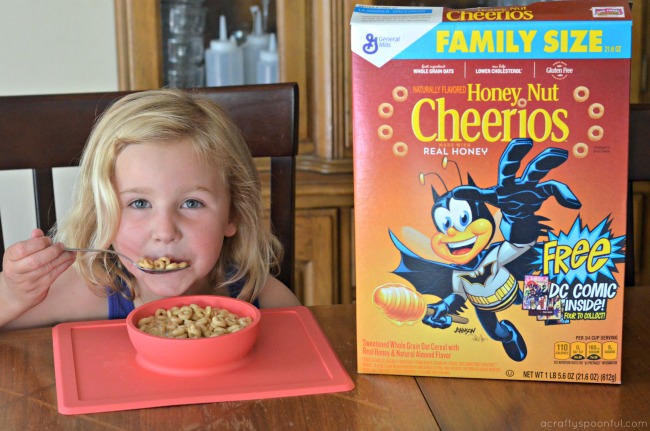
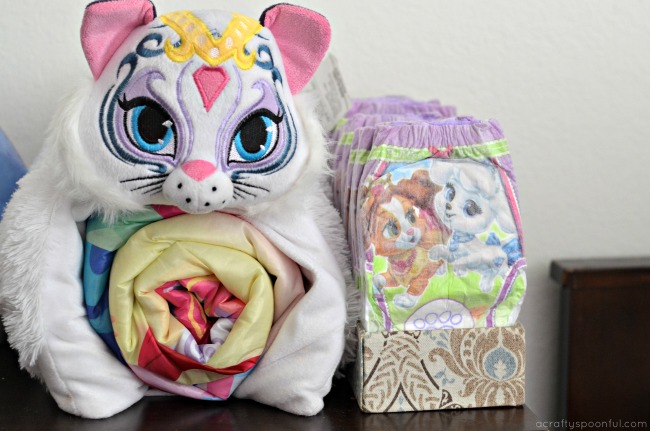
And she is OBSESSED with her Pull-Ups. Motivation is key here. Pull-Ups Learning Designs Training Pants have an underwear-like design and all-around day and night protection. And she is motivated to get to wear her Pull-Ups when we go out of the house. By letting us know when she needs to go, or trying to go before we leave the house she’s on her way to potty training success.
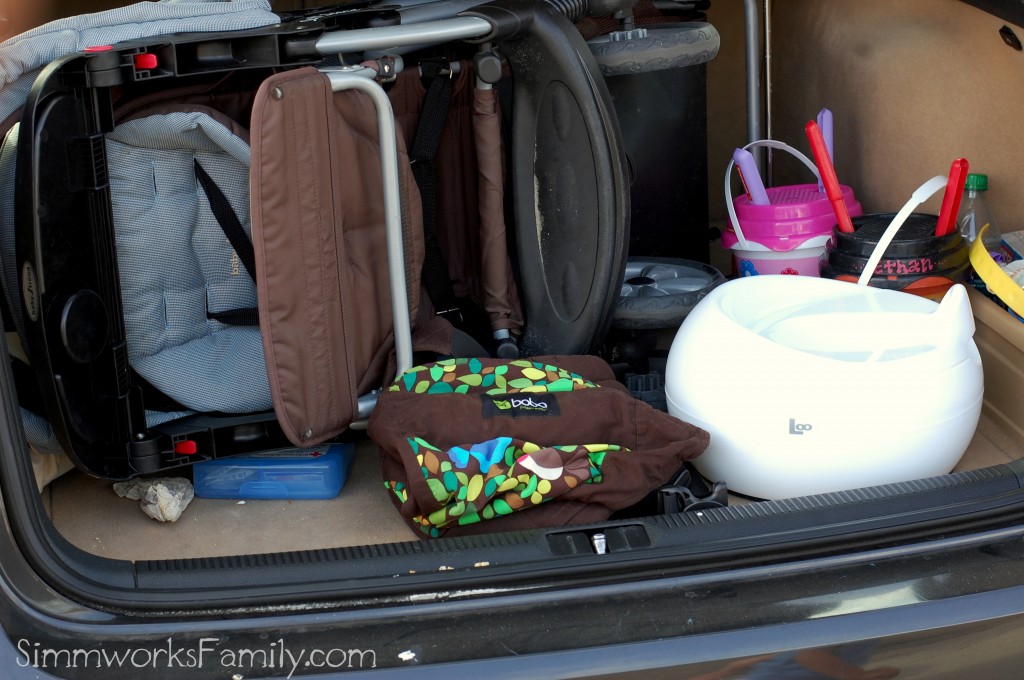
3. Be Prepared
Because my first daughter didn’t give us much time to prepare and react to the fact that she was ready to go and wasn’t looking back, I’m happy that we had a few key things on hand to make the transition easy.
The key items I always keep with us are:
- Little potty – We have a little potty in the kids’ bathroom as well as in the back of the car just in case
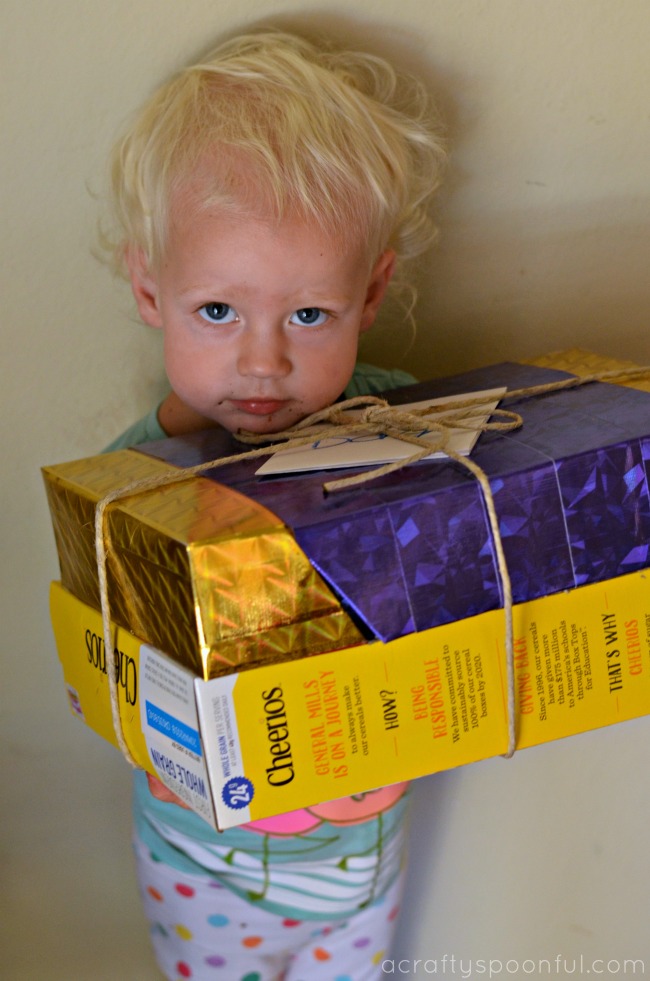
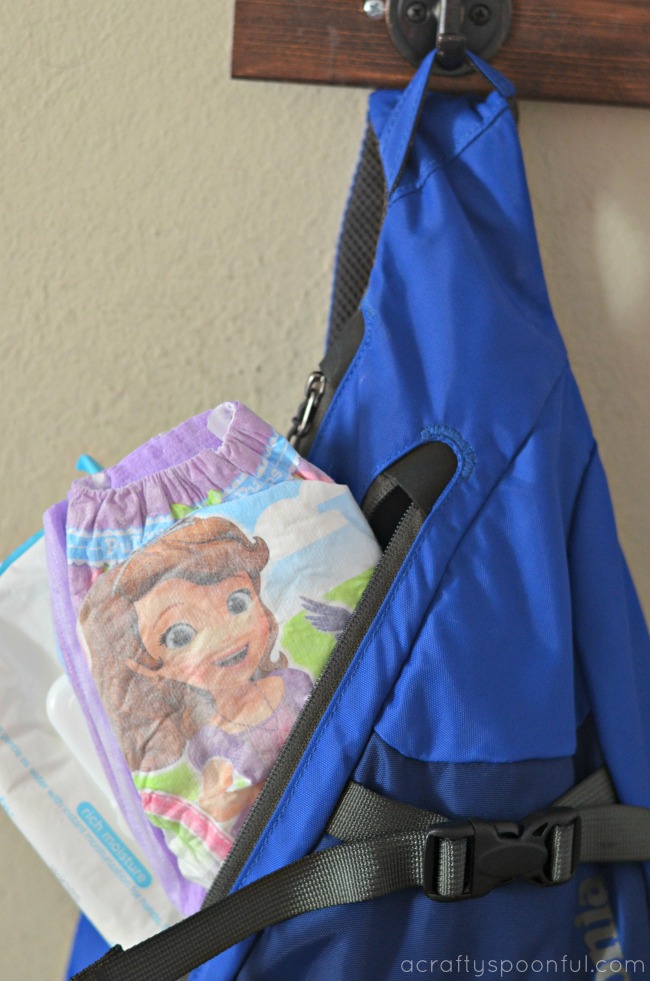
- Extra Pull-Ups – Once your child shows an interest in the potty, grab a few packs of Pull-Ups to keep in the house. Stash some in the car and in your purse just in case. Pull-Ups Training Pants help your child recognize potty training as a significant milestone in their development by providing independence, teaching physical and cognitive skills, and offering a consistent representation to your child of their potty training journey. So, once you buy those first pack of Pull-Ups, never go back to diapers!
- Sanitizer – your child will miss the potty sometimes (or all the time) and you’ll need to clean it up
- Extra clothes – just like when they were babies and had a blow out or two, an extra set of clothes is a must in the diaper bag. With Pull-Ups you won’t have many true accidents but it is still helpful to have on hand.
4. If they regress, don’t stress
As I said before, my son regressed after being potty trained for 6 months. He did eventually hop back on the potty training wagon and was successful the second time around. Sometimes our kids might seem ready but they have other plans.
Pull-Ups has simple ways to make potty training easy and fun for parents and children to start together, with guidance on how to tailor the journey based on your little one’s unique personality. In fact, 3 out of 4 moms prefer the Pull-Ups offering* including packaging, in-pack prizes (like stickers) and activities on Pull-Ups.com.
*vs Pampers Easy Ups
Follow your child’s cues and just go with what they’re telling you. If not, you might make it worse for the second (or third) time around.
Good Luck!
Let’s Get Ready to Potty Contest
You could win $1,000 and be featured in an upcoming issue of Parents Magazine by telling Pull-Ups how you got your kids (and yourself!) excited to start potty training and made the journey fun.
Three runners-up will win a 1-month supply of Pull-Ups Training Pants. The contest will run through June 30 so enter now at parents.com/itstimetopotty!
Have any great potty training tips for parents? I’d love to hear them!