We’re making magic in the kitchen with this easy apple cider donut recipe sponsored on behalf of GROHE and Millennial Blogs! Learn how to make these delicious donuts with your kids as we share our favorite tips for cooking with kids (plus a cool hands-free faucet from Grohe that makes our life even easier!).

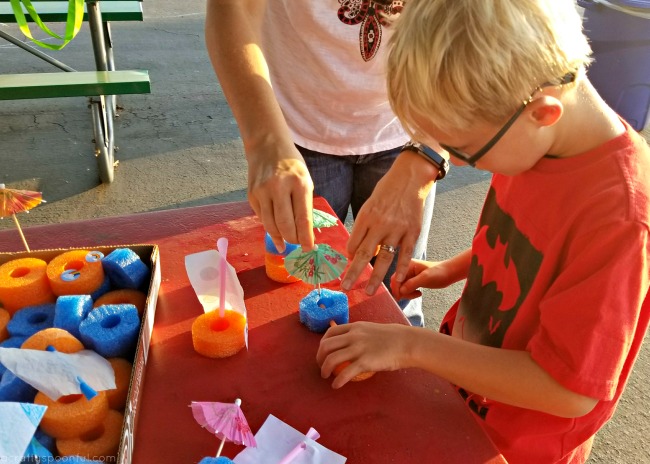
One thing that always makes my heart happy is when my kids want to come into the kitchen and help us. Whether it’s making dinner, putting away groceries, or planning out a special treat, each of our kids has expressed an interest in helping in the kitchen and we love to use these moments as teaching moments. This weekend, in celebration of fall finally arriving here in San Diego, we decided to try out some easy apple cider donut recipes and landed on one favorite.
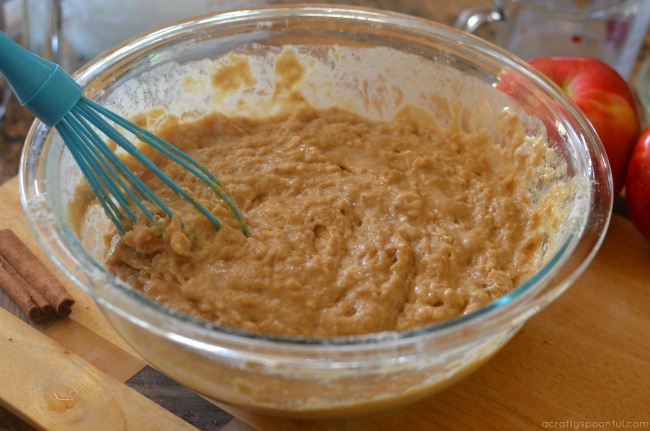
We don’t make donuts all that often because they do take a bit of work with frying up but it’s so worth it once you find the right recipe. This donut dough is a sticky dough so be prepared for a little mess ahead of time. The kids loved watching the dough transform from a sticky, hard to work with batter in the bowl to actual donuts coming out of the frying pot. And I love that this is a simple batter with no yeast so we don’t have to wait too long to start working with the dough after it rests in the fridge. We can even make it the night before, put it in the fridge, and bring it out when we need it the next morning.
Tips for Cooking with Kids
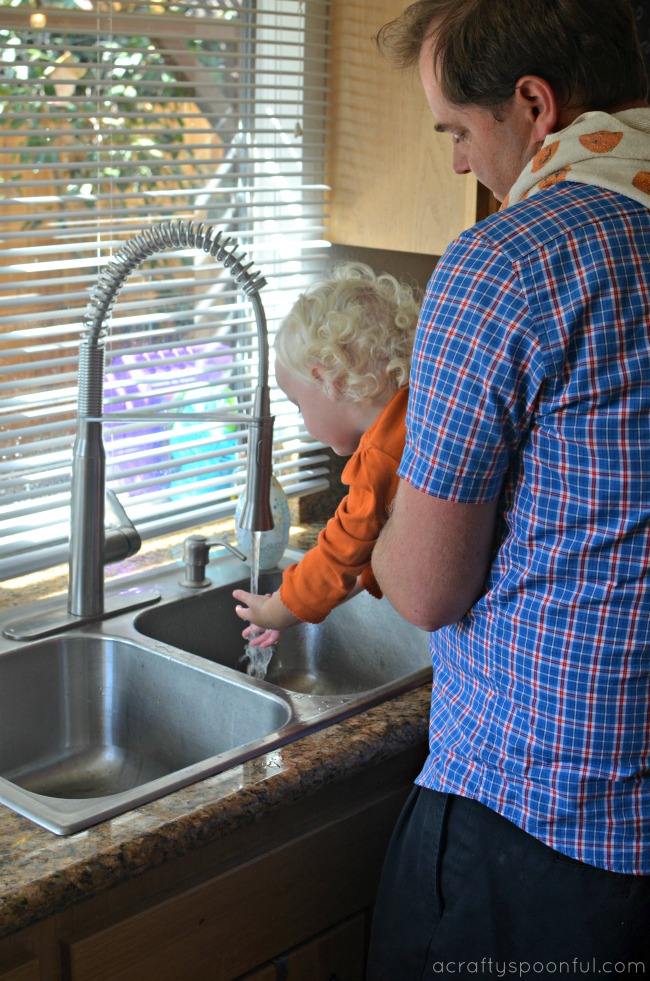
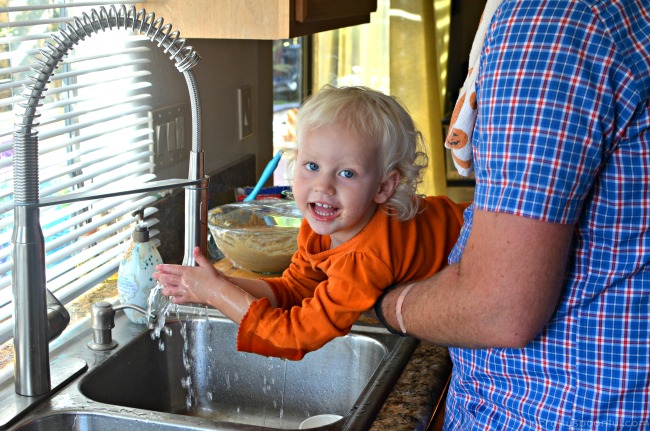
1. Teach your kids how to properly wash their hands before starting –
While this may seem like a given, there are too many times when my kids start to reach for ingredients before washing their hands. And when they can’t find their favorite stool in the kitchen, they rely on us to help them out. Luckily with our new Grohe foot control faucet, we can do this with ease without manhandling our kids too much.
2. Be prepared with the right tools –
As I mentioned previously, the kids almost always need to have their stool on hand in the kitchen. I recommend having a simple 2 step folding step stool that can fold up and be stored easily either on the side of a cabinet or side of the fridge. That way the kids can go and drag it out themselves to help out where needed in the kitchen. Also, having age-appropriate kitchen utensils can help build confidence in skills. We have a set of special kid-friendly knifes for our kids to use so they can learn proper knife skills before “graduating” to our regular knife set.
3. Find the right job for their age –
My 8-year-old helps us with a lot more than my 2-year-old does but we don’t let them know that. With a little planning before tackling a recipe, I can ask each child for help with a specific age-appropriate task. For instance, the 2-year-old is a pro with stirring up a batter or cracking eggs, but the 8-year-old can now start helping with stove cooking (with proper supervision). As you continue to work with your children in the kitchen, you can build upon the skills they learn at each stage so they have a good grasp on basic and more advanced kitchen skills. This comes in handy when the 8-year-old can make the 2-year-old scrambled eggs in the morning!
Making Easy Apple Cider Donuts
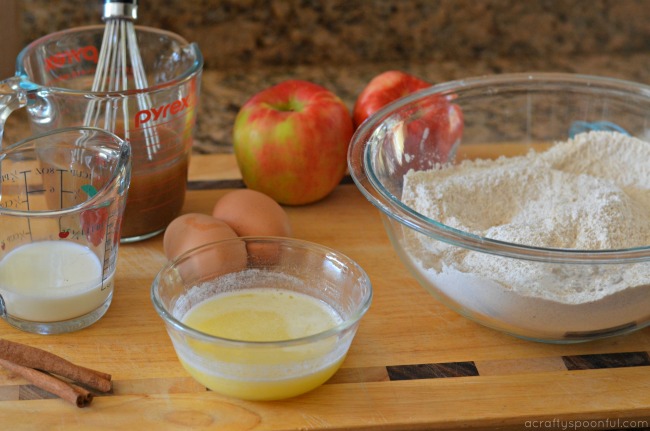
While many are enjoying the delicious flavors of pumpkin, we’ve turned our sights back onto the delicious flavors of apples. My husband knows how much the kids loved the apple cider donuts we picked up when we were visiting Boston a few years back and has been dying to try his hand at making them on our own. The only thing that has been holding him back was the mess he expected they’d make as we started making them.
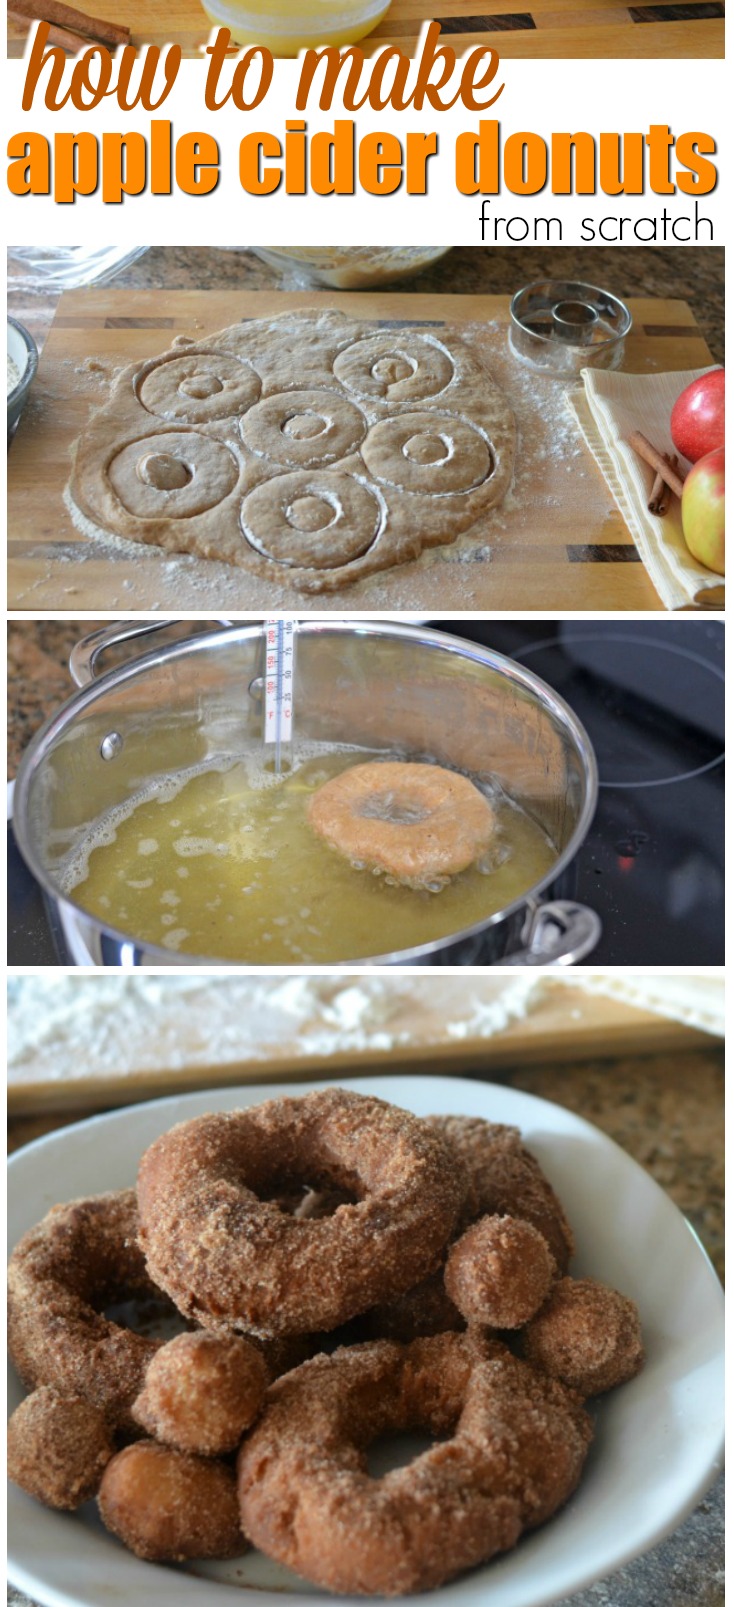
As I mentioned before, the dough is a wet, sticky dough and not easy to work with unless you have a well-floured surface. We didn’t flour the bottom of the board we were prepping the dough on when we first rolled/patted it out to cut out the donuts so we had to scrape everything back into the bowl the first go-round and re-flour everything. So our biggest tip is to make sure you’re prepping your workspace with flour so that the dough doesn’t stick.
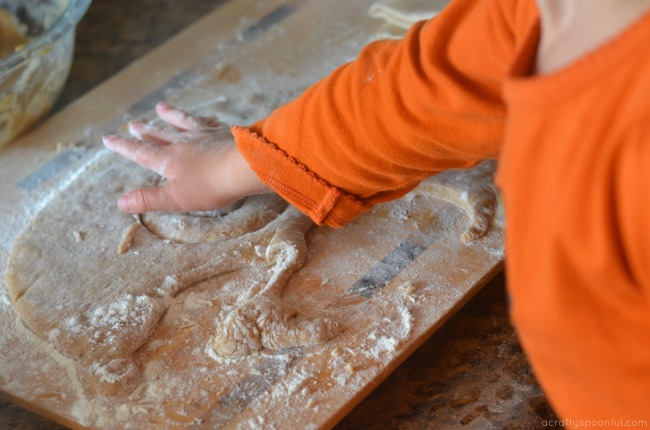
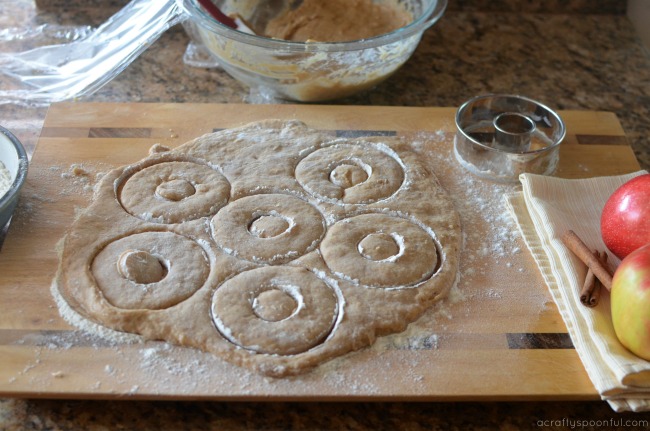
When you take 1/2 of the dough and pat it down to 1/2 inch thick, use flour on the top of the dough to make it easier to pat down. And don’t use a roller, it’s much easier to simply use your hands to do this job. Little kid hands are perfect to help out with this step!
Next up would be cutting out the donuts. We use our favorite biscuit cutters to do this and flour the cutters liberally before cutting the dough. I found that using a floured spatula to lift the donuts from the cutting board helped them keep their shape as we walked them over to the fryer to fry up.
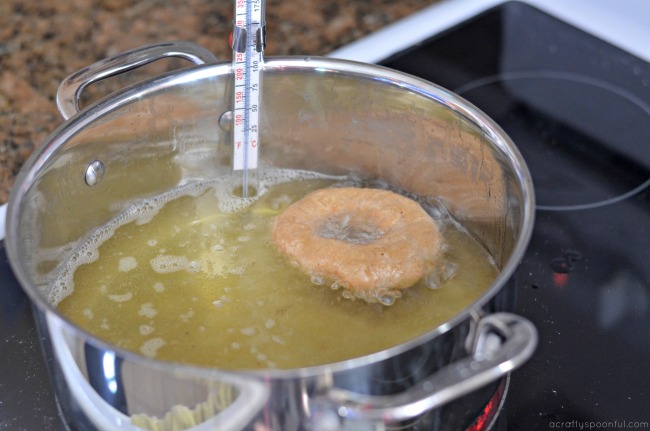
By using a thermometer in the oil, we could make sure that the temperature stayed where it needed to be during the whole cooking process. This helped ensure that the oil wasn’t too hot or too cold. Too hot and the outside would cook faster than the inside, too cold and the dough wouldn’t cool very well and would stay oily/greasy.
I think you’re ready for the recipe now!
Easy Apple Cider Donut Recipe

- 2 cups apple cider
- 3 1/2 cups all-purpose flour
- 2/3 cup packed brown sugar
- 2 teaspoons baking powder
- 3/4 teaspoon salt
- 1/2 teaspoon baking soda
- 1/4 teaspoon ground cardamom
- 1/4 teaspoon nutmeg
- 1/4 teaspoon cinnamon
- 1/4 teaspoon allspice
- 2 large eggs
- 1/3 cup buttermilk
- 6 tablespoons butter (melted and cooled)
- Oil for deep-fat frying
-
In a small saucepan, bring cider to a rapid boil and cook over high heat until reduced by half, about 12 minutes. Cool completely.
-
Whisk together flour, brown sugar, baking powder, salt, baking soda and spices. In a separate bowl, whisk eggs, melted butter, buttermilk, and cooled cider; stir into dry ingredients just until moistened (dough will be sticky). Refrigerate, covered, 1 hour (up to 24 hours) or until firm enough to shape.
-
Divide dough in half. On a floured surface, pat each portion to 1/2-inch thickness; sprinkle with flour as needed to reduce stickiness. Cut with a floured 3 inch biscuit cutter. Make hole in the center of each 3 inch circle with a 1 inch biscuit cutter.
-
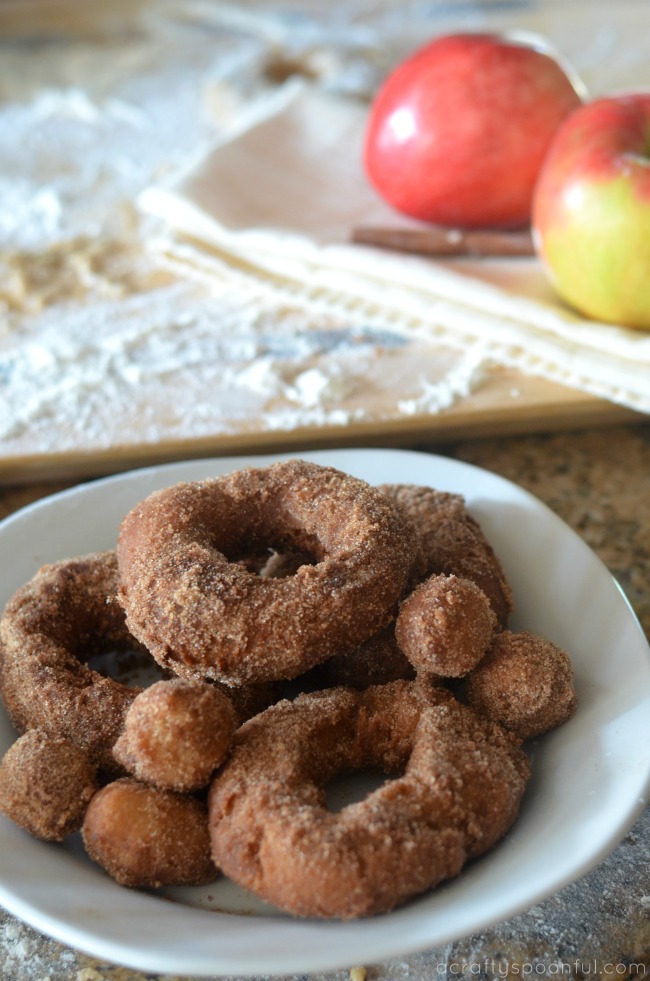
In an electric skillet or deep fryer, heat oil to 325°. Use a thermometer to keep an eye on the oil temperature throughout the frying process. Fry doughnuts, a few at a time, until golden brown, 2-3 minutes on each side. Fry doughnut holes, a few at a time, until golden brown and cooked through, about 1 minute on each side. Drain on paper towels; cool slightly. If desired, toss donuts in spiced sugar after draining but while donuts are still hot.
Spiced Sugar: In a shallow bowl, mix 3/4 cup sugar and 2-3 tablespoons ground pumpkin pie spice. Toss with warm doughnuts. Yield: 3/4 cup.
Keep Clean and Germ-Free with Grohe
You know how sometimes there’s that one product or feature that you find and never knew you needed? Well, our new Grohe Foot Control faucet was just that. Whether we need to fill up a heavy pot for pasta, or quickly rinse our vegetables, GROHE Foot Control gives us greater mobility in the kitchen by freeing our hands and allowing us to use them for whatever we need. We just tap the base of the cabinet with our foot to turn the faucet on.
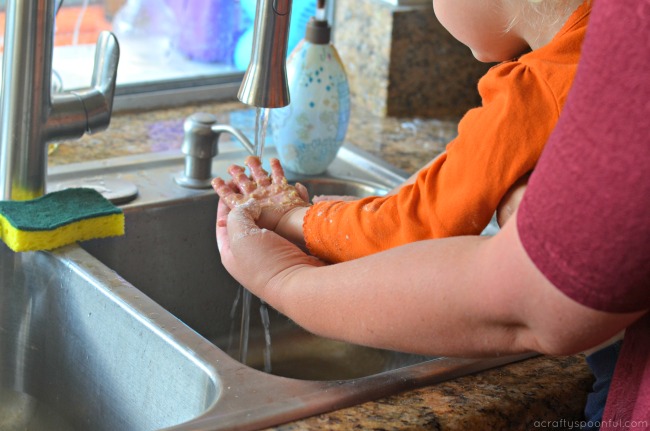
The best part about it is that it’s innovative, easy to use, and immensely practical. When I have raw egg or raw meat on my hands, I don’t have to touch the handle and spread bacteria (or germs from the kids). And if my hands and my kids’ hands are messy, I can easily pick them up and wash both of our hands at the same time while controlling the water flow with my foot.
With GROHE Foot Control Technology, you can switch the water flow on and off with a tap of your foot on an activation plate installed discreetly in the toe space of the kitchen cabinet. And yes, your kids WILL figure this out quickly. That means that when they get messy and can’t reach the faucet handle, all they have to do is touch the plate, pull up their stool, and wash their hands on their own! Believe me, it took the 2-year-old a mere afternoon to realize that we had changed the faucet out on her and replaced it with this cool hand’s free option (don’t worry, there’s an automatic safety stop after 60 seconds).
Have you tried apple cider donuts before? Have you made them from scratch?
Love this recipe? Here are some more to check out!
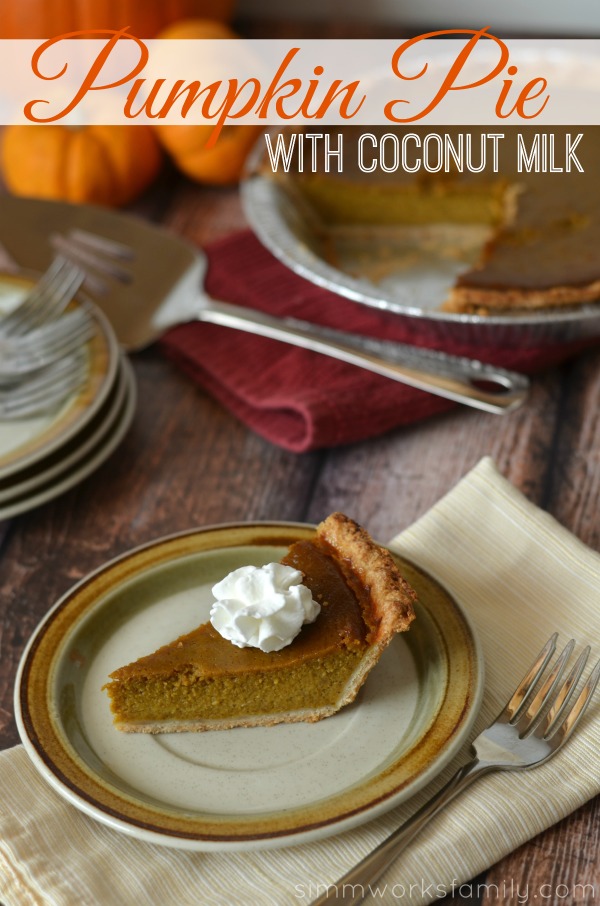
Pin this article for later!
Click the Pin button on the image below to save for later.