Making A Smooth Transition From Two To Three Kids

Tracking Pixel

This post featuring how we’re making a smooth transition from two to three kids is sponsored by Graco®

Making A Smooth Transition From Two To Three Kids

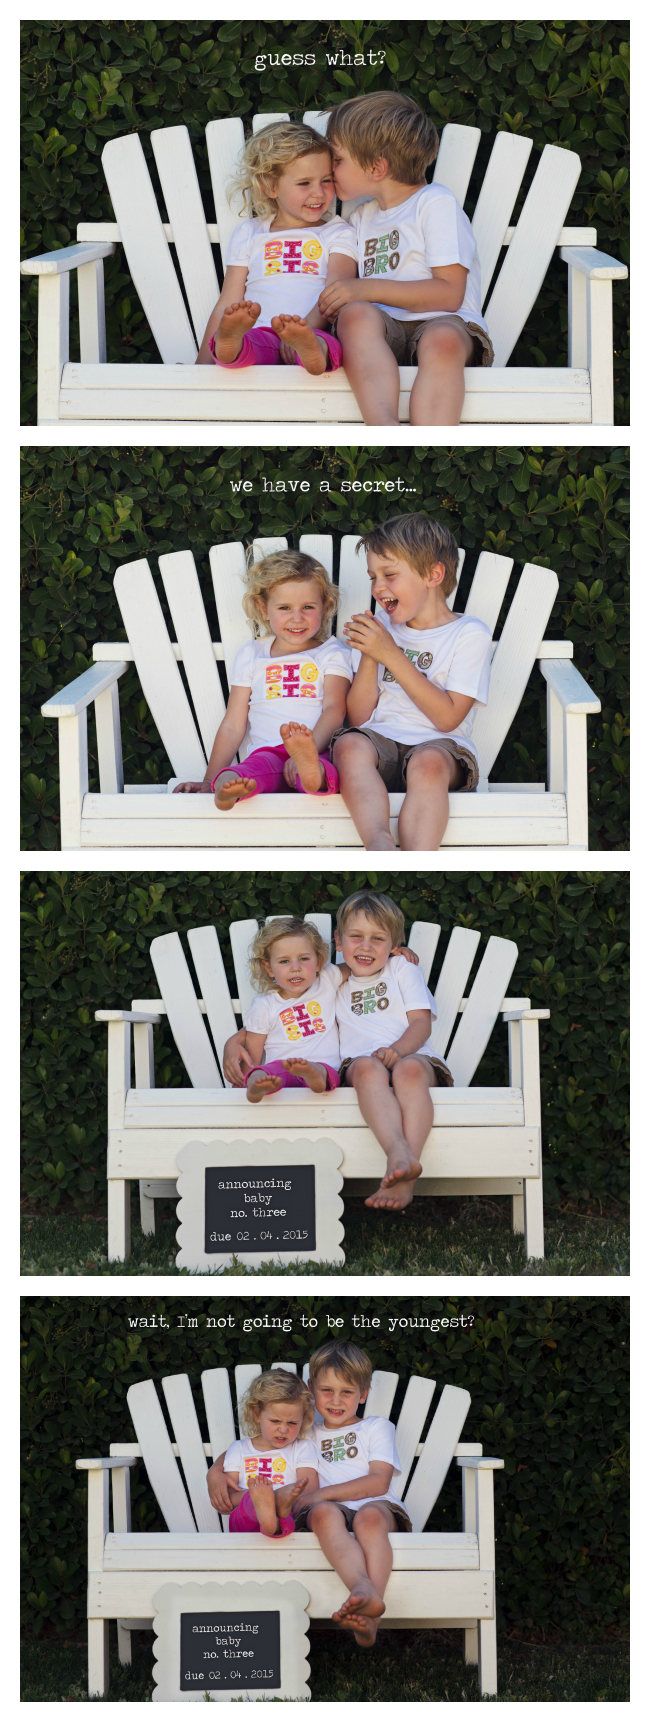
After having our second child we thought we were done having kids. Two was the perfect amount and we were blessed to have both a boy and a girl. But once my daughter hit age 3, the yearning for another little one hit hard. And after a LOT of discussions we decided to try for number 3.

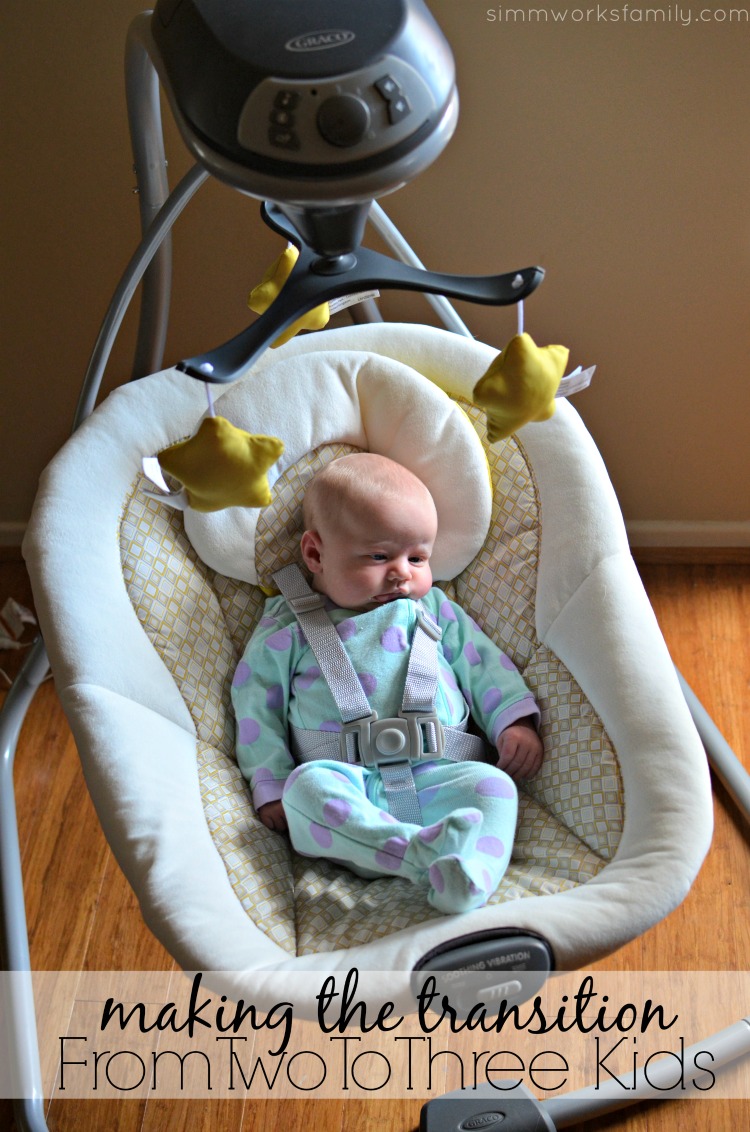
Since the arrival of our little Norah we’ve learned a lot about making a smooth transition from two to three kids. We’re learning new things about the big kids, learning new things about ourselves, and, of course, learning new things about the newest addition to our family.  [Read more…]

Norah’s Birth: A Breech Birth Story

Norah napping with Daddy

Baby Norah is here! Our beautiful third baby arrived right on her due date last Thursday, February 5th.

I would have never imagined that each of my births would be so completely different from one another. While I haven’t shared my first born’s birth story on here, I did share my second birth. I’m sure I’ll write out my son’s birth story 6 years later but today I’m writing about my beautiful Norah and how she chose to come into this world. [Read more…]

We have a secret… Baby Announcement Ideas

Baby #3 Announcement Collage

A special thanks to Carrie of For the Love of Photography for these images. Definitely check out her awesome work and keep up with the latest by liking For the Love of Photography on Facebook.

And a shout out to Brooke of Wooden Thimble for the adorable Big Bro and Big Sis shirts. They are perfect! I love how many creative and talented friends I have!

Ergobaby 360 Carrier featured at Baby Bloggy Boot Camp

I recently checked out the new Ergobaby 360 carrier at Baby Bloggy Boot Camp. This post is written by me on behalf of Liz Lange and Ergobaby. Product was provided.

Ergobaby 360 Carrier featured at Baby Bloggy Bootcamp

Two things I absolutely love are babywearing and blogging. So when these two came together at Baby Bloggy Boot Camp hosted by the SITS Girls I knew I wanted to attend. Since I was already attending Women Get Social, coming in a few hours early wouldn’t be a big deal. Plus I got a sneak peek at the new Ergo 360 baby carrier and some other amazing products.

Baby Bloggy Boot Camp (#BabyBBC) was an informative mini blog conference that featured sessions on creating compelling content for moms, sponsored content tips and authentic story-telling. Each session was lead by bloggers in-the-know about what brands want and what readers want to see.

And in those 3 hours I learned a lot about how I can improve my own brand (this blog) and really deliver what my readers want to see. I’ve already seen an amazing change in how I view my blog and how I approach each and every post I share. [Read more…]

Preparing for Breastfeeding Twins

This post about preparing for breastfeeding twins is sponsored by Philips Avent.

Even though I’ve never done it, I know that breastfeeding twins takes a lot more work and dedication than breastfeeding a singleton. Besides the fact that there are two babies getting their nutrients from you, there’s also the fact that preparing for breastfeeding twins can be quite daunting for a first time mother.

So when my brother’s girlfriend told me that she wanted to try breastfeeding her expected twins I knew I wanted to help as much as she’d allow me. And that started with realizing the importance of a good breast pump.

In the early days of my children’s lives I felt as if I always had a newborn on the boob. At least for the first 6 weeks. My shirt felt as if it were always lifted up or off all together. No, seriously… it totally was! Even though I completely loved breastfeeding, it was exhausting. But then we got the hang of it, figured out a rhythm, and had great success.

Kylie pregnant with babies ultrasound [Read more…]

Take 15 Minutes for You with the Graco Little Lounger

This post is sponsored by Graco.

Graco Little LoungerWhen my children were infants there was barely a moment I wanted to put them down. I was quite selfish and literally wanted to hold or wear them all day long. But looking back that may not have been the best decision as a new mom. I needed those few minutes I could have put them down. I needed to take just 15 minutes for myself to do the things I needed to do for myself. Like shower. But being so in love with those little bundles made me crave them in my arms.

Now that we’re done with kids and my brother is expecting his first two (yes… his girlfriend is pregnant with twins! Squee!) all I want to do is make sure I give that gift of just 15 minutes to them so that they remember themselves as their in the midst of caring for their newborns.

So when I was invited to attend an event my friend Chelsea of Someday I’ll Learn was hosting to debut the new Graco Little Lounger and learn how to take 15 minutes for mom I knew I couldn’t miss out on the opportunity. Not only would I get to see the Little Lounger up close but I would also get to learn more about updating my wardrobe from a personal stylist with my friends. [Read more…]

Baby Shower Gift Ideas for Second Baby


Baby Shower Gift Ideas for Second Baby

The past few months have been filled with friends having babies. And not first babies, second babies. They already had all of the necessities from their first child stored away and ready to be dusted off. So what were we, their friends, going to get them?

Sure… if they’re expecting a child of the opposite sex we could give clothes, but I was already planning on passing on my hand-me-downs from one of my two children.

I started to think of things that second-time (or third-time) parents really would need from their friends and family members and thought back on what I really needed after having a second child. And it all came down to the basics.

[Read more…]

Babywearing with Ease: Boba Baby Carrier 3G {Review}

Boba Review 3

Love. I’m in love. No, seriously… I am. With this baby carrier. It’s amazing. And cute, versatile and comfortable. Now I’ve shared my love of baby carriers and babywearing before. I own quite a few and have shopped around for the perfect one for each stage in my children’s lives.

I love carrying my babies close and thought that my Ergo was the end all and be all of baby carriers. Until I met Tweet, my new Boba baby carrier.

Boba Review 2

Why am I so smitten you ask? It’s the little things. The way the bottom strap contours up and around my waist instead of going straight around. The fact that I can put the hood into it’s little pouch instead of having it hang down in the front.

Or the fact that the gorgeous pattern can be seen when the hood is in use and when it’s put away. Oh, and one of my favorite things… the pockets on the bottom of the carrier. So convinient for my keys and cell phone when we’re out and about.

There are so many great features on this carrier. I think that the folks at Boba thought long and hard about what they wanted to include in this perfect carrier and they hit the nail on the head. I have been amazed at the response I’ve had from other mamas who I’ve shared my Boba with. Most are eager to try it on and test it out and I think I’ve created a few converts in the two short weeks I’ve had it. Here are a few other reasons to love the Boba Carrier 3G:

Boba Review 1

How to Use It

The Boba baby carrier is an all-in-one system that doesn’t need to be tied, twisted or folded. To hold your infant in a front carry you simply adjust the straps to allow a snug fit, snap the waist strap along your waist, hold your baby against your chest, bring the carrier up over the child’s back, put your arms in and buckle the top buckle.

You can then adjust the straps and tightness to your comfort level making sure baby is snug and secure. And if you are using the back carry there are these nifty foot straps that allow baby to rest his legs by putting his feet in the straps instead of having them hang down.

And if you have a newborn (7-15lbs), you can use the Newborn Hold. No insert or special instructions needed! That means you can wear your baby with the Boba Carrier 3G from birth (7lbs) to toddlerhood easily! How awesome is that?

Do you babywear?

Disclaimer: I received a Boba Baby Carrier 3G for review purposes only. Regardless, I only recommend products or services I use personally and believe will be good for my readers.

The World of Breastfeeding: When Your Infant Refuses to Take A Bottle

Now that Miss M is two months old I feel comfortable talking about our success (and failures) in breastfeeding. Miss M is completely different from her brother in many ways and eating is one of them. Now she’s a champ at latching and sucking just like he was but she’s not as driven by hunger (or she’s more successful at nursing long enough to get enough hindmilk to fill her up). She lets me know when she’s hungry but she never acts ravenous like E did. I can let her go 2-3 hours and she’ll let me know by her facial expressions and coos when she’s ready to eat. Her brother wouldn’t let me go much past 2 hours for the first two months of life much less past 1.5 hours!

Now the problem comes with her taking a bottle. I feel totally fine leaving the house for 2-3 hours at a time while Joseph watches her but anything beyond that and I have to rush home. Sometimes she doesn’t even last that period of time for him and is screaming by the time I arrive at the front door. She has only once successfully taken a (pumped) bottle and that was two ounces from me when I decided to try on a whim a few Fridays ago. She has yet to take another and is quite irritated that we keep offering it to her. I really hope she starts taking it soon! I have started a pretty good freezer stash for when I return to work and I don’t need the added stress of her not eating to add to the craziness of returning to work…

Another problem we’ve run into is Thrush. She’s basically had it since day one. It’s a yeast build up in the mouth and hasn’t quite effected me the same as it did when Ethan had it (oh the excruciating pain!) and I think we’ve managed to keep it under control. But we’ve been giving her medication for it since she was a week old and it’s still there! I HATE yeast! I’m hoping we can clear things up at her next pedi appointment this week.

Now the yeast isn’t hurting her. She probably doesn’t notice that anything is off or different but when that yeast goes to me and starts to build up or worse, create an infection, then I’ll be in a world of hurt. Itching, burning pain. Yes, it’s treatable but I want to prevent it from even happening! So I’m currently taking probiotics and eating yogurt every day to build myself some resistance from it. And hopefully this is transferring to her through my breastmilk.

I have been really lucky with these two wonderful children. Breastfeeding for the most part has come quite naturally to them and with the help of nurses, lactation consultants and friends I’ve grown to be very educated and confident in breastfeeding. I nursed E until he was just over 18 months and hope to be as successful in breastfeeding Miss M. We’ll start with the same goals I set for her brother in that if she makes it to six months we’ll try for a year and if we make it to a year we’ll leave it up to her to decide when she wants to wean. I pray that things go as well as they are now and am prepared to do what I can to keep it going. Now we just have to work on that darn bottle!

Nursery Ideas: How to Paint Diamonds on a Wall

 We’re sharing one of our nursery ideas with this tutorial on how to paint diamonds on a wall. It’s the perfect backdrop for our daughter’s crib and really completes the new nursery.

My husband asked me as we were moving out the large desk/bunk bed what I wanted to do with the wall in our future daughter’s nursery… how I wanted to paint it. I said I just wanted to paint it blue like I told him before. 

He then asked if there was any certain design or style I wanted to do like in my son’s nursery (he has yellow and green stripes on one wall). Then he suggested diamonds.

He quickly realized how much work it would be to paint on diamonds and decided he was going to look for wallpaper instead. We really didn’t have time to special order anything so we took a trip to Lowes, Ikea & Home Depot to see if they had anything in stock. 

Lowes had about 5-6 styles in stock but nothing that screamed our theme so we moved on to Home Depot. Home Depot carries no wallpaper whatsoever. I even called Ace Hardware and they don’t carry any either. But we did find a dresser at Ikea for the nursery so it wasn’t a complete failure of an outing.

So…

I told Joseph that I just wanted something done this weekend and I really, really, liked the diamond idea. So we bought some blue masking tape and were out of Home Depot. And I have to tell you… diamonds were definitely the best choice! I LOVE how the wall turned out. It’s the perfect backdrop for our daughter’s crib. 

How to Paint Diamonds on a Wall

What you’ll need: 

  • painter’s tape
  • box cutter or razor
  • pencil
  • drop cloth
  • paint
  • 12″ roller brush
  • 6″ roller brush
  • paint brush
  • 2 paint colors – 1 neutral, 1 accent

What you do: 

1. Prep your workspace by covering any furniture and wall fittings. Remove faceplates for outlet plugs and light switches and use tape to cover outlets and switches. Tape off the baseboard and put drop cloth down to protect the floor. 

2. Using the 12″ roller brush, paint the wall with your base color. We used a neutral ecru shade. Let dry for 24 hours. 

3. Measure the wall and find the very center. Mark with a pencil.  Measure out the size of the wall from the middle point and find out how many diamonds will fit. This may take a little finagling but is important in making sure the diamonds all look uniform and fit nicely. 

4. Once you’ve measured out the wall, use those measurements to start marking where the tips of each diamond will go. Then use the tape to connect the marks. Make sure that the wall is clean and first coat is completely dry before taping. Use a credit card to make sure there are no bubbles or gaps in the tape on the edges. 

5. Using a pencil, mark where you should paint the accent color so there’s no confusion with what diamond needs to be painted and what stays the neutral color. 

6. Using a 6″ roller brush, brush on the accent color on all of the marked diamonds. Let dry for 2-4 hours, until paint is dry to the touch, then remove tape from the walls. 

7. Let dry completely before adding any artwork to the walls.  

What is your nursery’s theme? Have you had to paint diamonds on a wall? 

Like this post? Read more! 

Pin this article for later! 

Click the Pin button on the image below to save for later. 


© A Crafty Spoonful - All Rights Reserved
It is OK to use one of my photos provided a link back and/or proper credit is given. It is NOT ok to copy and paste a whole post including instructions. Please do not remove watermarks or alter images in any way. Please contact me with any questions at danielle@acraftyspoonful.com

.