Bubble Gum Valentine Printable – Perfect for Preschoolers!

bubble gum valentine printable

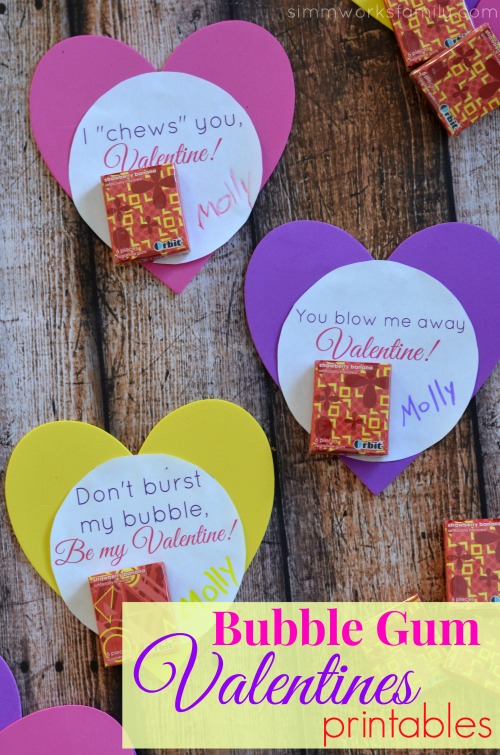
Over the years we’ve gotten a bit creative with our valentines and this year is no different. I let the kids decide what they want to pass out (within reason) and then we start creating. So when my daughter said she wanted to pass out bubble gum, I knew this bubble gum valentine printable would come in handy.

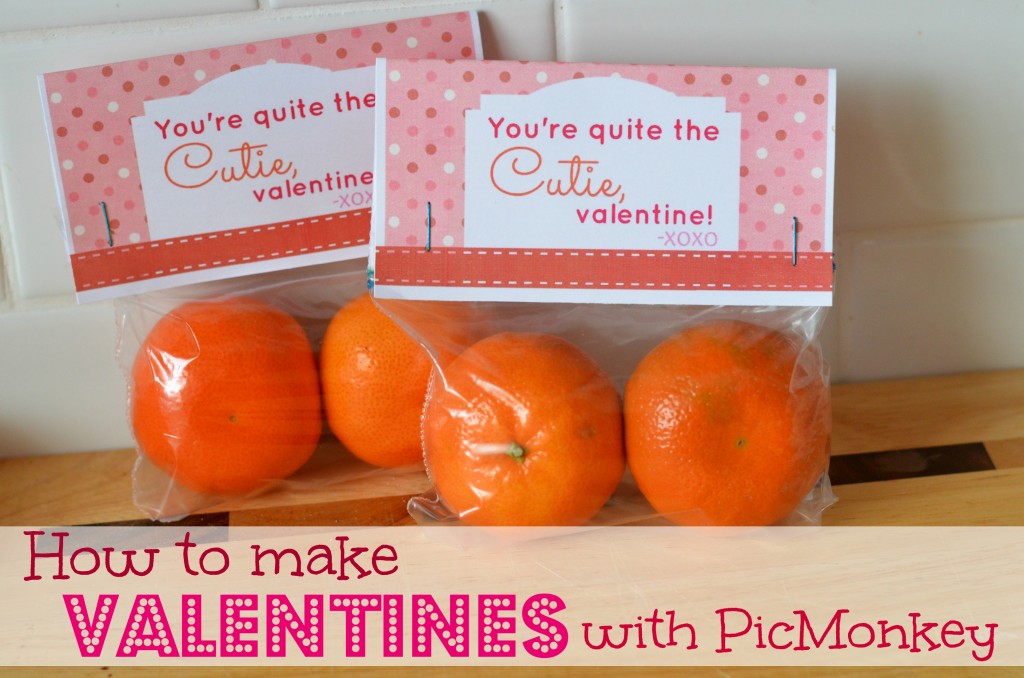
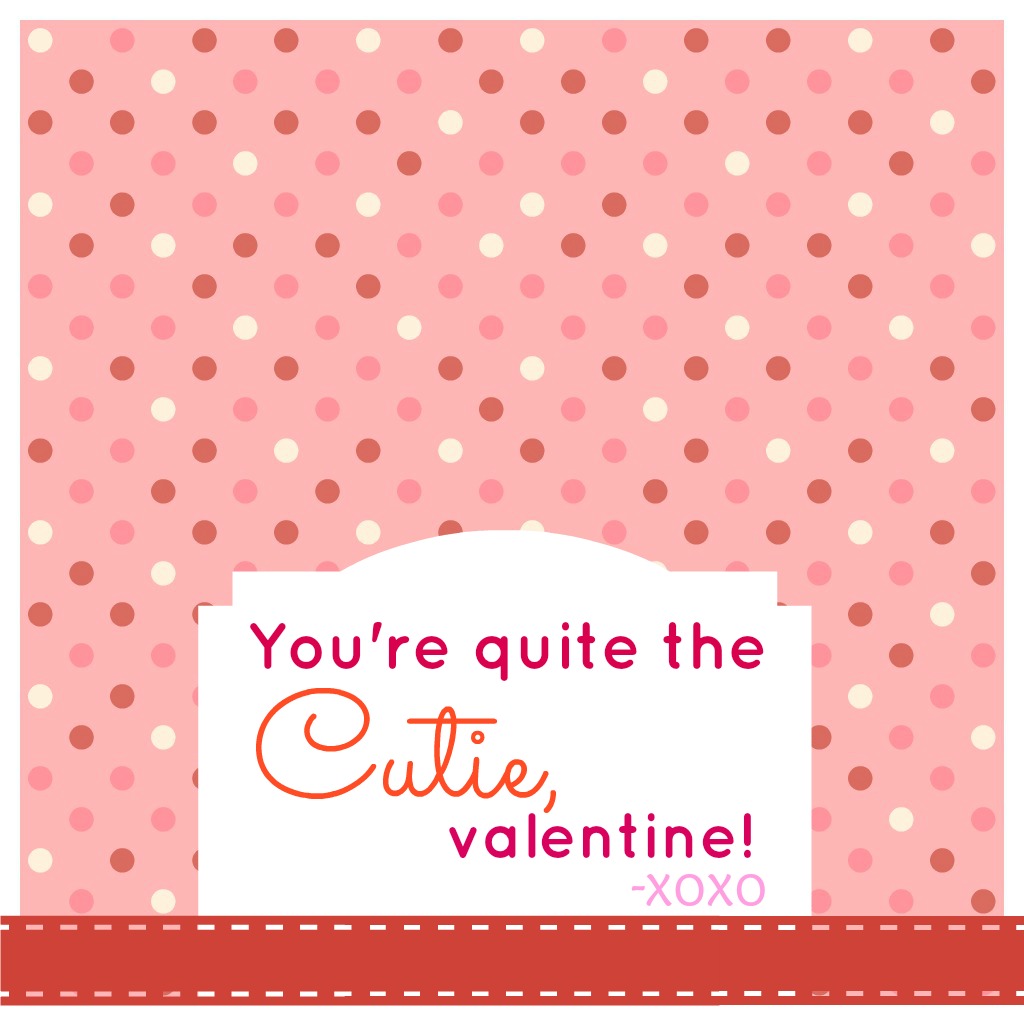
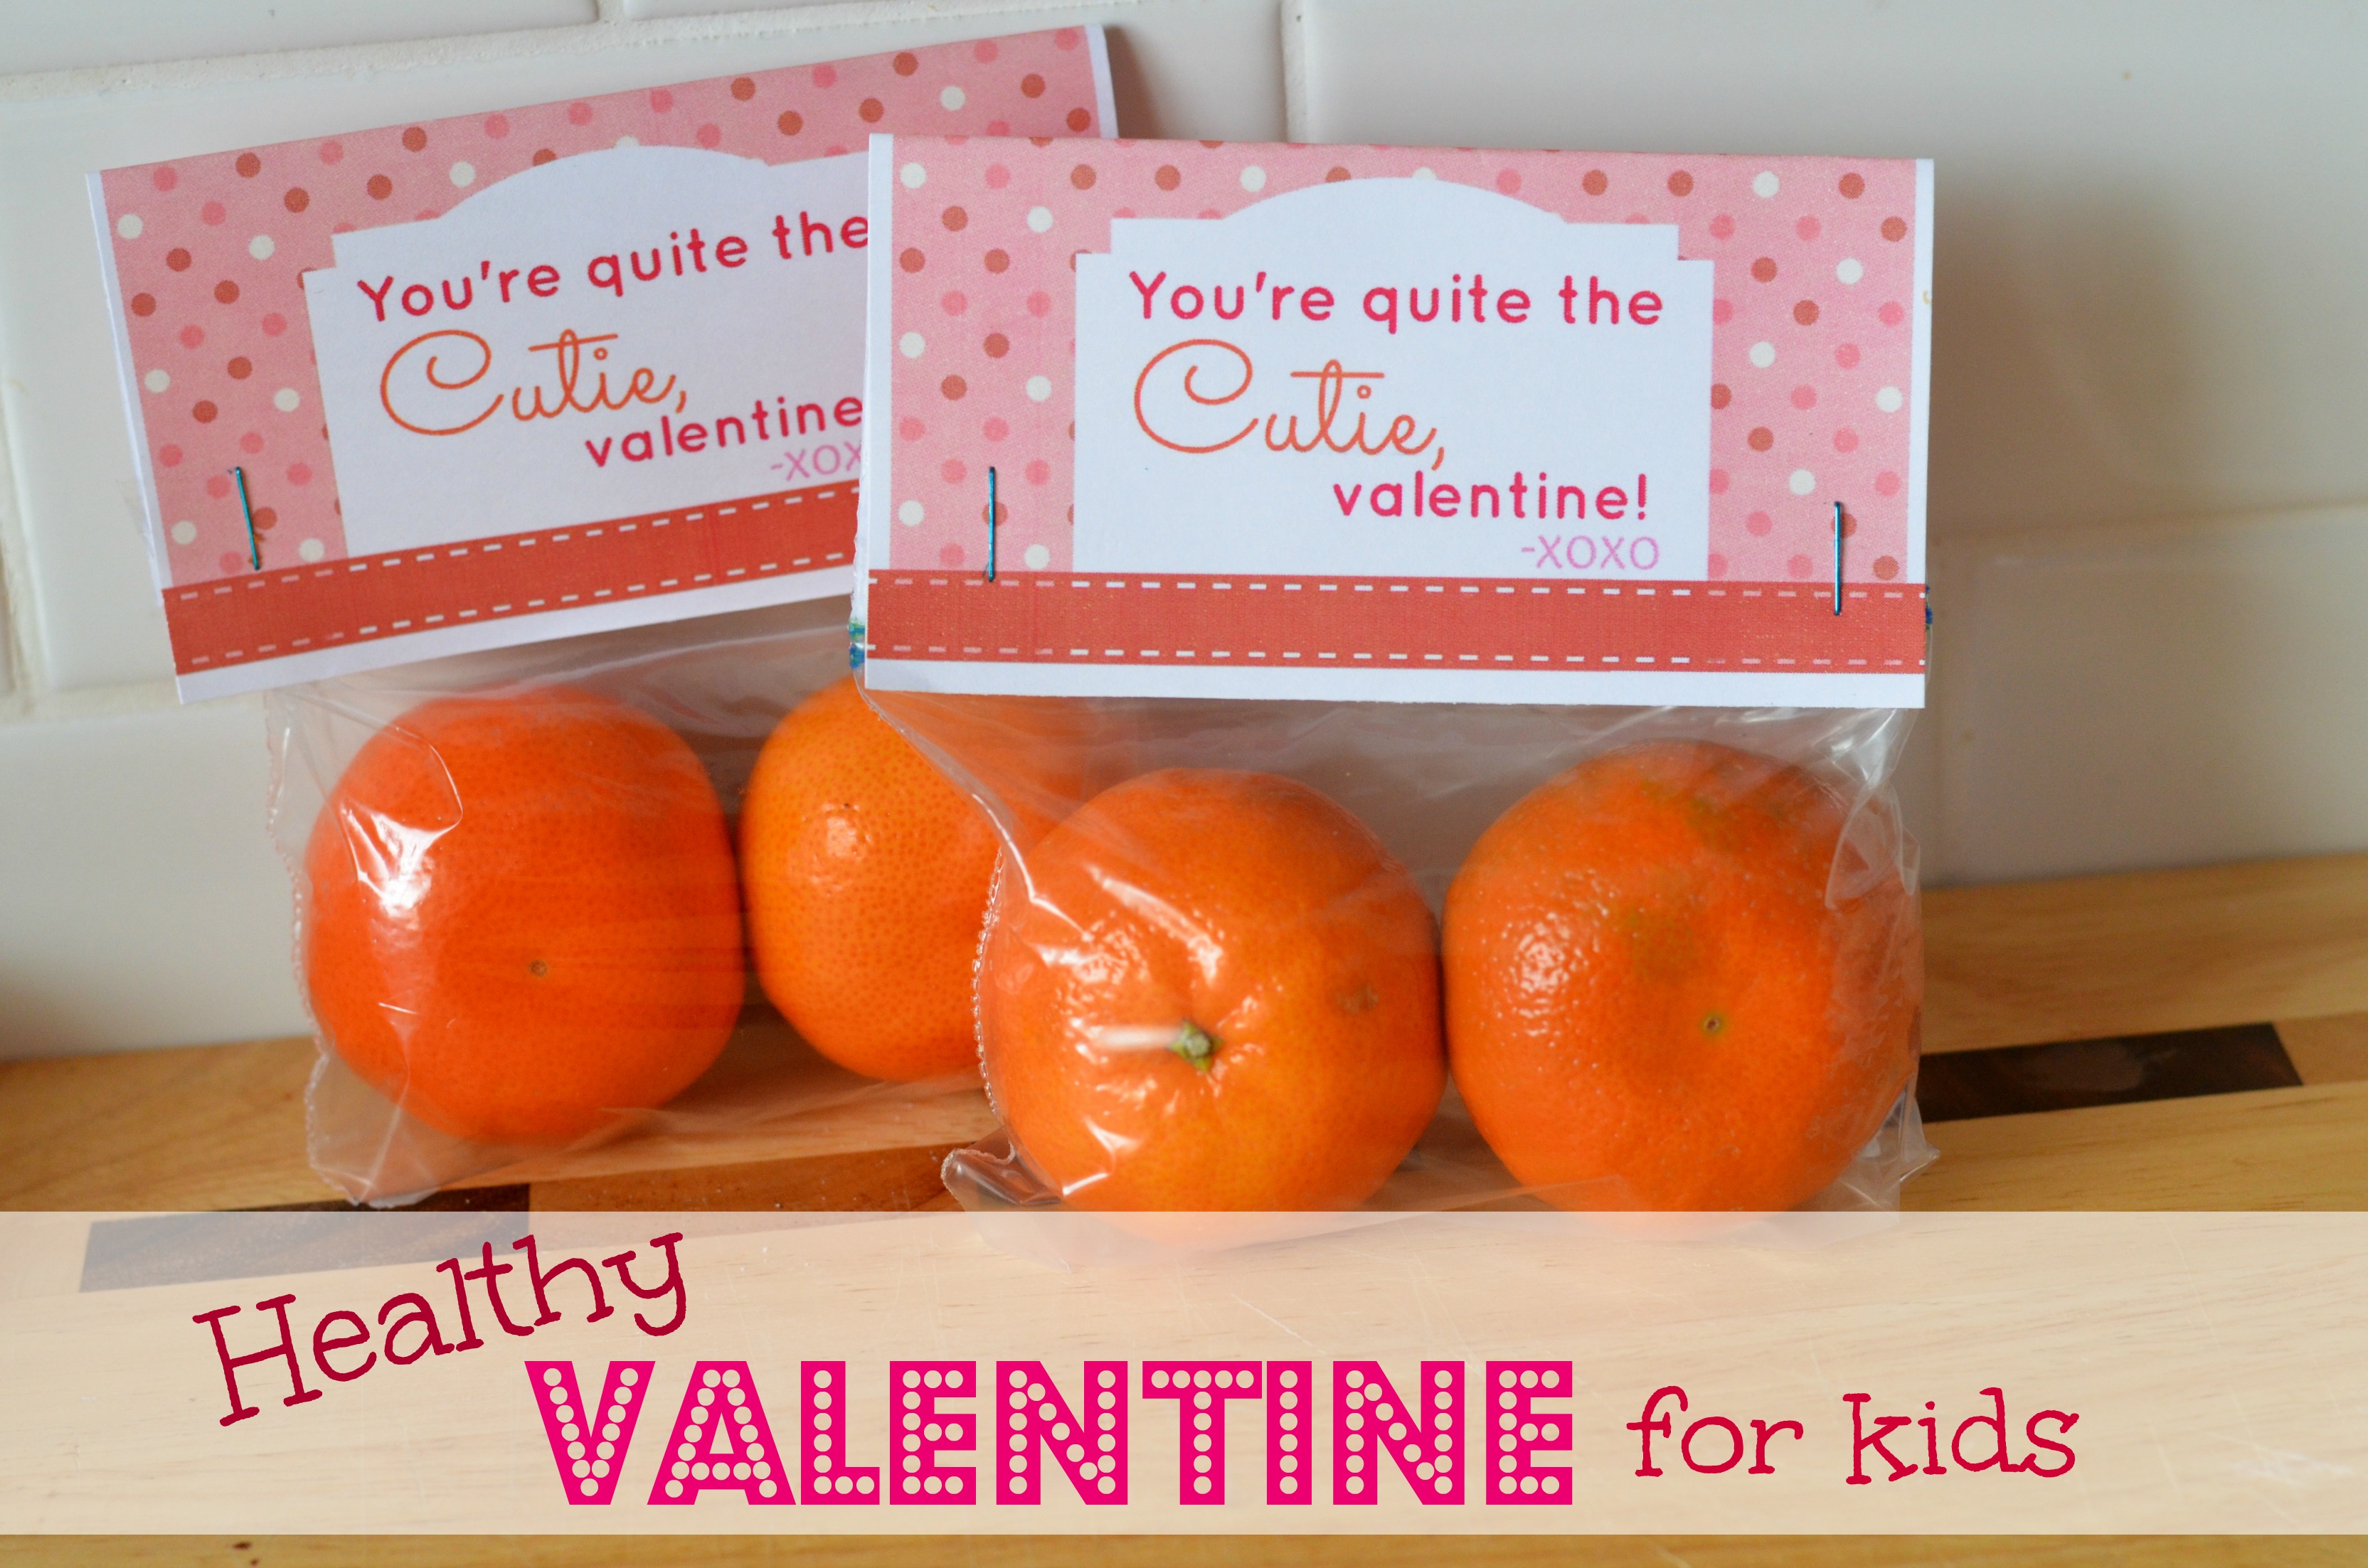
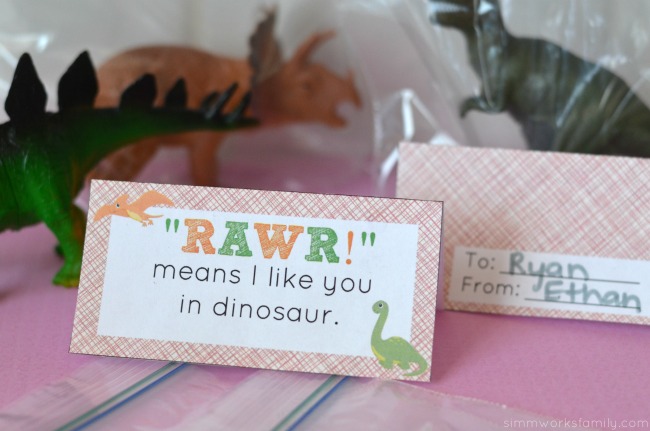
Last year we made some cutie valentines and car valentines so this year I wanted to stick with the no-candy theme. My son will be making his dinosaur themed valentines this weekend so stay tuned for those!

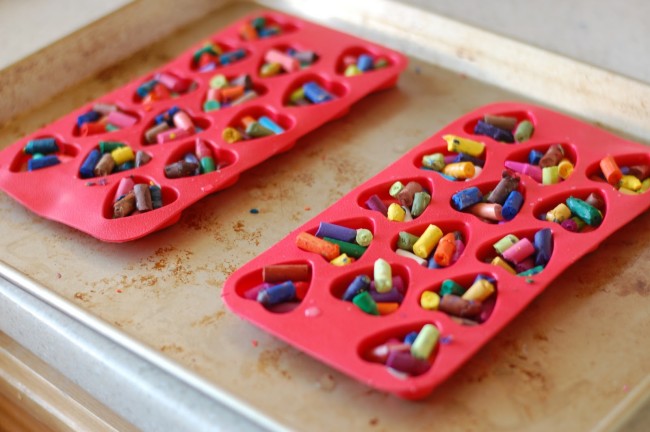
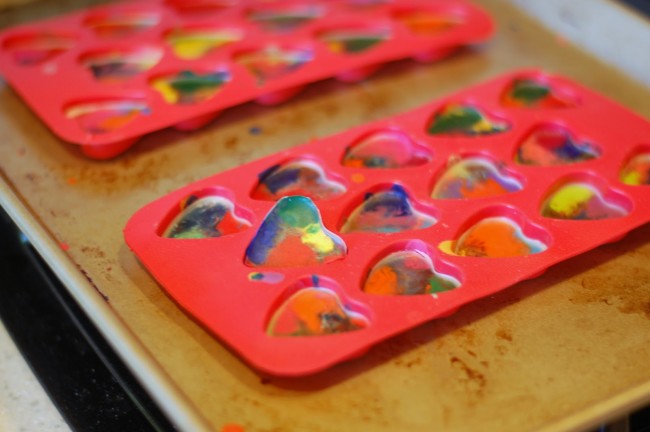
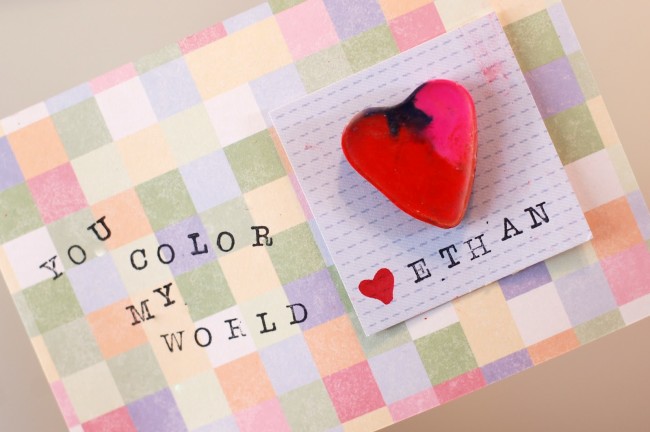
Everything I used for these valentines were found at Target. The foam hearts were on an end cap in the party supplies section and the gum was in the snack aisle. And? These took like 10 minutes to put together!

[Read more…]

Valentine’s Day Ideas in San Diego 2013

Valentine's Day Ideas in San Diego 2013

Looking to do something special with your significant other but just don’t know what?

Well you’re in luck! Living in America’s Finest City has it’s perks. Great food, entertainment, and weather! The perfect combo for an awesome Valentine’s Day. Below are a few great Valentine’s Day Ideas in San Diego.

Valentine’s Day Ideas in San Diego

valentine's day ideas in san diego

[Read more…]

Sammy’s Woodfired Pizza & Grill Valentine’s Day Pizza Kits

Sammy's Woodfired Pizza Valentine's Day Pizza Kits

Looking for the perfect way to spend Valentine’s Day but don’t want to deal with the crowds? Sammy’s Woodfired Pizza & Grill will be selling their popular take home Valentine’s Day Pizza Kits beginning February 4th through the 14th.

These kits provide an easy, fun, and enjoyable way to celebrate the Valentine’s season. Plus partial proceeds from all pizza kit sales to benefit the American Heart Association!

[Read more…]

Great Valentine’s Day Crafts for Kids

Valentine's Day Crafts for Kids

With Valentine’s Day right around the corner and my little ones asking for crafts to make together, we’ve started to work on a few Valentine’s Day crafts. Including the valentines my kids will be passing out at preschool and with our playgroup.

But aside from the valentines we also love creating mementos we can cherish and pass along to grandparents and other family members as well to show our love. These great valentine’s day crafts for kids are perfect for just that!

Valentines to Pass Out

1. Looking for an easy but cute valentine for the kids to pass out this year? Why not use these Printable Disney Cars Valentines from DisneyDIY?

[Read more…]

How to Make Valentines With PicMonkey

affiliate link disclaimer

How to Make Valentines with PicMonkey

A few weeks back I shared my love of PicMonkey with you all with a quick tutorial on how to make Subway Art using PicMonkey. Well I’m back again proclaiming my love but this time with all of the new Valentine’s Day options PicMonkey has available to use!

Now you don’t need to purchase ANYTHING to use PicMonkey. It’s completely free. But if you want to take advantage of the Royale features you can pay $33/year for access to everything. How awesome is that?

Using the new Valentine’s Day features like swatches, ribbons, and fonts, I was able to create some simple and cute valentines for my kids to pass out at their preschool. With PicMonkey I was able to create what I wanted in less than 15 minutes of playing around. Once I was done I assembled the valentines and am now set for the big day!

Want to learn how to make valentines with PicMonkey? Well keep reading and you’ll find out!

How to Make Valentines With PicMonkey collage

1. Just like in the Subway Art tutorial I’ve shared previously, we’re going to start by clicking on “Create a Collage” first. Remove all cells but one from the collage. This will be your template. Adjust the size accordingly if you want larger or smaller valentines.

How to Make Valentines With PicMonkey background

2. Go to the “Swatches” tab and choose a background that you like. Save this collage as your base photo to edit.

How to Make Valentines With PicMonkey open collage add layers

3. Click on “Edit a Photo” and open up your collage photo. Go to the Overlays tab and choose an overlay you want to use. Feel free to change the color to whatever you’d like. Add a few embellishments like the ribbon I used or some hearts.

How to Make Valentines With PicMonkey add font

4. Add your saying on the overlay. Feel free to play with different fonts and colors to liven up your valentine! Once your done, save your photo to be used later.

How to Make Valentines With PicMonkey printable

5. To print your photo simply open up a Word document and insert the photo (or two).

Don’t want to make your own and want to simply use mine? Print out this PDF and cut with a small white border around the valentine (you can also click on the photo above for the PDF). Follow these instructions on how to assemble your valentine and you’re set!

Healthy Valentine For Kids


Free Cutie Valentine Printable PDF


How easy was that?

Looking for more Valentine’s Day printables? Check out these posts:

Minecraft Miner Valentine Printable with chocolate
Minecraft Valentine’s Printables

Tic Tac Toe Valentines Day Printables with pens
Tic Tac Toe Valentine’s Printables

Bugs and Kisses Valentines - Kisses and Gummy Worms
Bugs and Kisses Valentine’s Printables

dinosaur valentine printable dino tag
Dinosaur Valentine’s Printable

Someday I'll LearnI’ve linked up with my good friend Chelsea over at Someday I’ll Learn for Teach Me Tuesday! Head on over to her post here and see all of the other awesome things you can learn to do this week.

What are your kids bringing as valentines?Minecraft Miner Valentine Printable with chocolate

Footsie Heart Valentine {DIY Tutorial}

This valentine is super easy to make and is the perfect gift for parents, grandparents and special people in your child’s life. I made it two years ago with my son’s feet as a gift for my husband.

Then when I was actually making it I figured… his feet are already in the paint, why not make some more?! And I made a few others for his grandma, great aunt and uncle. I personalized them and he presented his gifts on Valentine’s Day.

Here’s what we did…

DIY Father's Day Gift Ideas - footprint I Love Daddy

Footsie Heart Valentine

What you’ll need: 

  • paper plate
  • painter’s tape (to be removed)
  • red washable poster paint (we used Crayola)
  • white construction paper
  • red fine point sharpie (or other pen)
  • damp wash cloth
  • dry wash cloth

What you do: 

1. Place a nice amount of paint onto the paper plate, set aside somewhere the kids cant reach it.

2. Tape the paper to the ground to reduce the chance of it slipping around.

3. Take your child’s bare foot and place it in the paint, right foot first.

4. Make the first half of the heart by placing the child’s foot at an angle facing the toes to the top right corner of the paper and the heel in the center of the paper closer to the bottom

5. Then dip the other foot, the left, into the paint and do the same to the opposite side of the paper placing the left heel inside the right heel and pointing the toes to the left upper corner of the paper.

6. Let the paper dry completely (you can make multiple at once by lining up the construction paper and stamping feet in a line).

7. Once the paint is dry start writing your phrase around the feet in a heart shaped pattern. I used, “I Love _____” and filled in the blank with the person we were making the valentine for.

You can frame your final product and wrap it to present as a cute keepsake or leave unframed and let your child hand it to their loved one. I’ve also seen this done with hand prints as well which would be equally as cute!

Have you made cute DIY valentine’s with your kids this year? I’d love to see what you have! Feel free to place your link in the comments below.

Heart Shaped Crayon Valentines {DIY Tutorial}

Crayon Heart Valentines

I first saw the crayon heart valentines on the Family Fun website. I thought they looked adorable but didn’t have a heart mold so I figured I’d just send the regular store-bought valentines instead since I had a few I purchased on clearance a few years back. Then we went to Target and I saw the heart molds in the dollar section of the store and I couldn’t pass up the opportunity. Plus they were all over Pinterest!

So I went to the store, stocked up on a mold and crayons and headed home to do some experimenting. Before I started I did a little research to see what others were saying about the craft. I try not to just jump into a tutorial without reading about it from a few others first. That can lead to disaster (or just make it harder on me since others have found key tips/tricks on making it easier). Once I got the low-down I headed to the kitchen to soak, unwrap, break and bake! And here’s what I did:

Heart Shaped Crayon Valentines {DIY Tutorial}

What you’ll need:

  • 1 box crayons, unwrapped (or left over broken crayons laying around)
  • 1-2 heart molds, choose your size
  • Construction Paper
  • Alphabet stamps OR printer
  • Adhesive dots

What you do: 

1. Place your crayons in a heat proof dish & preheat oven to 250 degrees.

Crayon Heart Valentines 1

2. Heat up some water and pour warm water on crayons (note: do not use boiling water… crayons might melt).

Crayon Heart Valentines 2

3. Let crayons soak for 30 seconds (see what happens when your water’s too hot?). 

Crayon Heart Valentines 4

4. Unwrap crayons (any that didn’t unwrap easily after soaking are set aside and not used).

Crayon Heart Valentines 3

5. Put crayons in a dish and let kids break them up into small, tiny pieces (or put them in a bag and hammer with a kitchen mallet or meat tenderizer until broken up).

Crayon Heart Valentines 5

6. Place heart molds on a rimmed baking sheet and fill with broken crayon pieces.

Crayon Heart Valentines 6

7. Place tray in oven and bake for 15-18 minutes or until crayons are fully melted. Then carefully take out of oven and set aside to harden.

Crayon Heart Valentines 8

8. Once cooled completely pop crayons out of molds and smooth edges by rubbing against a piece of paper.

Please note: The silicone mold may be stained and should only be used for crafts once you melt crayons in them. They are not food safe after used for crafts. 

9. Now’s the fun part! You can decide what you want to do with the crayons once you’ve baked them. I decided to use scrapbooking paper I already had in the house to create a postcard sized Valentine for my son. You can use this printable here for a square valentine with the writing already on the paper or this printable here for a circle valentine (you just have to add your child’s name).

Crayon Heart Valentines

Or you can do what I did and use an alphabet stamp set to customize the sayings you put on each valentine. I simply adhered the crayon to a square piece of scrapbook paper with a glue dot and than layered that onto a larger postcard size piece of scrapbook paper. Then I stamped the sayings I wanted as well as my son’s name to personalize it. You can also have your child decorate the postcard paper by drawing or coloring on it before you stamp out your sayings. You can find more sayings here (as well as more printable options!).

The possibilities and variations really are endless with this craft. And the kids have a great time helping you make them too. Much more personal then a store-bought valentine and twice as cute!

Does your child love to draw?  


© A Crafty Spoonful - All Rights Reserved
It is OK to use one of my photos provided a link back and/or proper credit is given. It is NOT ok to copy and paste a whole post including instructions. Please do not remove watermarks or alter images in any way. Please contact me with any questions at danielle@acraftyspoonful.com

.