Creamy Avocado Pasta with Lemon and Garlic

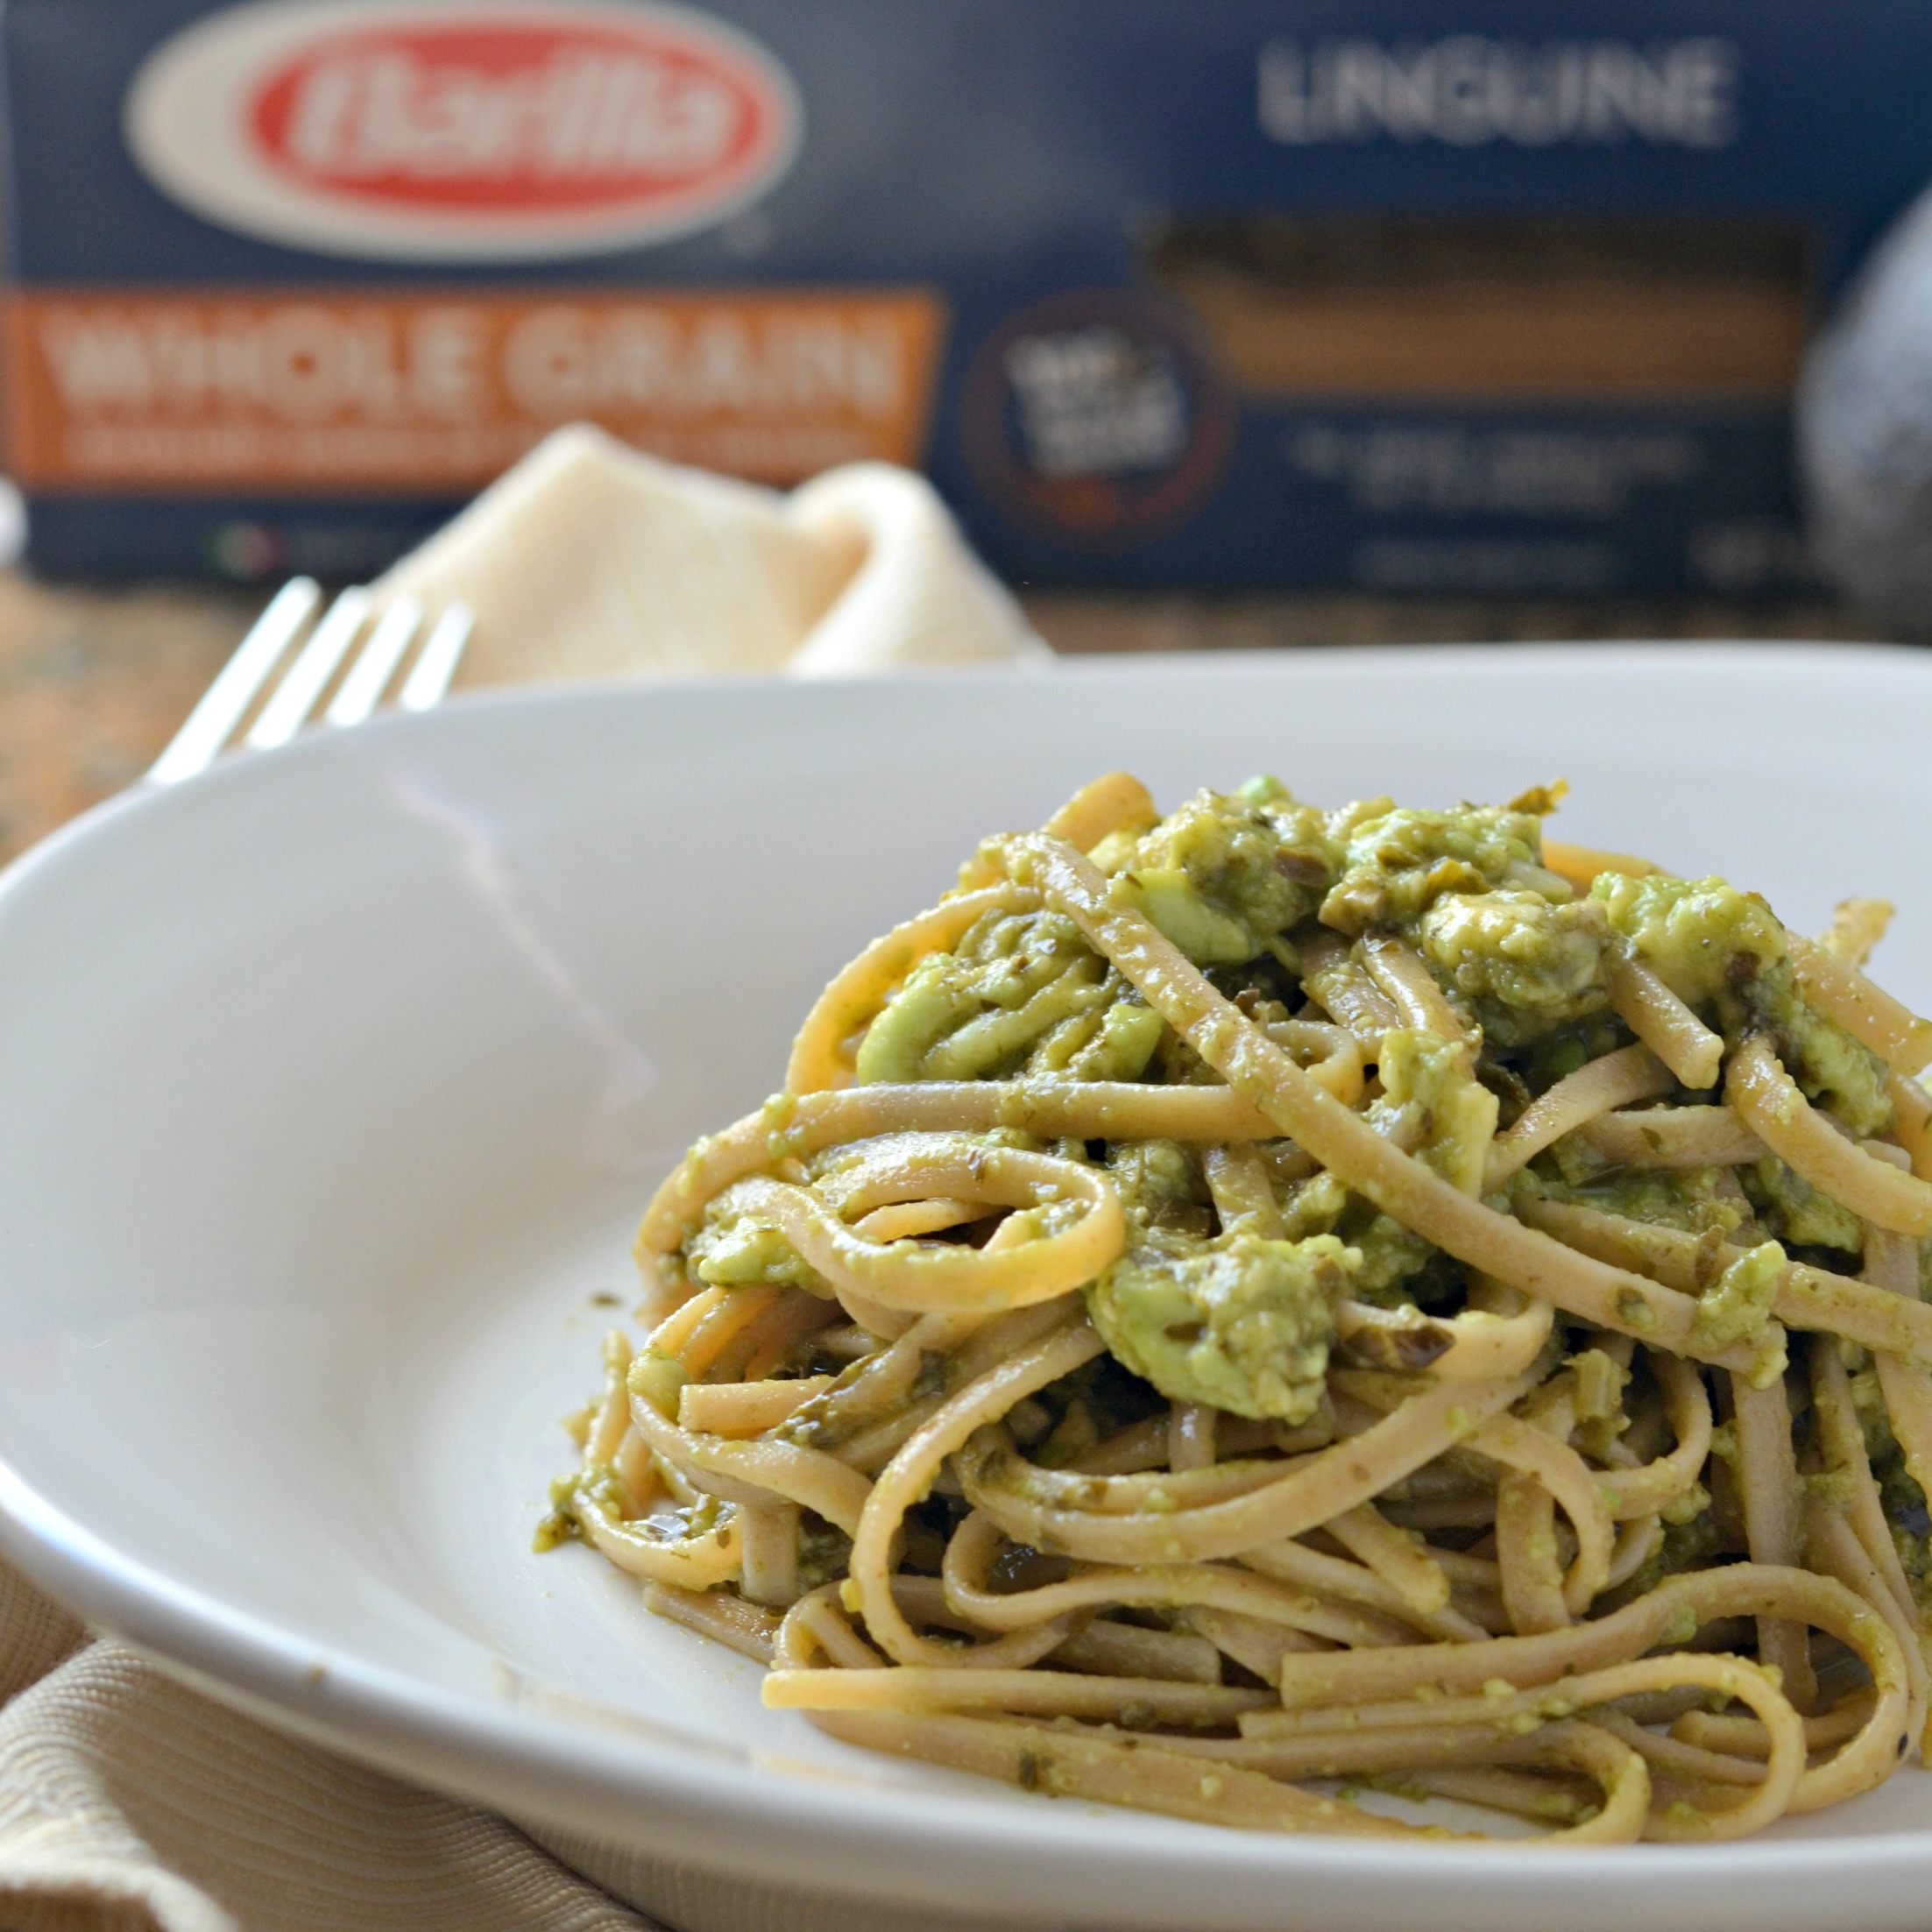
This creamy avocado pasta with lemon and garlic is ready in less than 30 minutes with the help of our sponsor, Barilla, available at Walmart. 
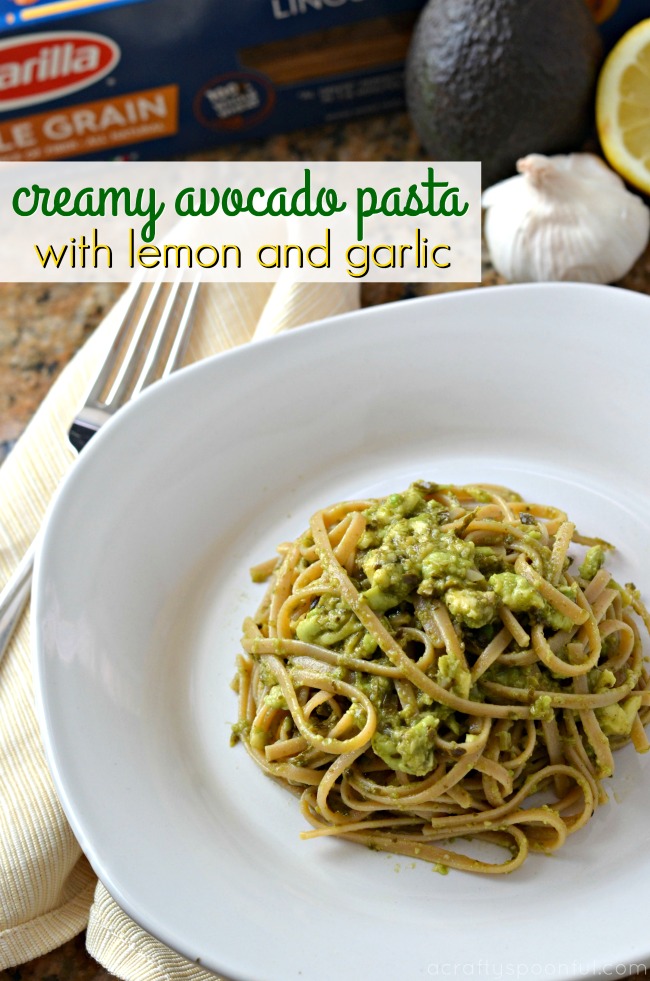
You know when you’ve been so busy the whole weekend and then realize you completely forgot to come up with a game plan for dinner on Monday night? This is the meal I make when that happens. And wouldn’t you know? it happens more often than not. 

Luckily avocados are in season right now and we can go pick a few off our neighbor’s tree (after asking of course) to use when we need them. Our lemon tree is doing quite well too so pairing the two flavors together make for a pretty delicious meal pairing. 

One thing I love about this meal is that it uses ingredients I either always have on hand or have readily available with little effort. We try and stock our pantry with must-have items like Barilla Whole Grain pasta and sauces. Not only are they great for meals in a pinch, but I also know that my family is getting a meal that meets their nutritional needs. 
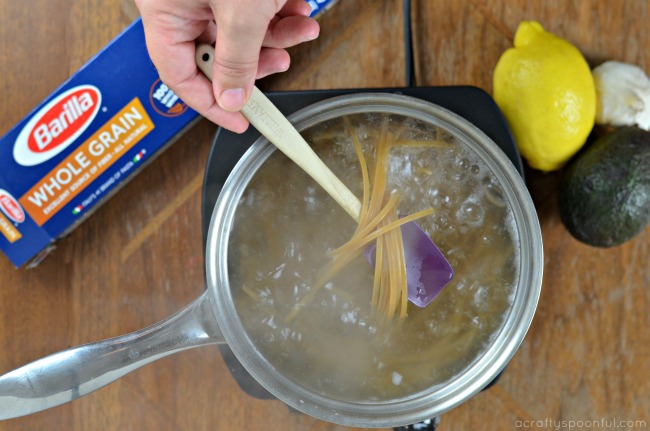
Barilla Whole Grain pasta is a great source of fiber and is made with 100% whole wheat. My family is getting 56g of whole grain in each serving of pasta. It also pairs perfectly with lean proteins like salmon or chicken but can hold it’s own as a full meal as well, just like this recipe. 

Normally we make creamy avocado pasta and pair it with salmon when we have it on hand, but if we don’t, we can forgo the lean protein and just eat this dish as a full meal. I’ve also been known to throw some shrimp into the dish as an alternative option. The creaminess of the avocado adds to the delicacy of the seafood. And who doesn’t love the flavor of garlic and lemon with salmon and shrimp? 
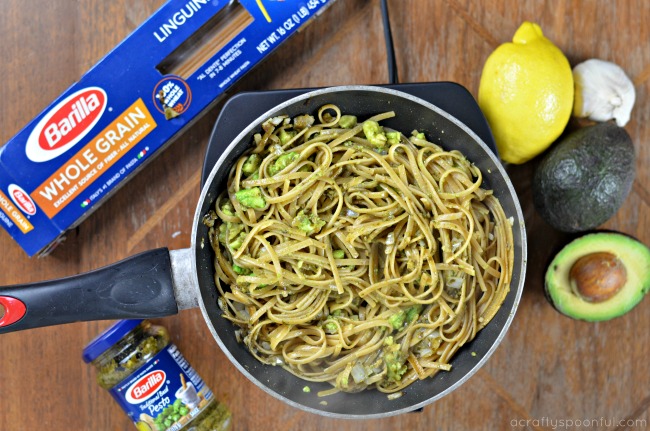
Creamy Avocado Pasta with Lemon and Garlic

  • 6 ounces Barilla Whole Grain Linguini
  • 4 tablespoons olive oil (divided in half)
  • 1/4 cup onion (diced)
  • 2 cloves garlic (minced)
  • 2 tablespoons Barilla pesto
  • 1/2 avocado (diced & mashed)
  • salt to taste
  • Saute onions and garlic in 2 tablespoons of olive oil. Set aside.
  1. Saute onions and garlic in 2 tablespoons of olive oil. Set aside.
  2. Cook Barilla Whole Grain Linguini according to package directions. Drain and add to a heated pan with 2 tablespoons olive oil.
  3. Add sauteed onions and garlic and Barilla pesto to pasta and cook 1-2 minutes.
  4. Add mashed avocado and stir to combine. Remove from heat and serve.

Serving size: 1/2 cup of pasta
What’s your favorite springtime flavor to pair with pasta? 

Looking to save a little more than time on this quick and easy dinner? Grab a coupon from Ibotta to use at Walmart when you’re stocking up on your favorite Barilla pasta and sauces! 

Find more great recipes to enjoy with your Barilla pasta and sauces by following this Pinterest board for simple, delicious pasta dishes inspired by Barilla. 

Love this recipe? Check out a few more: 

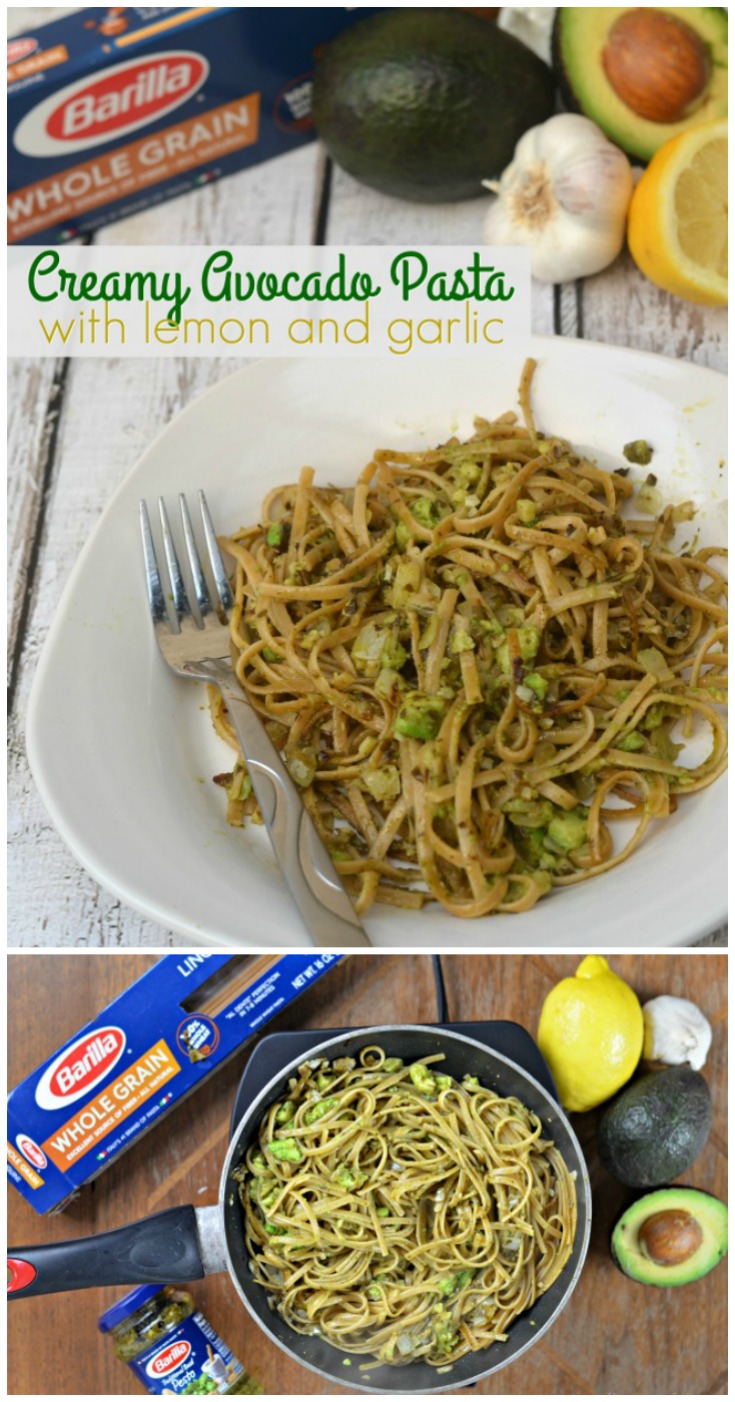
Pin this article for later! 

Click the Pin button on the image below to save for later. 
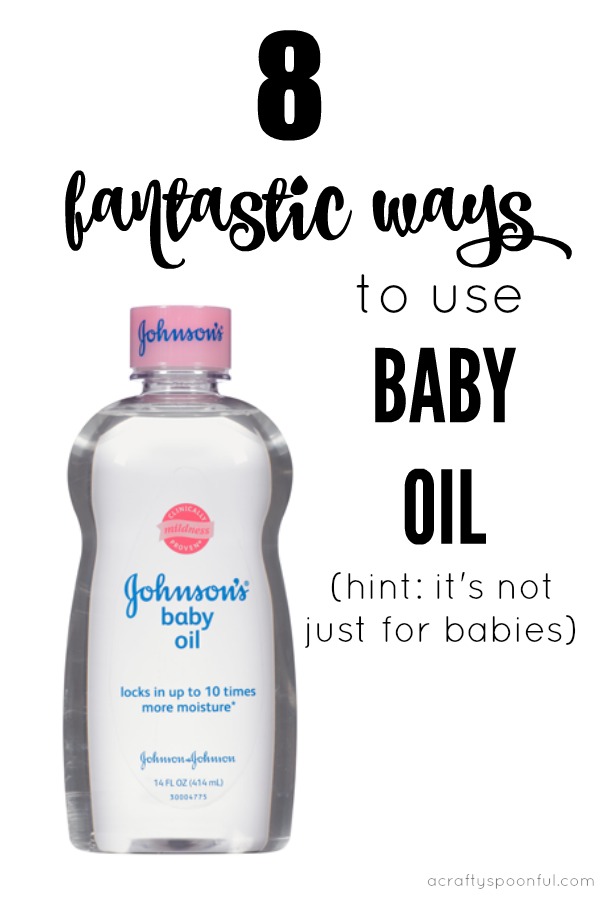
8 Fantastic Ways to Use Baby Oil

I have been compensated by Johnson’s® Baby for this post; however, I am sharing my own thoughts. All opinions are my own.

What do you do with the products you’ve come to love as you raise your babies but they aren’t babies any longer? My youngest just turned two and we are finally happy with the size of our family. Since she transferred into toddlerhood I decided to clean out her closet and pair down the baby stuff we still have in the home. And what did I find? We still had Johnson’s® Baby baby oil, baby lotion, and baby wash (full sizes!) in the way back.

Now we  already had bottles in the bath tub so these weren’t just forgotten about. We just got so many from family and friends at the shower, that we had enough left over. Luckily I know that baby oil is for more than just babies! And it’s a great item to have on hand even for adults. We keep it in stock at all times in our cabinet!

Baby oil is actually just mineral oil with perfume added to it, and mineral oil has a lot of potential uses! So if you’ve got a bottle of Johnson’s® Baby baby oil sitting in your cabinet, check out these 8 Fantastic Ways to Use Baby Oil!

8 Fantastic Ways to Use Baby Oil

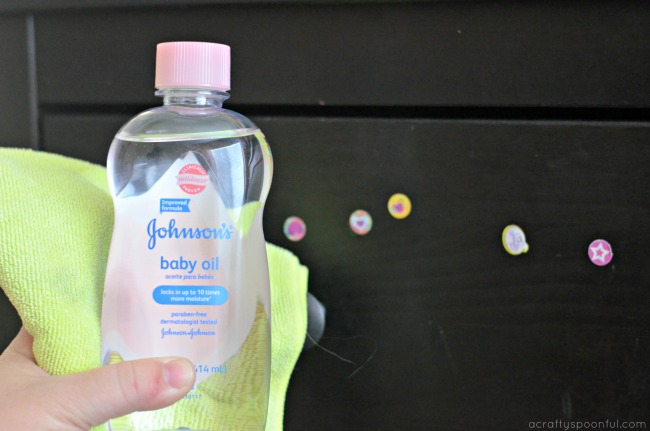
1. Easy Adhesive Removal

If you want to peel labels off of things faster, try one of the many ways to use baby oil- as an adhesive remover! Just rub the baby oil onto the label or sticker, let it sit for 5 minutes to soak in, then rub at it was a cloth. The label should come right off! Do you kids like surprising you by putting stickers on their furniture or on the windows in the car? This also works to remove adhesive that’s left behind after peeling a sticker off, and can help loosen up Band-Aids!

2. Body Insulator

One of the more surprising ways to use baby oil is as a way to insulate yourself against the cold! If you rub baby oil onto your skin your pores will close and you’ll become better insulated against the weather. However, since it does temporarily close up your pores, you may want to avoid putting it on your face if you suffer from acne.

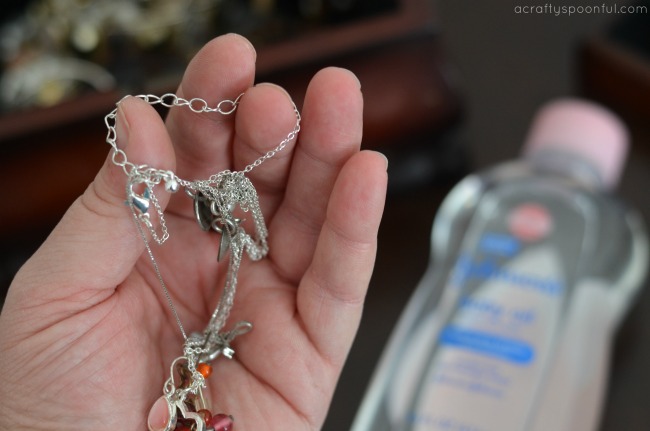
3. Necklace Chain Loosener

Have you ever had a necklace where the chain got tangled and caught on itself? To undo this, you can use baby oil! Just put a drop or two of the oil onto the area that’s stuck, then work to undo the tangle using something pointy, like a sewing pin. My girls have found my jewelry box and may or may not have tangled up a few pieces together. With some baby oil, I can help loosen everything up and am wearing my favorite necklace come date night!

4. Remove Paint from Skin

If you happen to get paint on yourself, you don’t need to rub yourself down with paint thinner! Instead, use baby oil! Rub the baby oil onto the paint on your skin until you feel that the paint is loosening up, then wash with soap and water. Repeat until all the paint is gone.
5. Polish Anything

One of the best ways to use baby oil is as a polish! And baby oil can polish pretty much anything! It can polish leather, wood, faucets, car hubcaps, chrome, and other such hard surfaces. It also can help protect surfaces from water, as it has some waterproofing properties. Make sure to test it out in a small area first before going to town just in case!

6. Shredder Lubricant

If you own a document shredder, then you may have been given some free shredder lubricant pages with your purchase. It’s important to keep the blades on your shredder lubricated to keep the shredder working at 100% and prevent jams. But rather than continually buying more and more lubricant pages, all you really need is baby oil with which you can make your own shredder lubricant pages! To make them, lay a few pages of paper down in a large dish or on a baking sheet and coat them with baby oil. Let that soak in for a few minutes, then shred them in your shredder!

7. Remove Sticky Stuff from Hair

Kids are surprisingly good at getting sticky things like gum (or lollipops) in their hair. To get the sticky stuff out, massage some baby oil onto the stuff, and use your fingers or a comb to gently pull it out. This works because the baby oil moisturizes and lubricates the sticky substance, helping it to let go of the hair and slide right out.

8. Shaving Cream Substitute

It’s okay to run out of shaving cream if you have some baby oil in the closet! That’s because one of the ways to use baby oil is as a shaving cream/gel substitute! Just rub it into your skin before you go to shave, and the razor will be able to move across your skin without any problems. If you put some more baby oil on after shaving, you’ll find that it also helps soothe your skin post-shave!

Do you use baby oil?

If you aren’t stocked up on Johnson’s® Baby Baby Oil, grab a bottle or two on your next trip to Walmart. You can find it in the baby products aisle right next to the baby wash and body lotion! Or do what I do and order it online at Walmart.com and have it shipped right to your door. So convenient and perfect for busy moms.

Adverse Claims Disclaimer: If someone is reporting an adverse event or a product quality complaint, please tell them to call the Johnson & Johnson (J&J) North America Consumer Care Center at 800-361-8068 during normal business hours of operation: Monday through Friday, 8 a.m. to 8 p.m. ET. After normal business hours, they can report adverse events or product quality complaints through www.jnj.com Contact Us page.

Exploring Downtown San Diego With Kids

In San Diego and looking for a fun way to spend the day? If you’re heading downtown there is plenty to do and see with the kids! 

From great kid-friendly museums like the San Diego Children’s Museum to kid-friendly activities at Horton Plaza Park and kid-friendly restaurants like the Hard Rock Cafe, you’ll never tire of the fun to be had in Downtown San Diego. One thing we love doing is planning one day a month where we do something new in our city. 

This month we decided to hit up Horton Plaza Park for some playtime and grab lunch at the Hard Rock Cafe. Not only was it the perfect afternoon out of the house, it allowed us to enjoy our city and the gorgeous weather we’ve been having lately! 

10 Must-Do Activities with Kids in Downtown San Diego

Where to Play

1. The New Children’s Musem – 

This museum is great for kids 10 and under who are looking to enjoy hands-on experiences. There are interactive art exhibits, workshops, and camps, as well as immersive art studios to allow the kids to do what they do best – explore, learn, and create! Learn more on their website

2. Horton Plaza Park – 

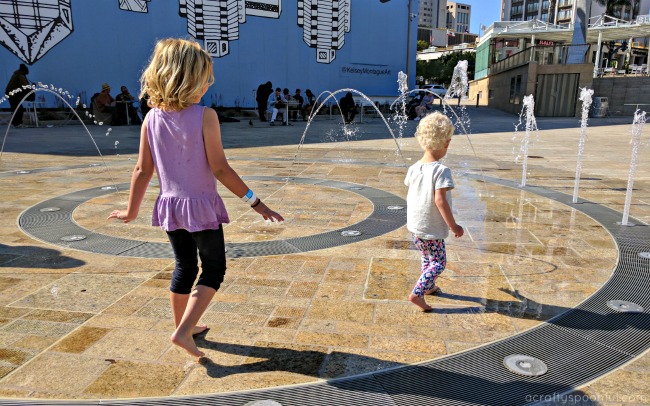
Horton Plaza got a snazzy new upgrade and is now home to Horton Plaza Park, a gorgeous area in front of Westfield Horton Plaza that includes a Starbucks, Sloan’s Ice Cream, and water play at the fountain. While you’re there, take advantage of Plaza Play and enjoy a game of Lawn Darts, Jenga, and other lawn games every Thursday & Friday from 11:30AM – 2:30PM and Saturday & Sunday from 11:30AM – 4:30PM. 

If you are planning on letting the kids enjoy the water fountain, make sure to bring an extra pair of clothes! We may or may not have had to step into Gymboree to buy a few outfits for them after allowing them to enjoy a nice soak in the fountain water. But they loved every minute of it! 

3. Balboa Theater or the Civic Theater – 

My husband and I absolutely love heading to the Civic Theater to watch the latest shows at Broadway San Diego. We’ve been season ticket holders for the past 3 years and it’s something we look forward to every year. Throughout the year there are some great shows to bring the kids to! Just recently we saw Matilda and coming up is Finding Neverland! 

You can also watch your favorite movies at Balboa Theater through Cinema @ Balboa Theatre & Hard Rock Cafe. Enjoy a cinematic movie experience at the historic Balboa Theatre every month and meet-up with your fellow fans before or after the show for 15% off food, non-alcoholic beverages and non-charity retail with your movie ticket. And get $2.00 Off Cinema @ Balboa Movie Tickets at Balboa Theatre online or at Balboa Ticket Window & use code: HardRock. For Cinema Show listings and times: http://sandiegotheatres.org

Where to Explore

4. Seaport Village and The Headquarters

The one place I love visiting over and over again when I’m downtown is Seaport Village. I don’t know what it is about this little shopping area or why I always want to come back. And now with the Headquarters right next door, I have even more reasons to come visit again. Maybe it’s just because I love good shopping and delicious food? 

The kids will love hitting up the carousel and Ben & Jerry’s while at Seaport Village. And don’t forget to check out the old jail at The Headquarters. This is my kids’ favorite place to visit. My daughter loves reading what the inmates were incarcerated for back when the jail was still operational. And she loves sticking her brother in one of the cells. You can also purchase great gifts, cheeses, and chocolates while you’re there among other things. 

5.The Embarcadero – 

With the Star of India, USS Midway, and many other gems along the Embarcadero, it’s a must see for those visiting San Diego or exploring for the 100th time. You can also enjoy a harbor cruise on one of the many cruise ships in the Embarcadero. We love checking out Flagship Cruises to see if they have any special events happening. They’re also perfect for whale watching season! 

6. Balboa Park

While it is a bit farther than the other areas, we love heading to Balboa Park to explore the various museums and attractions (including our famous San Diego Zoo). If you have time, grab an explorer pass and really get to explore what Balboa Park has to offer! And don’t forget to stop by and see what’s new at the San Diego Natural History Museum. Dinos are taking center stage right now! 

Where to Eat

7. Hard Rock Cafe – 

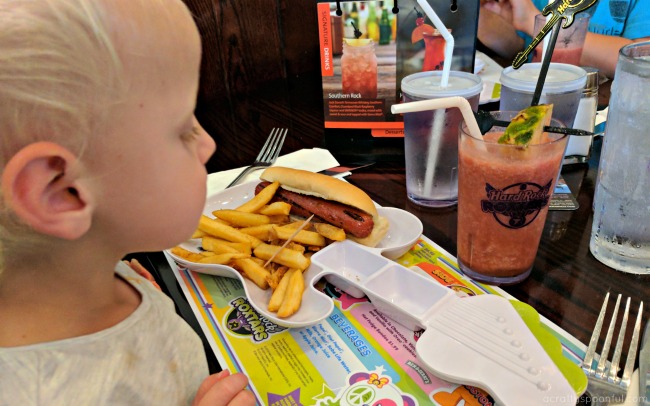
We were recently invited to head down to the Hard Rock Cafe San Diego and try out their awesome menu. The location was so convenient for our family as it’s within walking distance of Horton Plaza Park (across the street). The menu was extensive and they had a great selection of drinks and kids items. 

I enjoyed a delicious Texan pulled pork sandwich paired with a southern rock while my husband had a burger with strawberry lemonade. The kids took advantage of the delicious smoothies and hot dogs on the kids menu. We ended our meal with an amazing hot fudge brownie. Pictures do not do this dessert justice! It’s massive and was perfect for our family of 5. No one felt left out. Next time we’re trying the fresh apple cobbler per my husband’s request. 

The best part about this restaurant is the ambiance. Being surrounded by our favorite band’s memorabilia and quotes made our experience even more awesome. And just like the Hard Rock Hotel (which I highly recommend), the service and attention to detail is spot on! You feel like a part of the family as soon as you walk in. 

8. Food Trucks – 

When you’re out and about in Downtown San Diego, especially when there’s an event going on, make sure to keep an eye out for the delicious food trucks our city has driving around. You can take a look at the food truck schedule by visiting their website

9. Double Standard – 

While we love quite a few restaurants in Downtown San Diego, the sandwiches at Double Standard keep me coming back for more. Plus the kids love their pizza! The menu is always changing so stop by and check out what they are serving up. I’m sure it’ll be delicious! When we’re with the kids we prefer coming for lunch as it’s a little less crowded and we can snag a comfy couch seat. 

10. Ghiradelli – 

If you didn’t snag an amazing brownie sundae at Hard Rock Cafe, stop by Ghiradelli. For a scrumptious ice cream dish to share with the whole family! It’s close to all of the other restaurants and places we’ve previously mentioned so it’s a great place to end the night (or day)! 

No matter what you do while you’re in Downtown San Diego, I’m sure you’ll have fun doing it! If you have any suggestions for kid-friendly activities, please feel free to leave them in the comments below! We’re always looking for something new to explore in San Diego! 

What’s your favorite thing to do in Downtown San Diego? 

Disclosure: Our family was provided a free meal at the Hard Rock Cafe San Diego. 

DIY Skin Care Kit + Travel Case Tutorial

We’re sharing our DIY skin care kit sponsored by Olay, plus a fun travel case tutorial to carry it around wherever you go! 

The past couple of weeks has been a whirlwind. With recovery from the holidays, more travel for work, and just an overall amount of trying to fit too much into too little time. Luckily the one thing I have made time for, even with all of the travel and schedule changes, is my skin care. For the past 28 days, I’ve taken part in the 28 Days of Olay; I’m using Olay products for 28 days to see the clear difference it makes.

Now I’m not a products person. I’m also not much of a makeup person. So skin care is something that is very important to me. Because I don’t wear a lot of makeup, cover up, etc, I rely on my skin care to do the bulk of the work for me. And with my DIY skin care kit, I’ve been able to take my skin care with me wherever I go. It doesn’t matter if I’m on the go and attending a conference or just doing everyday work at home mom stuff from the comforts of my own home. 

Looking to make your skin care routine simple AND feel better in your own skin? 

Here’s how you can do it: 

DIY Skin Care Kit

1. On your mobile device, visit the Skin Advisor website

2. Snap a photo of yourself without makeup on and upload it. Skin Advisor will analyze your color, eye lines, wrinkles, and more – giving you an age estimate. 

3. Then take the specific product recommendations for your skincare needs that Skin Advisor suggests that you purchase at Walmart.

4. Make sure to get a cleanser, a moisturizer (for night and day), and a serum or cream to focus on any trouble areas. 

Tip: Buy trial size versions of your favorites to take with you when you’re traveling. Or purchase a pill container and fill each day up with the cream or moisturizer you’ll need each day. 

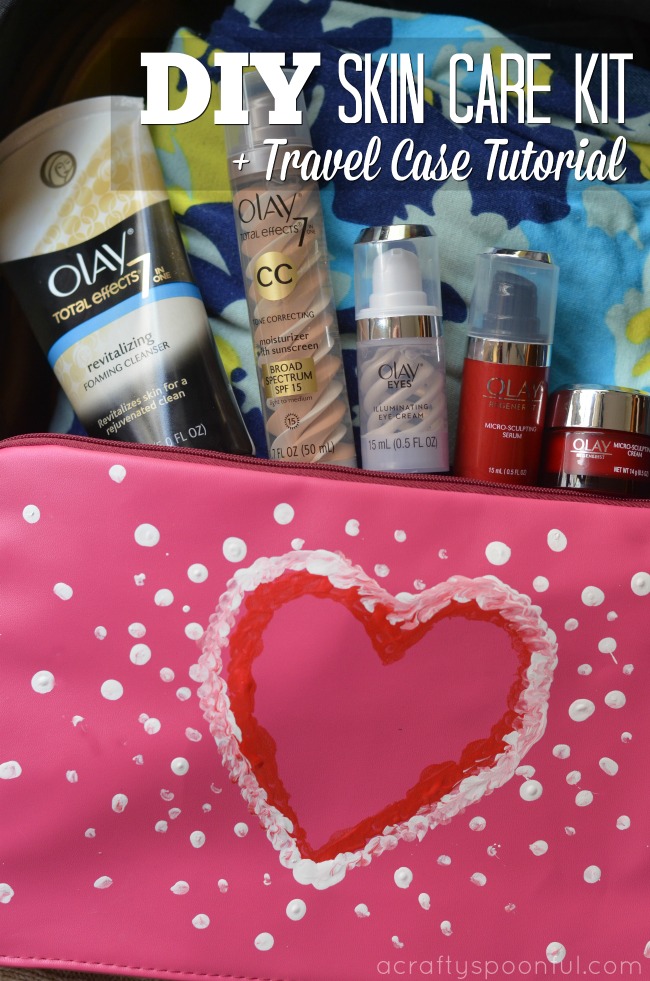
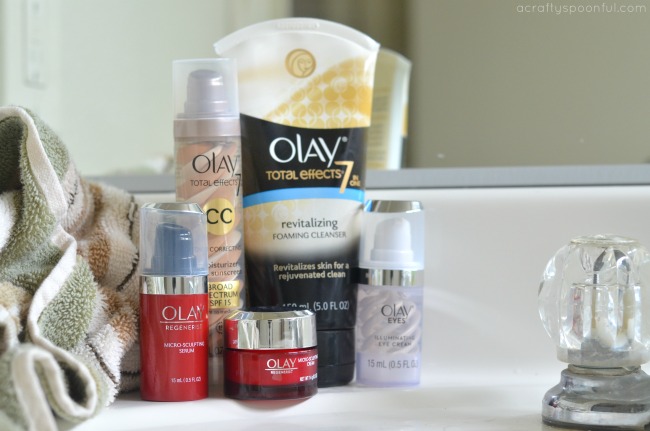
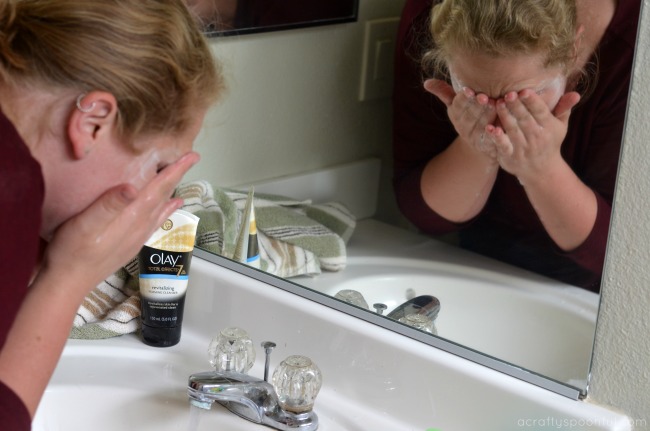
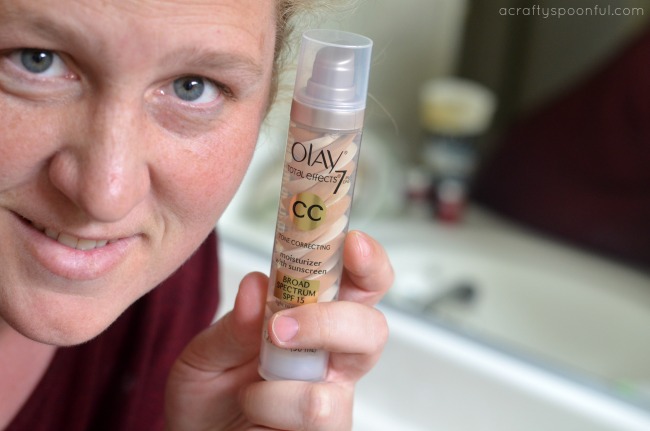
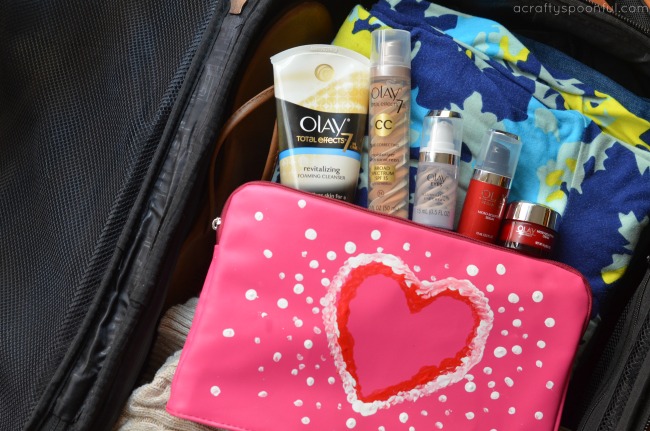
For me, the Olay Total Effects Revitalizing Foaming Cleanser and Olay Eyes Illuminating Eye Cream were a must. I can clean my face completely both day and night and not have to worry about my face drying out. Then I can hit my trouble spots – those dark circles and bags under my eyes – with the Olay Eyes Illuminating Eye Cream. I use the Olay Total Effects 7 in 1 CC cream to finish everything off before applying light makeup (mascara, some eye shadow, and tinted lip balm are my go to). 

A simplified skin care routine has made it easier to stick with it for the past 28 days and my skin thanks me! You can tell how well my skin is doing by taking a peek at the photo above. I can’t wait to see what my skin looks like in another 28 days! 

DIY Travel Case Tutorial

What you’ll need: 

  • zipper pouch or makeup case
  • craft paint
  • pencil with eraser
  • 2 paper plates
  • scissors

What you do: 

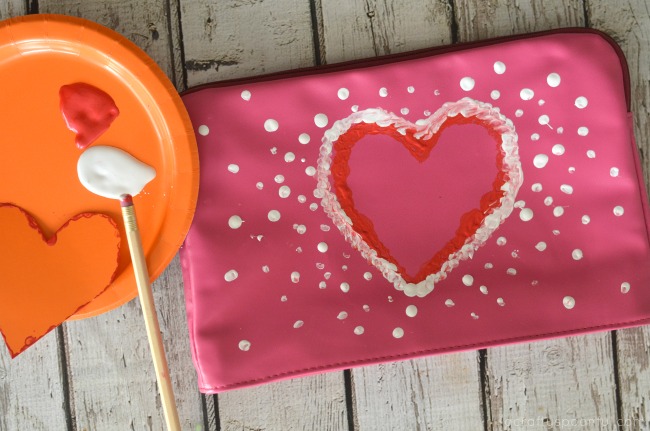
1. Take a paper plate and cut a design out of it. You can do a heart,  a star, a letter, or even a cute little airplane to represent travel. Just make sure the shape will fit on the front of your pouch. 

2. Put the shape cut out on the front of the pouch (make sure the top of the bag is at the top of your design). 

3. Using the eraser of the pencil, dot around the design with the paint color of your choice. Outline the shape in two layers. Then once the layers are complete, start to add more layers and taper off how dense the dots are until you are left with a starburst design. 

4. Remove the cardboard cut out and admire your pouch as you let the paint dry. Fill with your favorite skin care kit items and enjoy! 

What are your go-to skin care favorites? 

DIY Rose Hair Tie inspired by Beauty and the Beast

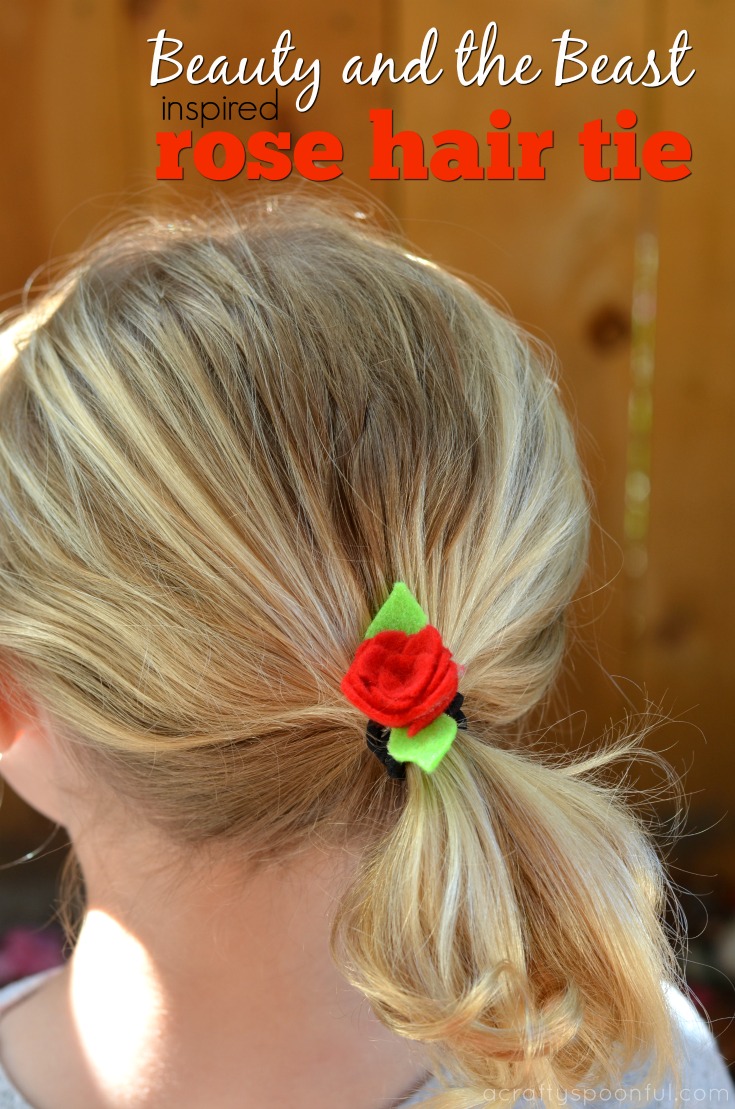
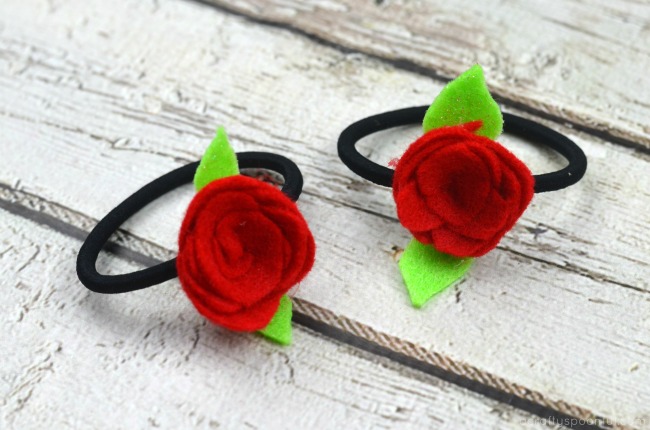
In celebration of the new Beauty and the Beast that hit theaters last week, my daughter asked me if I could make her a special hair tie to wear when I take her to see it. And since I’m always up for a challenge, I got to work to quickly make a cute DIY rose hair tie for her to wear. 

Since she also had some leftover hair clips from St. Patrick’s Day, we used a few of those to make rose clips as well. We always try to craft with what we have around the house so feel free to adapt and create as you go to make the perfect rose hair accessory for you or your little one! 

What I love about this craft is how easy it is to put together. You can have a super cute hair accessory in less than 5 minutes! 

Here’s how: 

DIY Rose Hair Tie

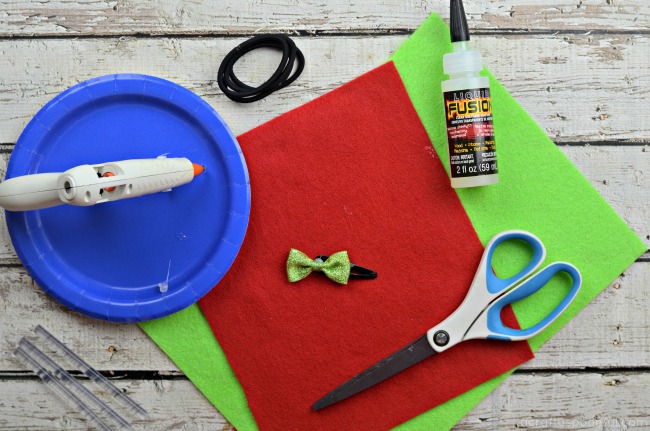
What you’ll need: 

  • red felt
  • green felt
  • scissors
  • hair ties or hair clips
  • hot glue gun or crafting glue

What you do: 

1. Cut a 2″ circle out of the red felt. The size of the rose will be determined by the size of the circle so you can adjust to a larger circle for a bigger rose or smaller circle for a smaller rose. 

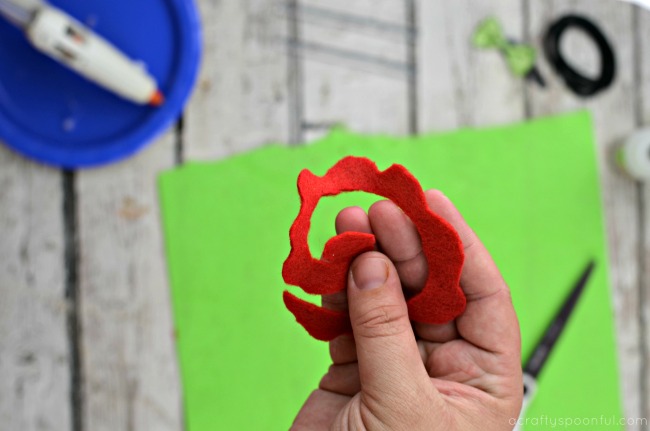
2. Cut out a spiral into the circle leaving a small center to use as the base of your rose. 

3. Take your spiral and cut a scalloped edge on the outer edge of the spiral to create the petals of your rose. 

4. Gather the spiral scallops and, taking the center, start to tightly wrap the petals around the center of the spiral until a rose forms. 

5. Using the glue, secure the edge of the rose to the side so that it doesn’t unravel. 

6. Cut out some leaves out of the green felt. Start by cutting out a marquis first and then cutting into the marquis to form a round center with two petals coming out of it (see video for visual instructions). 

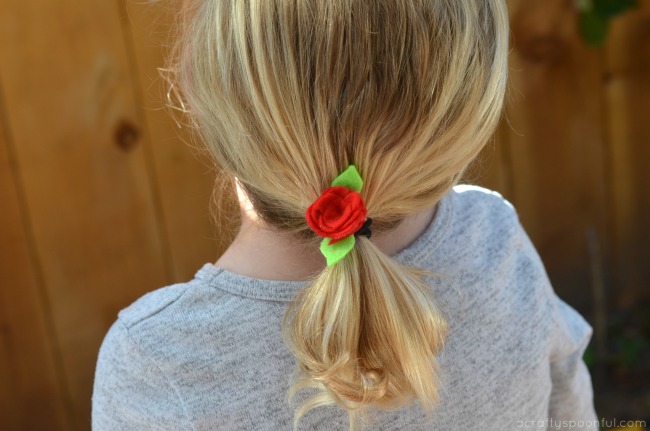
7. Take your hair tie and glue the leaves onto the bottom end of the seam of your hair tie. Then add glue onto the hair tie and leaves to adhere the rose to the center. 
8. Let set completely before pulling your hair into a pony tail to show off your new hair tie! 
Did you see Beauty and the Beast yet? What did you think? 

Read our review here

What Age is Appropriate for Beauty and the Beast? Plus FREE Memory Game and Coloring Pages

The story and characters audiences know and love come to spectacular life in Disney’s “Beauty and the Beast,” a live-action adaptation of the studio’s animated classic featuring an extraordinary ensemble cast, including Emma Watson as Belle and Dan Stevens as the Beast. 

Directed by Bill Condon and based on the 1991 animated film “Beauty and the Beast,” the screenplay is written by Stephen Chbosky and Evan Spiliotopoulos. Alan Menken provides the score, which includes new recordings of the original songs written by Menken and Howard Ashman as well as three new songs written by Menken and Tim Rice. And those three new songs? Oh my! So good. 

What I loved about this movie was that as soon as it started I was wrapped up in to the tale. It was almost magical how the story guided me through Belle’s life and shared her journey to finding the Beast. Another great part about this movie is that it delves deeper into Belle’s past, sharing who her mother was and how she died, making Belle more real and relatable. 

The characters were as loveable as ever and the movie, while staying true to the original classic, had some great additional hilarious moments brought out by Lefou, played by Josh Gad. The inflection and way that he presented his lines turned Lefou into a character who almost took the limelight away from Gaston. 

At first, I wasn’t too crazy about the adaptations of the characters like Mrs. Potts, Chip, Cogsworth, and Lumiere, but as I watched the movie I came to love the attention to detail and character put into each and every one of them. The literal personification of each character was put into their outward appearance and watching the difference between who they were as humans in the beginning of the movie and how they transformed was quite interesting. 

Throughout the movie I kept being taken back to when I was a small girl watching Beauty and the Beast on repeat in my house and thinking of how my kids would react to seeing the movie. And I have no doubt that just like me, my 6 and 8 year old would love it. 

Now there are scary parts in this movie that the littles might have a hard time with just as with the animated classic. There are wolves in a few scenes as well as the end when Gaston and the Beast meet. And the Beast himself can be quite alarming when you first get to know him. 

But with those moments being small parts of an otherwise beautiful and happy movie, I believe that this movie would be perfect for 7+ unless you have a 6 year old who doesn’t mind a scare here and there. 

Want a peek at what’s in store? Watch this trailer: 

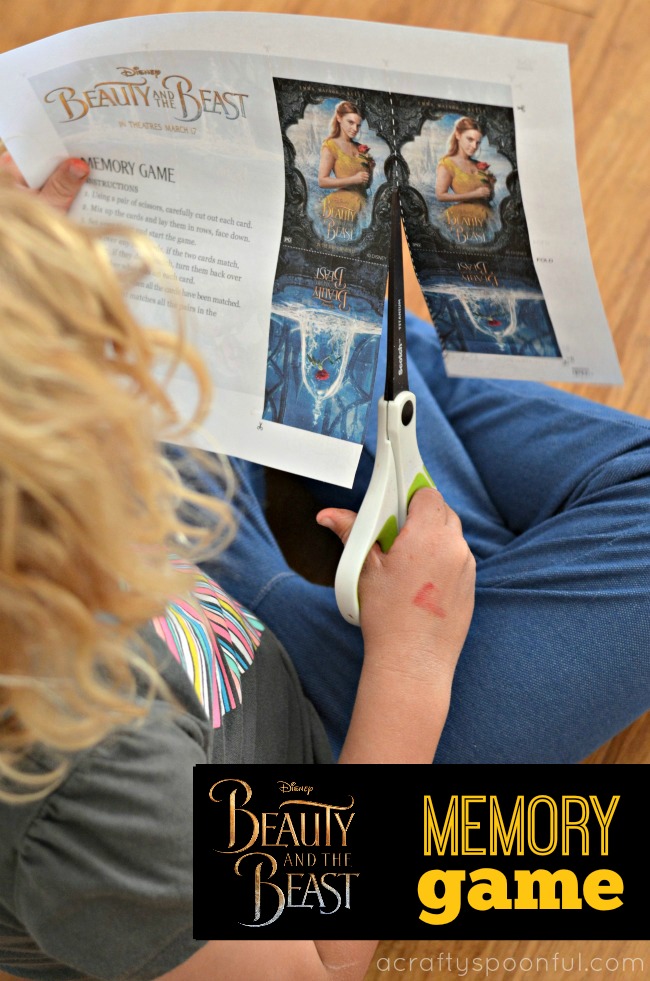
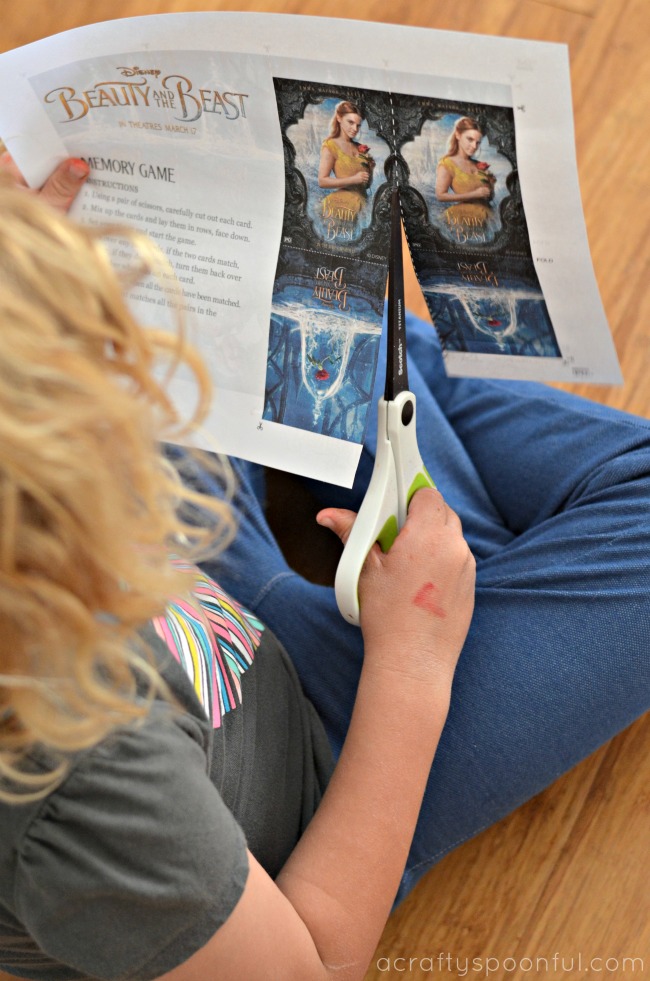
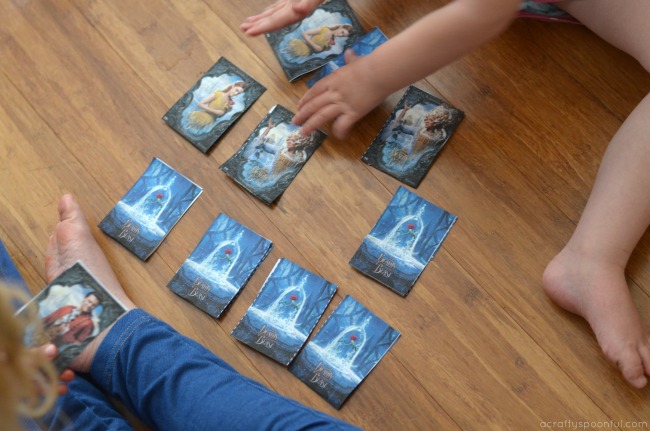
We have some fun activities for your kids to partake in! Simply download them here and enjoy coloring your favorite characters or printing out a fun matching game to play with the kids.

Click Here to Print 

Beauty and the Beast Memory Game

Click Here to Print 

Beauty and the Beast Coloring Pages

Looking to bring Beauty and the Beast to life in your home? Make a gorgeous DIY Rose Hair Clip to wear when you go see the show! Click on the image below to read our tutorial. 

DIY Beauty and the Beast Rose Hair Tie Tutorial

What To Do With Free Samples

What to Do With Free Samples 650x982

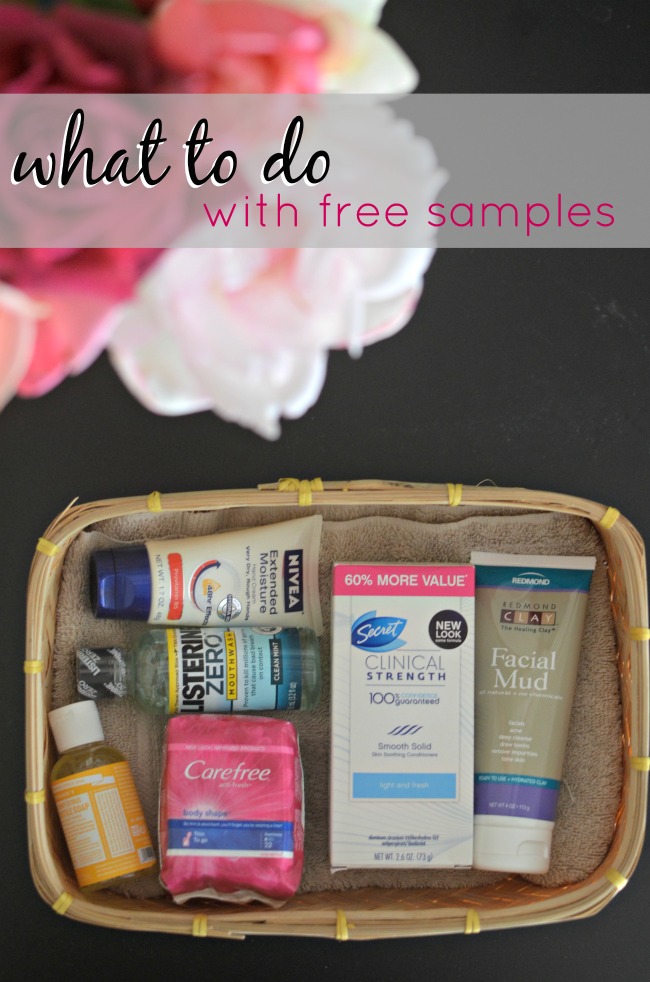
In this line of work, I am the recipient of a lot of samples and free products. Whether it’s a brand who’s at a conference and wants to get their product in my hand, or part of a campaign I’m working on with a few additional perks sent from the client, my cupboards are overflowing with full and trial size products. Enough to keep us stocked up for a while. In an effort to purge and sort through everything we have in our cupboards, I’ve come up with a few ways to use them up. Below are a few ideas on what to do with samples and freebies.

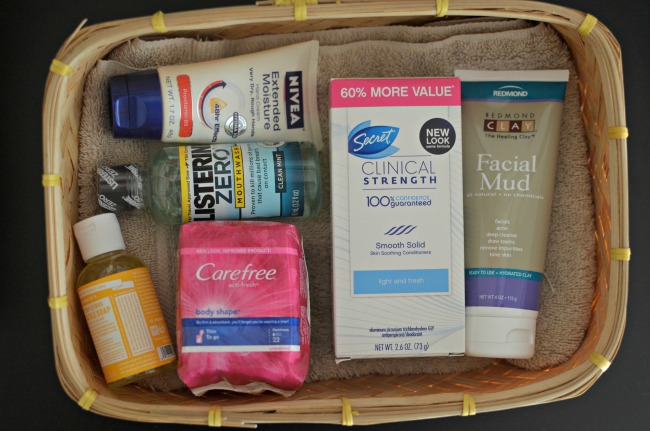
What To Do With Free Samples - gift ideas, stocking stuffers, or travel supplies 650x431

What To Do With Free Samples

  1. New Homeowners Gift – Create a gift basket for new home owners with cleaning essentials they’ll need! Fill a cute bucket or basket with cleaner samples, wash cloths, squirt bottles.
  2. Guest Bathroom Essentials – If you frequently have guests over in your home, create a basket with guest bathroom essentials that you can easily grab when friends or family come into town. Fill a cute container with the essentials one needs when they’re away from home! Include some tooth paste, soap, deodorant, a tooth brush, shampoo and conditioner, etc.
  3. Baby Shower Gift – Since I write about parenting, some samples were more baby-related and didn’t really have any use in my house (before I had baby #3). So I would collect them and use them as extra gifts for diaper cakes and baby shower gifts.
  4. Stocking Stuffers – a few things I get are the perfect stocking stuffers for my nieces and nephews. I have a box with gifts that I keep in the closet and add to it whenever I think something might be better for another friend or family member. I also add a sticky note to it so I remember that I have it saved for them!
  5. Take On the Go! – Whether I’m travelling with the family or solo, or the kids are heading over to Grandma’s house for the weekend, I take any duplicates of products that we use and organize them in the cupboard to grab quickly while we’re packing for our next adventure. It helps that I have them already sorted and ready to go depending on our needs.

Whether you’re reusing your samples as gifts, or saving them for a trip, there’s always a way to use up the samples and freebies you get when you’re at events or conferences! And if that doesn’t work, consider swapping with a fellow blogger or friend for something they might want to get rid of!

How do you use free samples?

How To Make Confetti Eggs + Cute Easter Outfit Ideas

With Easter right around the corner, these confetti eggs are a great way to celebrate. With the help of our sponsor, Kohl’s, we’re sharing how you can make them at home! This post is sponsored by Kohl’s.  I was paid for this post and received the included Carter’s clothing as compensation.

Every year for our kids school festival the most popular booth for the kids is the confetti egg booth. Now before we went to our first festival, I had no idea what confetti eggs were. Then my husband explained it and shared how his grandmother would have egg cartons and eggs all over the house because she’d make confetti eggs all throughout the year in preparation of their school’s festival. 

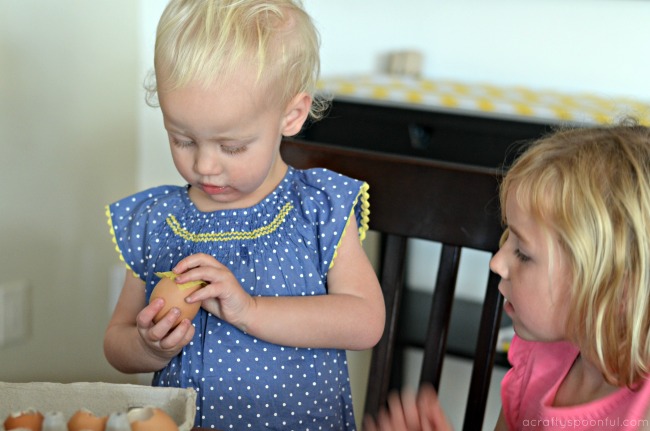
Guess what? I’ve turned into that person. I may or may not have stashed egg shells in egg cartons all around the house to start getting ready for confetti eggs. And with Easter coming up, it’s time to start making them! Good thing these are super easy to make and fun for the kids to get involved. 

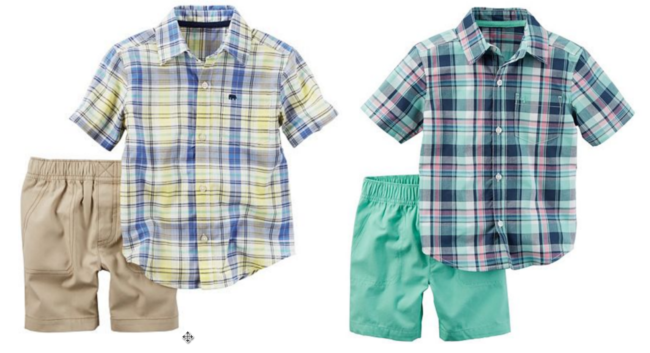
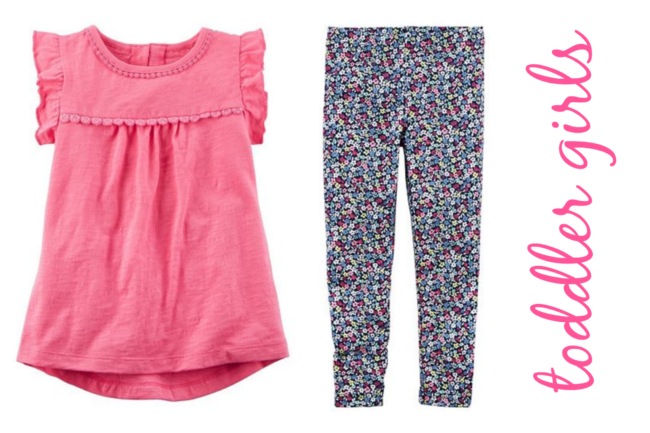
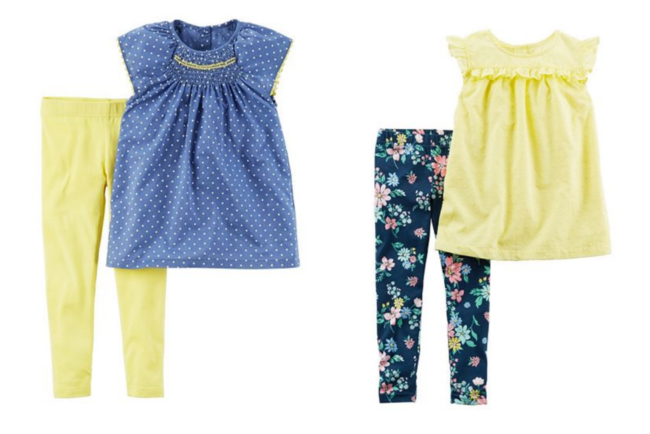
While we’re on the topic of Easter prep, in an effort to get ahead of the game, I had the girls come with me to Kohl’s to pick out some cute outfits for Easter. This year instead of the pretty dresses they normally turn to, they decided to chose more comfy, playful outfits in beautiful spring colors. I love how these Carter’s outfits we picked out allow the kids to play and create without being limited or uncomfortable. 

You can check out a few of the looks we chose below! 

How to Make Confetti Eggs

What you’ll need: 

  • eggs
  • butter knife
  • bowl
  • tissue paper
  • confetti
  • scissors
  • glue stick
  • egg dye or markers (optional)

What you do: 

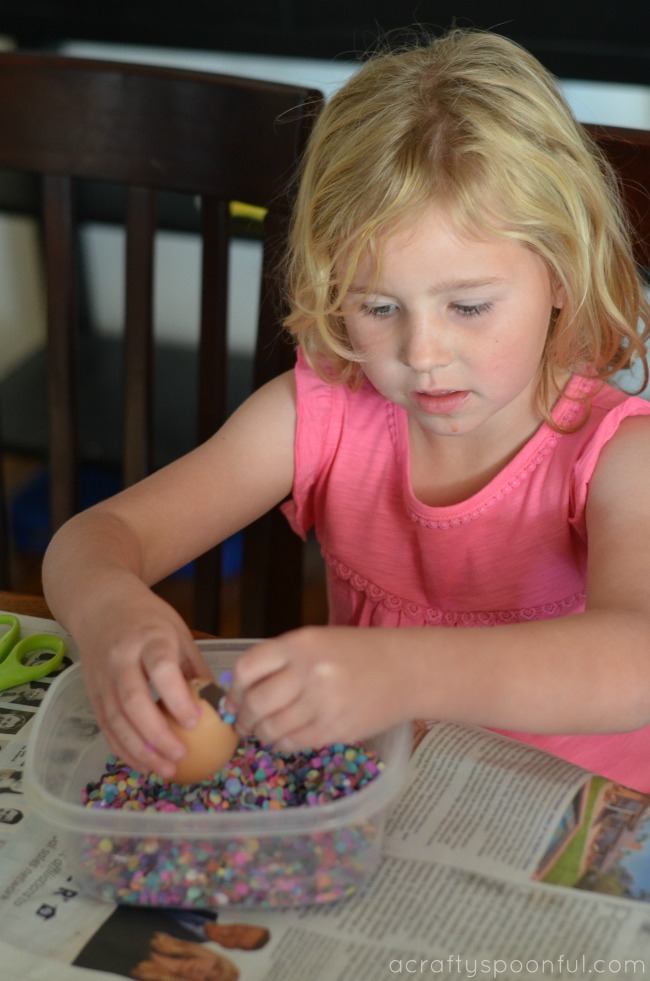
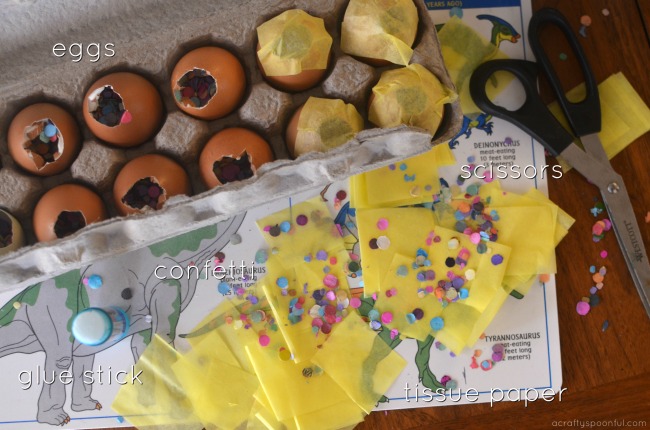
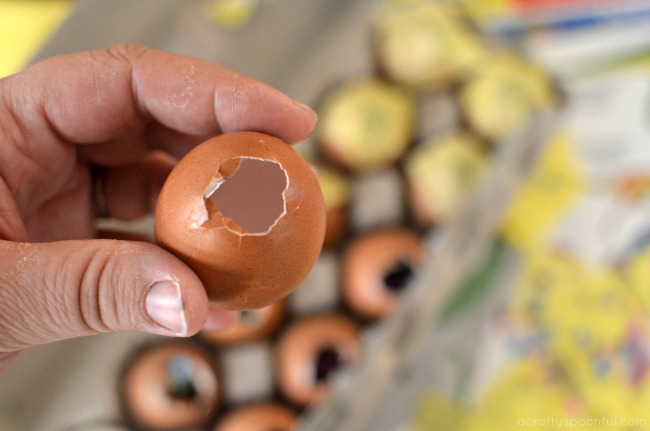
1. Taking your egg, carefully tap the top of the egg in a circle with butter knife. Once tapped around the top of the egg, remove egg shell from top. Using knife, scramble the egg in the shell a bit and pour out into bowl. 

Rinse egg with water and let dry completely. Scramble up the eggs and enjoy a protein-filled snack! 

2. OPTIONAL: Once egg has completely dried, you may decorate your egg with markers or egg dye. We just leave ours the same color as the eggs. 

3. Fill egg with confetti about 1/2 to 2/3rds of the way full. 

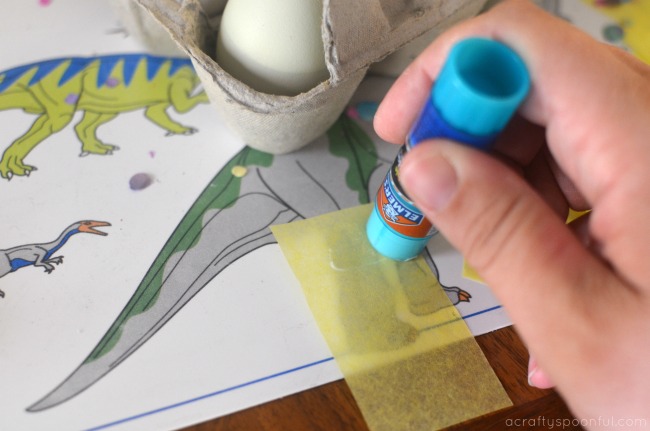
4. Cut out squares and/or rectangles out of your tissue paper. Then, using the glue stick, add glue to the edges of the tissue paper square. 

5. Add tissue paper square to top of the egg to cover the hole completely. Let dry and then enjoy going crazy with the eggs! 

Cute Easter Outfit Ideas

Looking for some outfit ideas for Easter? We’ve picked out some cute outfit ideas you can pick up at your local Kohl’s or online from the Carter’s line. How cute are these? 

We’re huge Carter’s fans. We’ve been clothing our kids in Carter’s since they were first born. No, seriously! Each of their newborn outfits was Carter’s brand. I love that I can get the girls coordinating outfits since many of the outfits and pieces I found come in both toddler sizes and kid sizes. Perfect for siblings!

From 3/17 – 4/2 you will $10 off a $40 Carter’s purchase with promo code KIDSALE10! Take advantage of this great deal and score some adorable outfits for the kids. Win-win, right?

shirt | shorts

outfit 1 | outfit 2

shirt | pants

outfit 1 | outfit 2

Have you made confetti eggs before? 

My blog may contain links to other websites. I am not responsible for the privacy policies of those other websites. When you click on a link, your information may be collected by those websites so I encourage you to read their privacy policies. These affiliate links are not associated with Kohl’s.

DIY Nebula in a Jar Necklace

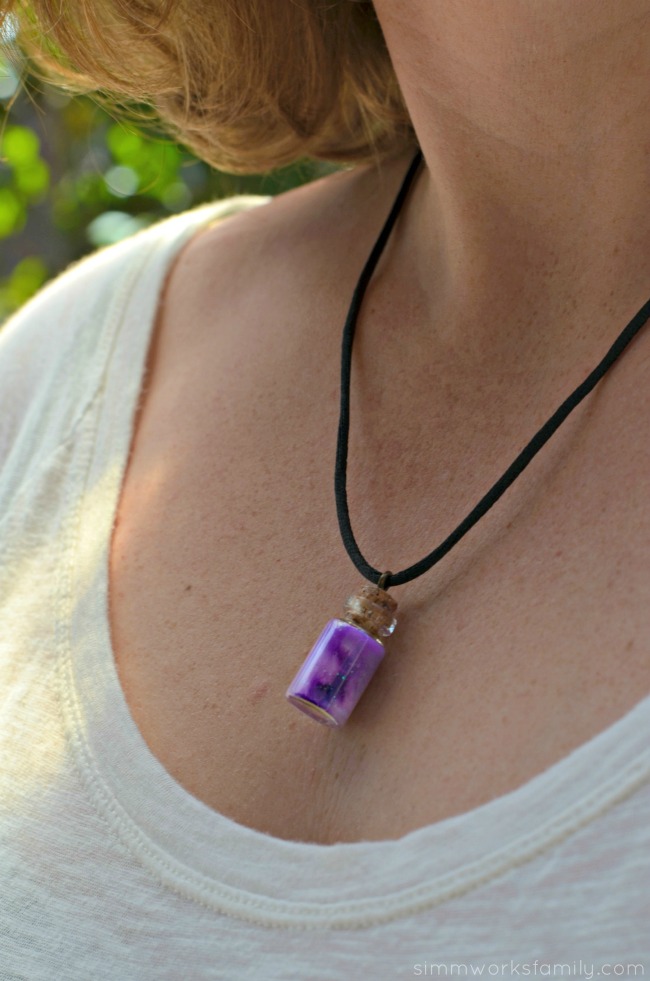
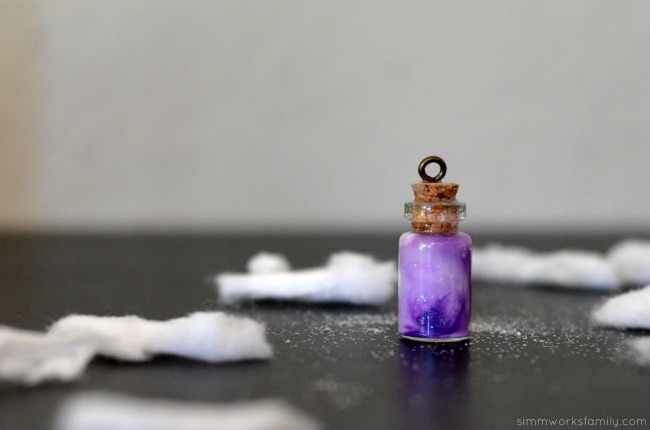
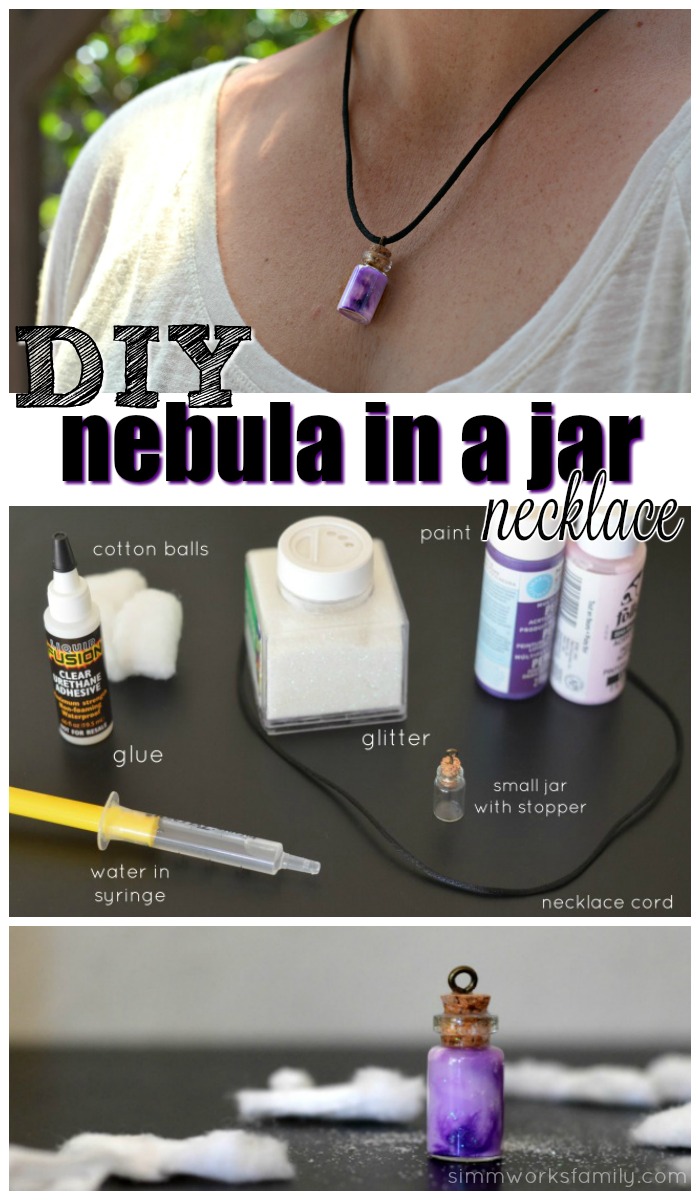
This DIY nebula in a jar necklace tutorial is a fun and easy way to get your daughter involved in STEM based crafts. 

DIY Nebula in a Jar Necklace Tutorial

We’re pretty big on STEM learning here. With a passion for sharing the love of science, technology, engineering, and math with our kids, we’re always trying to figure out how to incorporate STEM activities in our daily lives. 

This craft was great for STEM learning because it opened up the doors of communication with my kids about space, stars, and constellations. Not only did we talk about where stars came from (nebulas – which lead to a whole other conversation about the birds and the bees) but we waited until dark to count the stars and find constellations. We also talked about the full moon and moon cycles since we just had a full moon. Let’s make some nebula in a jar necklaces!


DIY Nebula in a Jar Necklace with stopper

DIY Nebula in a Jar Necklace

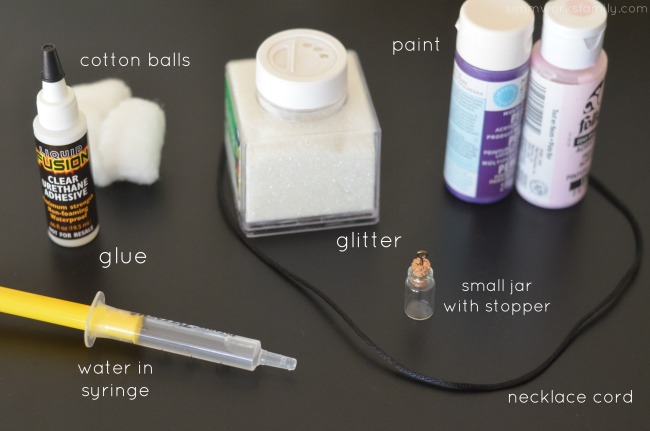
What you’ll need: 

DIY Nebula in a Jar Necklace supplies

What you do: 

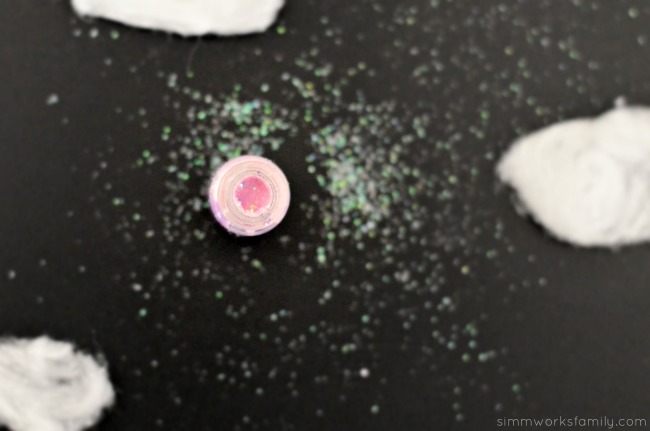
1. Cut cotton balls into small strips and set aside. 

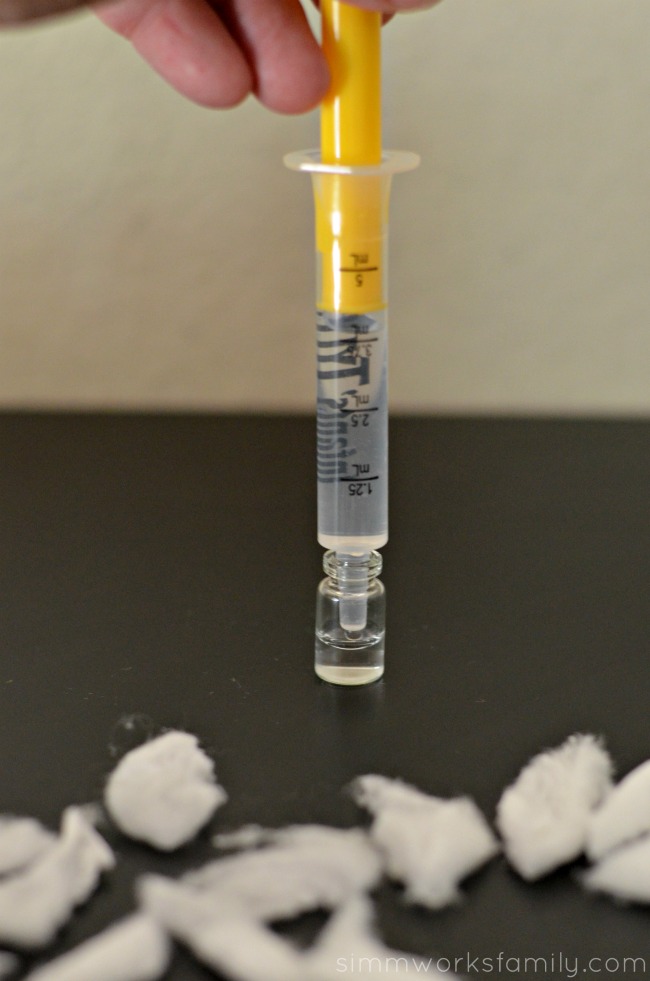
2. Add water to the jar, about 1/3 of the way up. 

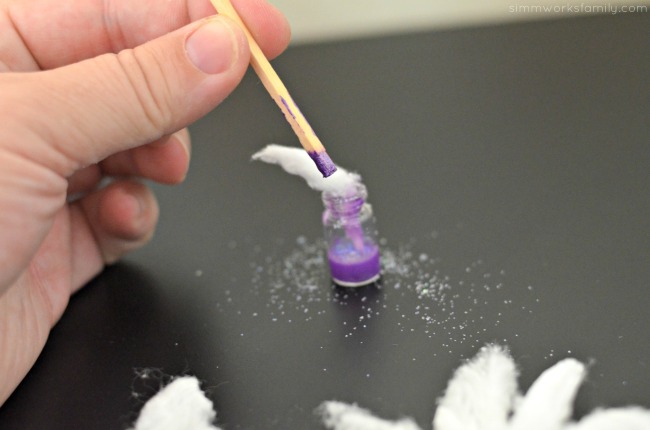
3. Using the small stick, add a few drops of one color paint to the jar then add some cotton ball pieces to fill up 1/2 of the jar. 

DIY Nebula in a Jar Necklace - use a syringe to add water DIY Nebula in a Jar Necklace - use a stick to add paint and cotton ball

4. Sprinkle some glitter into the jar. 

5. Add a few drops of the contrasting color paint and some more cotton. 

6. Fill with water but not to the top. Leave room for the stopper. 

DIY Nebula in a Jar Necklace close up DIY Nebula in a Jar Necklace add glitter DIY Nebula in a Jar Necklace glue stopper to bottle

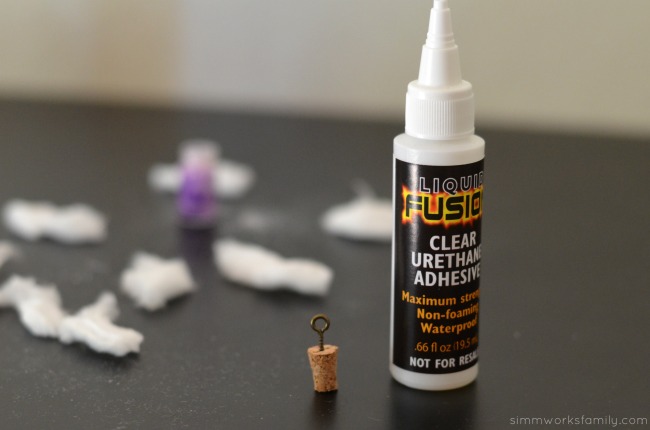
7. Grab the glue and the stopper with eyelet. Add a dab of glue to the eyelet and screw into stopper. 

8. Add glue to stopper making sure to cover all around the bottom 1/2 of the stopper that will be touching the jar when inserted in. 

9. Place the stopper in the jar and let dry for 24 hours. 

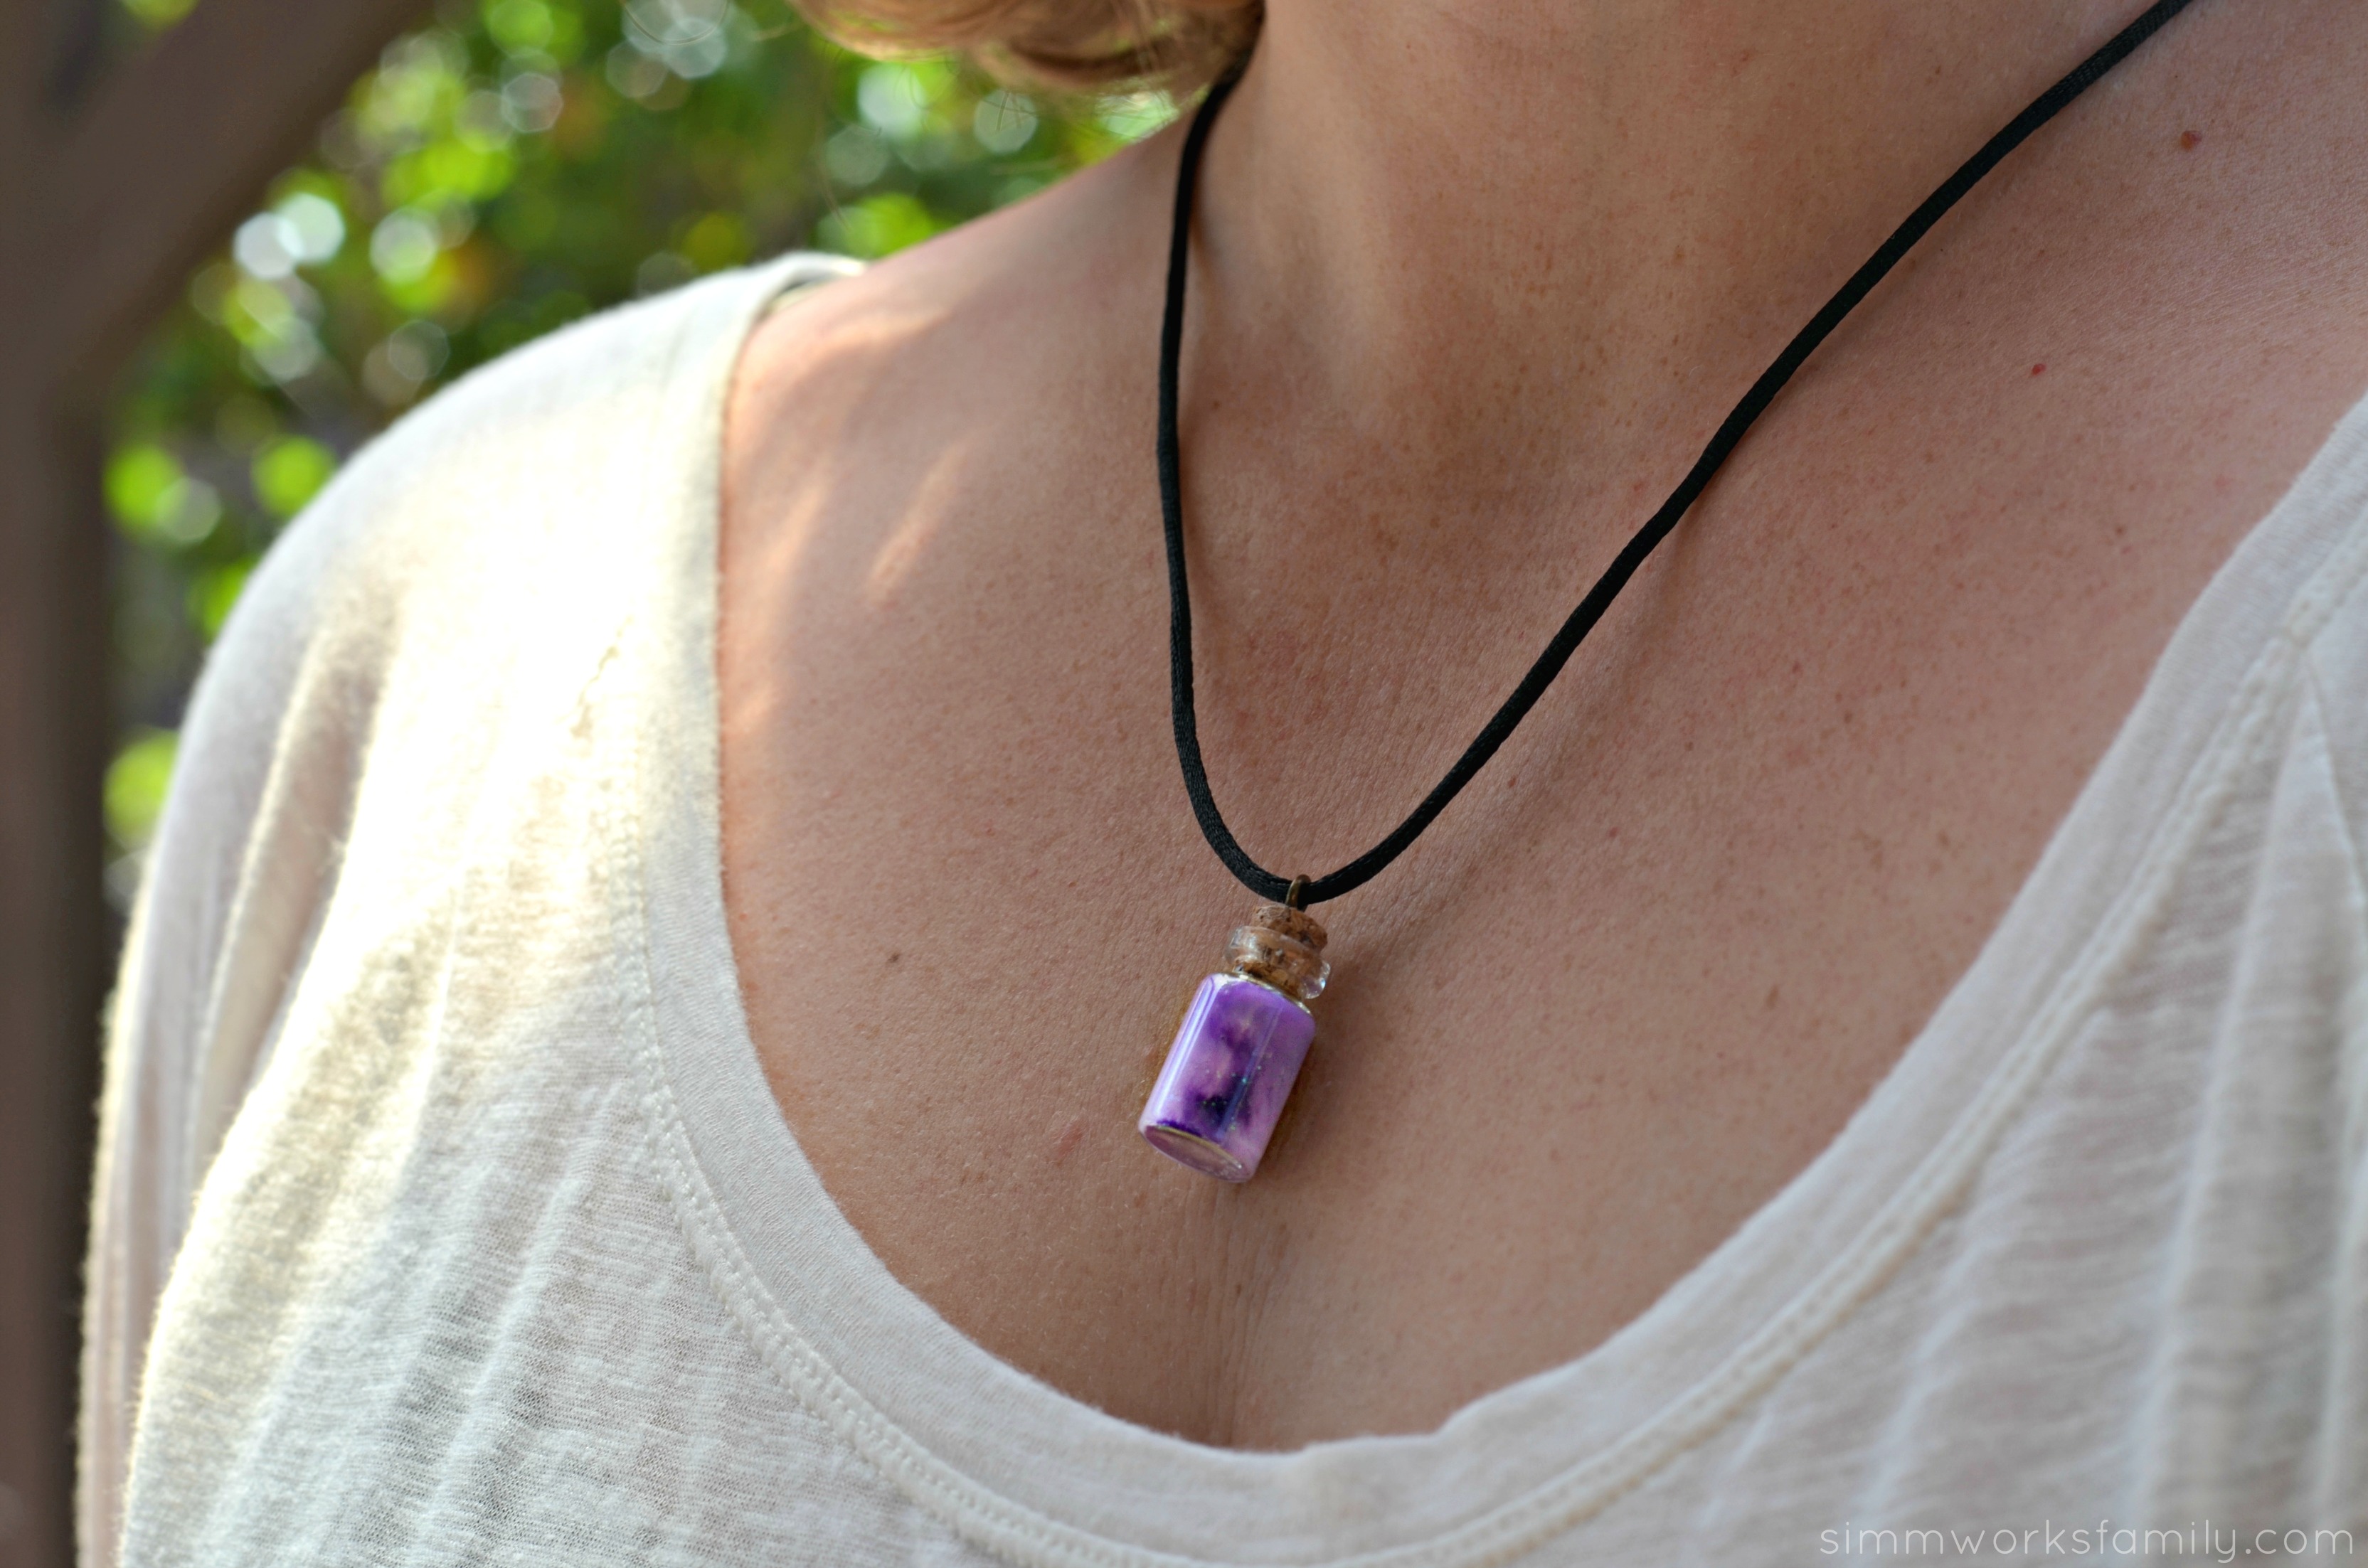
10. Add jar to necklace cord and put on! 

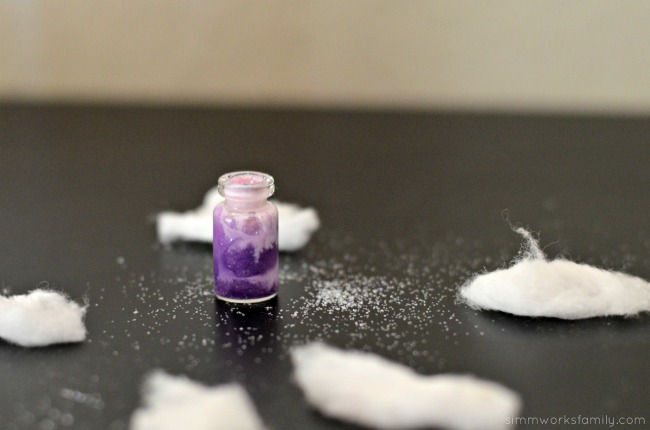
DIY Nebula in a Jar Necklace craft

How do you promote STEM learning with your daughter? 

DIY Nebula in a Jar Necklace

Interested in more science-based crafts and activities? Check out these fun projects: 

For Preschoolers:
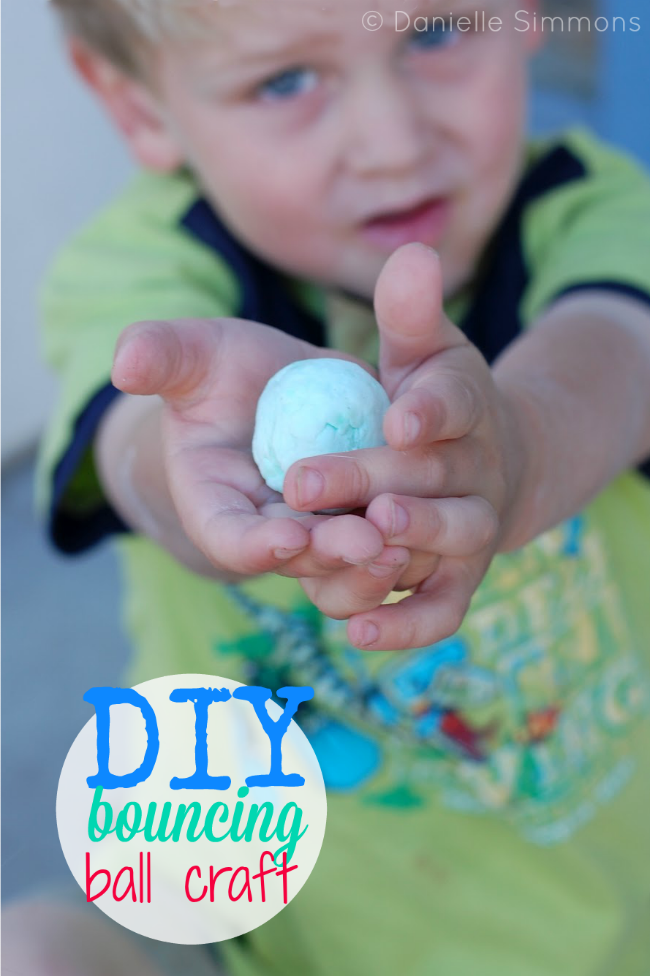
DIY Bouncing Ball Craft

DIY Bouncing Balls

For School Agers:

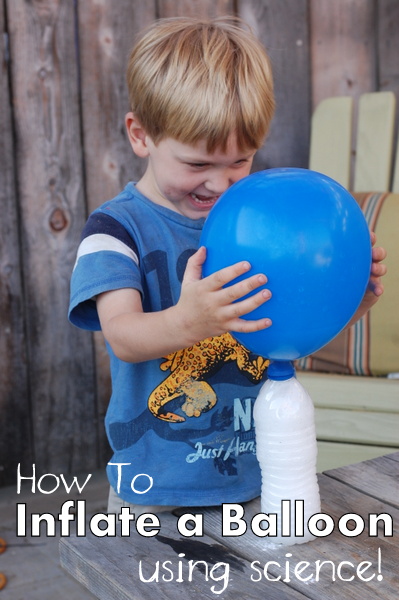
How to Inflate A Balloon Using Science

How To Inflate A Balloon Using Science

For Older Kids:
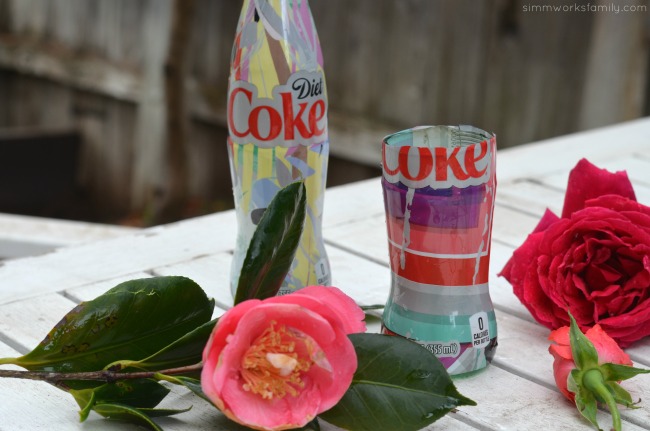
How To Make A Glass Vase Out Of A Coke Bottle with roses

How To Make A Vase Out Of A Glass Bottle

This article first appeared on A Crafty Spoonful on July 22nd, 2016. 

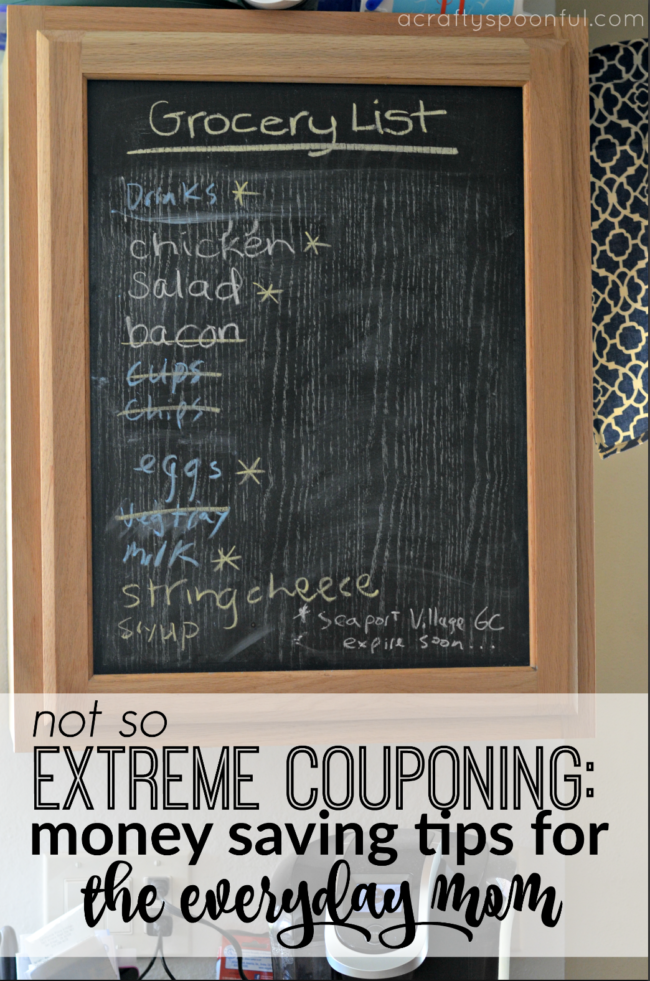
Not So Extreme Couponing: Money Saving Tips for the Everyday Mom

With the budget we’ve set in place we’ve limited the funds we have for things like eating out and grocery shopping. So we’ve had to become quite frugal in the way we spend our money on food and necessities. One of the ways that has helped me reduce my grocery bill quite drastically is by shopping with coupons. I thought I could share my “method” with you. 
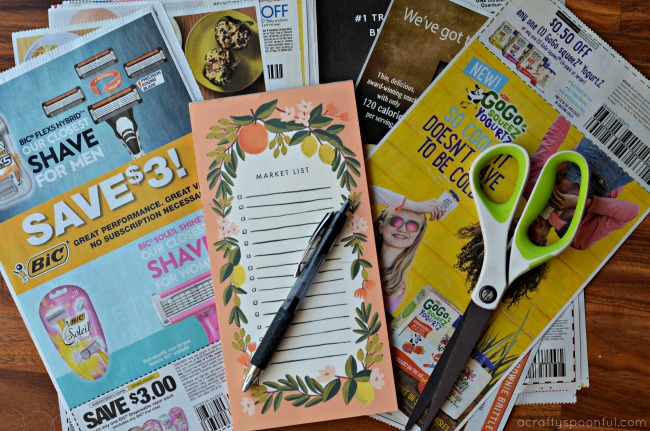
It’s not a breakthrough new plan, it doesn’t involve anything complicated and it saves me at least 40% on my grocery bill every week. And when I pair this plan with meal planning each week I am able to stick with my budget and create a healthy menu for my family.

Here’s how I prepare for a grocery shopping trip:

Writing My List

A grocery list is a must when it comes to shopping on a budget. It helps me stay focused and only buy what we absolutely need and it also helps me gauge how much the shopping trip will cost.

When writing my grocery list I first look in the fridge, freezer, cupboards and pantry to see what we have on hand already and what we might need. Then I write a meal plan for the week’s dinners based on what we already have. I double check my meal plan and the food we have on hand to make sure that I haven’t forgotten anything that will cost us a trip to the store later in the week. Meal planning helps us save money by not spending anything extra on going out to eat.

I also keep a pad of paper and a pen next to the pantry so I can write down the things we’re getting low on or that we use up as the week goes by.

Browsing the Sale Ads

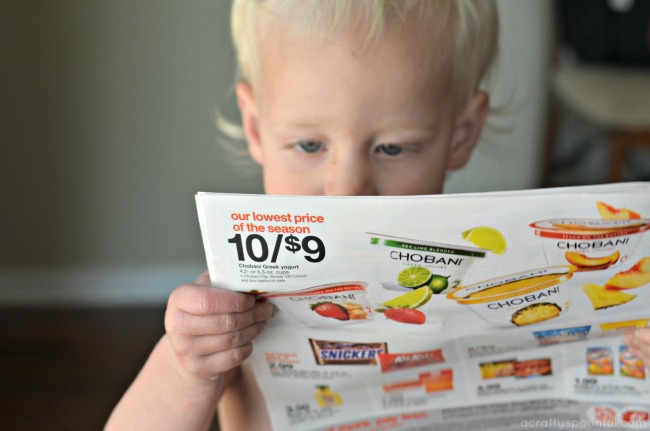
The first source I go to when planning out my weekly meals and grocery list are the sales ads that come in the mail once a week. I go through each store’s ads, circle what we need, and compare prices at the three major chains in the area. I do this while sipping my coffee and eating breakfast with the kids. If there’s something I think they might like I ask them. My son has gotten great at circling what he wants too!

I adjust my meal plans based on what is on sale. By being flexible with what we eat for dinner I’m able to save  big on seasonal items that go on sale at certain times of the year. I can also help stock up the freezer with family favorites. 

Online Couponing Sites

There are a few sites that I love to browse while looking for deals at the grocery store. One is CouponMom.com. CouponMom.com not only has links to online coupons but it also has coupon deals listed by state. I simply select the state I live in, and the grocery store I shop at, and I can see all of the current deals advertised as well as the coupons I can match with the current sales to get the most for my money.  

I use my store ads and grocery list to pinpoint what items I’m looking for and where the best deals are in my area. I can gauge where I can purchase a product for the cheapest price and then re-organize my grocery list by the store I purchase the product at.

Another great source for deals are couponing blogs. There are hundreds of blogs out there dedicated to finding you the best deals around. They are also great for pointing you in the right direction when a company has a coupon on their website or social media site. I follow quite a few couponing blogs via facebook and through Google Reader. 

Clipping Coupons

After I’ve seen what’s on sale at the store, I grab my stack of coupons for the week. I receive coupons in four ways:

  • Sunday’s newspaper
  • In the mail once (or twice) a week
  • Online (Coupons.com, RedPlum.com, Target.com, Company websites, Facebook deals)
  • My mother-in-law – she’s awesome and brings me her coupons each week!

I don’t cut any coupons out until I know what I’m going to buy. And I browse through the coupons first to match potential deals with my grocery list and store ads. I do this to limit the amount of coupons I have floating around and to make sure that I’m not doing any extra work.

Once I’ve cut out what I need I organize the coupons by the store I’m going to. I put my shopping list for that store around the coupons and keep it in my wallet. When I’m ready to go to the store I just grab my list and coupons and I’m ready to go! This makes it very easy for me to shop at different stores because if I pass a particular store during the day while going about our daily activities I can stop in and pick up the things on my list without wasting gas by going to three different stores at once.

Any coupons that aren’t used go into my coupon holder. I organize them by Dairy/Eggs, Snacks, Pantry Goods, Refrigerated/Frozen, and toiletries/miscellaneous. I keep this coupon holder with me in my purse when we’re running errands in case I run into something I have a coupon for and need. This also comes in handy when we find things on clearance at the grocery store or at Target and it wasn’t on our list. 

Checking Clearance Items

When I am at the grocery store I always stop by two places when I’m done picking up all of my items. I check the clearance meat section and the clearance racks at the back of the store (usually by the back doors to the store’s warehouse).

The clearance meat section is a section for meat that needs to sell within the next two to three days. The use or freeze by date is quickly approaching and the stores want to get it off their shelves fast so that they can sell the meat coming in. The best part about these meats is that the date they go off of is the use by or freeze by date. Since we have an extra freezer in our garage we can stock up on meats that go on clearance. As a note, I always use up these meats within a month of purchasing. I’m sure they’d last longer but that’s our family rule.

The clearance racks at the grocery store are just like the clearance racks at the department stores. The store is trying to phase out items that are taking up space on their shelves. And I’ve found some amazing deals here. I check the clearance rack for bread, sweets, miscellaneous food items and toiletries. Day old bread is perfect for french toast casserole and other delicious meals!

A few months back I was able to find Earths Best organic baby food for $5 a flat and they had three flats. I also had two Earths Best coupons with me so I bought two. I ended up paying around $0.15 for each jar of baby food. I made my own baby food most of the time but wanted a quick and easy solution for meals on the go. Talk about a deal!

So by writing my list and sticking with it, checking the ads and deal websites, clipping coupons, and browsing the clearance items I’m able to really make the most of my grocery budget. I’ve been able to cut our grocery bills in half with this method and it takes maybe 1/2 an hour from my day.

What do you do to save money on your grocery bill? 

This article was first featured on February 24th, 2012.


© A Crafty Spoonful - All Rights Reserved
It is OK to use one of my photos provided a link back and/or proper credit is given. It is NOT ok to copy and paste a whole post including instructions. Please do not remove watermarks or alter images in any way. Please contact me with any questions at danielle@acraftyspoonful.com

.