Tissue Paper Jack-O-Lantern Preschool Craft

Tissue Paper Jack-O-Lantern

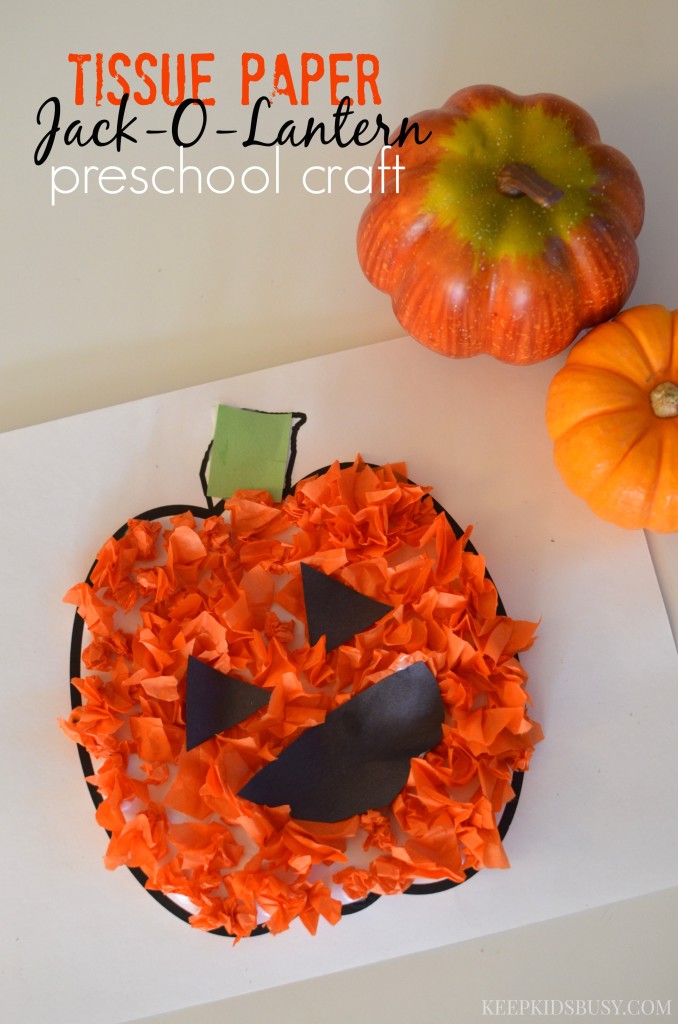
With Halloween right around the corner, these tissue paper jack-o-lanterns are a fun and easy project to do with any preschooler. It combines quite a few different skills including cutting, staying in the lines, and gluing the paper down.

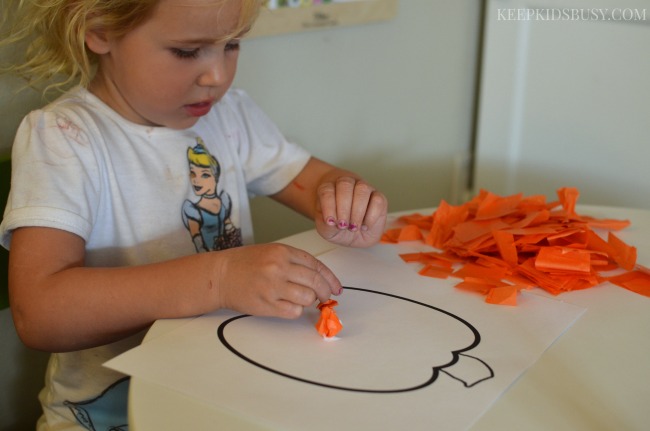
This craft is very similar to the paper plate pumpkin we made. We’ve been working on fine motor skills and the steps taken to make this craft definitely helped her practice those skills. Plus, the kids love crafting with glue!
 

TISSUE PAPER JACK-O-LANTERN

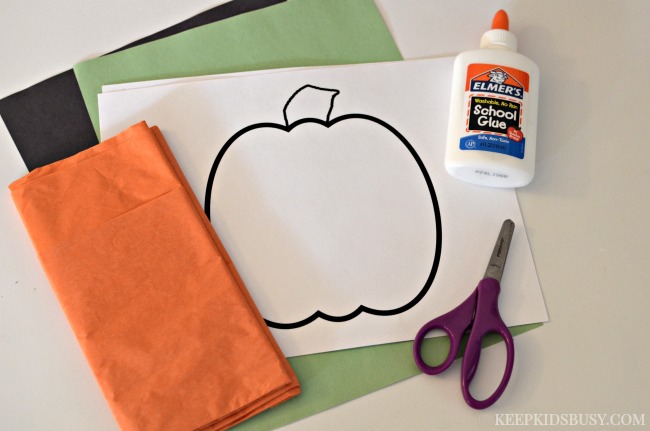
What you’ll need: 

  • Pumpkin template
  • orange tissue paper
  • 1 sheet black paper
  • 1 sheet green paper (or a scrap)
  • scissors
  • glue

WHAT YOU DO:

1. Cut one piece of tissue paper into 1″ squares. Set aside.

2. Grab the glue and squeeze little dots a few at a time in clusters.

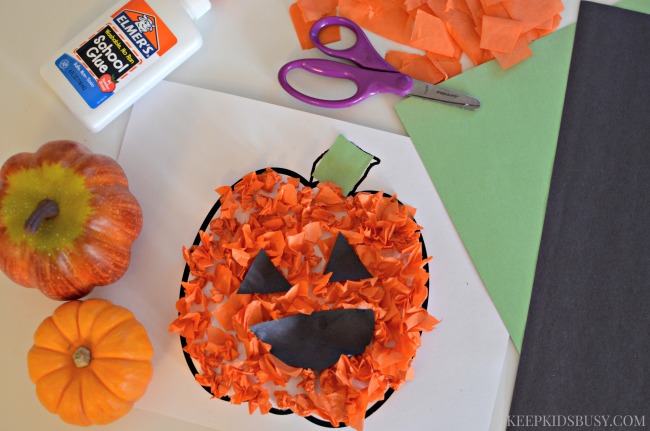
3. Ball up tissue paper and place on a glue dot. Repeat steps 2 and 3 until whole pumpkin is covered with orange tissue paper.

4. Cut out eyes and a mouth for the jack-o-lantern out of black paper and glue to top of pumpkin to create your jack-o-lantern.

5. Cut out a stem for the jack-o-lantern out of the green paper and glue on.
Tissue Paper Jack-O-Lantern Preschool Craft

My daughter had a blast with this craft and loved practicing her cutting skills, gluing the paper in the lines, and learning what the difference between a pumpkin and a jack-o-lantern are.

She’s already asking what her next craft will be. I guess I better start brainstorming!
HOW DO YOU WORK ON FINE MOTOR SKILLS?

Disney’s DuckTales Destination: Adventure + DuckTales Activity Sheet Download

Does your family have a favorite TV show? You know, one you all enjoy watching together and talking about? For our family, it’s DuckTales.

I’m not sure about you but my husband and I talked about some of the fun things we’d share with our kids when they were old enough. Trips to Disneyland, beach outings, camping, etc. But surprisingly, one of the top things my husband got excited about sharing with them first were his favorite cartoon shows from his childhood.  And that included DuckTales.

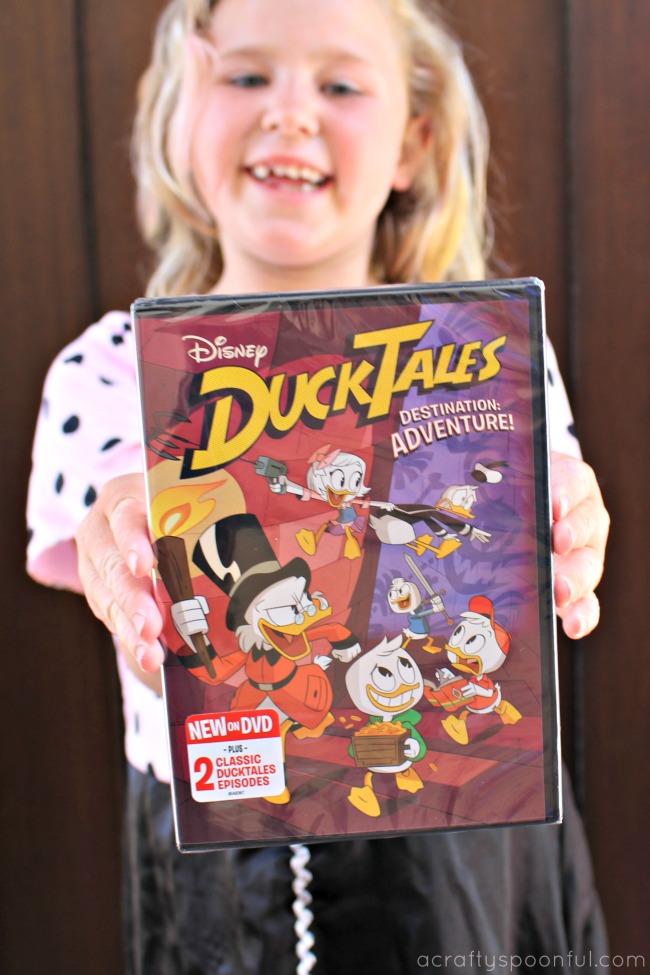
I can’t lie. It was one of my childhood favorites too. Who doesn’t love a classic episode of Scrooge McDuck and his grand-nephews getting into some sort of shenanigans and watching them pull out of it with the help of their friends? So when DuckTales relaunched with their new spin-off from the classic version, my husband was the first to take note of the release date. And my middle child got hooked on that first episode. So imagine her surprise when she received the new Disney’s DuckTales Destination: Adventure in the mail…

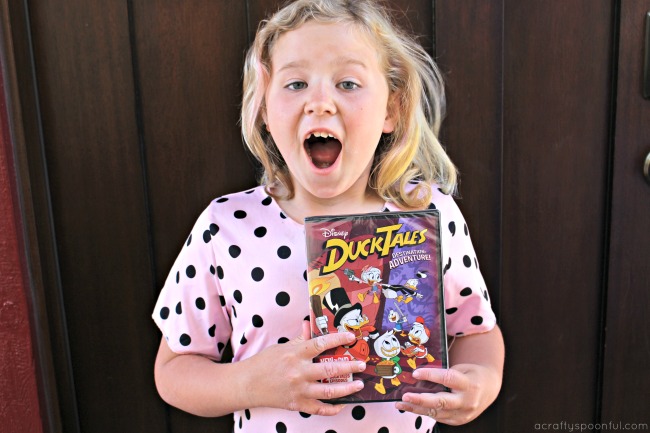
If you want a peek into how excited your kids will be, take a look at my daughter’s reaction:

Disney’s DuckTales Destination: Adventure

The latest DVD just hit store shelves on June 5th everywhere! If you want to get your fix of Huey, Dewey, Louie, and Webby, you need to check out this latest adventure in Disney’s DuckTales Destination: Adventure.
An ancient tomb in Toth-Ra, the mountain peak of Mt. Neverrest, a vacation island for Greek gods… global expeditions await! Thanks to Huey, Dewey, Louie, and Webby, trillionaire Scrooge McDuck is back in action, leading the way to death-defying exploits stretching all the way from Duckburg to legendary destinations around the world.

This DVD includes the following NEW DuckTales episodes:

  • The Beagle Birthday Breakout!
  • The Living Mummies of Toth-Ra!
  • The Impossible Summit of Mt. Neverrest!
  • The Spear of Selene!
  • The Missing Links of Moorshire!
  • Beware the B.U.D.D.Y. System!*

Plus a bonus of 2 Classic DuckTales Episodes:

  • New Gizmo-Kids on the Block
  • Ducky Mountain High

FREE DuckTales Activity Sheet Download Below

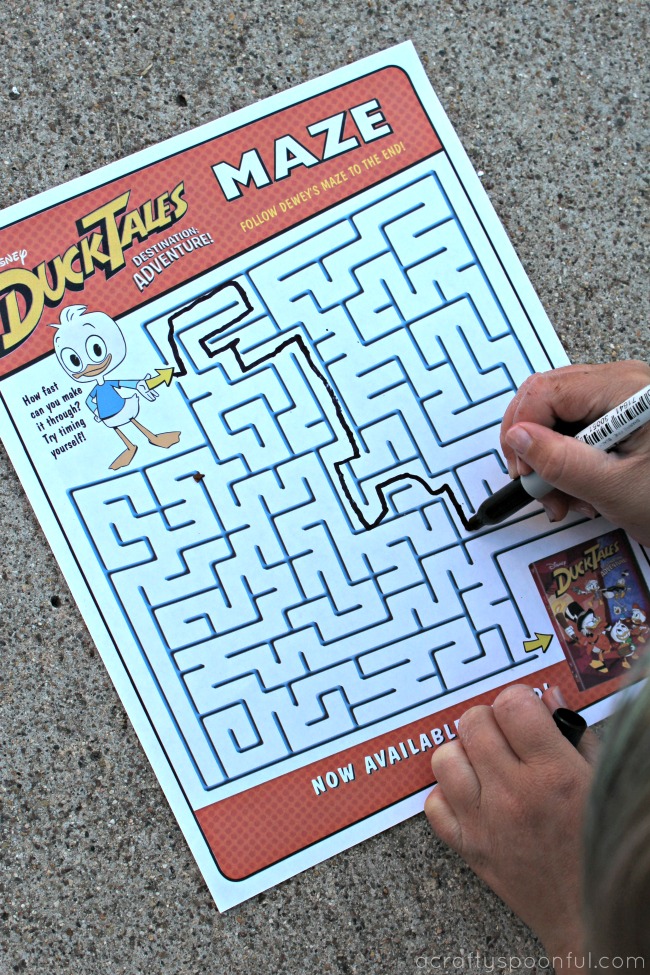
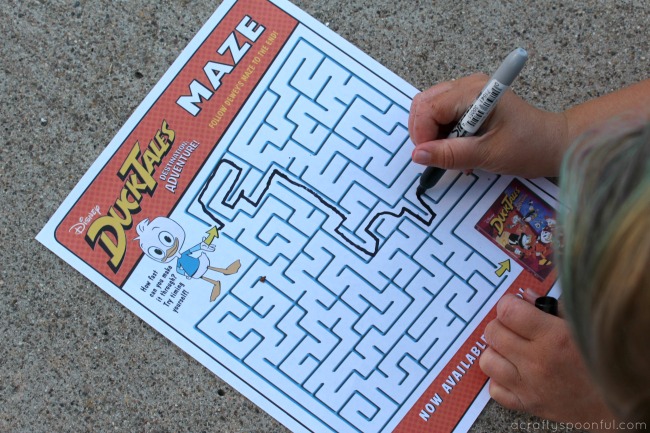
Looking for some fun activities to do with the kids either before or after your binge fest on these episodes? Check out this fun activity packet! It includes a coloring page, maze, crossword puzzle, and spot the difference game. Just click on the button below to download. Let the greatest family adventures begin!

Who’s your favorite DuckTales character?

Love family fun? Check out these posts:

Upcycled Container Gardens

How to Make a Pool Noodle Boat

DIY Bouncing Ball

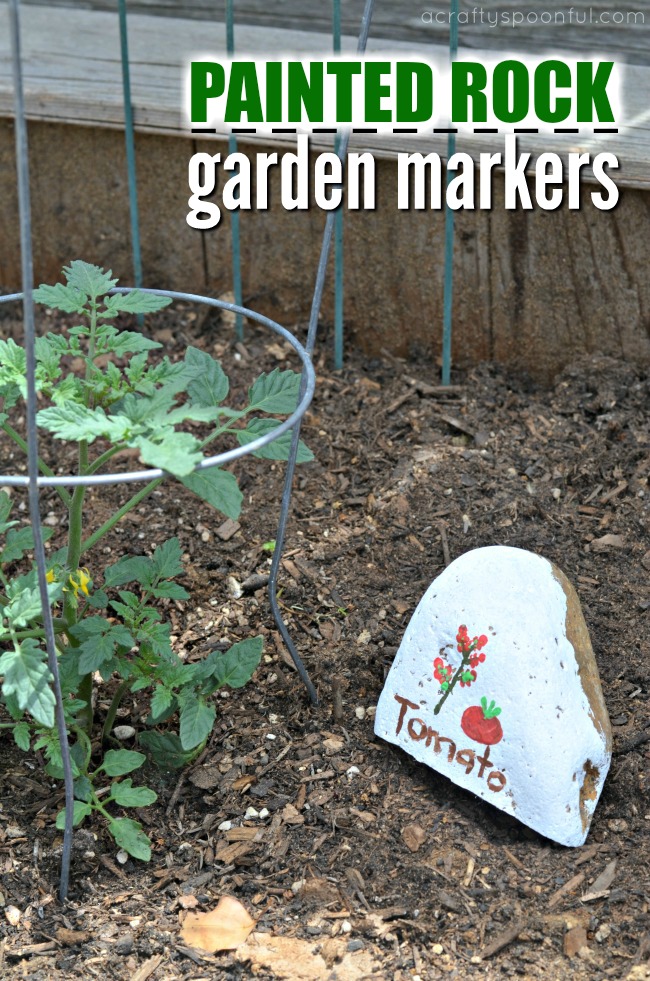
Getting Crafty in the Garden: Painting Rocks for Garden Markers

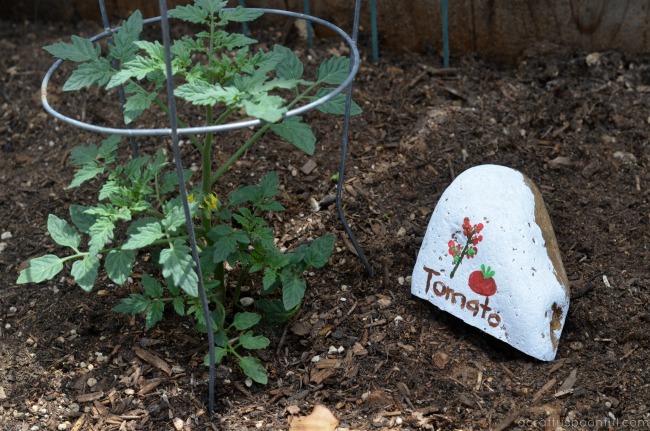
Kids helping in the garden this Spring? Why not use these painted rocks for garden markers! This craft is super easy to make and you can just use supplies you have around the house.


One thing I love about this time of year is all of the green and new growth sprouting about everywhere! And that means that our garden goes from sad and lackluster to full of life within a few short weeks. With that new life comes a bit of confusion for the kids with what plant is growing what type of fruit, herb, or vegetable. So we had a little fun and used painted rocks for garden markers to distinguish each plant from one another. 

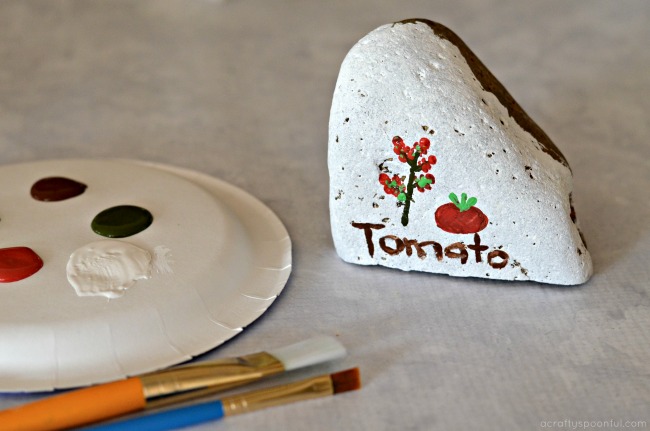
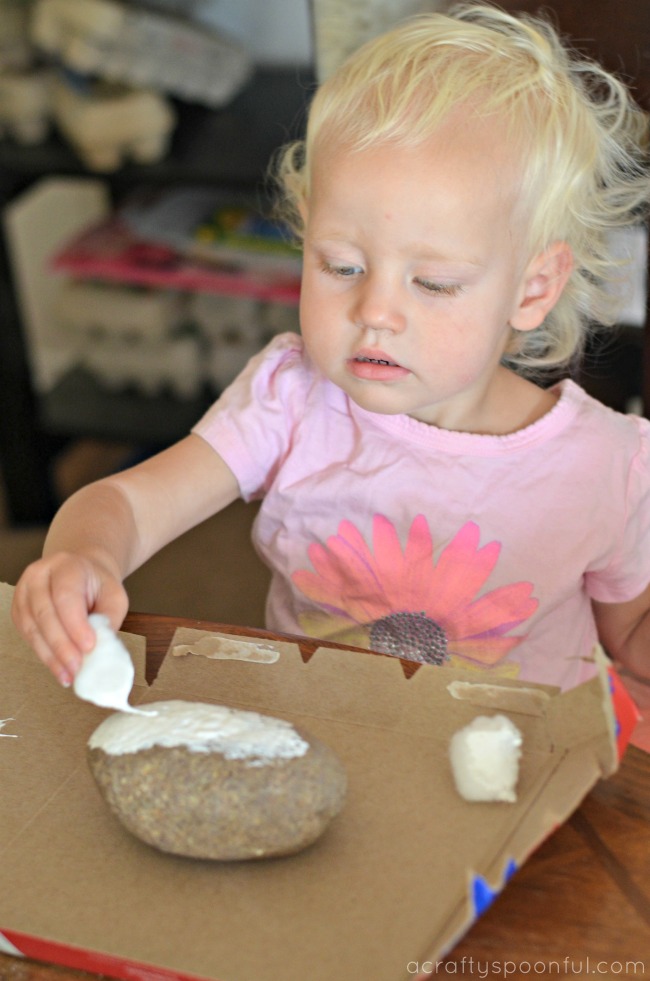
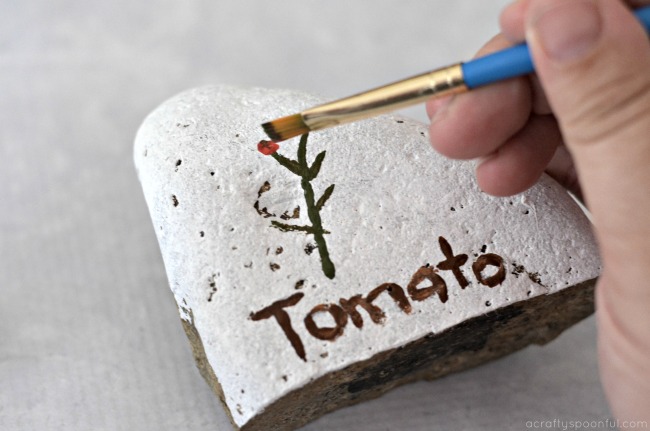
Now there’s no real huge planning that goes into these painted rock garden markers. We simply used a base color that would make our illustrations stand out, and I let the kids paint each of the plants that we were growing. They had fun choosing the colors and making different types of veggies and herbs on their rocks. 

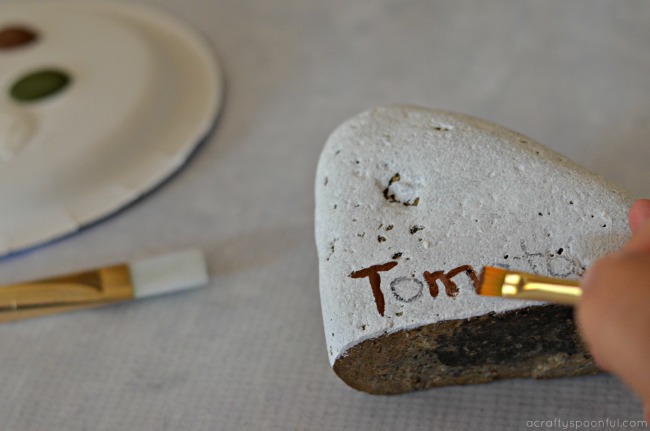
I think the most fun was when they tried to trace my penciled in names with paint to make each name stand out a bit more. The concentration my littlest had in her eyes (and brow) was quite humorous. 

If you’re planning out your spring garden, or are already growing, these are a great addition to share with kids and guests alike what you’re growing this season. Here’s how to make these painted rocks for garden markers: 

Painted Rocks for Garden Markers

What you’ll need: 

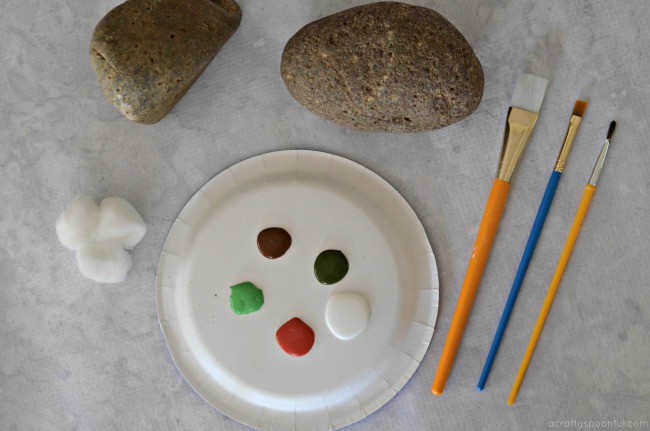
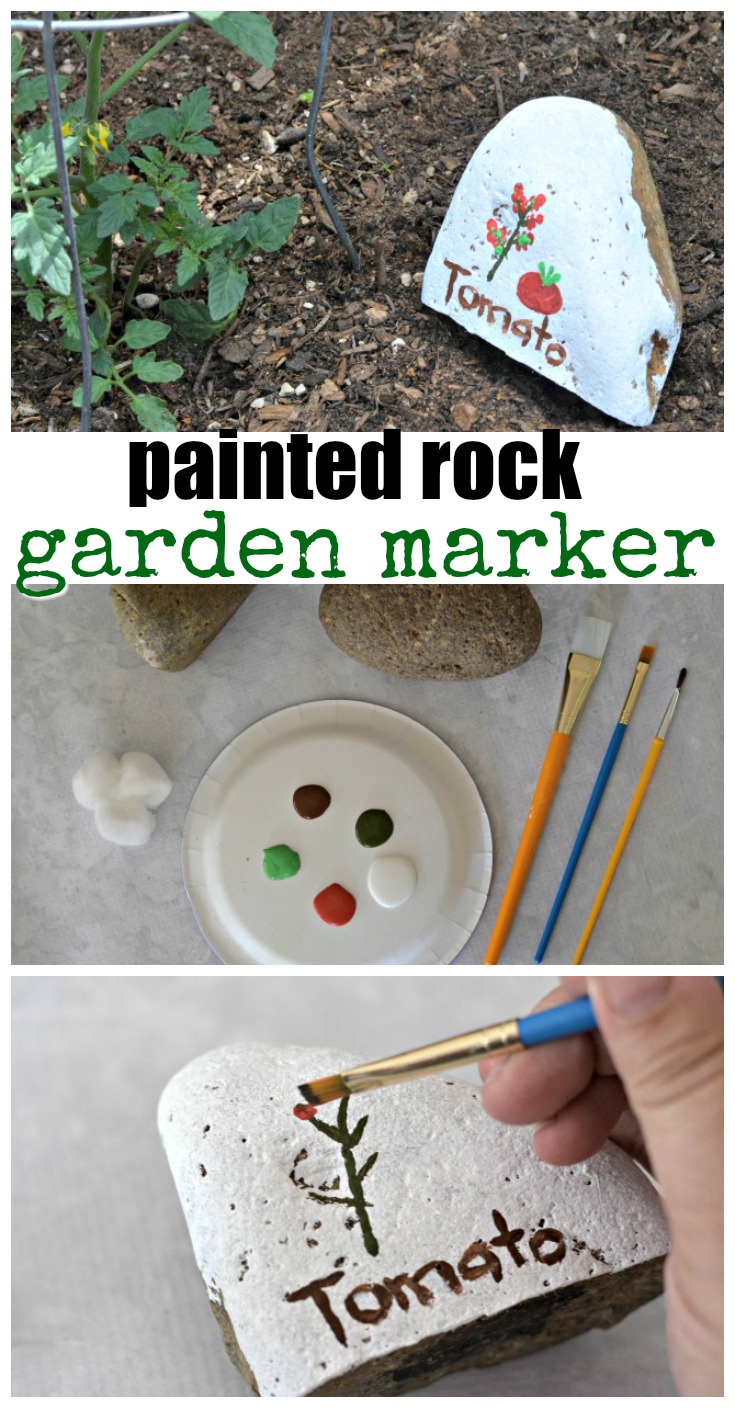
  • good sized rocks
  • paint in a variety of colors based on what you’re growing
  • a variety of brush types, cotton balls, and/or cotton swabs

What you do: 

1. Using either a brush or cotton ball, layer the base color on the rock so that the illustrations you paint will stand out. We used a white base but any light color will due. 

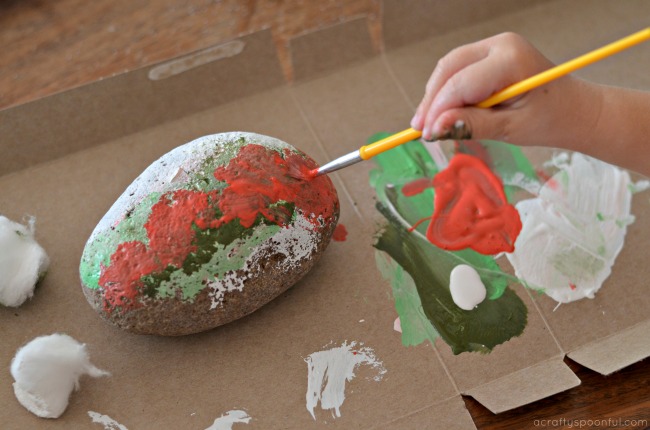
2. Once the base coat is dry, now it’s time to paint the objects you’re growing. As you can obviously see from the rock above, my daughter was painting strawberries. Remember, it’s ok if the artwork is a bit… abstract… in the next step we’ll make things a bit clear. 

3. With a pencil, write out the names of each of the plants onto the rock. Then let your child trace the written names with their paint brush to make the name of the plant stand out. 

4. Once your painted rock is completely dry, set it outside next to your plant and enjoy! 

With Spring upon us, we’ve planted a variety of different seeds and plants in our garden. Here’s what my preschooler helped plant: 

  • Cherry Tomatoes
  • Bell Peppers
  • Radishes (from seed)
  • Carrots (from seed)
  • Cucumber (from seed)
  • Snap Peas (from seed)
  • Mint
  • Sage
  • Basil
  • Parsley
  • Thyme

And the big kids help by watering, weeding, and keeping an eye on the bugs that are in our garden beds

Looking to get your kids more involved in the garden? You’ll love these tips! 

DIY Indoor Herb Garden Ideas

Using Ladybugs in the Garden

Tips for Gardening with Kids

Kid Friendly Ideas to Get Your Kids In The Garden

Pin this article for later! 

Click the Pin button on the image below to save for later. 

Easy DIY Hair Bow Holder + Simple Girls Bedroom Decor Ideas with Leesa Sleep

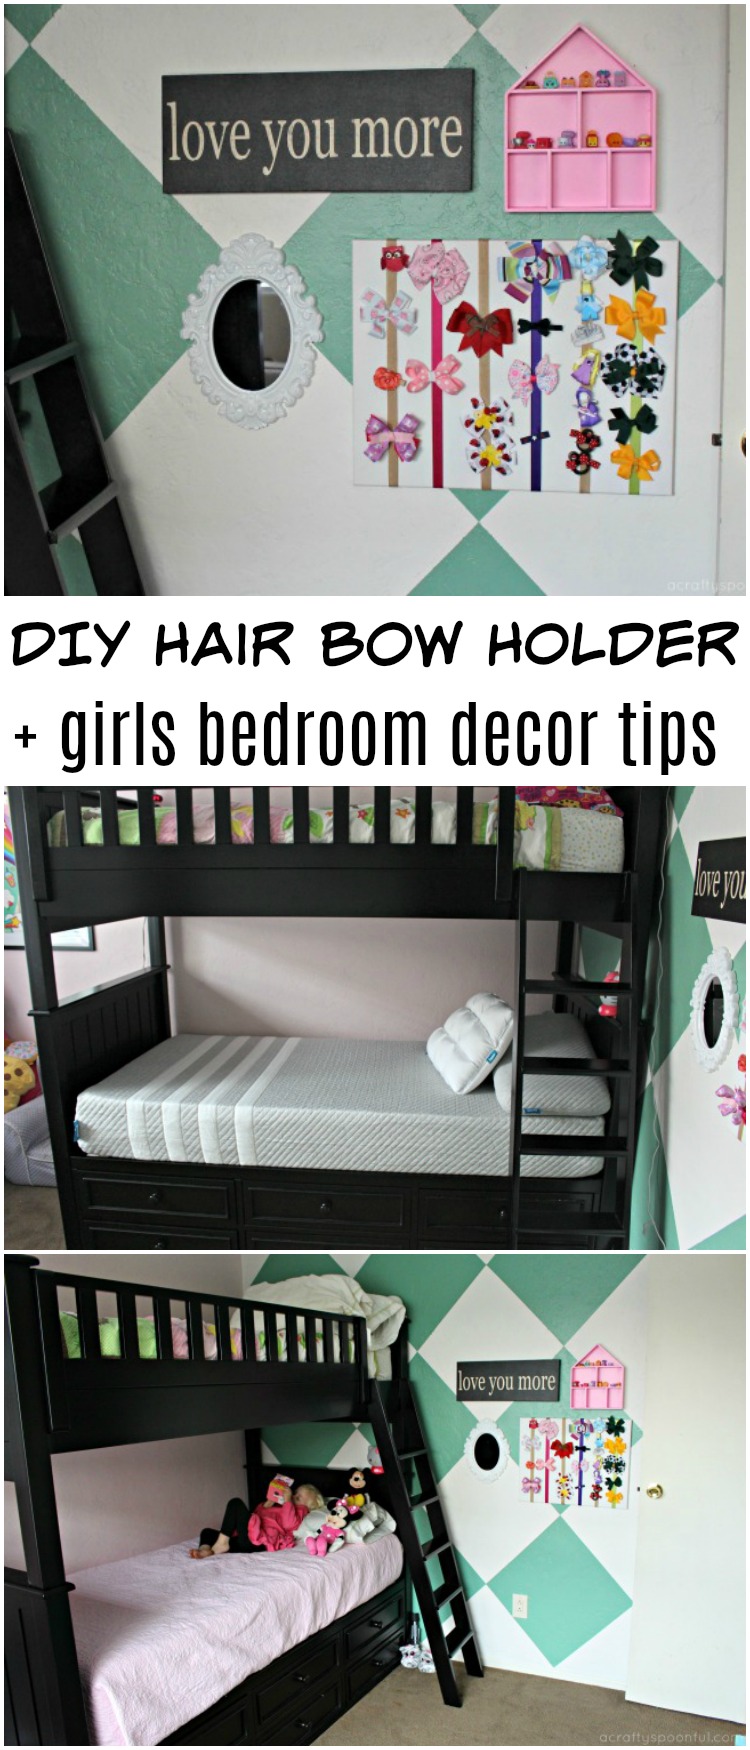
This post is sponsored by BabbleBoxx.com on behalf of Leesa. Are you looking for fun ways to spruce up your girls’ room? Transfering from little girl room to big girl room? We’re sharing simple bedroom decor ideas on a budget and are sharing a fun and easy DIY hair bow holder to store all of your girl’s bows.

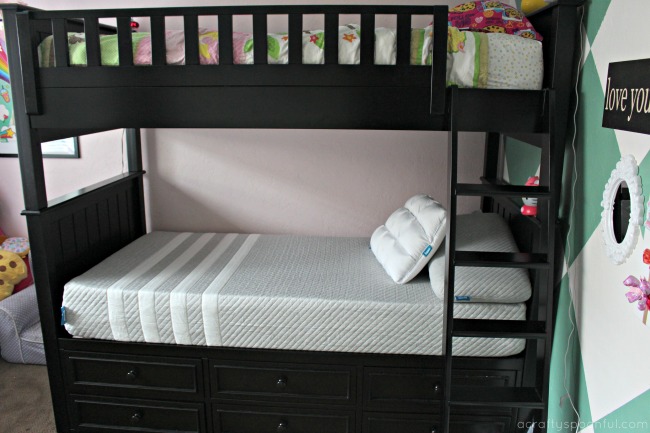
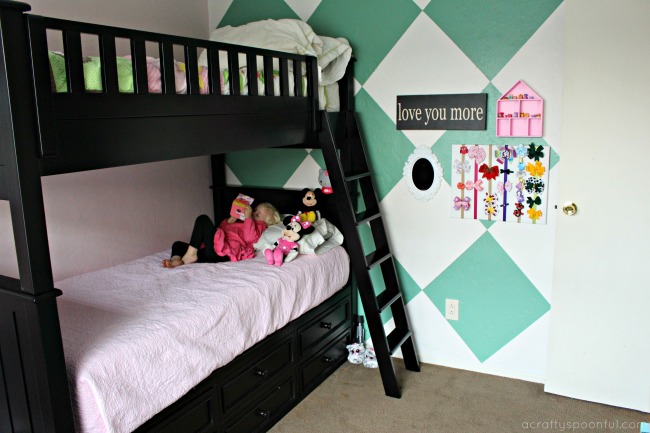
A few weeks ago the girls came to us and asked if they could get a bunk bed so that they could sleep in the same room together. We had just transitioned our youngest from our bed to her own bed at 3 years old and while she loved the idea of being in her own room, she missed the comfort of knowing someone else was sleeping with her in the room. So after much deliberation, we decided to make over our middle child’s room to fit her growing personality (hers was the only room we hadn’t made over since moving to our new home 3+ years ago). And this included a new bunk bed. 

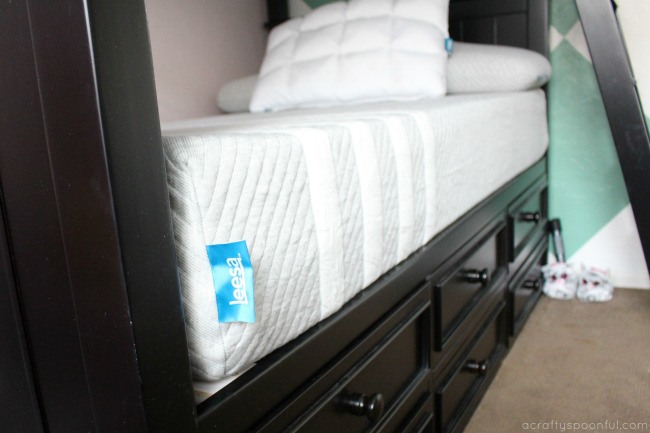
We did a bit of research and decided on a twin over twin model with dressers underneath the bottom bunk. Not only would this provide extra support under the bottom bunk but also give us the opportunity to eliminate a large piece of furniture from the room – the dresser! Win-win, right? Now for the important part of a good night’s sleep – the mattresses my girls would sleep on. We consider a mattress an investment not only for our home but our health as well. having the support needed for a good night’s rest is crucial for growing children. So when Leesa reached out to see if we’d like to use their mattresses for our new room, we were more than excited to try them out. Plus, not only are they committed to a good night sleep, they also provide community outreach and give back through two different give-back programs. 

Driven by the mission to provide “A Better Place To Sleep for Everybody”, Leesa donates one mattress to a shelter for every ten they sell through their One-ten program (over 22,000 mattresses donated so far!). Leesa also plants one tree for every mattress sold and donates 1% of each employee’s time to volunteer for local causes.

The Best Bed in a Box

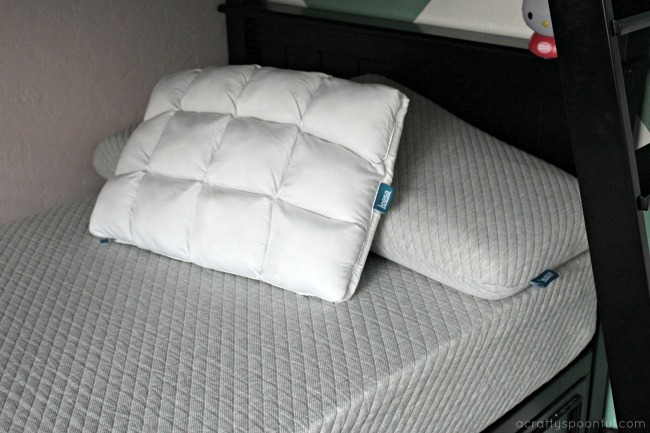
When our mattresses and pillows arrived, my husband was a bit skeptical. How in the world would a full mattress fit in this box? It was fun to find out exactly how the rolled up mattress expanded once put into place and opened. And even more cool to feel the difference in the mattress after an hour of being open vs. a whole day of being opened. Since I lay down with my youngest as she drifts off into sleep on the bottom bunk, I get to experience the comfort of Leesa each night. And with the adjustable and reversible hybrid pillow Leesa sent out, I relax in comfort as the girls fall asleep each night. 

The adjustable and reversible hybrid pillow has down-like quilted pockets on one side and a cooling side on the other. It’s adjustable and reversable depending on how our night is going. If I accidentally fall asleep in the bed with my daughter (oops!), and I get too warm, I can flip over the pillow for a more cool slumber. There’s also a pillow insert inside that sits between the quilted pocket and the cool layer that can be removed with a simple zip to change the support level to fit how one sleeps. Plus it’s a good cuddle pillow! 

But I can’t focus all of my attention on the awesome pillow I stole from the kids. Let’s get to the mattress! Leesa’s patented Universal Adaptive FeelTM is designed for all types of sleepers and features 3 premium foam layers including a 2-inch AvenaTM foam top layer for cooling and breathability, 2-inch memory foam middle layer for body contouring and pressure relief and 6-inch dense core support foam for durability and structure for sleepers of all sizes. All of this equals the support and comfort one needs for a restful sleep. And the proof is in my Fitbit tracker tracking how much more rest I receive when I accidentally fall asleep in the girls bed vs. going back to my own bed. It may be time to upgrade our own mattress too! 

Easy DIY Hair Bow Holder Tutorial

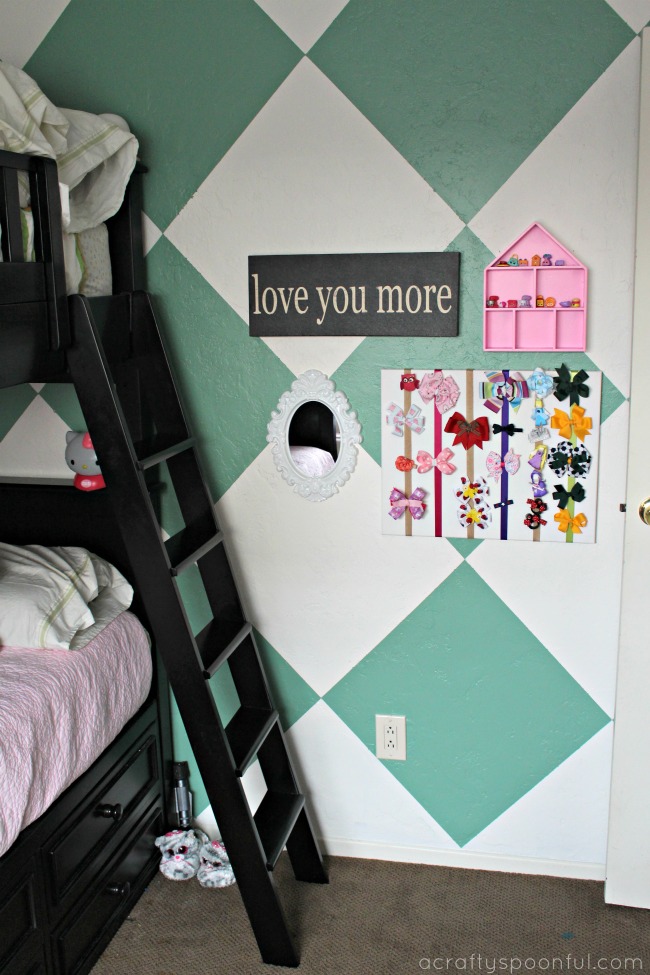
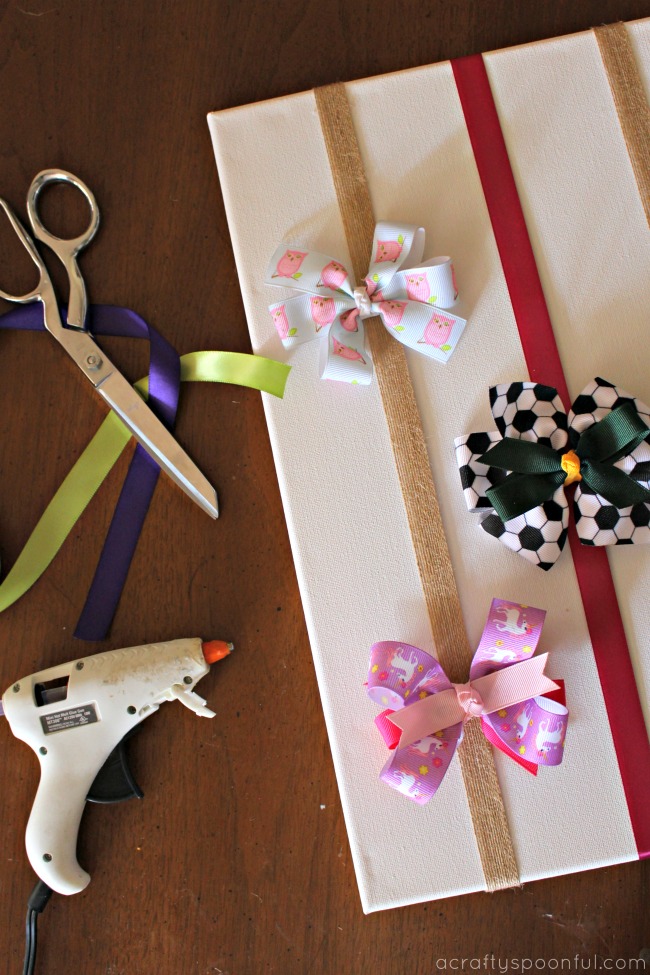
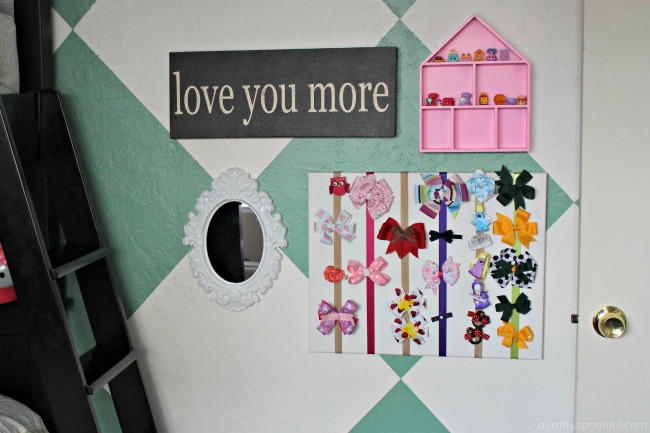
Along with the new bunk bed came a complete overhaul of our daughter’s room. That included new paint on the walls (including a fun diamond design you would have seen featured on my IG stories), and a fun little inspirational wall that included an updated DIY hair bow holder that fit the current room’s personality and my daughters larger bows. We’re sharing how to recreate our DIY hair bow holder in this simple tutorial that takes less than 30 minutes to make! The best part is that I was able to involve my daughter in making this and she did all of the measuring/cutting while I took care of the hot glue. 

DIY Hair Bow Holder

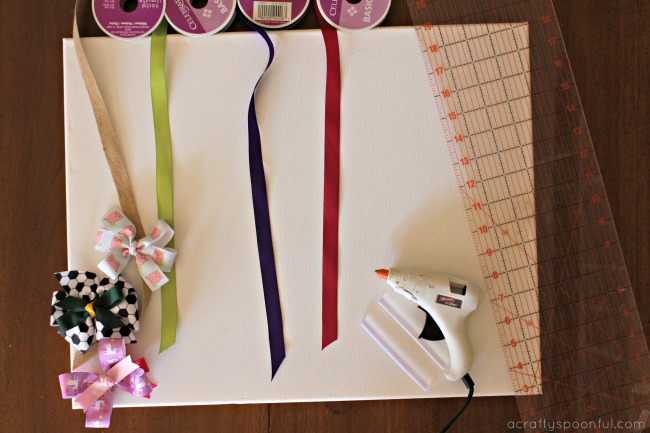
What You’ll Need: 

  • 16″ x 20″ Blank Artist Canvas with Wooden Frame
  • Assorted Ribbon
  • Measuring Tape
  • Hot Glue Gun
  • Pencil
  • Bows

What You Do: 

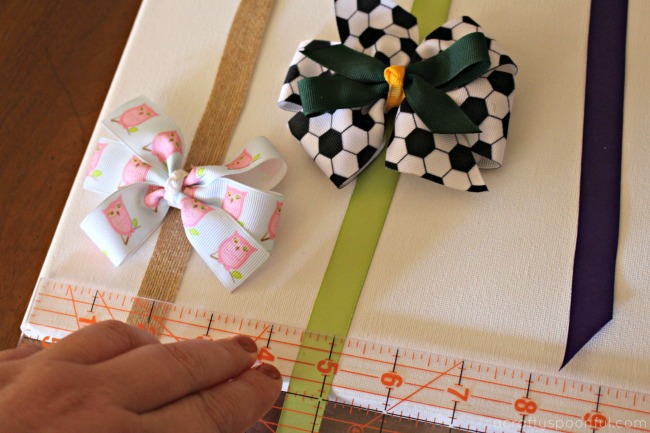
1. Grab the ribbon, a few bows, and a measuring tape to plan out how far apart you want the ribbon from each other. Use the bows as a guide to how much room is needed in between each bow. We measured 2 inches in from each side of the canvas and then 3 inches in between each ribbon strand. 

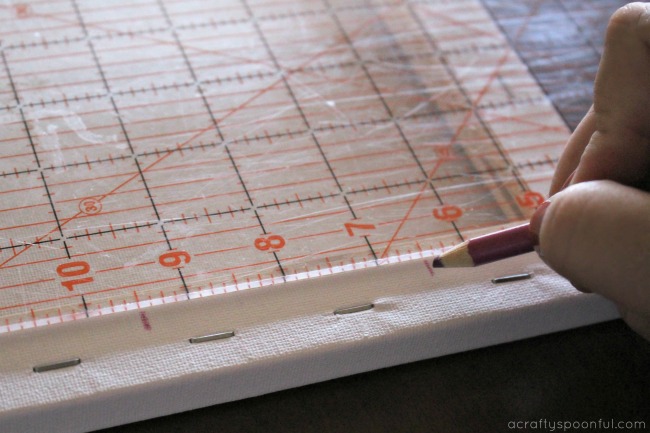
2. Turn the canvas over and mark where each of the ribbons should go on either side of the length of the canvas. 

3. Gather the ribbon in the colors you want to use for the project. Cut each color to about 21 inches in length. Make sure that this length wraps around the canvas and back over the frame to be glued into place. 

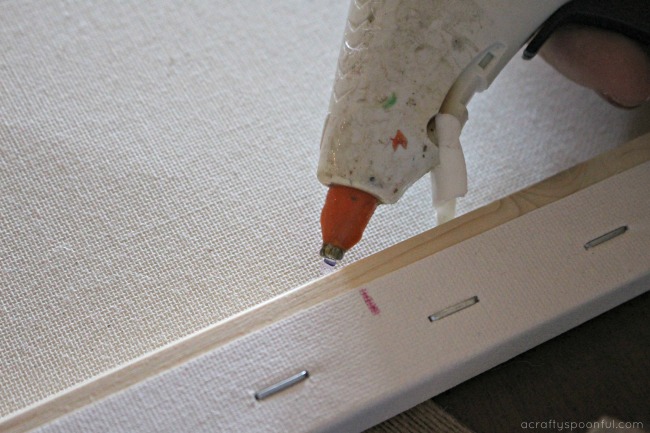
4. Using hot glue, attach the ribbon to the back frame of the canvas and wrap around to the top. Attach the top of the ribbon in the same way making sure that the ribbon isn’t twisted in the front. 

5. Repeat until all of the ribbon is secure and add your bows! 

See how easy that was! Now for a few alternative ways you can spice up your DIY hair bow holder: 

  • Paint the canvas a coordinating color (you can see what our daughter’s old painted bow holder looked like here)
  • Wrap the canvas in fabric and secure with hot glue before adding the ribbon
  • Add small hooks to the bottom of the canvas frame to hang hair ties and headbands

In addition to adding the DIY hair bow holder, we included a small mirror, an inspirational quote, and a small wooden unit to hold my daughter’s prized possessions: her Shopkins figurines. Having the figurines high up ensures that her little sister can’t reach them. Good thinking, right? Too bad she’s already tried to drag the step stool out to grab one or two. Oh well… I can try! Stay tuned for the full bedroom makeover post! We have more in store for you. 

Save on Your Girls Bedroom Decor Ideas with Leesa Sleep

Leesa is available online or at the Leesa Dream Gallery in SoHo NYC and Virginia Beach. And you can now try before you buy at over 80 West Elm stores nationwide. Try the mattress in your own home for 100 nights (risk-free!) with free shipping, always. And don’t forget to use code ACRAFYSPOONFUL for $100 Off your Leesa Mattress purchase.  Leesa is available in the US, UK, Canada, and Germany. They’re also continuing to expand their offerings to include: The Leesa Pillow, Blanket, Sheets, Foundation, and Frame. 

Looking for more kids bedroom ideas? 

Check out these posts you’ll love: 

5 Ways To Help Children Get Their Bedroom Organized

Shared Bedroom Ideas for Brother and Sister

DIY Lego Side Table

Pin this article for later! 

Click the Pin button on the image below to save for later. 

How to Make a Pool Noodle Boat + Pirates of the Carribean: Dead Men Tell No Tales on BluRay!

Looking for some fun STEM crafts for your school-aged child? Why not make these fun pool noodle boats and challenge your child to find a design that will float and race! This post contains affiliate links. By clicking on the link, I will receive a small amount of money back if you purchase anything. 

This summer we spent a lot of time outdoors. Whether we were playing, exploring on our own, or making updates around the yard at the house, it just made sense to stay outside as much as possible. And with that, we also wanted to spend time with friends so we made sure we didn’t miss the movie night hosted at our kids school. 

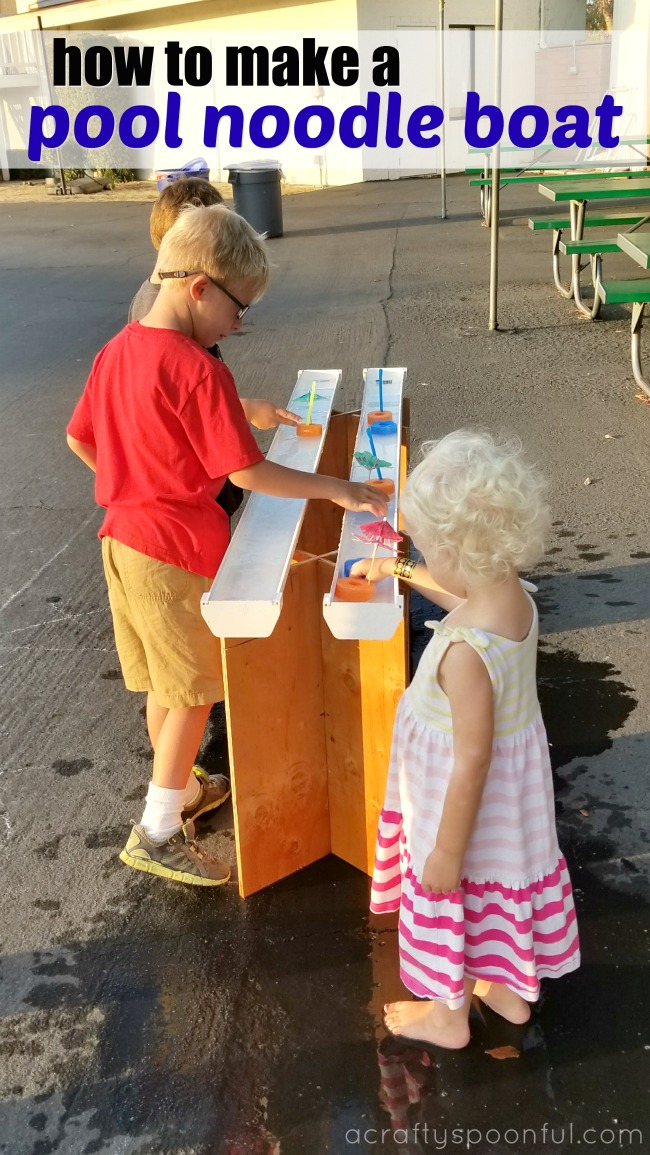
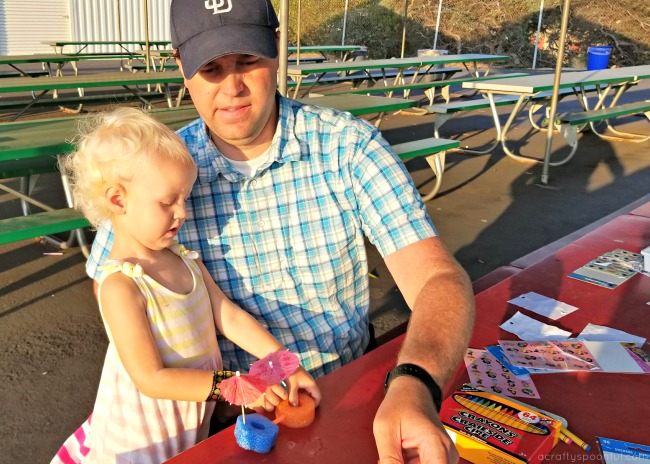
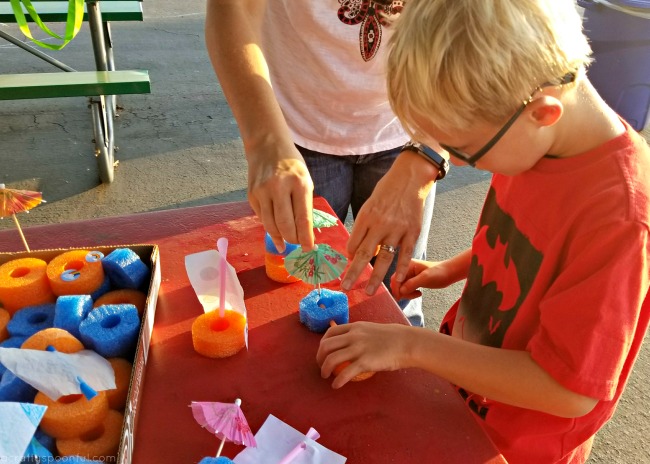
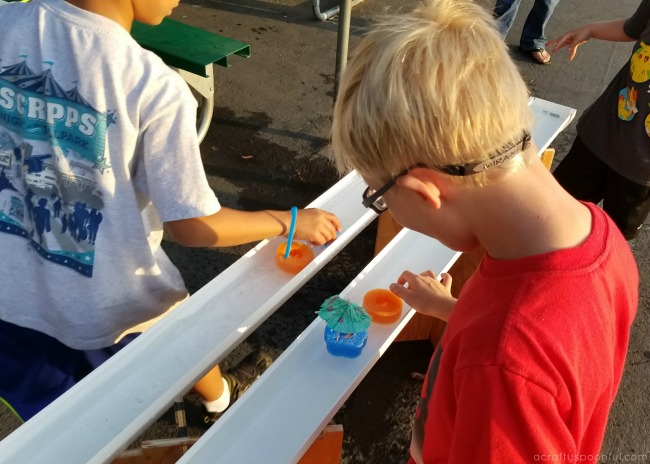
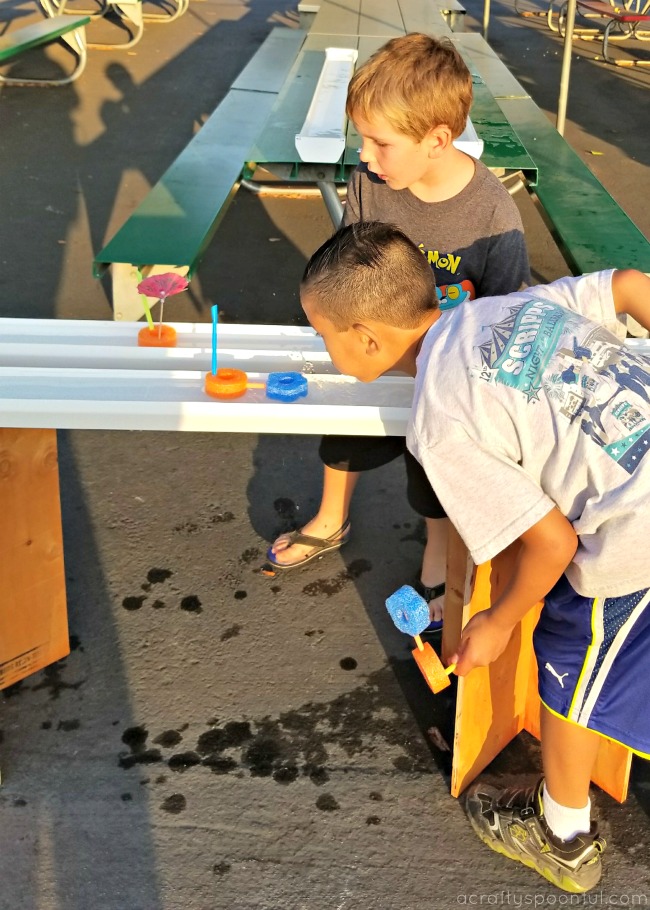
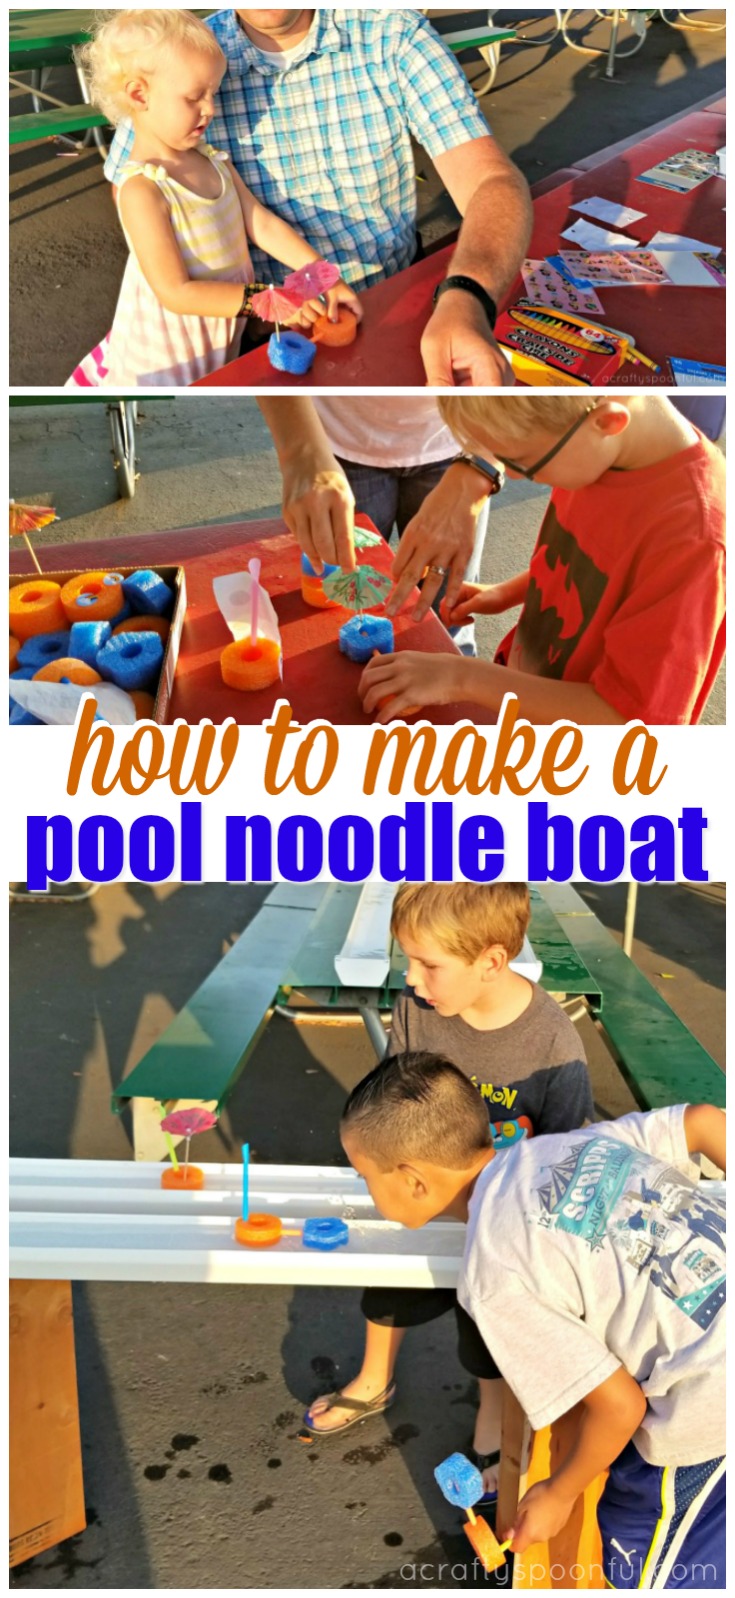
In celebration of the great weather and being outside, we put together a cute pool noodle boat station where kids could come up and design their own boats and race them against their friends. It was a great activity to share before the movie started and kept the kids active as it became dark. 

What we loved was how easy it was for the kids to “get” it and start to create their own designs with little to no help from us. And I loved seeing all of their final designs once they were done decorating them. If you’re looking for a great outdoor STEM activity for the kids to try, grab some pool noodles, straws, and parchment paper and make a pool noodle boat to race! 

How to Make a Pool Noodle Boat

What you’ll need: 

  • pool noodles (we preferred having 2 colors/shapes)
  • straws
  • parchment paper
  • hole punch
  • stickers/markers/crayons to decorate
  • drink umbrellas
  • Rain gutter with end caps

What you do: 

Cut the pool noodles into 1″-1.5″ rounds. Place in a shallow container. 

Taking the parchment paper, cut out sails in trapezoid shape. Punch a hole on the top and bottom that fits a straw. Place sails in container with cut pool noodles. 

Place straws in a cup with drink umbrellas and set next to cut pool noodles and sails. 

Let kids put together their boats using their own designs and then have them decorate them to make them unique. 

Fill rain gutter (with end caps secure) with water and let the kids race their boats. Try using extra straws to blog into the sails unless you already have a natural wind going. 

Did the boats float? Did they sink? Did they move down the rain gutter with ease? 

Pirates of the Carribean: Dead Men Tell No Tales on BluRay

Did you know that Pirates of the Carribean: Dead Men Tell No Tale is coming out on n 4K Ultra HD™/Blu-ray™ Combo Pack, DVD and On-Demand tomorrow? YUP!! This activity would be a fun way to celebrate this new release. Just set up a movie night with your family or invite friends over for some fun, grab a copy of Pirates of the Carribean, set up an outdoor movie night and enjoy a fun time outdoors! 

What’s your favorite outdoor STEM activities for kids? 

Like this post? Read more! 

Pin this article for later! 

Click the Pin button on the image below to save for later. 

Why Crafting Breaks Are Necessary plus a Mother’s Day Gift Idea for Grandma

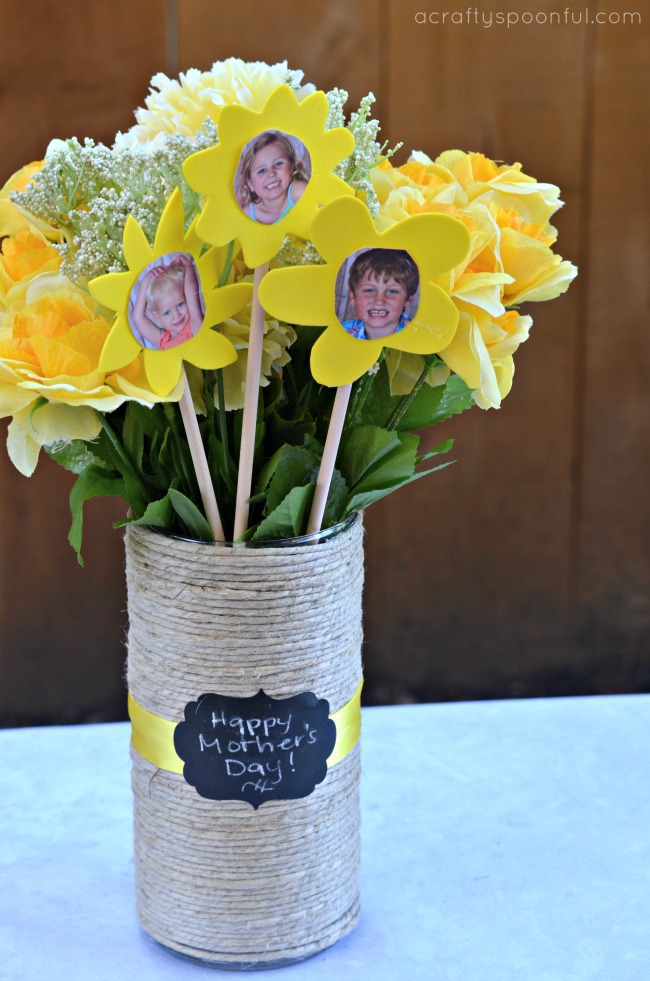
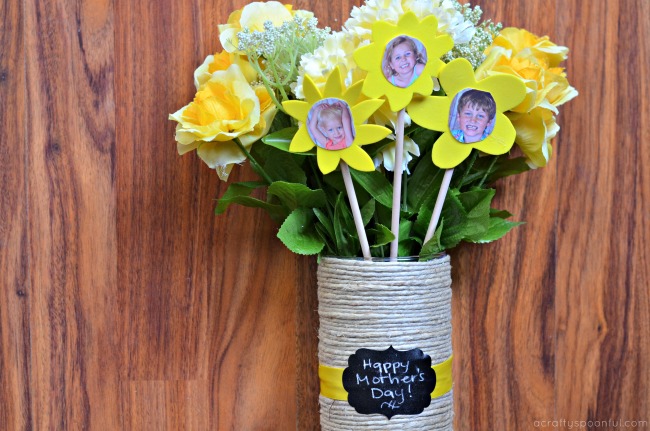
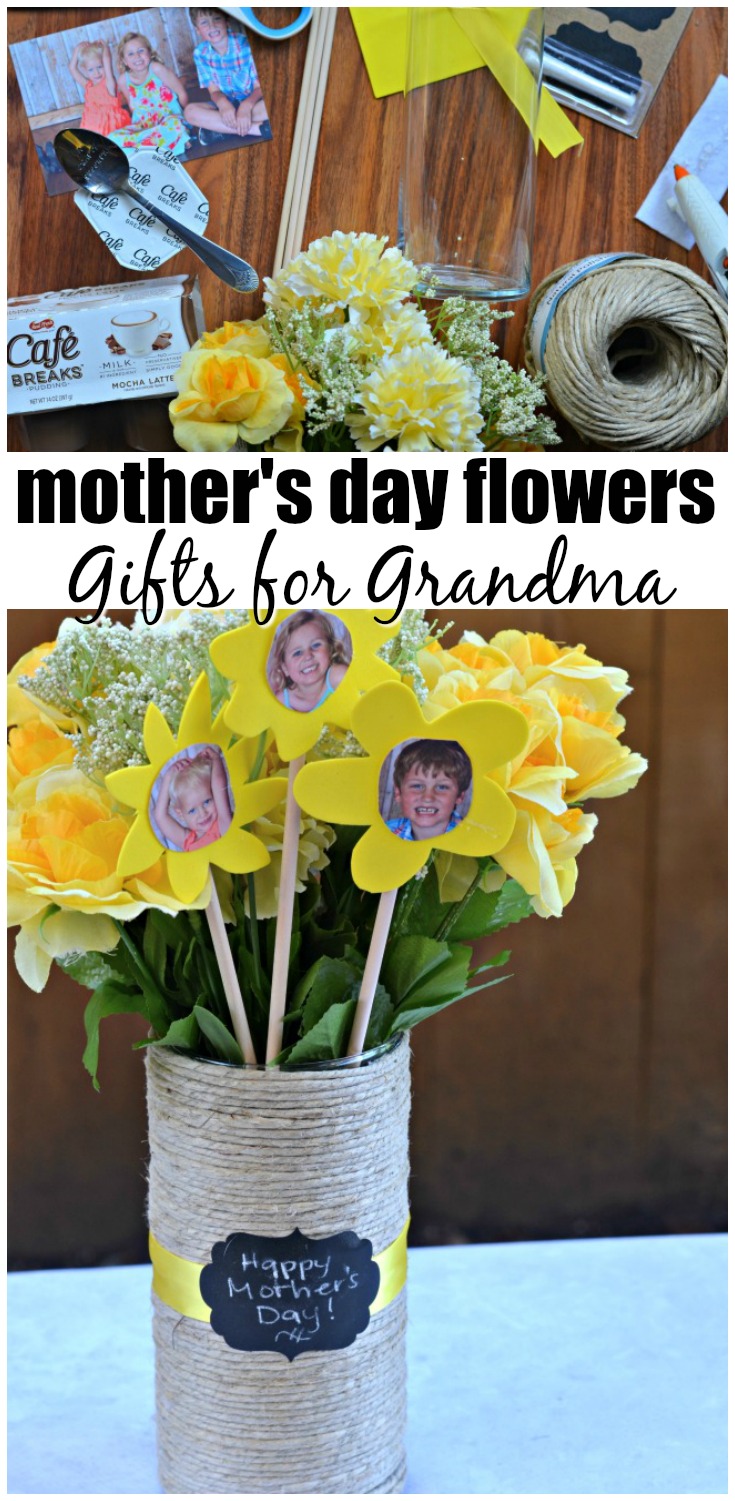
Need a Mother’s Day gift idea for Grandma? Look no further! These adorable bouquets are sure to put a smile on her face just as finding the time to craft alone will put a smile on yours. 

Last week I took some time for myself to get my hair done. Not only did I get my hair cut, I gave in and got it colored, too. At first, I wanted to go a bit crazy. It was the first time I’ve ever colored my hair so I wanted to have some fun with a dusty rose or lavender color. But then after talking with my hairdresser, I decided on a more subtle change for the first time. 

I got to thinking why I wanted to change things up. Change of pace? Wanting a break from the same old, same old? Or was it something else? 

Finally, after much thinking, I came to a conclusion. I needed to do something for me. While I love being a wife, a mother, an employee, most of the decisions I make are based on thinking of others first. So, in partnership with Cafe Breaks, I decided to take a bit more time for myself  (and think of myself first) to take a craft break.

Most of the time while I craft, I’m doing it with the kids. Something fun and exciting for them to create with me. Now, sure I get enjoyment from crafting with them, but I forgot how much I love crafting for myself. Or, in this case, crafting for my MIL. I was able to create a fun gift for her out of a few simple supplies we had in the craft room. And I now want to make a few more with the 

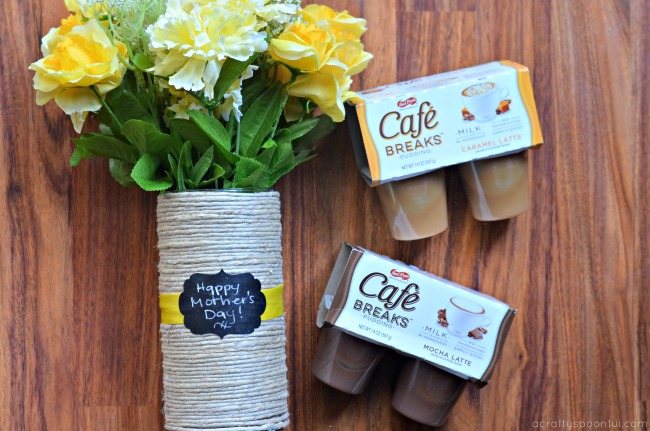
While I enjoyed my crafting break, I also took the time to indulge a bit in a Cafe Breaks pudding. The mocha latte is so delicious! Crafting AND a snack all for myself? Yes, please! 

If you haven’t taken a moment or two for yourself lately, take a step back and think about what would bring you joy or happiness! It doesn’t have to be something expensive. It could be as simple as heading to Walmart and picking up a pack of Cafe Breaks pudding packs from the pudding aisle to enjoy without someone else asking for a bite. 

Mother’s Day Gift Idea for Grandma

DIY Photo Flower Bouquet

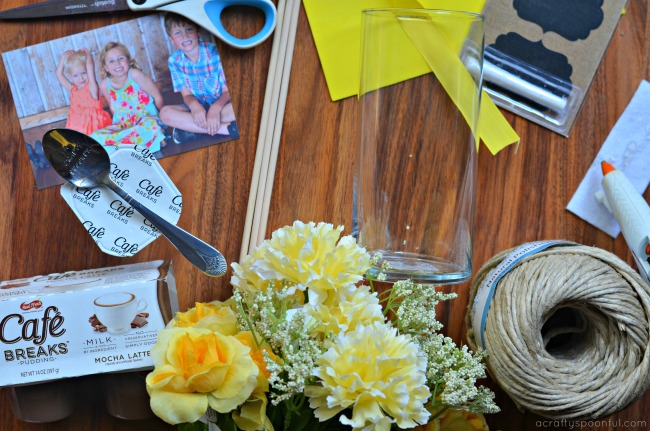
What you’ll need:

  • flower vase
  • twine
  • silk flowers
  • 1 piece of foam (similar shade to flowers)
  • wooden dowel
  • ribbon
  • chalkboard sticker with message
  • scissors
  • glue gun
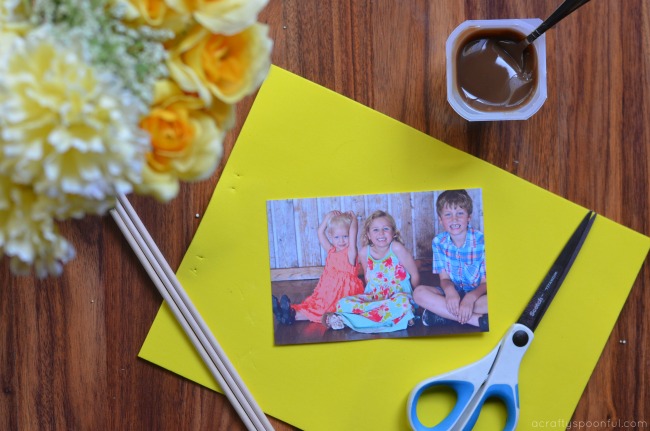
  • photos of kids

What you do: 

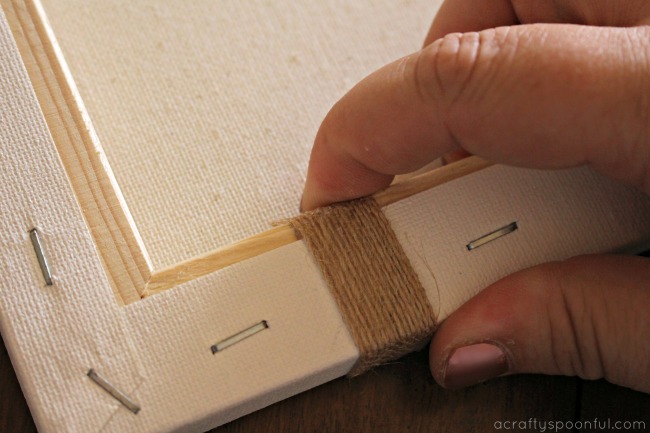
1. Wrap twine around vase and secure in place with glue gun. Repeat, securing the twine every few rows, until the vase is completely covered. 

2. Add ribbon to the vase with glue gun. Cover seam with chalkboard sticker. 

3. Arrange flowers in vase, set aside. 

4. Cut kids photo around their faces in a circle. 

5. Using the photos as a template, cut a flower out of the foam sheet with the photo in the center. 

6. Glue photo to center of flower then glue flower onto wooden dowel. 

7. Add flower photos to the silk flowers in the vase and gift away! 

Check out the video we put together for this project: 

Need a break? Enter to win one of 3 Mother’s Day Sweepstakes prizes including a $500 Spafinder gift card + a case of Café Breaks or a $100 Visa gift cards + a case of Café Breaks! 

Details are below:

Café Breaks Spa Weekend with Mom

What are the kids making Grandma for Mother’s Day? 

Love this project? Read more! 

Pin this article for later! 

Click the Pin button on the image below to save for later. 

DIY Bouncing Ball

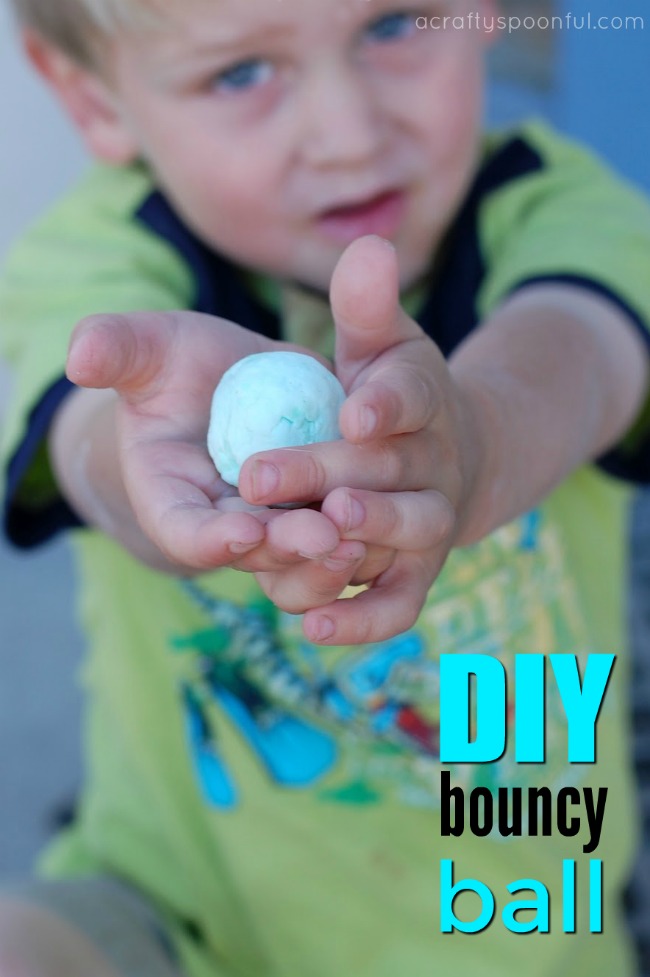
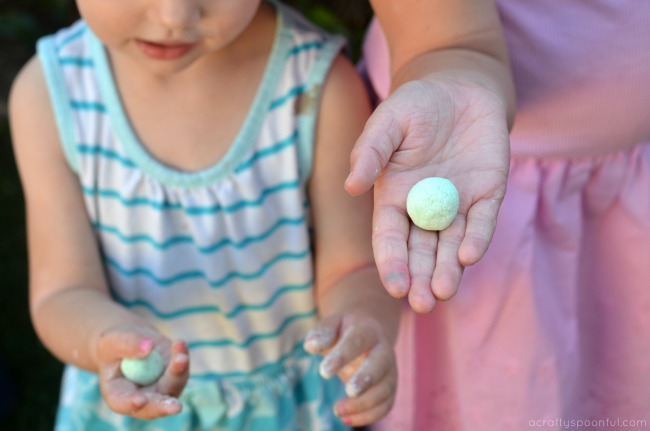
Make DIY bouncing balls with your kids and share the fun of science in the process!

Have you ever wanted to make your own toys? See your creation unfold from idea to reality? My kids absolutely love balls. They always ask to buy more and our front yard is filled with them. So when I saw this tutorial on About.com on how to make polymer balls I had to give it a try.

Result? A pretty fun experiment and toy all in one! And while the ball doesn’t bounce quite as high as the ones you buy from the machine outside of the grocery store it still provides hours of entertainment for children and adults alike. Whether you are looking to teach your kids about a little chemistry or just ready to make a fun toy, this is the perfect craft for a lazy afternoon. 

This post contains affiliate links.


DIY Bouncing Balls

What You’ll Need:

  • borax (found in the laundry section of the store)
  • cornstarch (found in the baking section of the store)
  • white glue (makes an opaque ball) or blue or clear school glue (makes a translucent ball)
  • warm water
  • food coloring (optional)
  • measuring spoons
  • spoon or craft stick to stir the mixture
  • 2 small plastic cups or other containers for mixing
  • marking pen
  • watch with a second hand
  • ruler
  • ziploc bag

[Read more…]

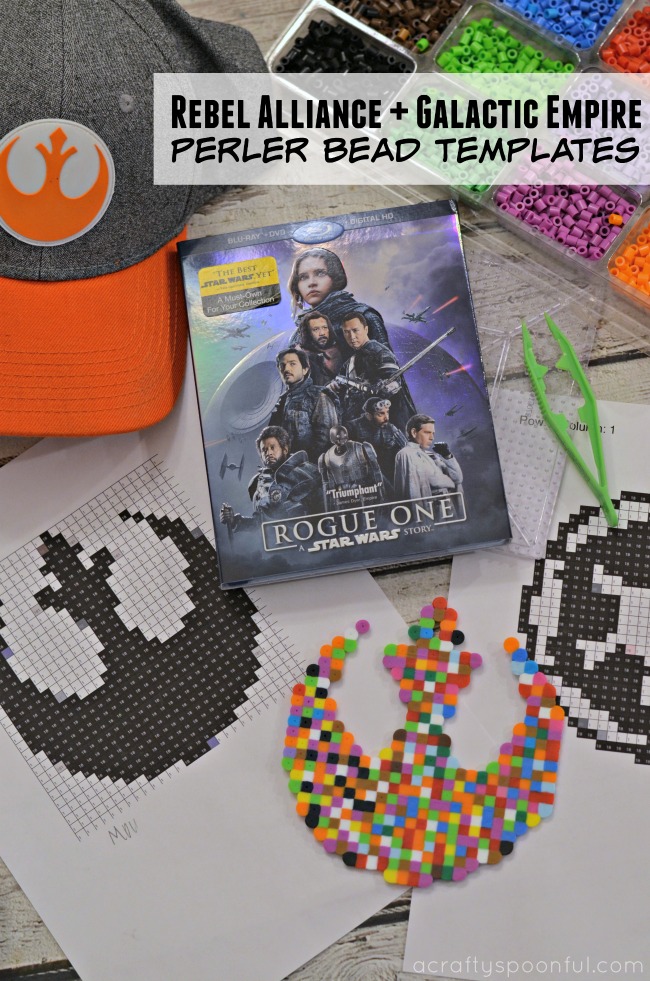
Star Wars Rogue One Perler Bead Templates: Rebel Alliance and Galactic Empire

Use these Rogue One Rebel Alliance and Galactic Empire Perler Bead Templates to show the world if you’re on the dark side or the light side and see if your true Jedi comes out! 

May the 4th… er… April the 4th be with you. 

Today’s the day!! Did you preorder your copy of Rogue One: A Star Wars Story? If not, get on it! It comes out on Blu-ray/DVD today and is the perfect addition to your ever-growing collection of Star Wars movies. 

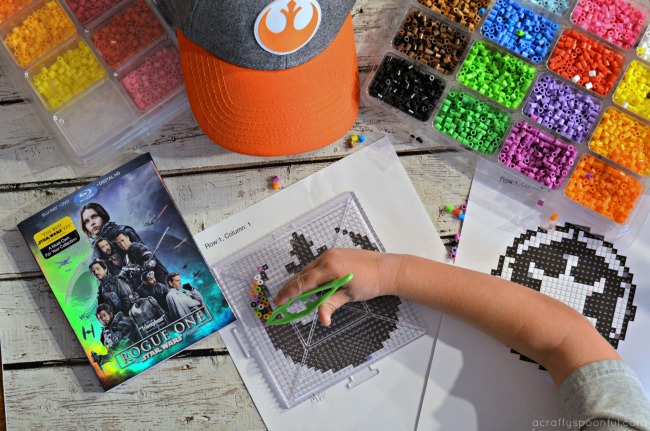
The fact that it is being released on my husband’s birthday did not escape me. How perfect is it to have one of your favorite movie franchises release a movie ON your birthday? Kismet! In celebration of my husband’s birthday and the release of Rogue One on store shelves, my daughter and I got to crafting to make the perfect birthday gift for dad: Star Wars Perler Bead creations! 

My daughter has been obsessed with her Perler beads since receiving them for Christmas this past year so when she was thinking of what to make her dad for a birthday gift, she immediately went and grabbed her Perler bead kit. But she couldn’t figure out what to make.  [Read more…]


© A Crafty Spoonful - All Rights Reserved
It is OK to use one of my photos provided a link back and/or proper credit is given. It is NOT ok to copy and paste a whole post including instructions. Please do not remove watermarks or alter images in any way. Please contact me with any questions at danielle@acraftyspoonful.com

.